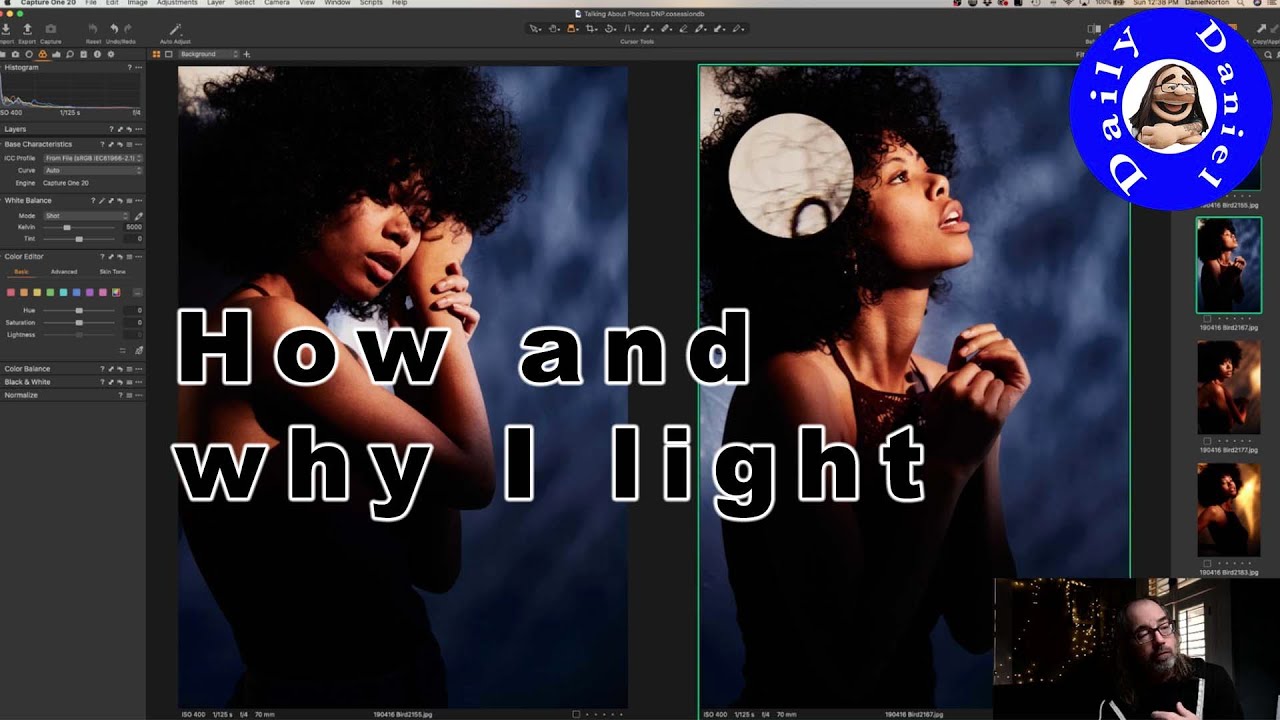
Most of my early studio sessions followed the same logic: build the light, then figure out where the subject stands. It worked well enough for catalog work, but it kept producing images that felt technically correct and emotionally flat. The light was on the subject, not working with them. It took me a while to flip that thinking around and start treating the model’s position as part of the lighting equation itself.
Watch the full tutorial on YouTube
In this Daniel Norton Photographer tutorial, Norton walks through a series of images he shot in studio and explains a deceptively simple concept: when you use directional, sculpted light instead of flat, even light, the model’s movement within that light completely changes the mood of the frame. Same setup. Radically different images. It’s one of those ideas that sounds obvious once someone says it out loud, but changes how you work the moment it actually clicks.
Step 1: Choose Between Flat Light and Sculpted Light Before You Set Anything Up
 Wide flat lighting diagram explained at whiteboard
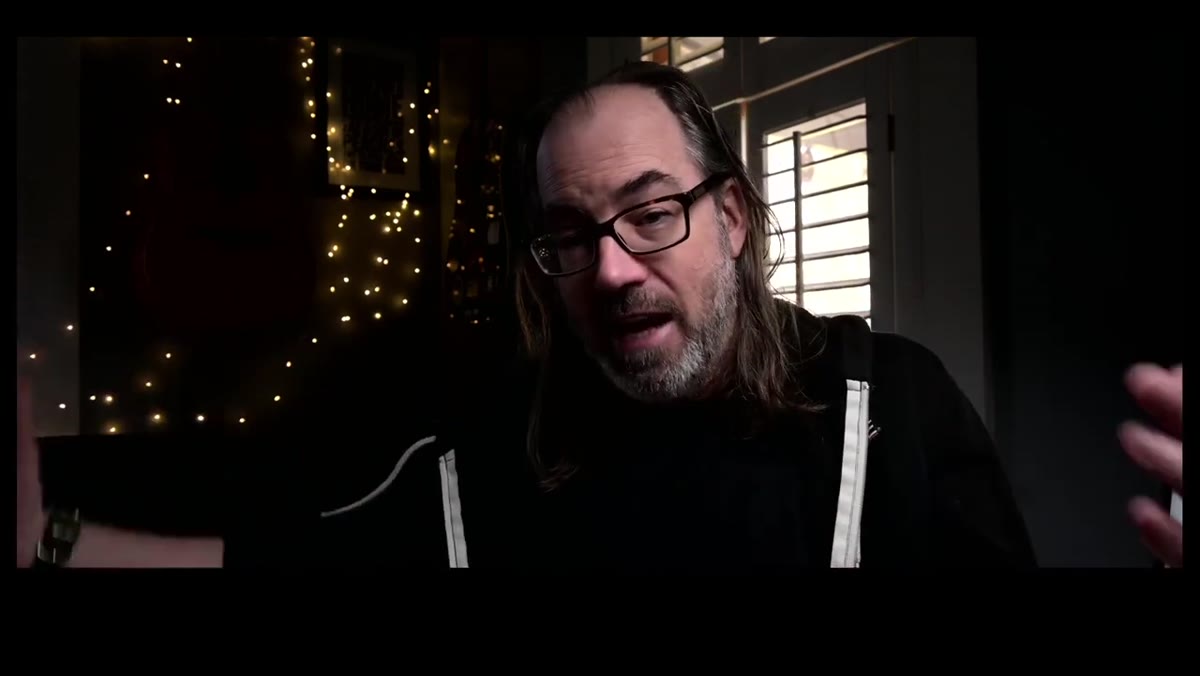
The first decision you make on any shoot determines every other decision. Norton draws a clean line between two categories: flat, expansive light that covers a wide area evenly, and directional light that is more pinpointed and controlled. Flat light is the right call for group shots, children’s catalogs, or any situation where your subject needs freedom to move unpredictably. Everyone stays correctly exposed, and you don’t have to manage falloff.
Wide flat lighting diagram explained at whiteboard
The first decision you make on any shoot determines every other decision. Norton draws a clean line between two categories: flat, expansive light that covers a wide area evenly, and directional light that is more pinpointed and controlled. Flat light is the right call for group shots, children’s catalogs, or any situation where your subject needs freedom to move unpredictably. Everyone stays correctly exposed, and you don’t have to manage falloff.
But if your goal is mood, dimension, and emotional weight in an image, flat light will undercut you every time. Once you commit to sculpted light, you are also committing to a more active collaboration with your model, because their position relative to that light will become a creative variable rather than something you just manage.
Step 2: Use Smaller, More Controlled Modifiers to Create Falloff
 Studio flash with directional modifier on stand
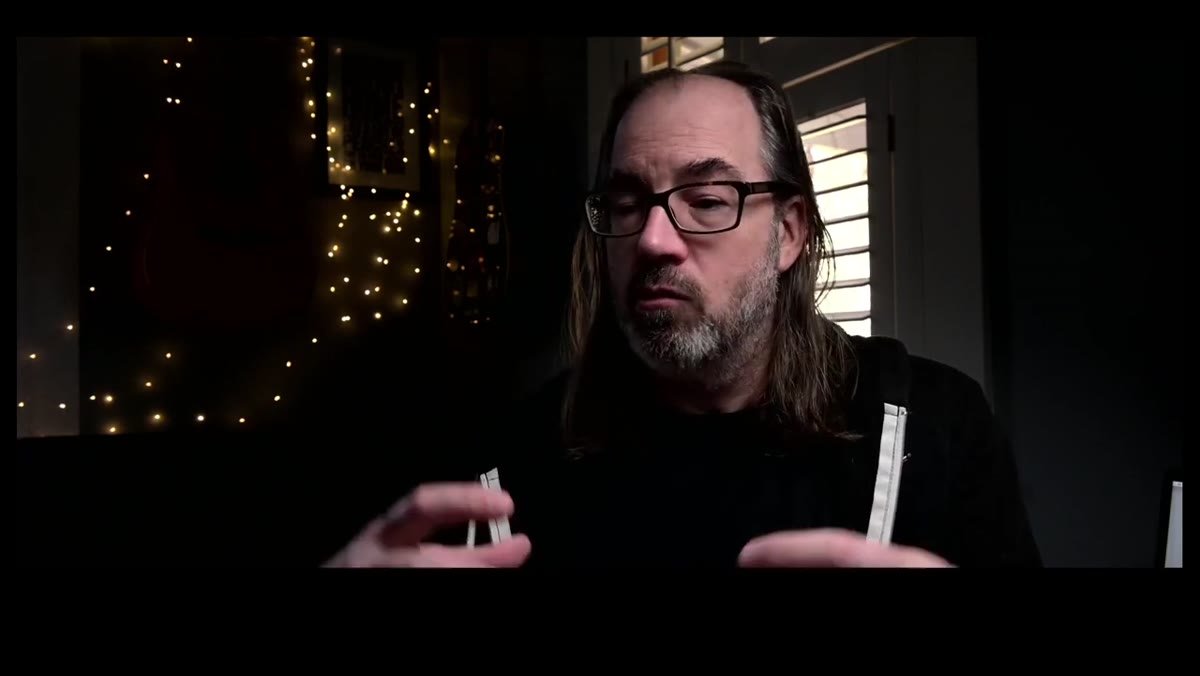
Sculpted light doesn’t necessarily mean a hard, small source. Norton’s point is about spatial spread. A modifier can still produce soft light and still have limited spread. The key quality you’re after is falloff, where the light intensity drops noticeably as the subject moves even slightly off-axis. That falloff is what gives you different moods from the same setup.
Studio flash with directional modifier on stand
Sculpted light doesn’t necessarily mean a hard, small source. Norton’s point is about spatial spread. A modifier can still produce soft light and still have limited spread. The key quality you’re after is falloff, where the light intensity drops noticeably as the subject moves even slightly off-axis. That falloff is what gives you different moods from the same setup.
In practice, I reach for a beauty dish with grid, a snoot, or a focused spot before I reach for a large octabox on any shot where atmosphere matters. If you’re working with a standard strobe and don’t have specialty modifiers, a standard reflector with a grid will get you close. The grid does most of the work by cutting the spread and preventing light from washing into areas you want to stay dark.
Step 3: Set the Light and Then Stop Moving It
 Light position locked, model area marked on floor
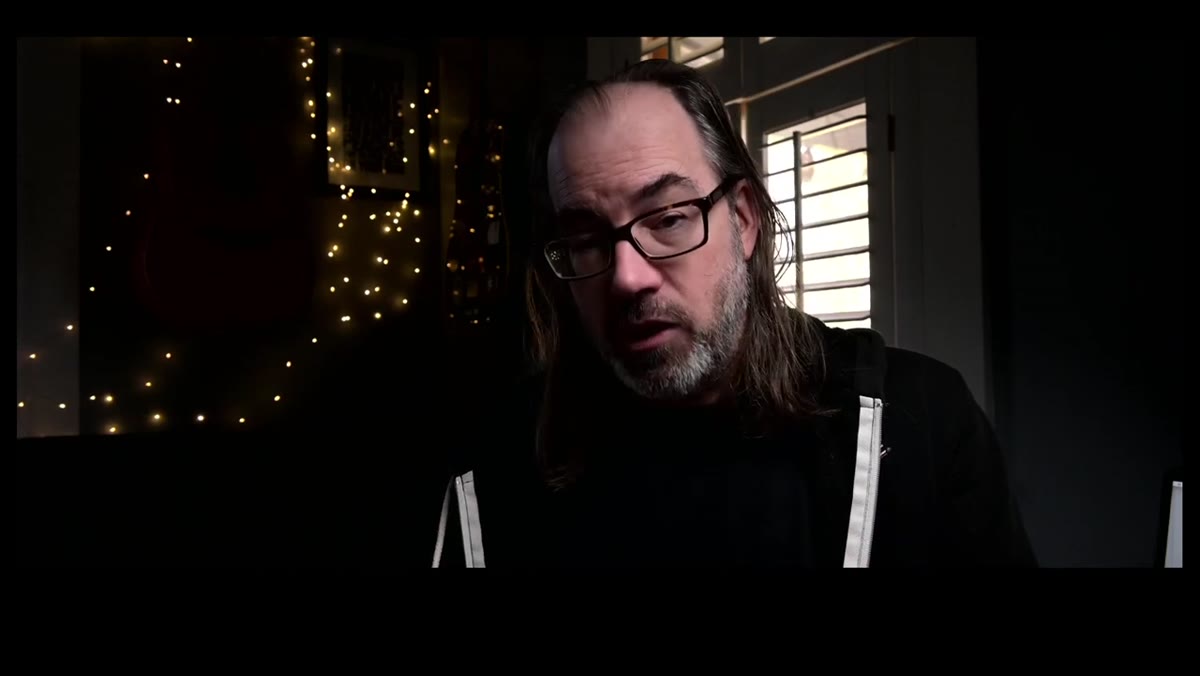
This is where a lot of photographers lose the benefit of the setup. Norton’s approach is to establish the light position and then leave it alone. The light is the fixed point. The model moves through it. If you keep adjusting the light to chase the model, you collapse the range of moods you could be capturing.
Light position locked, model area marked on floor
This is where a lot of photographers lose the benefit of the setup. Norton’s approach is to establish the light position and then leave it alone. The light is the fixed point. The model moves through it. If you keep adjusting the light to chase the model, you collapse the range of moods you could be capturing.
I mark my light positions with tape on the floor, which I know sounds obsessive, but it means I can reproduce any setup exactly six months later and I always know when something has shifted during a shoot. When the light is fixed and the model knows where it is, you have a defined zone to work within. Shots at the edge of that zone feel different from shots at the center, and both are valid.
Step 4: Communicate the Setup to Your Model Before You Shoot
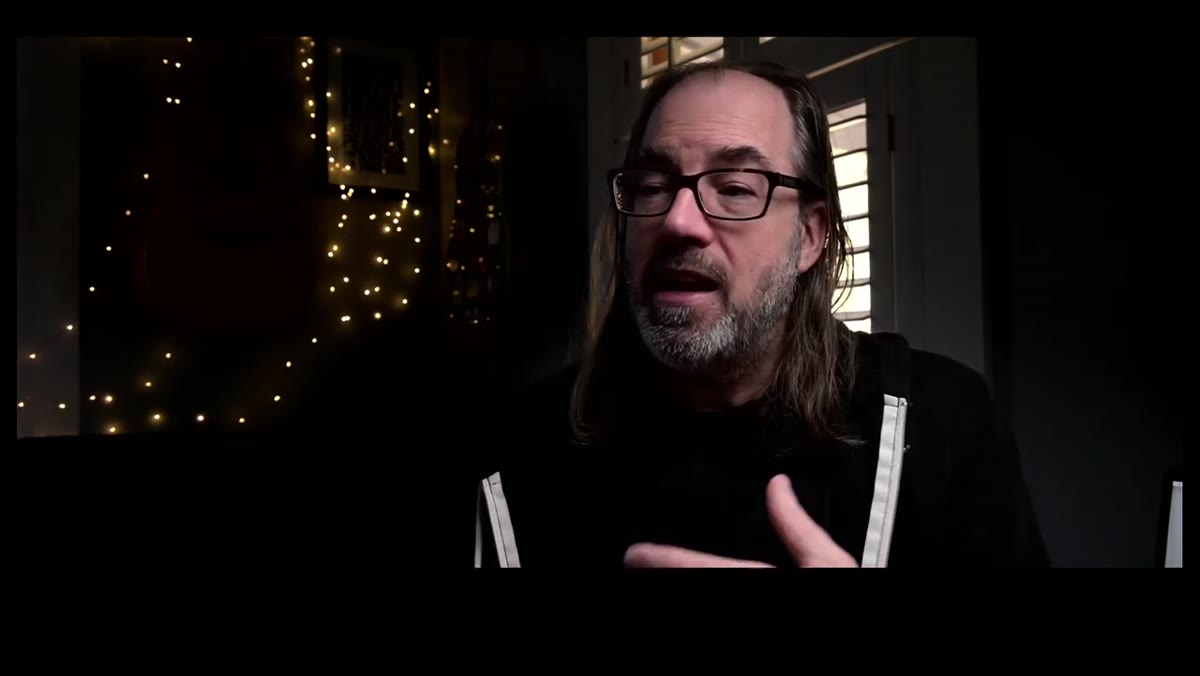 Photographer showing reference images to model
Norton is direct about this: show the model reference images before you start. Not so they can imitate a pose, but so they understand the visual language you’re going for and the range you want to explore. When they understand that moving a few inches toward the light creates a harder, more dramatic look, and pulling back opens the shadows and softens everything, they can participate in the creative process rather than just execute your directions.
Photographer showing reference images to model
Norton is direct about this: show the model reference images before you start. Not so they can imitate a pose, but so they understand the visual language you’re going for and the range you want to explore. When they understand that moving a few inches toward the light creates a harder, more dramatic look, and pulling back opens the shadows and softens everything, they can participate in the creative process rather than just execute your directions.
My own version of this is a short conversation at the start of every shoot where I physically walk the model into the light and let them see the change in real time on a tethered monitor. Three minutes spent on this saves thirty minutes of miscommunication mid-shoot. It also produces better images because the model is engaged with the technique rather than disconnected from it.
Step 5: Use a Patterned or Textured Background to Add a Second Layer of Interest
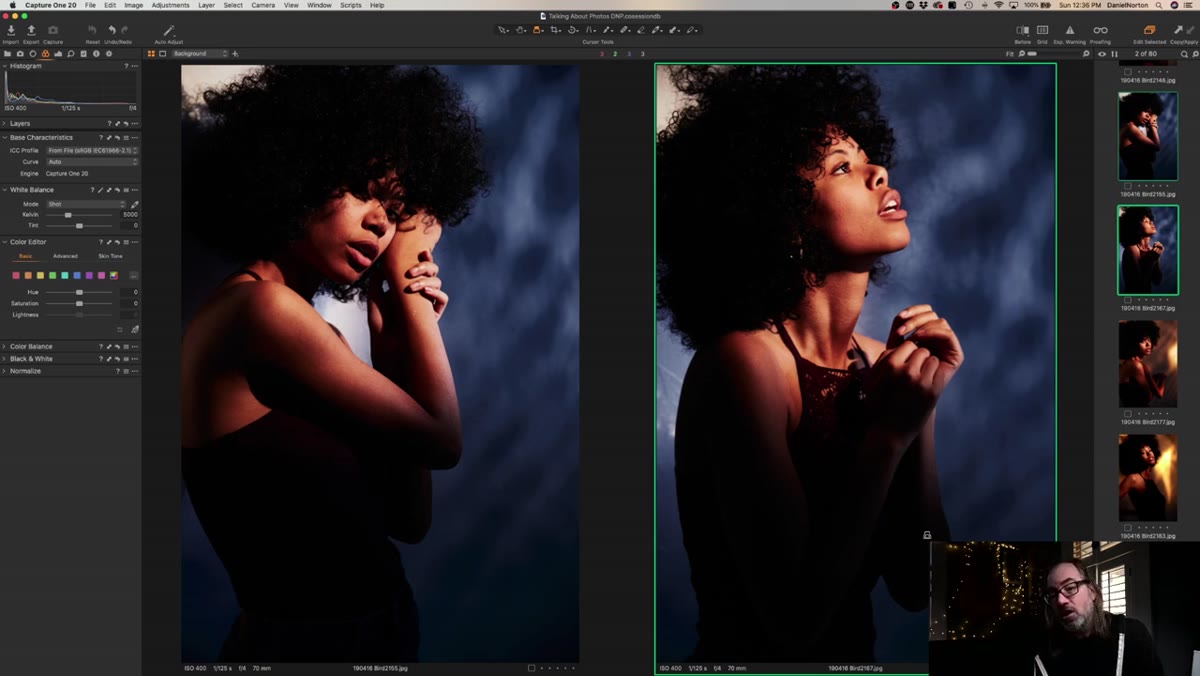 Bounce mirror system creating dappled background pattern
Norton uses a mirror-based bounce system in the images he reviews, which projects broken, painterly patterns onto the background. You don’t need that specific tool. The principle is that a textured or patterned background gives you compositional depth without adding another light, and it reinforces the mood your main light is already building.
Bounce mirror system creating dappled background pattern
Norton uses a mirror-based bounce system in the images he reviews, which projects broken, painterly patterns onto the background. You don’t need that specific tool. The principle is that a textured or patterned background gives you compositional depth without adding another light, and it reinforces the mood your main light is already building.
In my studio I keep a set of painted canvas backdrops in different tonal ranges, but I also regularly tape diffusion material behind a background light and aim it at a mottled surface to get a similar broken-light effect. The goal is a background that reads as atmospheric rather than flat and commercial. When the main light is already creating drama on the subject, the background should support that rather than fight it.
Step 6: Work the Range - Shoot Across the Full Arc of the Model’s Movement
 Multiple shots showing same model in varying light positions
Once the light is set and the model understands the setup, your job is to actually work the range Norton describes. Don’t lock onto one position that looks good and stop there. Shoot the model moving toward the light, facing away from it, turned three-quarters, leaning into it from below, pulling back from it. Each of those positions produces a different image with different emotional content.
Multiple shots showing same model in varying light positions
Once the light is set and the model understands the setup, your job is to actually work the range Norton describes. Don’t lock onto one position that looks good and stop there. Shoot the model moving toward the light, facing away from it, turned three-quarters, leaning into it from below, pulling back from it. Each of those positions produces a different image with different emotional content.
I keep my lighting journal open during this part of the shoot and sketch the key positions that produce the strongest results. It sounds slow but it actually keeps me from repeating myself. By the end I have documentation of what worked and a set of images that show real variety rather than fifteen frames of the same thing at slightly different focal lengths.
What I’d Add From My Own Experience
The one thing Norton doesn’t get into deeply here is the relationship between skin tone and falloff speed. Lighter skin tones show falloff faster and more dramatically. Deeper skin tones can handle a more aggressive falloff before it becomes problematic, but they also require more attention to shadow detail, especially if you’re shooting for beauty or editorial clients who need to see texture in the skin. I learned this the hard way on a campaign shoot years ago when my shadows went completely opaque on a darker-skinned model because I was using a metering ratio I’d dialed in on a lighter-skinned model earlier in the day. I now set a floor for my shadow density based on the subject in front of me, not the last setup that worked.
The idea that posing and lighting are separate disciplines is a false division. Light placement is a posing decision, and how a model moves through your light is a lighting decision. Getting those two things to work together is where interesting studio images actually come from.
Watch the full tutorial on YouTube to see Norton walk through his actual images and explain the thinking behind each shot. Seeing the results side by side makes the concept land in a way that text alone can’t fully replicate.
Comments
Leave a Comment