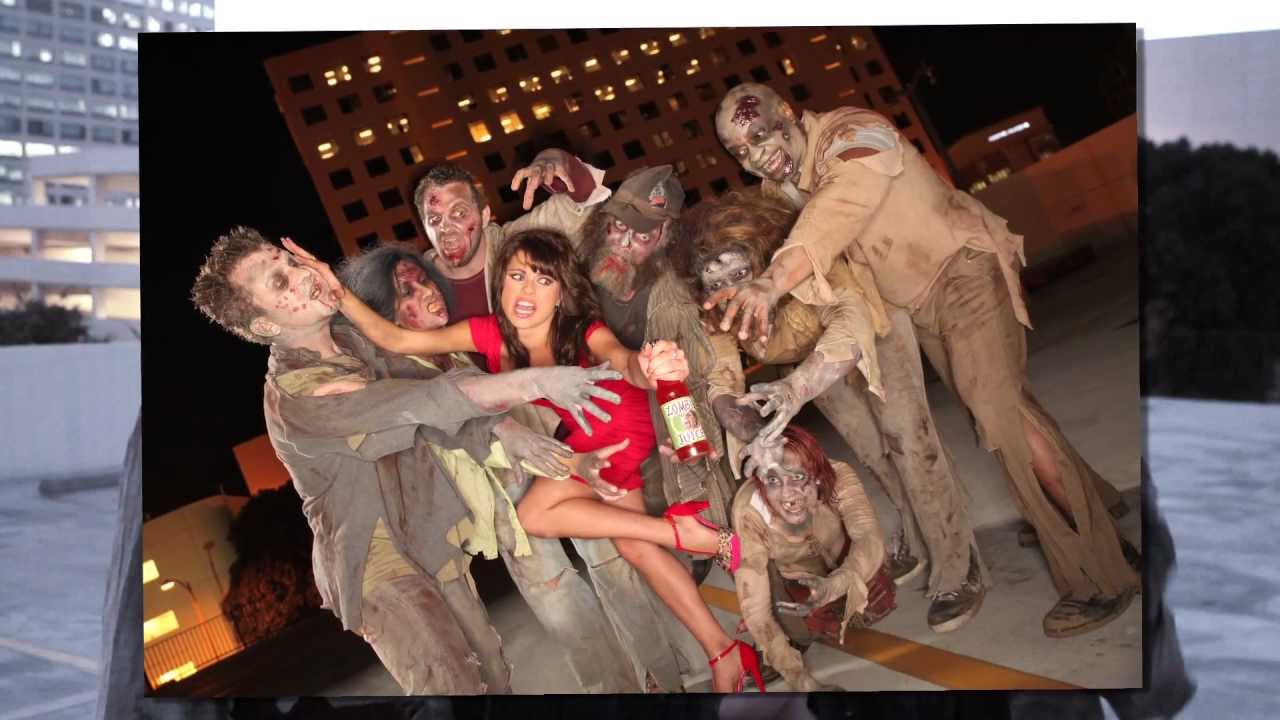
Ring lights are one of those tools that photographers either dismiss as a one-trick fashion gimmick or swear by without fully understanding what they’re actually doing to light. I’ve been in both camps. For years I used mine almost exclusively for beauty work, strapped it on, pointed it at a face, and called it a day. It took working through this tutorial — and a few frustrating nights on location shooting fashion under mixed ambient sources — before I started treating the ring light as a precision instrument rather than a shortcut.
In this Watch the full tutorial on YouTube from The Slanted Lens, Jay P. Morgan walks through exactly what a ring light does, where it fails, and how to layer it into a multi-light setup. The tutorial uses a commercial shoot for a fictional soda brand, with models shot at night on a Los Angeles rooftop, which is about as real-world a test environment as you can get. The breakdown is methodical, and if you follow it step by step, you’ll come away with a working framework that applies well beyond the fashion context most people associate with this light source.
What made this tutorial click for me is that Morgan doesn’t just demonstrate the ring light in isolation. He builds the lighting setup incrementally, one source at a time, so you can actually see what each element is contributing. That’s how I test every new modifier in my own studio, and it’s the fastest way to understand what you’re actually controlling.
Step 1: Understand What a Ring Light Actually Is (and Isn’t)
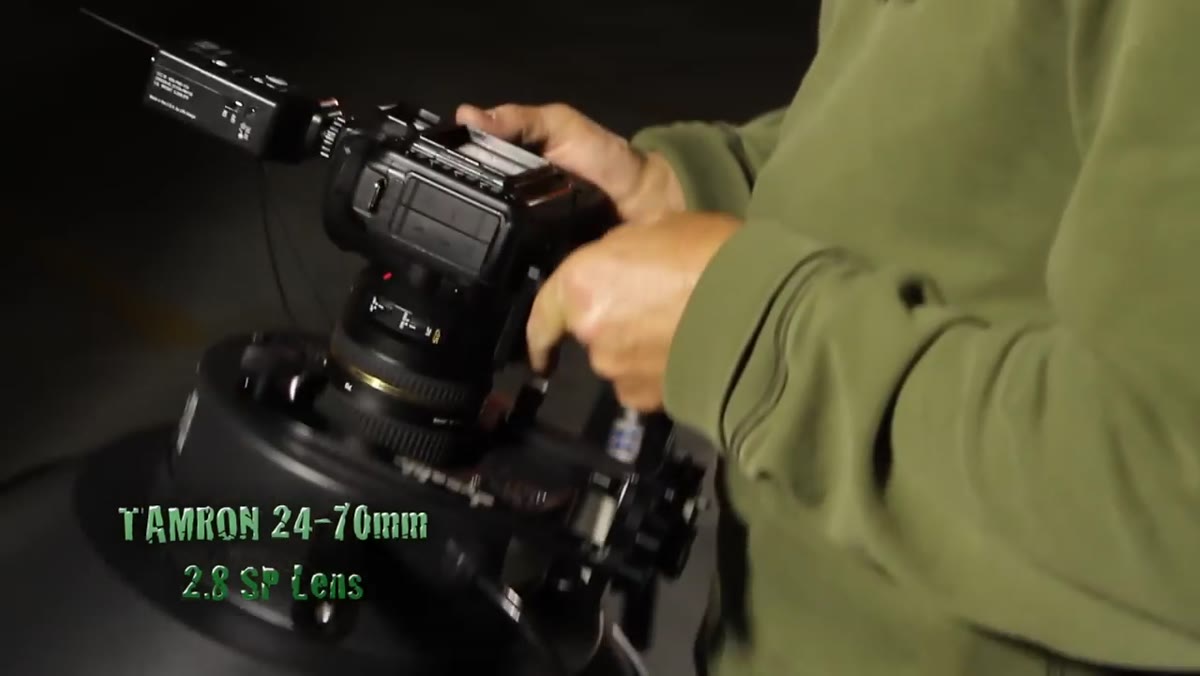 Diagram showing circular flash mounted around camera lens
A ring light is a circular strobe or constant light source that mounts directly around your lens, positioning the light nearly on the same optical axis as your camera. The critical consequence of that placement is that the light travels in the same direction your lens is pointing, which eliminates most of the shadows you’d normally see on a subject’s face. Constant LED versions are used for video where flicker-free output matters. Strobe versions are the choice for stills where you need power and can work with a sync.
Diagram showing circular flash mounted around camera lens
A ring light is a circular strobe or constant light source that mounts directly around your lens, positioning the light nearly on the same optical axis as your camera. The critical consequence of that placement is that the light travels in the same direction your lens is pointing, which eliminates most of the shadows you’d normally see on a subject’s face. Constant LED versions are used for video where flicker-free output matters. Strobe versions are the choice for stills where you need power and can work with a sync.
The shadowless quality this produces is genuinely useful, but understanding that it comes from the on-axis position, not magic, is what lets you predict its behavior and compensate for its weaknesses.
Step 2: Know Your Coverage Area and Falloff
 Wide shot showing model lit by ring light with falloff visible at frame edges
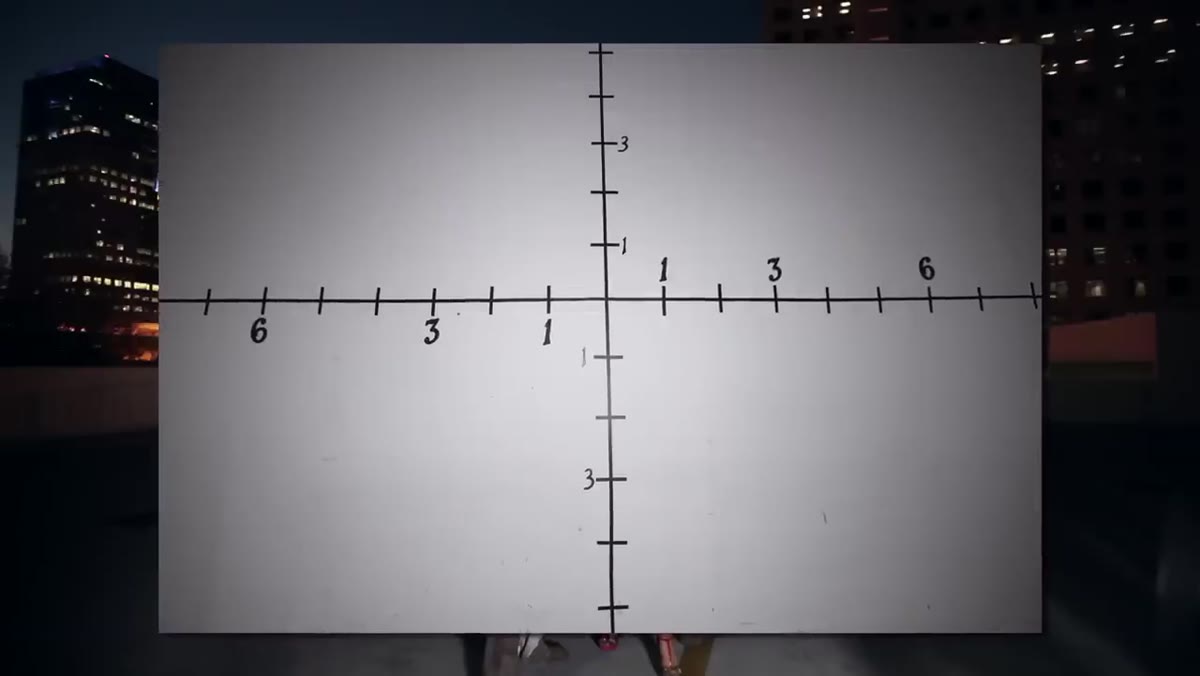
Morgan measures approximately 14 feet of usable coverage from his ring flash, with roughly a stop and a half of falloff across that zone. That falloff number is worth writing down somewhere. A stop and a half means your background is noticeably darker than your subject if they’re positioned even a few feet in front of it, which can either help you or hurt you depending on the shot. I keep a lighting journal and that falloff value is the kind of thing I sketch in next to every modifier note.
Wide shot showing model lit by ring light with falloff visible at frame edges
Morgan measures approximately 14 feet of usable coverage from his ring flash, with roughly a stop and a half of falloff across that zone. That falloff number is worth writing down somewhere. A stop and a half means your background is noticeably darker than your subject if they’re positioned even a few feet in front of it, which can either help you or hurt you depending on the shot. I keep a lighting journal and that falloff value is the kind of thing I sketch in next to every modifier note.
The other spatial effect to watch for: when a subject stands close to a background, the ring creates a distinctive shadow halo around them. It’s circular, it reads immediately as ring-light-produced, and it’s the detail that makes ring light images look like ring light images. Pull the subject away from the wall and the halo disappears into shadow. Keep them close and you’re committing to the look.
Step 3: Add a Reflector to Shape and Soften the Output
 Silver reflector positioned below subject, modifying ring flash output
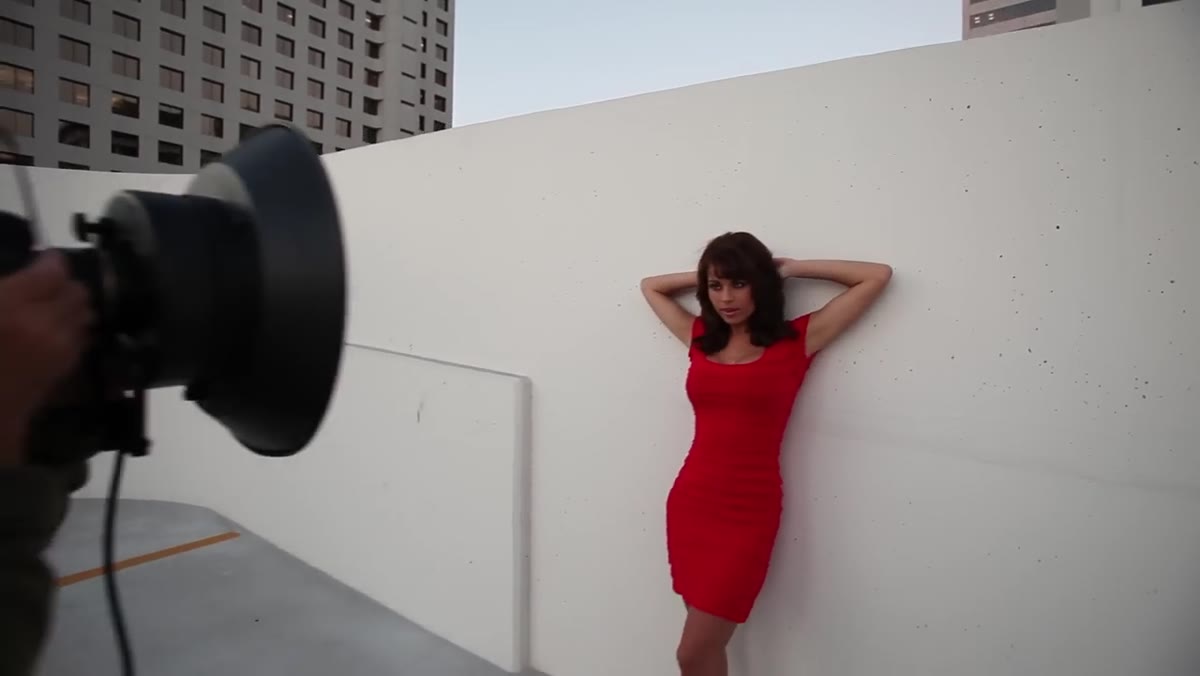
Placing a silver reflector in front of the ring flash changes two things simultaneously. It reduces the raw coverage area and softens the quality of the light hitting your subject. What you gain from that tradeoff is more dimensionality. Highlights get a cleaner definition on skin and bone structure, and you start to see actual shadows falling on the sides of the body, giving the image depth that pure ring-light shots tend to lack.
Silver reflector positioned below subject, modifying ring flash output
Placing a silver reflector in front of the ring flash changes two things simultaneously. It reduces the raw coverage area and softens the quality of the light hitting your subject. What you gain from that tradeoff is more dimensionality. Highlights get a cleaner definition on skin and bone structure, and you start to see actual shadows falling on the sides of the body, giving the image depth that pure ring-light shots tend to lack.
This is the configuration Morgan favors when using the ring light as a primary key. The reflector turns what would otherwise be a flat, even source into something that still reads as soft but has enough direction to sculpt a figure. It’s a simple addition and it makes a significant difference.
Step 4: Build Ambient Fill First, Then Layer in Rim and Key
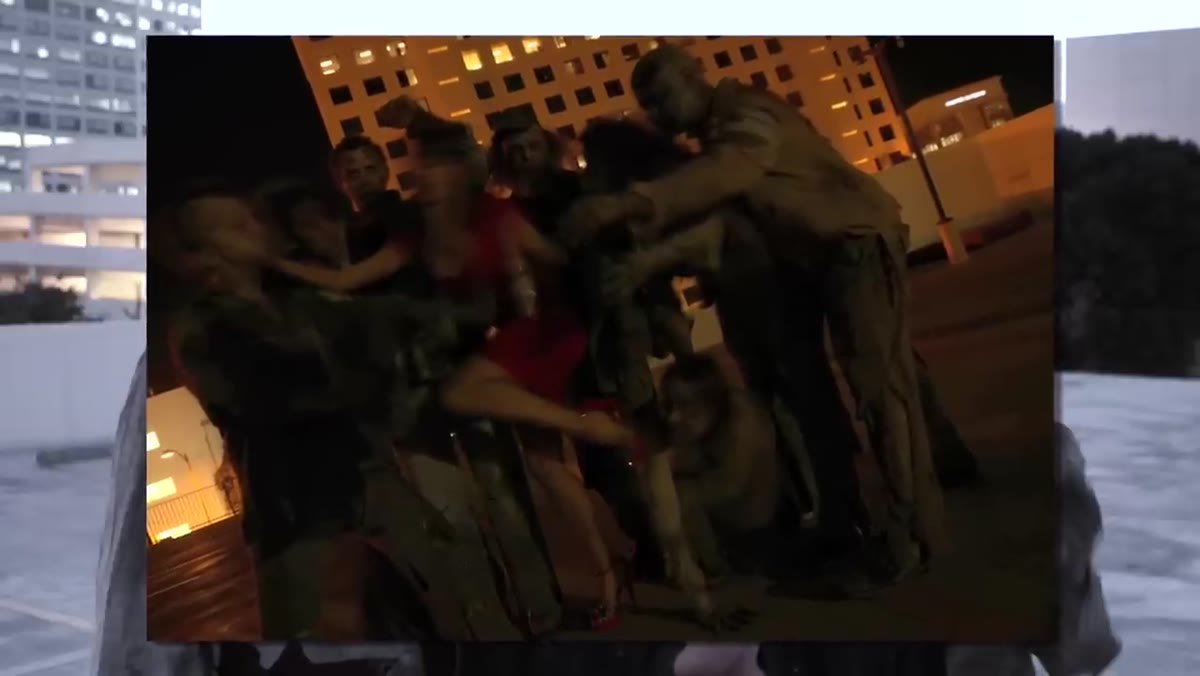 LED ambient light alone on dark rooftop, very low exposure on subjects
On the rooftop shoot, Morgan’s sequencing is disciplined and worth copying directly. He starts with small LED panels set to create just enough ambient fill to give the camera something to autofocus on in the dark. These are not intended to be visible as a distinct light source in the final image. They’re functional, not creative.
LED ambient light alone on dark rooftop, very low exposure on subjects
On the rooftop shoot, Morgan’s sequencing is disciplined and worth copying directly. He starts with small LED panels set to create just enough ambient fill to give the camera something to autofocus on in the dark. These are not intended to be visible as a distinct light source in the final image. They’re functional, not creative.
Next comes a small softbox placed to camera left as a rim light. This is the light doing the structural work of separating the subjects from the dark background and giving the ground plane some definition. Only after both of those are in place does the ring flash come in as the key. Each layer has a job, and adding them in sequence lets you verify each one is doing that job before you complicate the frame.
Step 5: Manage the Distance Problem When Shooting with a Camera-Mounted Light
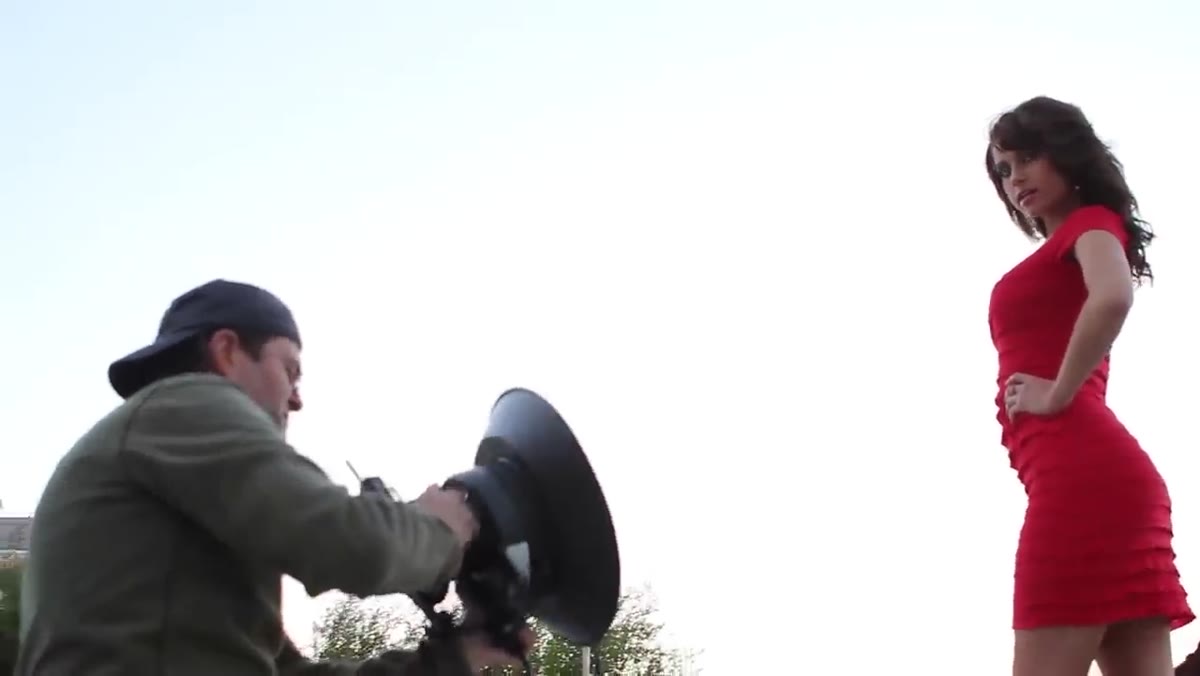 Photographer moving closer and farther from subject, showing exposure shift
Here’s the limitation that catches people off guard: because the ring light is physically attached to your camera, the distance between light source and subject changes every time you move. Step closer and the exposure brightens. Step back and it dims. With a static light on a stand, you control distance deliberately. With a ring flash on your camera body, every reframe is also a potential exposure shift.
Photographer moving closer and farther from subject, showing exposure shift
Here’s the limitation that catches people off guard: because the ring light is physically attached to your camera, the distance between light source and subject changes every time you move. Step closer and the exposure brightens. Step back and it dims. With a static light on a stand, you control distance deliberately. With a ring flash on your camera body, every reframe is also a potential exposure shift.
You have two practical solutions. The first is to pick a working distance and stay there, recomposing by zooming rather than moving your feet. The second is to dial your power pack up or down as you reposition. Neither is effortless, but knowing to plan for it in advance keeps you from spending half a shoot chasing correct exposure.
Step 6: Use the Ring Light as a Fill, Not Just a Key
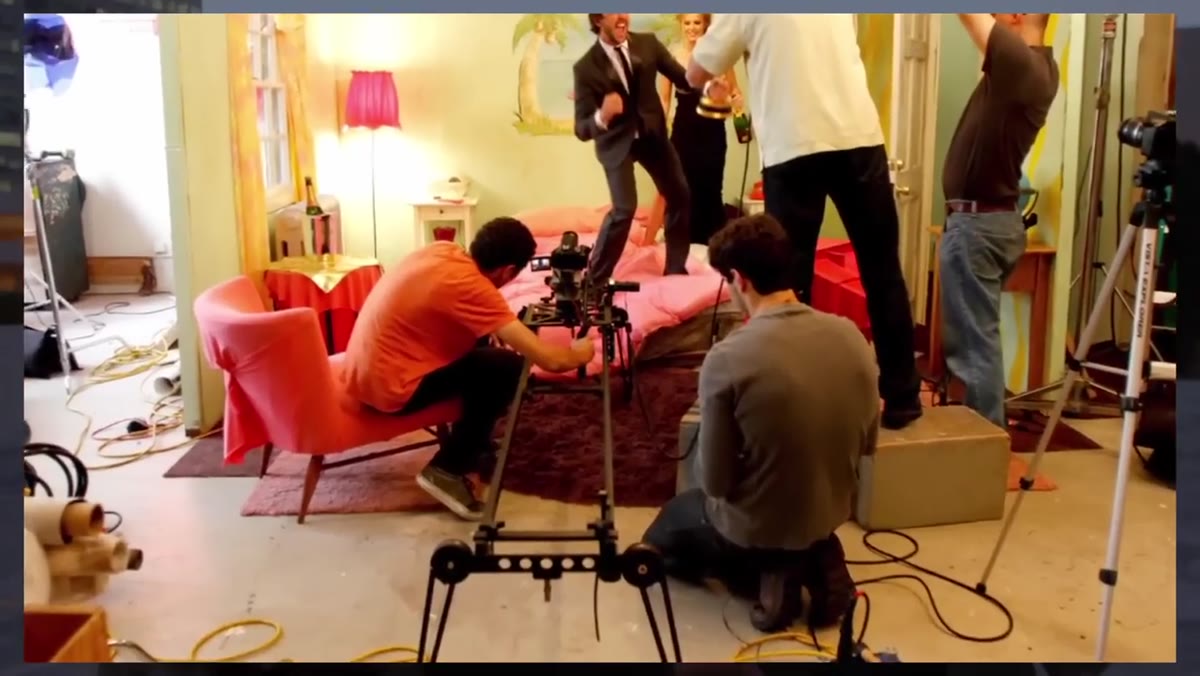 Portrait of man with ring light used as subtle fill, main light from side
Morgan’s most underused application for the ring light is as a non-directional fill in a multi-light setup. Kept at low power, the on-axis position means it opens shadows without casting new ones. You get exposure detail in the dark areas of the face without the viewer ever detecting a second source. It reads as natural light behavior, not flash.
Portrait of man with ring light used as subtle fill, main light from side
Morgan’s most underused application for the ring light is as a non-directional fill in a multi-light setup. Kept at low power, the on-axis position means it opens shadows without casting new ones. You get exposure detail in the dark areas of the face without the viewer ever detecting a second source. It reads as natural light behavior, not flash.
This is how I’ve started using mine on corporate portrait jobs where I need a clean, approachable look. A single beauty dish or octabox as the key, and the ring flash dialed down two stops to fill. The separation is there, the shadows are controlled, and the result reads as thoughtfully lit rather than lit.
What I’d Add from My Own Work
The one variable Morgan doesn’t have time to go deep on is color temperature consistency between your ring source and any ambient or continuous lights you’re layering in. I learned that lesson the hard way early in my career on an editorial shoot where my ring flash ran warm relative to the daylight bleeding in from a window. The skin tones were a mess across the series and the client noticed immediately. Now I color-check every source separately before the first frame, ring light included, and I tape a reference card to the back of my ring mount so I don’t forget to check it when swapping locations. It’s a small habit, but it has saved me more than once.
The single most important principle from this tutorial is also the simplest one: the ring light is not one thing. It’s a shadowless key, a sculpting tool with a reflector, a low-power fill, a photo booth workhorse, and an on-axis video fill. Which version of it you’re using depends entirely on how you set it up. Know the tool’s actual behavior, coverage and falloff included, and it earns its place in a professional kit.
Watch the full tutorial on YouTube to see each lighting layer added in real time against the rooftop backdrop.
Comments
Leave a Comment