Every editorial shoot I do lives or dies in the first twenty minutes. Not because of the model, not because of the concept, and not because of which strobe head I pull off the shelf. It lives or dies based on whether I made smart decisions before I ever fired a test shot. I learned that the hard way years ago when I delivered a beauty spread where half the selects had a color temperature mismatch I didn’t catch on set. What should have been a two-hour cull-and-retouch job turned into a two-day repair project. That experience is why a tutorial like this one stopped me cold when I found it.
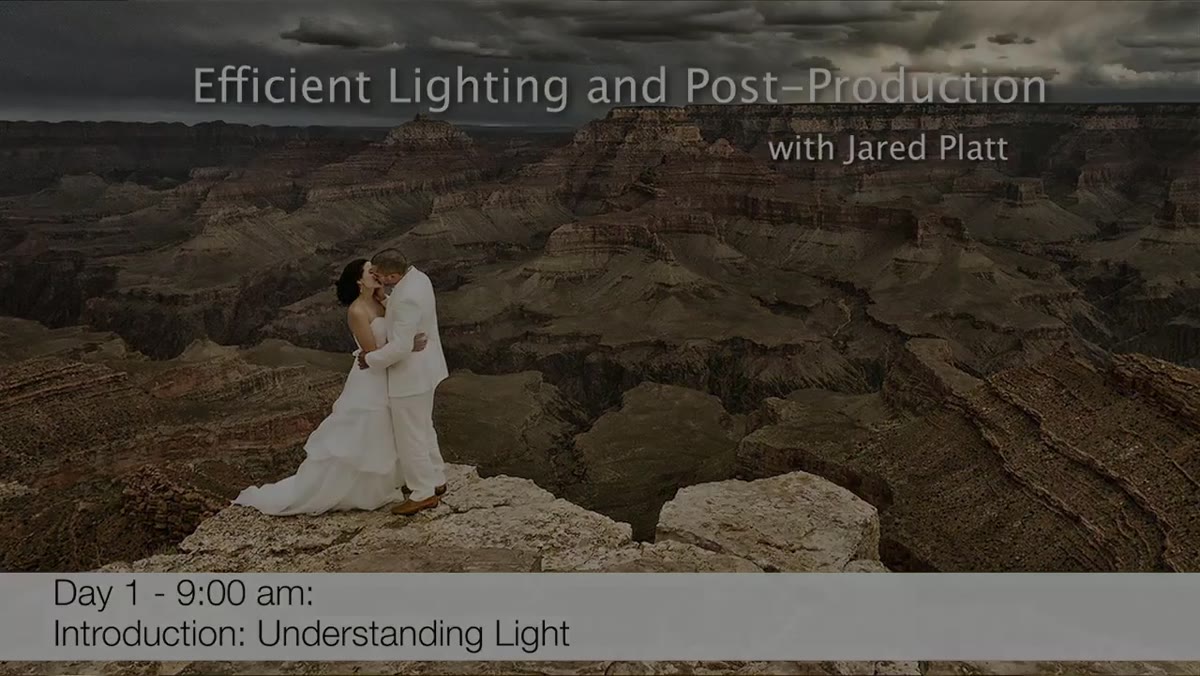
In this CreativeLive tutorial, wedding and portrait photographer Jared Platt lays out the foundational argument for what he calls efficient lighting and post-production. The core idea is simple but worth saying plainly: the decisions you make during a shoot determine how much time you spend after it. Platt’s framing is practical rather than philosophical, which is exactly the kind of thinking I try to apply when I’m prepping a lighting diagram the night before a commercial job. Watch the full tutorial on YouTube
What follows is a step-by-step breakdown of the concepts Platt introduces in this first session, rewritten so you can apply them without needing to pause and rewind.
Step 1: Accept That the Shoot and the Edit Are One Workflow
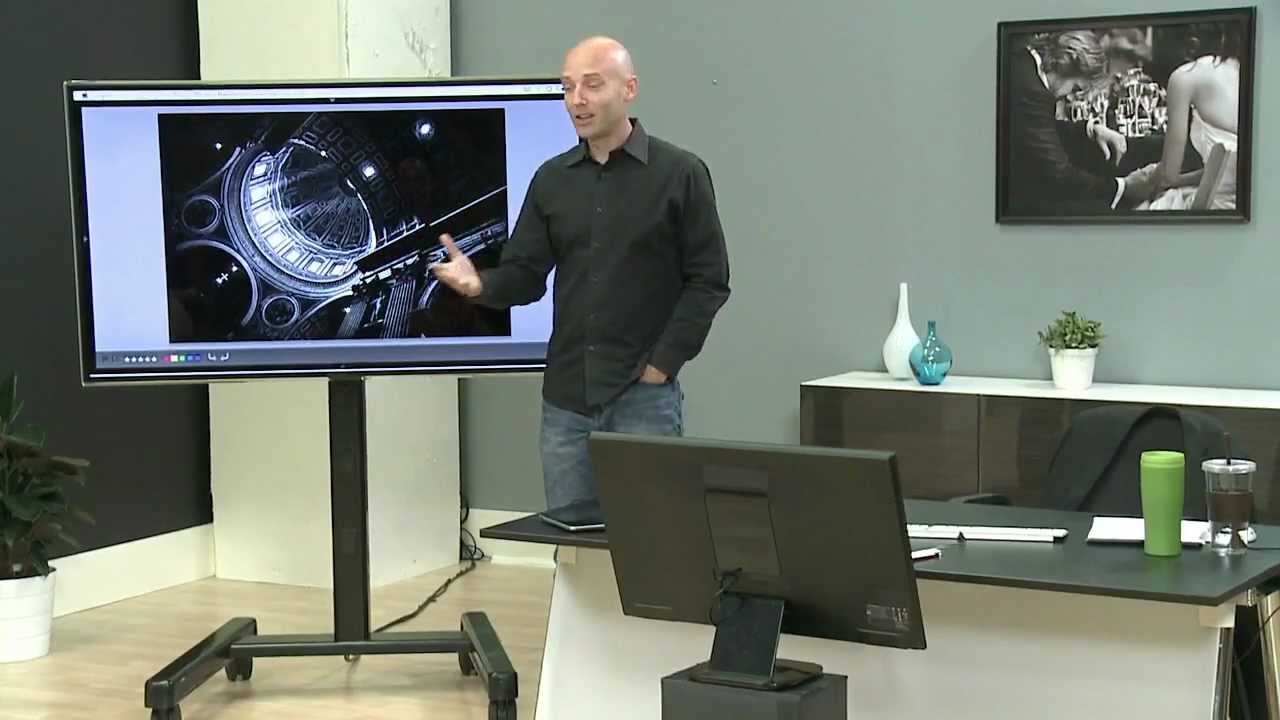
 Jared Platt introducing himself to a studio audience
Platt opens by establishing his background, but the real point he’s making is credibility through specificity. He shoots weddings, seniors, and portraits. Everything has people in it. He is not a gear theorist. He is someone who has to deliver images on deadline, repeatedly, at a professional level. That context matters because the efficiency framework he teaches comes from real production pressure, not a controlled classroom experiment.
The takeaway here is attitudinal before it’s technical. If you treat the shoot and the edit as separate events, you will consistently make your editing harder than it needs to be. Start thinking of them as a single pipeline. Every lighting decision you make on set is either a gift or a debt to your future self.
Step 2: Understand the Direct Link Between On-Set Choices and Post-Production Time
 Platt gesturing while explaining post-production efficiency to the studio audience
Platt’s previous CreativeLive workshop focused on post-production at a macro level, meaning file management, workflow systems, and broad efficiency strategies. This tutorial zooms in to the micro level: the individual image, from capture to delivery. That shift in scale is important. Macro thinking gets your folders organized. Micro thinking gets each frame as close to finished as possible before it hits Lightroom.
His specific argument is that inconsistent exposures and sloppy lighting force you into Photoshop for corrective work. Dodging and burning to fix problems you created on set is not creative work. It is damage control, and it compounds across hundreds of images. Tighten your on-set process and the edit compresses dramatically.
Step 3: Commit to Spending Less Time on Set AND Less Time in Post
 Platt describing the two-day workshop structure and its goals
This sounds obvious until you realize most photographers optimize for one or the other. They either rush on set and pay for it in post, or they obsess over every frame on set and blow their editing schedule. Platt’s goal for the workshop is to find the overlap: fast enough on set, clean enough for a minimal edit.
For commercial work, this translates directly to budget. A client paying for a half-day studio rate does not want to hear that you need another four hours of retouching because the strobe ratio was inconsistent. Build your lighting setup so it is repeatable and predictable, and your editing becomes a confirmation process rather than a rescue operation. I tape labels on every light in my studio for exactly this reason. When I come back to a setup after a break, I know immediately what each head was doing.
Step 4: Follow the Full Life Cycle of an Image
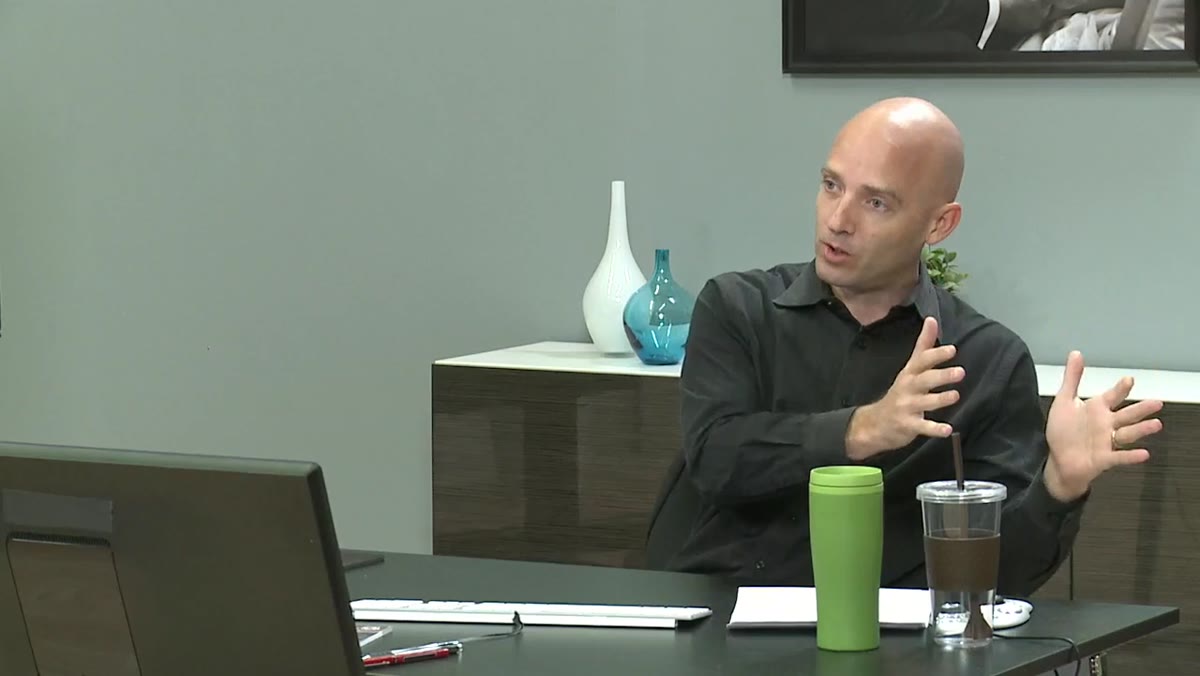 Platt explaining the concept of following an image from shoot to post-production
Platt introduces the concept of tracking an image from the moment of capture all the way through post-production to final delivery. This is the workshop’s structural spine, and it is genuinely useful as a mental model. Most tutorials either teach you to shoot or teach you to edit. This one treats the image as a thing that moves through a process, and your job is to manage that process without losing quality or time at any stage.
Apply this thinking to your own planning. Before a shoot, I sketch the lighting setup in a journal I keep for exactly this purpose. After the shoot, I note what I would change. Over time, patterns emerge. Certain modifier choices cost me time in post every single time. That journal has changed how I buy gear.
Step 5: Separate Light as a Tool from Light as the Subject
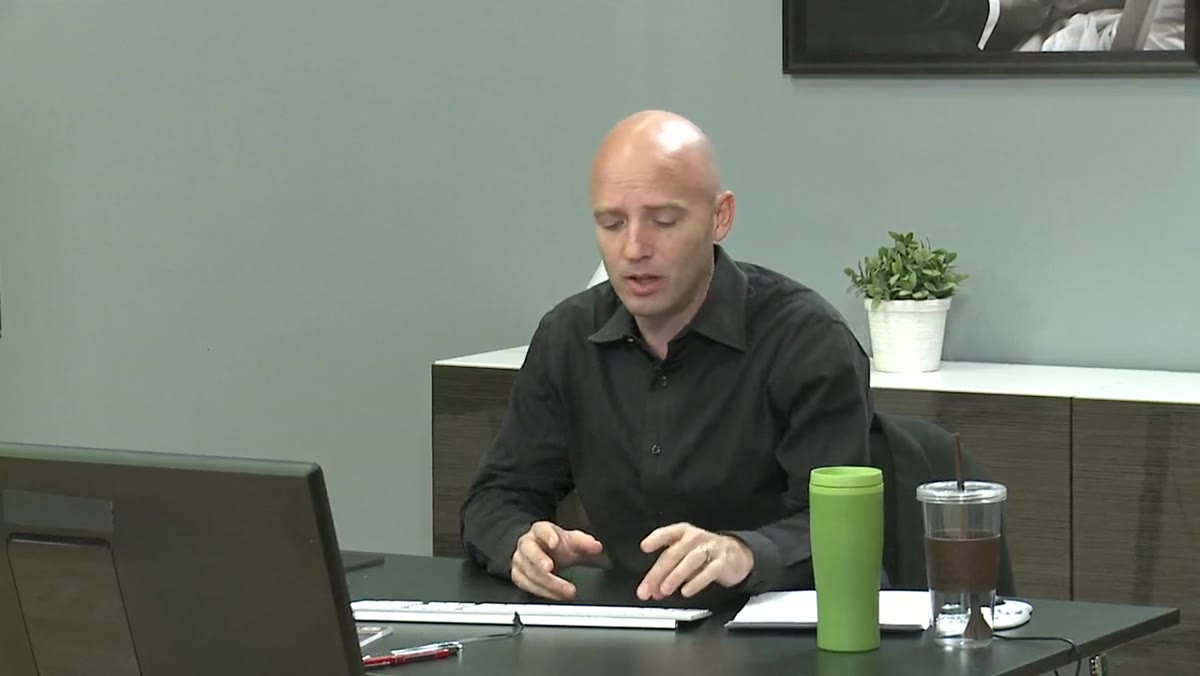 Platt beginning his discussion of what photography is actually about
Here is where Platt makes a distinction that is easy to miss if you are watching casually. He pushes back on the familiar claim that photography is about light. His point is that light is not the subject. People are the subject. Places are the subject. Concepts are the subject. Light is the instrument you use to reveal those things.
This reframe matters practically. When you treat light as an end in itself, you build setups that are technically impressive but emotionally flat. When you treat light as a tool in service of a person’s face, a product’s texture, or a scene’s mood, your setups become purposeful. Ask what the light needs to do for this specific subject, not what looks interesting in isolation.
A Note From My Own Studio Practice
Platt’s efficiency framework is built around event and portrait photography, where you have limited control and limited time. In a commercial studio context, I have more control but the stakes for consistency are just as high. What I have added to his model is a calibration step at the start of every session.
Before the subject walks in, I fire a test frame of a color checker card under the exact lighting setup I plan to use. That card gets processed first in Lightroom, the white balance is locked, and that correction syncs across the entire batch. It is a three-minute habit that eliminates the most common source of post-production time loss I used to face. If you are shooting tethered, this is even easier to build into your session startup routine. Platt does not cover this in the tutorial because his world is different from mine, but his underlying logic points directly to it: fix the problem before it becomes one.
The single most important idea in this tutorial is that efficiency is not a post-production strategy. It is a shooting strategy that happens to make post-production easier. Every minute you invest in getting the frame right on set returns several minutes on the back end.
Watch the full tutorial on YouTube and pay particular attention to how Platt frames the relationship between shooting and editing. That mental model alone is worth the hour.
Comments
Leave a Comment