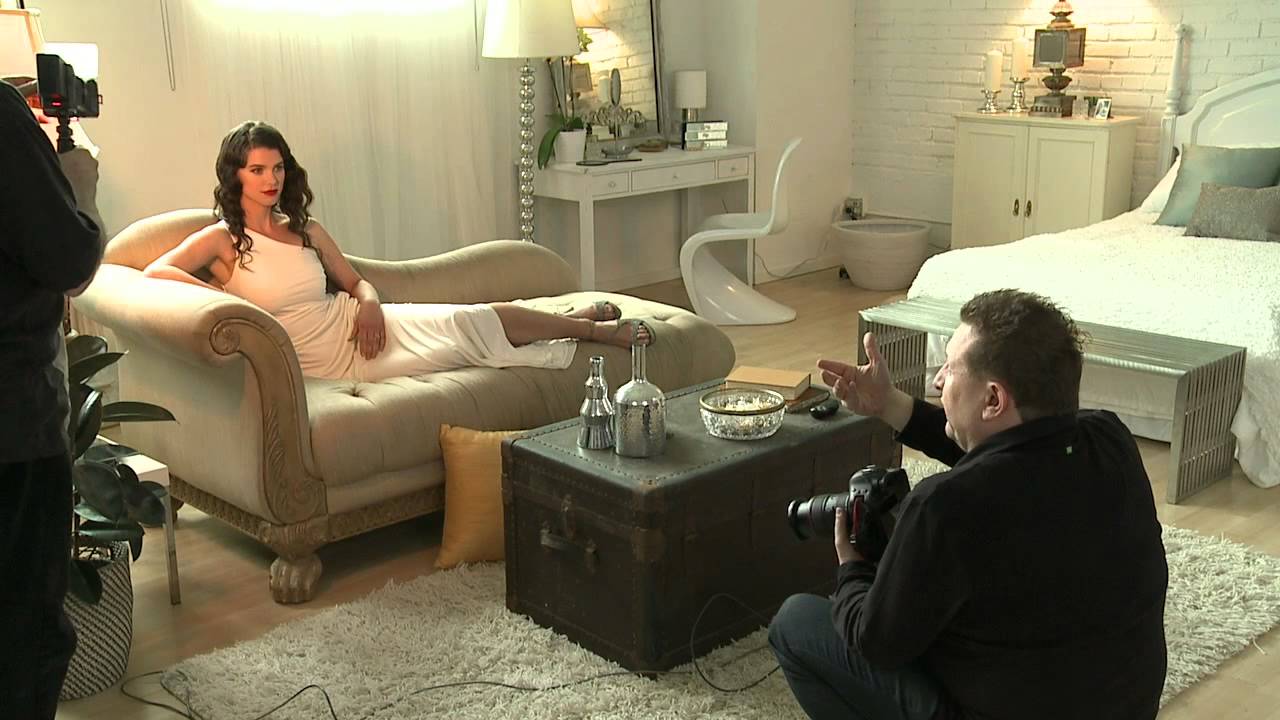
There’s a mistake I made early in my career that I still think about. I was shooting an editorial and the window light was pouring in cool and blue while my tungsten modeling lights were throwing warm amber everywhere. I corrected everything to a neutral skin tone in post, and the images looked flat and lifeless. I had unknowingly solved the wrong problem. What I should have done was let those two color temperatures fight each other, and lean into the contrast instead of erasing it.
That’s exactly what this CreativeLive tutorial on bridal portrait lighting demonstrates, and it’s the kind of technique that sounds simple on paper but requires real intentionality to execute. Watch the full tutorial on YouTube before or after reading this breakdown. The core idea is this: tungsten light runs warm and red, natural or ambient light runs cool and blue. If you expose and correct for the warm key light on your subject’s skin, the background shifts toward blue. That shift is not a flaw. It’s the look. It’s what gives this style of portrait that cinematic, almost European quality that feels both romantic and three-dimensional.
Here’s how the technique actually works, step by step.
Step 1: Understand the Color Temperature Conflict You’re Creating
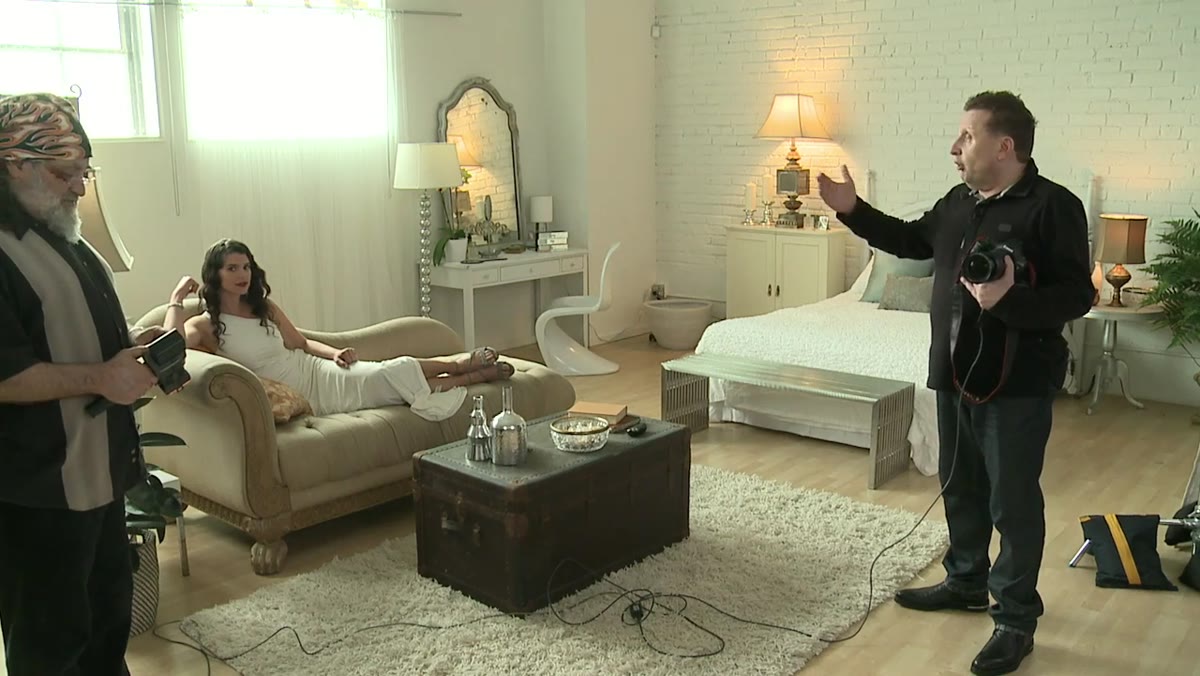 Photographer explaining warm tungsten versus cool natural light
Before you touch a light or pick up a camera, you need to accept the premise. Tungsten or warm artificial light sits around 2700-3200K. Daylight and most ambient light sits around 5500-6500K. When both exist in the same frame, your white balance can only be calibrated to one of them. The technique here is to calibrate to the warmer light on your subject. That choice is deliberate. The background, lit by cooler ambient sources, will shift blue. That’s not a color correction problem to fix later. That’s the final image you’re building toward.
Photographer explaining warm tungsten versus cool natural light
Before you touch a light or pick up a camera, you need to accept the premise. Tungsten or warm artificial light sits around 2700-3200K. Daylight and most ambient light sits around 5500-6500K. When both exist in the same frame, your white balance can only be calibrated to one of them. The technique here is to calibrate to the warmer light on your subject. That choice is deliberate. The background, lit by cooler ambient sources, will shift blue. That’s not a color correction problem to fix later. That’s the final image you’re building toward.
Step 2: Set Your Exposure for the Key Light, Not the Ambient
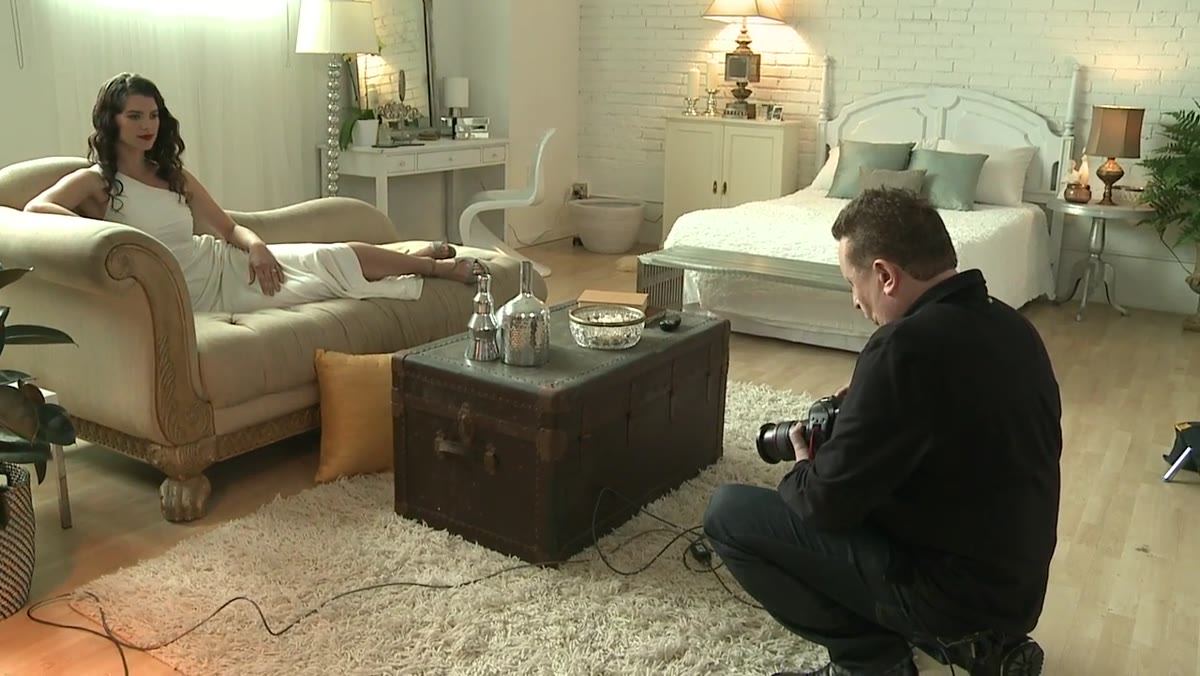 Photographer adjusting camera settings before shooting
The photographer sets ISO slightly higher to give himself some flexibility, then locks in a shutter speed around 1/2000. That faster shutter helps control how much ambient light bleeds into the scene. The higher your shutter speed, the more you suppress the background exposure relative to your key light. This lets you control the blue-to-warm ratio without touching the lights themselves. It’s a camera-side tool, and it’s easy to overlook when you’re focused on modifier placement.
Photographer adjusting camera settings before shooting
The photographer sets ISO slightly higher to give himself some flexibility, then locks in a shutter speed around 1/2000. That faster shutter helps control how much ambient light bleeds into the scene. The higher your shutter speed, the more you suppress the background exposure relative to your key light. This lets you control the blue-to-warm ratio without touching the lights themselves. It’s a camera-side tool, and it’s easy to overlook when you’re focused on modifier placement.
I use a similar approach in studio work when I’m mixing a warmer key with an LED background light. I write the shutter speed and ISO on a strip of masking tape and stick it to the light stand whenever I find a ratio I like. It sounds overly methodical, but when a client calls six months later wanting a follow-up shoot, I can rebuild the look in ten minutes instead of spending an hour guessing.
Step 3: Position the Key Light at an Angle to Sculpt the Face
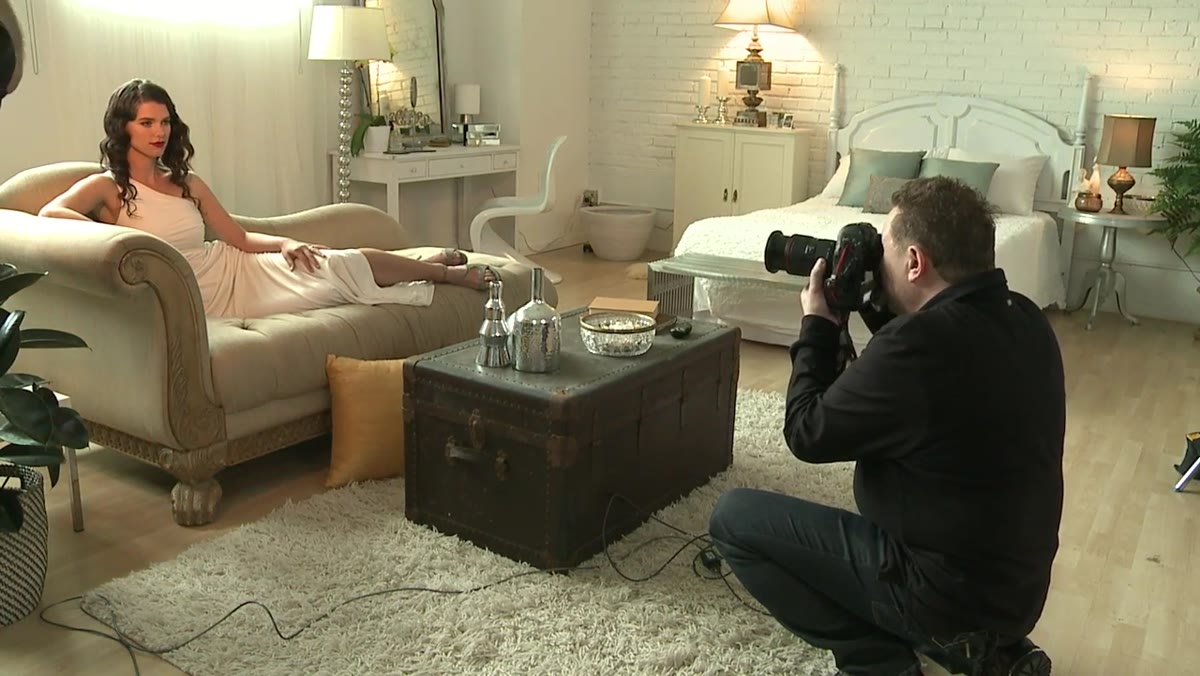 Key light being positioned at an angle to the subject
The warm light source gets placed at an angle rather than straight on. This is not decorative. Light hitting from the side creates shape across the cheekbones, jaw, and neck in a way that flat frontal light simply cannot. For bridal work especially, where the dress and veil are already competing for attention, the face needs dimension to hold its own in the frame. The photographer adjusts the light closer and more toward the subject as the session develops, watching how the warmth falls across the skin and adjusting incrementally rather than making big swings.
Key light being positioned at an angle to the subject
The warm light source gets placed at an angle rather than straight on. This is not decorative. Light hitting from the side creates shape across the cheekbones, jaw, and neck in a way that flat frontal light simply cannot. For bridal work especially, where the dress and veil are already competing for attention, the face needs dimension to hold its own in the frame. The photographer adjusts the light closer and more toward the subject as the session develops, watching how the warmth falls across the skin and adjusting incrementally rather than making big swings.
When I’m doing this kind of angled placement, I look for the shadow line on the nose. If the shadow falls cleanly and doesn’t creep past the corner of the mouth, I’m usually in a good position. That’s my quick gut-check before I shoot the first frame.
Step 4: Direct the Pose to Work With the Light, Not Against It
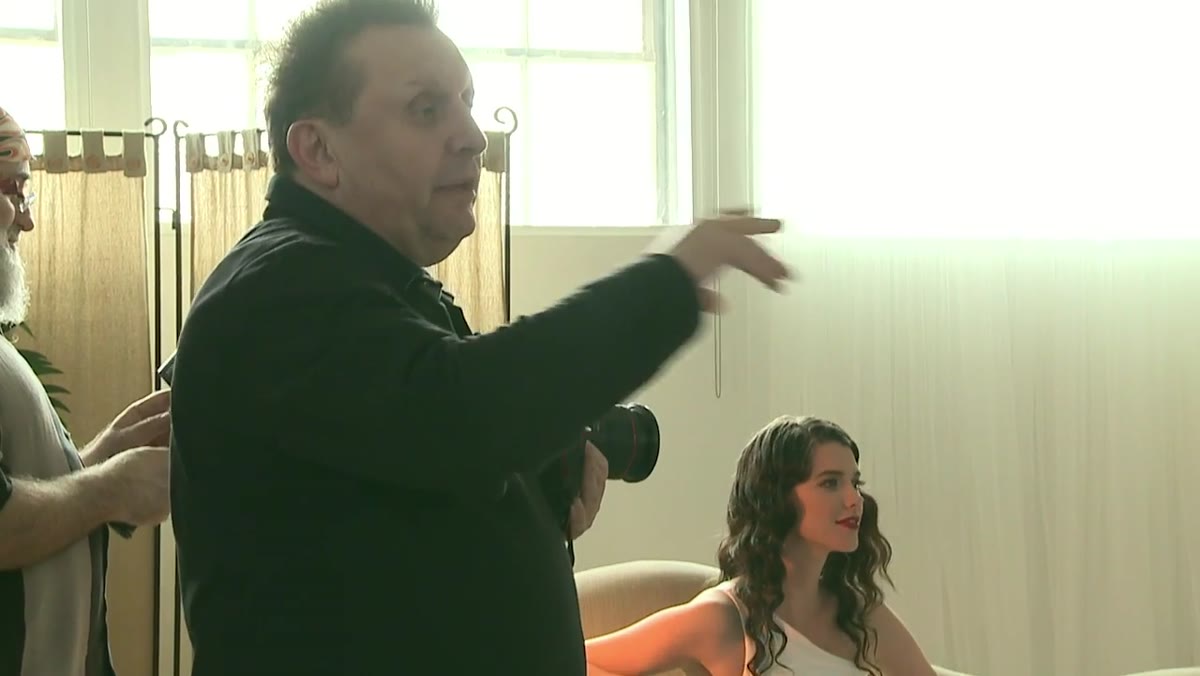
 Photographer directing subject’s hand and body position
Good posing in this context means constantly adjusting the subject relative to the light source, not just asking for expressions and hoping things line up. The photographer makes small, specific asks: move the hand closer to the body, lean slightly forward, chin down. These are not arbitrary styling choices. They’re corrections that keep the light quality consistent and flattering. A hand floating away from the body catches light awkwardly and draws the eye away from the face. A chin too high flattens the under-eye area and kills the dimension the angled key light was building.
Photographer directing subject’s hand and body position
Good posing in this context means constantly adjusting the subject relative to the light source, not just asking for expressions and hoping things line up. The photographer makes small, specific asks: move the hand closer to the body, lean slightly forward, chin down. These are not arbitrary styling choices. They’re corrections that keep the light quality consistent and flattering. A hand floating away from the body catches light awkwardly and draws the eye away from the face. A chin too high flattens the under-eye area and kills the dimension the angled key light was building.
The “chin down” note comes up repeatedly throughout this session, and there’s a reason. Most people naturally lift their chin when they feel observed, especially in formal settings like bridal portraits. Lowering the chin brings the forehead into the light and adds shadow under the jaw, which creates length and structure.
Step 5: Watch the Background Shift and Let It Happen
 Subject lit warmly, background visibly shifting blue
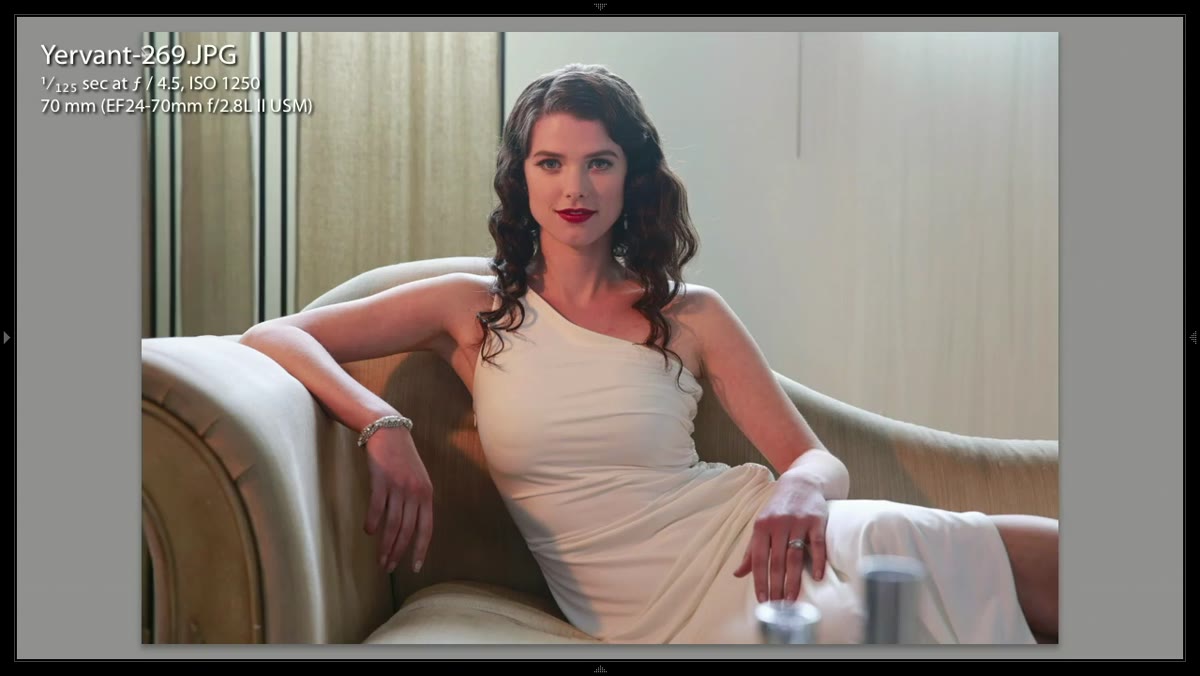
As the session progresses, the photographer points out on the back of the camera that the image looks quite red straight out of camera. That’s expected and correct. The key light is doing its job, and the white balance is calibrated to that warmth. What you’ll also see, even before any editing, is the background going noticeably cooler and bluer. The photographer frames this not as a problem to apologize for but as the visual payoff for the whole approach. That contrast between warm subject and cool background is what creates the sense of depth and atmosphere.
Subject lit warmly, background visibly shifting blue
As the session progresses, the photographer points out on the back of the camera that the image looks quite red straight out of camera. That’s expected and correct. The key light is doing its job, and the white balance is calibrated to that warmth. What you’ll also see, even before any editing, is the background going noticeably cooler and bluer. The photographer frames this not as a problem to apologize for but as the visual payoff for the whole approach. That contrast between warm subject and cool background is what creates the sense of depth and atmosphere.
What I’d Add: White Balance Bracketing in Capture
In my own commercial work, I’ve started shooting a three-frame bracket at different white balance settings any time I’m using this kind of mixed-temperature approach. The exposures stay identical. Only the white balance shifts. It costs me nothing in time and it gives me options in post if the client’s preferences change or the art director wants a slightly different feel. Most of the time I end up using the warmest version. But having the others in the folder has saved me more than once.
I also keep a note in my lighting journal for every shoot that uses this technique, specifically logging how far the background shifted based on the key light distance. It’s not a precise science, but after a year of notes, I can predict the look pretty accurately before I fire a single frame. That kind of pattern recognition is worth building.
The single most important takeaway from this tutorial is that mixed color temperatures in a portrait are a tool, not a mistake. When you stop trying to neutralize them and start using them to create depth and mood, the images stop looking like documentation and start looking like cinema.
Watch the full tutorial on YouTube to see the lighting adjustments and posing direction play out in real time. Watching the light change on the subject’s face as the key moves closer is something you have to see to fully internalize.
Comments
Leave a Comment