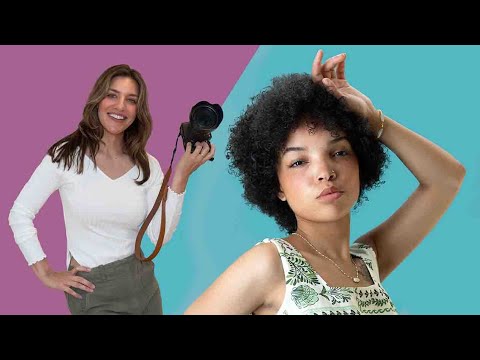
I shoot a lot of beauty and fashion work, and the lighting in my studio is dialed in to the millimeter. I’ve got every modifier labeled with masking tape, a lighting diagram sketched for every setup I’ve ever used, and a custom app on my phone to recall them. But none of that equipment matters if the person standing in front of my camera is stiff, uncomfortable, or quietly dreading the next direction I give them. Posing is the variable I controlled last, and it cost me more good frames than any gear decision ever did.
That’s why I keep coming back to Watch the full tutorial on YouTube from Tony and Chelsea Northrup. In this tutorial, Tony walks through six posing mistakes that photographers make, most of them invisible in the moment but painfully obvious in the final selects. The breakdown is practical and specific, and it maps directly onto problems I’ve watched myself and other working photographers repeat on set. Here’s how each mistake shows up and what to do instead.
Step 1: Stop Making Your Set a Tense Environment
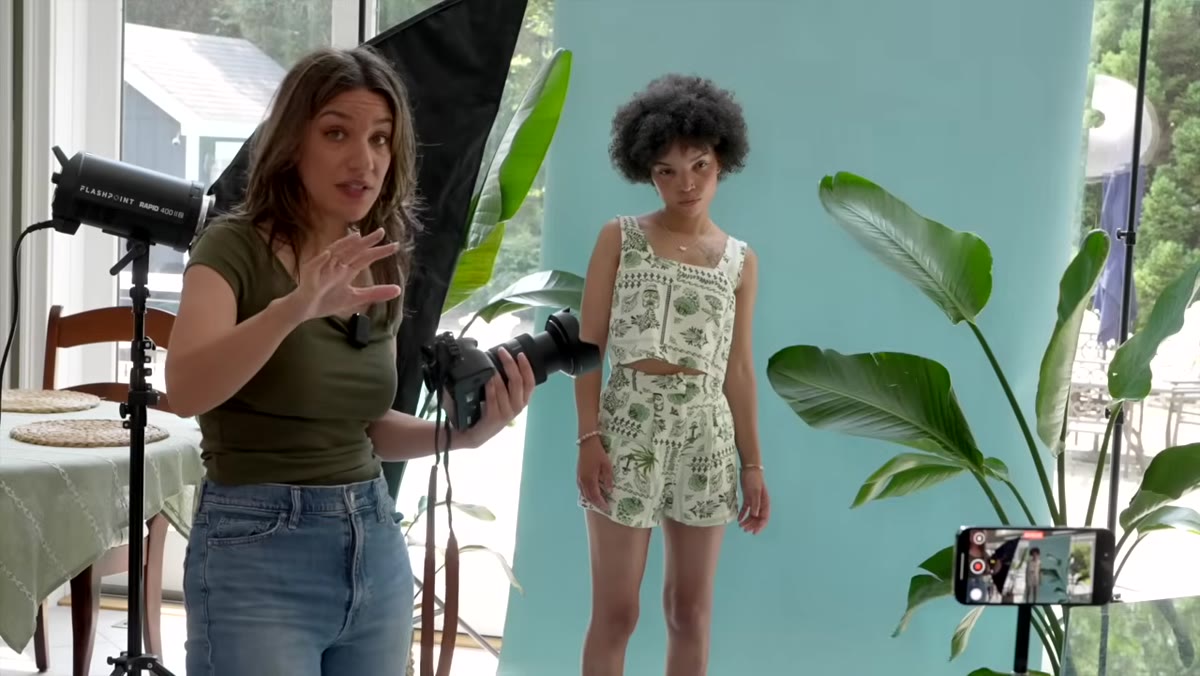 Photographer discussing mood and energy on set
The energy you bring into the room before the first frame is taken sets the ceiling for everything that follows. If you’re stressed about your light ratios or scrambling to adjust a stand, that anxiety radiates outward. Models, especially those without much experience, pick it up immediately and carry it into their posture and expression.
The fix is intentional: put on music before the session starts, greet your subject like you’re genuinely glad they’re there, and build in time for small talk before you lift the camera. Expect your strongest frames to come in the final third of the shoot, when the subject has had time to settle. Build your session arc around that reality rather than fighting it.
Step 2: Encourage, Don’t Correct
 Photographer demonstrating positive verbal feedback with model
This one is harder than it sounds, especially if you’re a technically precise shooter who notices every awkward elbow. The reflex to correct is strong. But telling a subject that something looks bad, even gently, creates self-consciousness that is almost impossible to walk back once it sets in.
The reframe is simple: treat every pose your subject offers as a contribution to the collaboration. If it doesn’t work, say nothing, keep shooting, and wait. When something lands, that’s your moment to respond with specific, genuine encouragement. “Yes, just like that,” or “can you hold that and lower your chin slightly” gives the subject a direction to move toward rather than a failure to recover from. Positive reinforcement shapes behavior without breaking the room’s energy.
Step 3: Replace Stillness With Movement-Based Direction
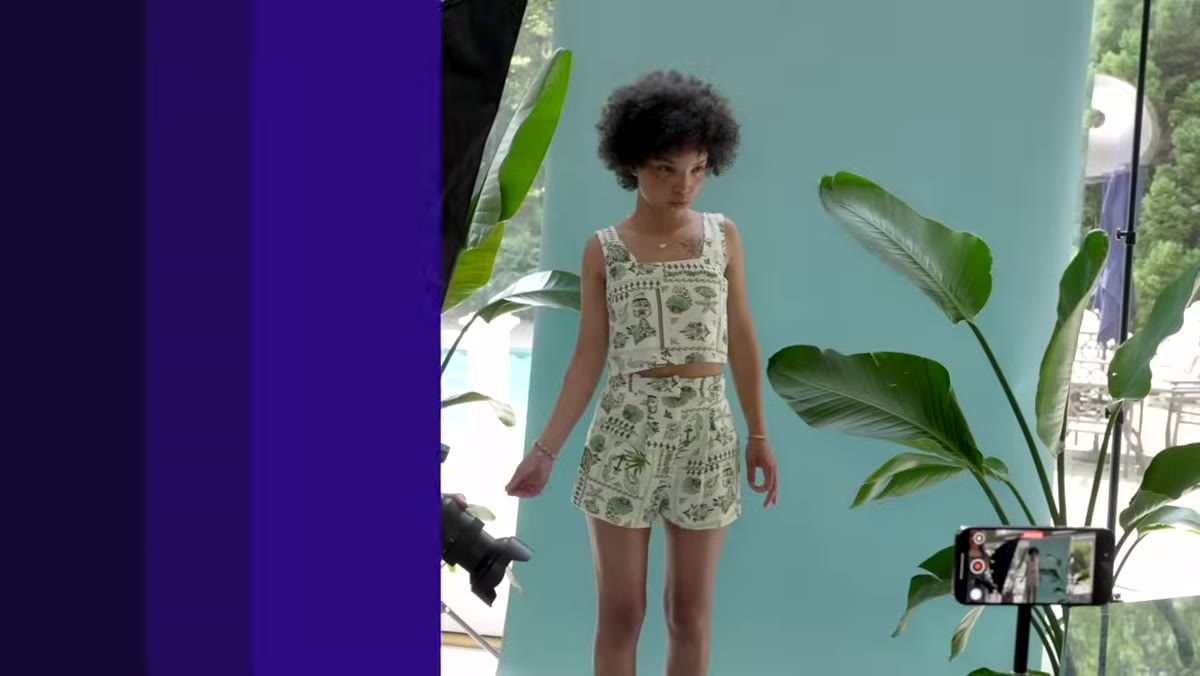 Model demonstrating stiff pose versus fluid movement directions
Stiff poses are almost always the result of static instructions. When you say “put your hand in your hair,” the subject hears an end position and locks into it. The result looks posed because it is, every muscle held in a held moment.
The correction is to give movement rather than position. Instead of a destination, give them an action: brush your fingers through your hair, slide your hand from your thigh up to your waist, turn away from me and then look back slowly. The camera captures a frame inside that motion, and the frame carries the energy of movement even when frozen. This works for non-models especially well. Walk toward me, take a step back, look over your shoulder at that point on the wall. The body stops overthinking and starts doing.
Step 4: Address Shoulder and Neck Tension Directly
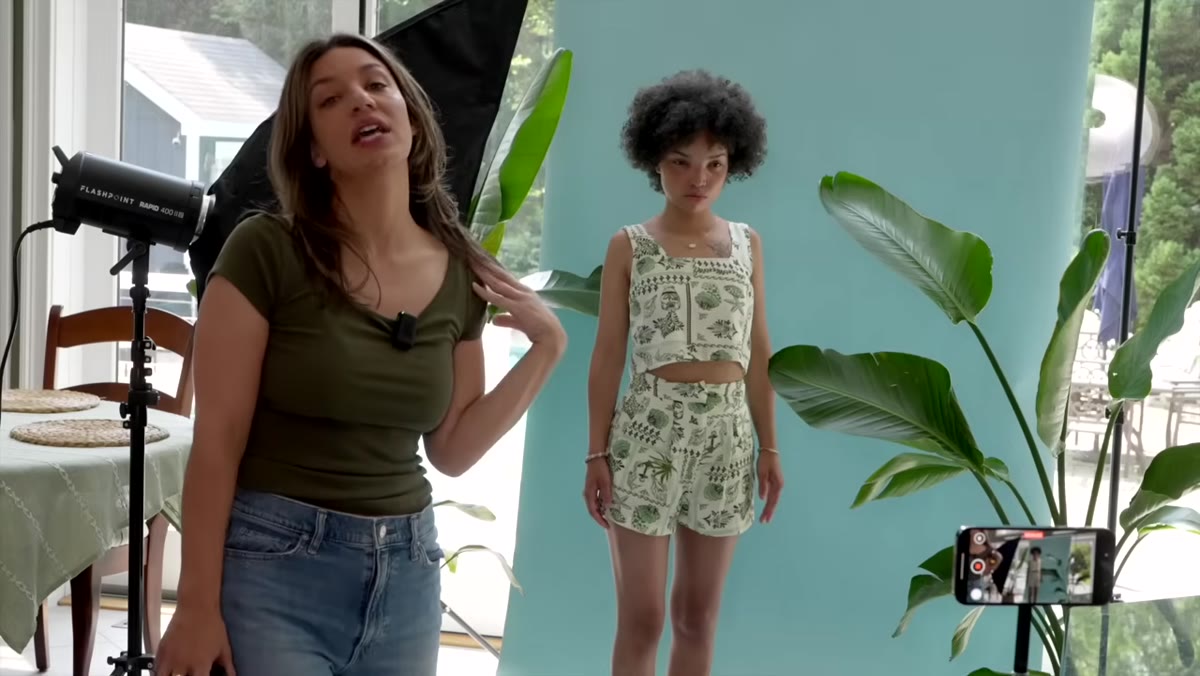 Model rolling and releasing shoulder tension on cue
Tension accumulates in the neck and shoulders first, and it reads in photographs as rigidity even when the face looks relaxed. Most subjects don’t realize they’re holding it. Asking them to roll their shoulders, drop them, or loosen through the neck is not an interruption to the shoot. It is part of directing.
Do this proactively rather than waiting to see it in the frame. After a pose sequence that required sustained stillness, give your subject a “reset.” Have them shake out their hands, roll their neck gently, or take a full breath and release it. These micro-resets carry over into the next frame, and you’ll see the difference immediately in the jaw and eye area even when the adjustment was made in the shoulders.
Step 5: Use Breath as a Posing Tool
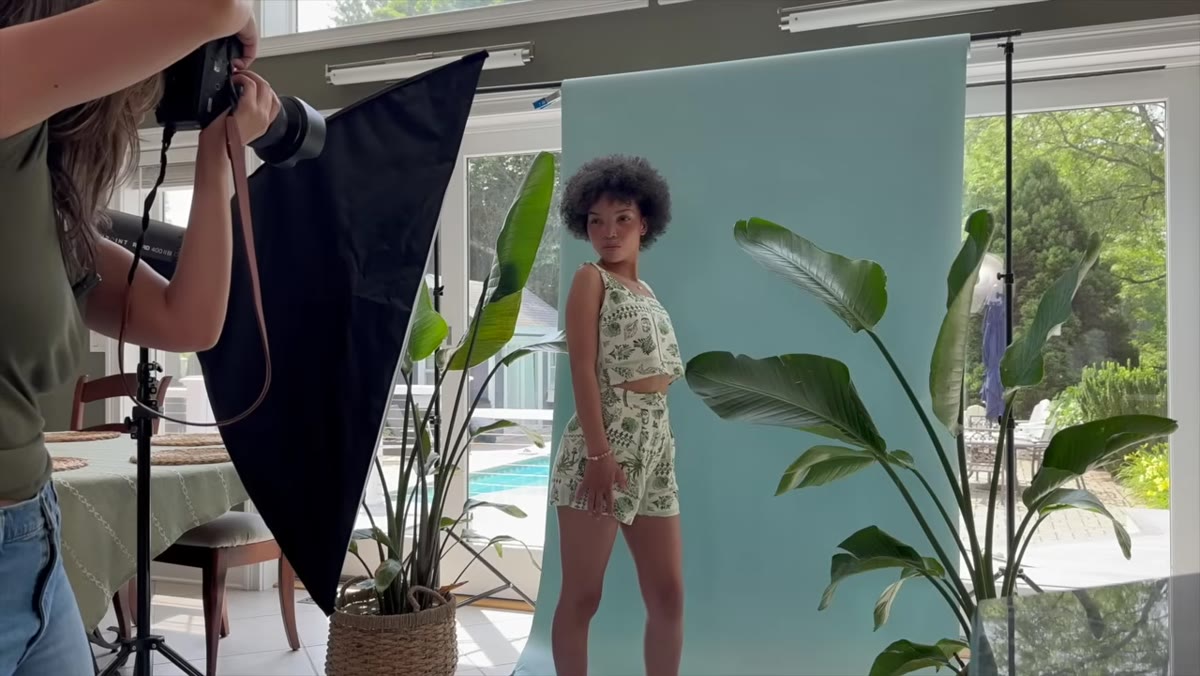 Photographer cueing model to inhale slowly for natural movement
Breathing is the simplest movement cue available, and it’s consistently underused. Asking a subject to breathe in slowly does two things simultaneously: it creates a subtle natural shift through the chest, neck, and shoulders, and it interrupts any held tension the subject has been carrying without them knowing.
The specific instruction matters. “Take a breath” is too vague. “Breathe in slowly, hold it for a beat, then let it out” gives the body a task with timing, and the frames captured through that arc have a different quality than posed stillness. Shoot through the breath cycle rather than waiting for it to finish. Some of the most alive frames live in the exhale.
Step 6: Give Non-Models a Physical Task Instead of a Pose
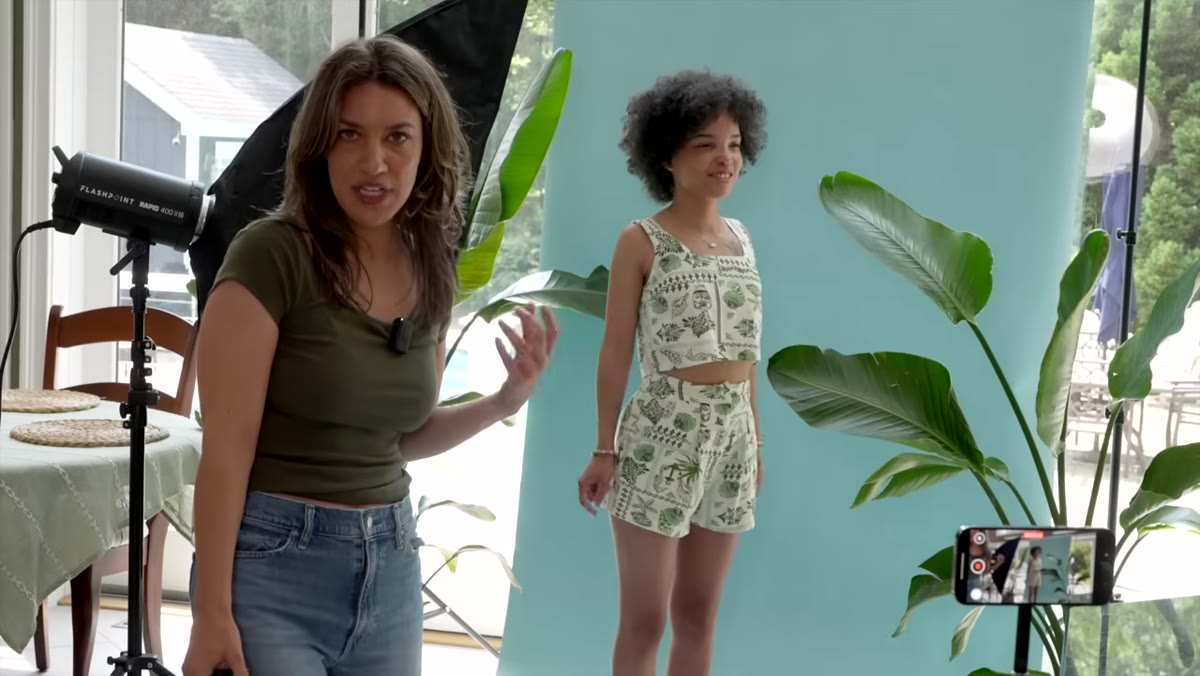 Subject given walking direction to loosen natural movement
Professional models have a vocabulary of poses they can reach for under pressure. Everyone else goes blank. If you’re shooting corporate portraits, senior photos, or family sessions, the moment you say “okay, now pose for me,” you have lost the subject. What they give you back is a frozen, effortful version of what they think a pose looks like.
Replace the open-ended instruction with a contained physical task. Walk toward me and stop when you get to that mark. Take two steps toward the window and glance back. Stand facing away and turn when you hear the shutter. These instructions remove the performance pressure because the subject is focused on the task, not on how they look doing it. The candid quality you get from task-based direction is almost impossible to achieve any other way.
What I’d Add From My Own Experience
The tutorial covers the interpersonal and physical mechanics well. What I’d layer on top is the role of the pre-shoot consultation. Before we even walk into the studio, I send clients a short questionnaire and spend ten minutes on the phone going over what to expect. That conversation handles about half the first-session anxiety before they ever sit under a light.
I also keep a small reference sheet of movement prompts taped inside my reflector case, poses that have worked well with hesitant subjects. It’s not a checklist I work through mechanically. It’s more like a menu I can reach for when momentum stalls. The best pose isn’t always in the photographer’s head. Sometimes it’s the one you pulled out of a tool you built after the last time the session went flat.
The single most important takeaway here is that posing direction is communication design, and negative feedback destroys the channel. Build the environment, build the subject’s confidence, and then use movement rather than position to get the frames you’re looking for. The technical side of your studio will hold. The room’s energy is what you have to manage in real time.
Watch the full tutorial on YouTube to see Tony demonstrate these corrections with a working model in a live session. The difference between the stiff and the natural frames is visible side by side, and that visual comparison alone is worth the watch.
Comments
Leave a Comment