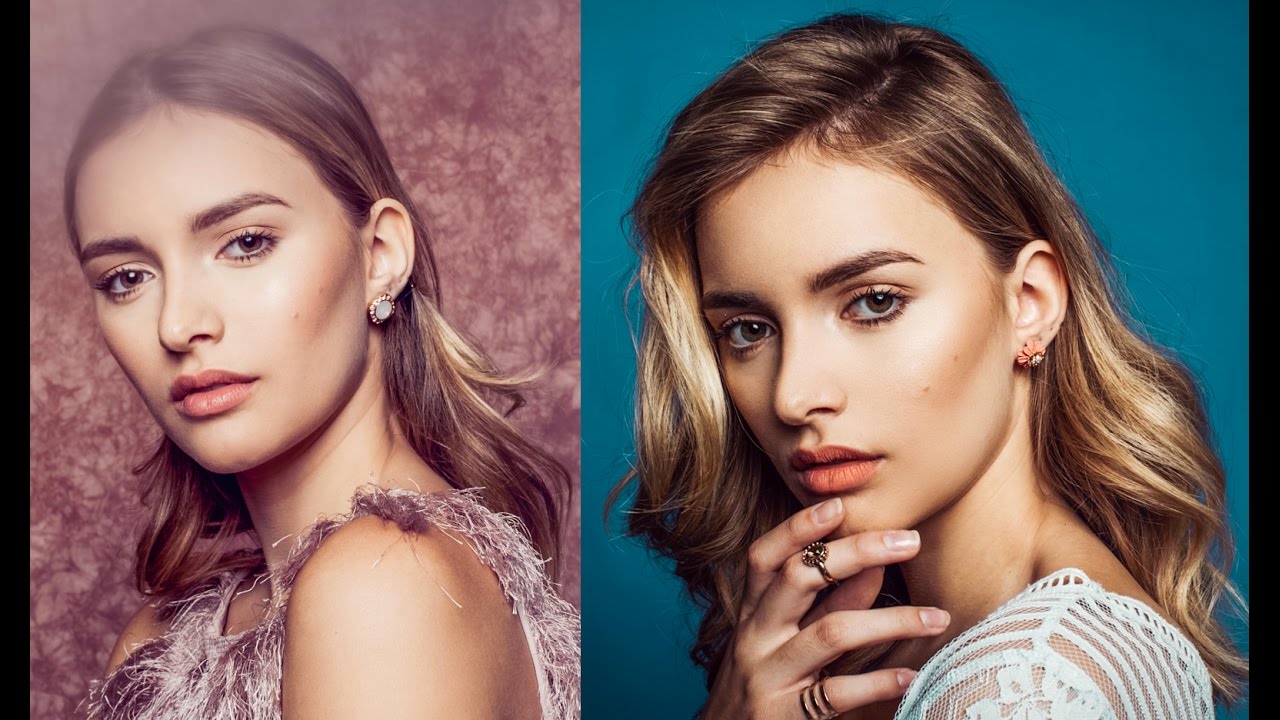
Studio work has a way of exposing every gap in your technique. On location, the environment does half the work for you. A concrete wall, a patch of shade, a passing cloud. In the studio, it’s just you, your lights, and whatever you’ve learned. I’ve shot in controlled environments for over fifteen years and I still set up my softbox the night before a client job, dial it in, and sketch the setup in my notebook before I go to bed. So when I see another photographer working through the same fundamentals on camera, I pay attention.
In this Jessica Kobeissi tutorial, she takes on an in-studio portrait session using a single softbox and a plain background. It’s not a complex setup. That’s exactly what makes it worth studying. Watch the full tutorial on YouTube and follow along with the breakdown below. The decisions she makes, especially around gear and background selection, are the kind of low-drama choices that separate organized shooters from chaotic ones.
What I want to do here is pull the actual technique out of the video and give you the reasoning behind each call. Because a tutorial without the “why” is just a recipe with no measurements.
Step 1: Choose Your Background Color with Intention
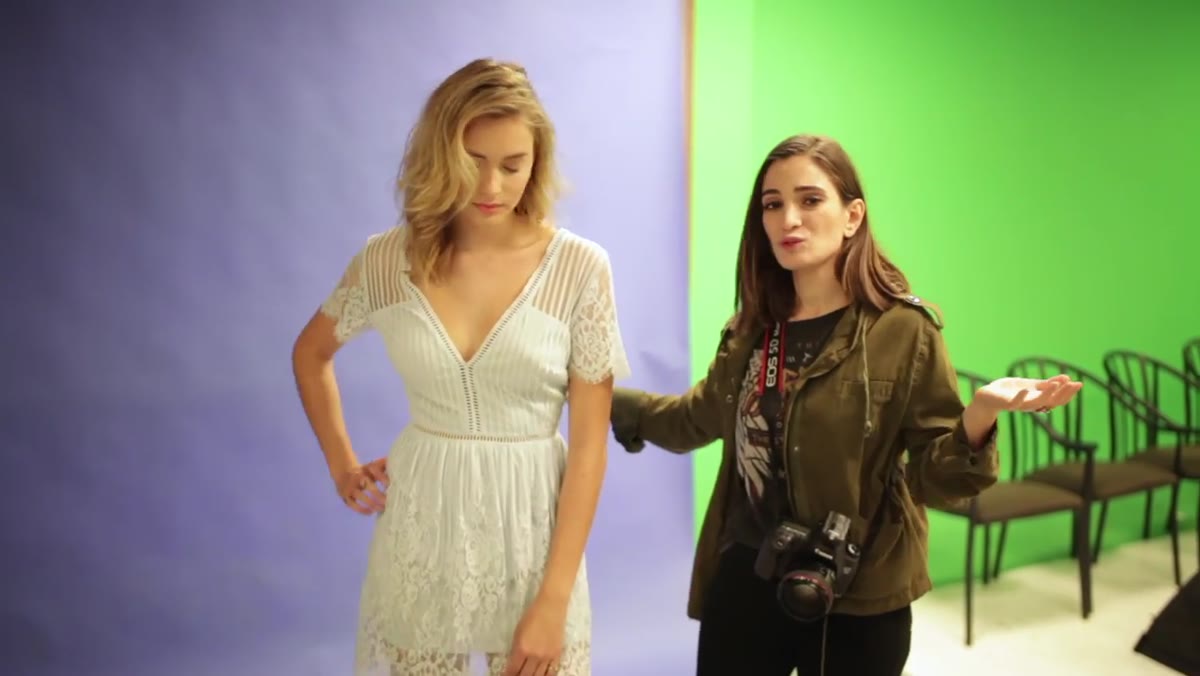 Jessica standing in front of a plain blue background
Jessica chose a blue background for this session after considering black and deciding against it. That might seem like a minor aesthetic call, but it’s a real lighting decision. Dark backgrounds absorb light and can create a heavy, compressed look that’s difficult to control, especially if your subject has dark hair or dark clothing. You lose edge definition fast. A mid-tone background like blue gives you something to work with. It reflects a small amount of light back toward your subject, and it separates easily in post if you need to swap it later.
Jessica standing in front of a plain blue background
Jessica chose a blue background for this session after considering black and deciding against it. That might seem like a minor aesthetic call, but it’s a real lighting decision. Dark backgrounds absorb light and can create a heavy, compressed look that’s difficult to control, especially if your subject has dark hair or dark clothing. You lose edge definition fast. A mid-tone background like blue gives you something to work with. It reflects a small amount of light back toward your subject, and it separates easily in post if you need to swap it later.
My own studio has four background options on rolling stands. I label each one with a strip of masking tape noting the fabric’s light reflectance value, because I’ve been burned before by assuming a “light gray” would behave like a true neutral. Blue is a forgiving choice for a single-light setup because it holds detail without competing with skin tones.
Step 2: Select Your Modifier Before You Touch Your Camera
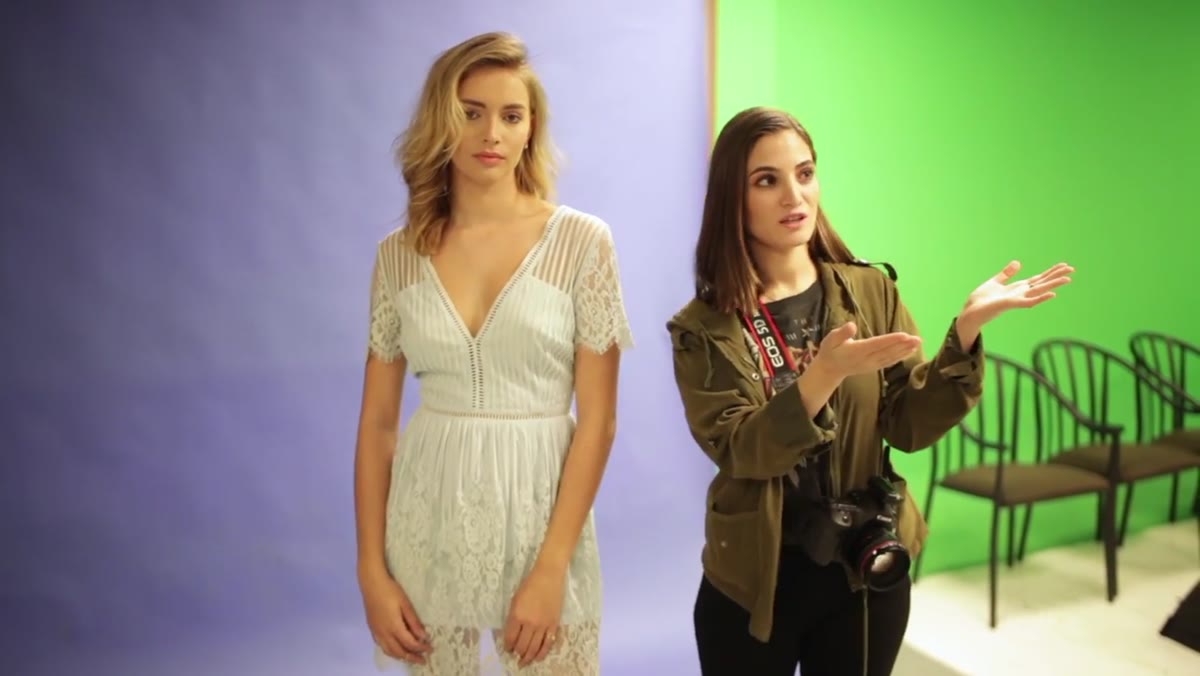 Softbox equipment visible in the studio space
The modifier Jessica uses here is the Ralux softbox. Before you even mount it, you need to decide what quality of light you want. Softboxes spread and diffuse light, wrapping it around your subject with a gradual shadow falloff. The larger the softbox relative to your subject, the softer the wrap. For a single-person portrait session, a medium rectangular softbox in the 24x36 inch range is a reliable starting point.
Softbox equipment visible in the studio space
The modifier Jessica uses here is the Ralux softbox. Before you even mount it, you need to decide what quality of light you want. Softboxes spread and diffuse light, wrapping it around your subject with a gradual shadow falloff. The larger the softbox relative to your subject, the softer the wrap. For a single-person portrait session, a medium rectangular softbox in the 24x36 inch range is a reliable starting point.
When I test a new modifier, I put it on a stand at camera height and shoot a white foam core board from six feet away. Then I measure how the light rolls off at the edges. That tells me how the light will actually behave on a face before my subject is standing in front of it. Skipping that step is how you end up with flat, directionless light that looks like a passport photo.
Step 3: Set Your Camera for the Controlled Environment
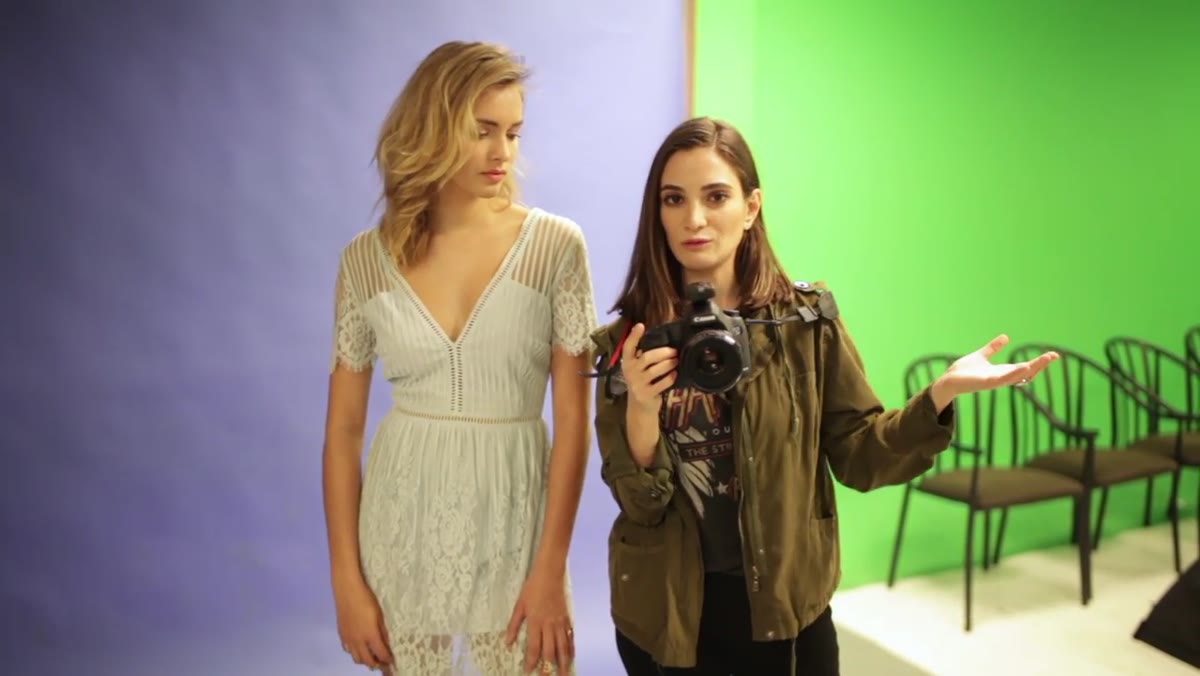 Camera body displayed, Canon 5D Mark III with 50mm lens
Jessica is shooting on a Canon 5D Mark III with the 50mm f/1.2. That combination tells me something important: she’s prioritizing subject isolation and low-light sensitivity, even though she has a studio light running. Shooting at f/1.2 in a studio is a deliberate creative choice, not a necessity. It gives you a shallow depth of field that separates the subject from the background even when both are close together.
Camera body displayed, Canon 5D Mark III with 50mm lens
Jessica is shooting on a Canon 5D Mark III with the 50mm f/1.2. That combination tells me something important: she’s prioritizing subject isolation and low-light sensitivity, even though she has a studio light running. Shooting at f/1.2 in a studio is a deliberate creative choice, not a necessity. It gives you a shallow depth of field that separates the subject from the background even when both are close together.
For studio work with a softbox as your primary source, start your exposure at ISO 100, shutter speed around 1/125, and then let your aperture respond to the power setting on your light. The 50mm focal length on full frame is close to how the human eye perceives space, which means proportions stay natural and faces don’t distort at closer working distances. The 85mm gets all the flattery press, but the 50mm keeps you nimble in a smaller studio space.
Step 4: Direct Posing with Specificity, Not Suggestion
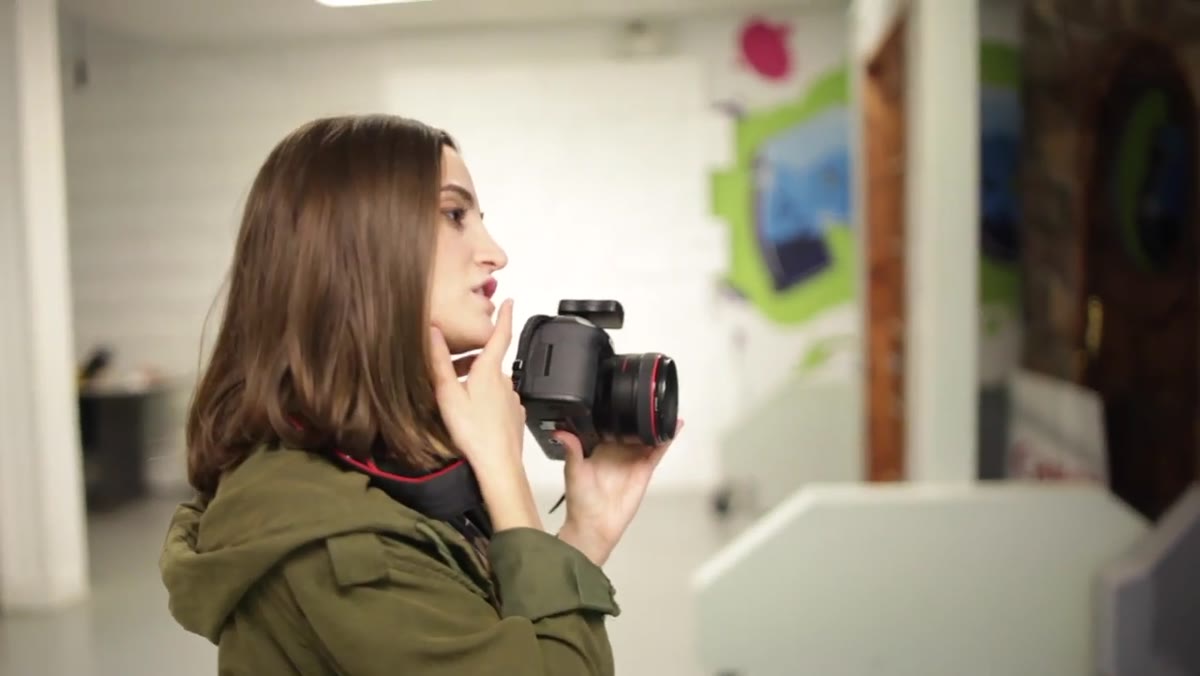 Jessica directing model’s hand position during the shoot
One of the clearest moments in the video is when Jessica guides her model’s hand placement with a very specific instruction. She’s not saying “look natural” or “do what feels comfortable.” She’s telling her exactly where to position her fingers and why. That level of specificity is what keeps a studio session moving and gives your subject something concrete to execute.
Jessica directing model’s hand position during the shoot
One of the clearest moments in the video is when Jessica guides her model’s hand placement with a very specific instruction. She’s not saying “look natural” or “do what feels comfortable.” She’s telling her exactly where to position her fingers and why. That level of specificity is what keeps a studio session moving and gives your subject something concrete to execute.
Posing direction works best when it’s physical and specific. “Bring your chin down slightly” is better than “relax your face.” “Drop your left shoulder half an inch” is better than “loosen up.” When your subject has a clear instruction to follow, they stop thinking about themselves and start thinking about the task. That’s when genuine expressions tend to appear. I keep a short list of my most reliable direction phrases on my phone, right next to my lighting diagram app. Both get used on every shoot.
Step 5: Work the Setup Incrementally, Not All at Once
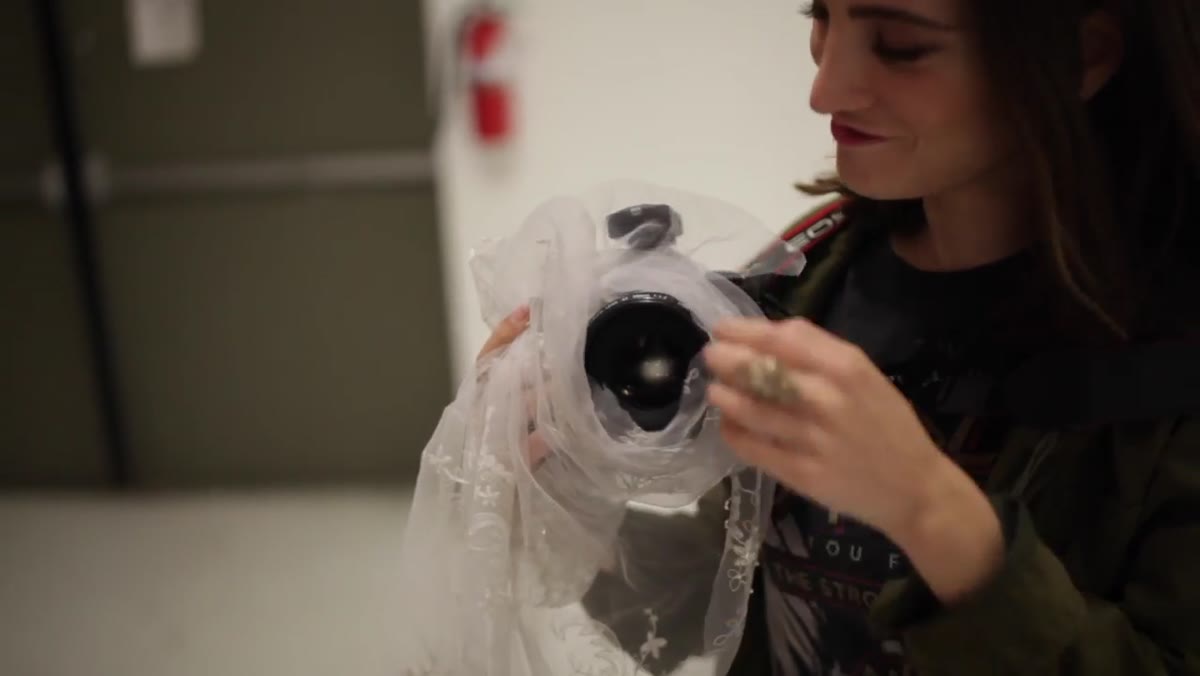 Jessica and model mid-session, shooting in progress
What the latter portion of the video demonstrates, even through the casual back-and-forth, is that a studio session is an iterative process. Jessica isn’t resetting her entire rig between poses. She’s making small adjustments, checking the back of the camera, and building on what’s working. The background stays the same. The modifier stays in place. She’s only changing the variable she needs to change, which is the model’s position and energy.
Jessica and model mid-session, shooting in progress
What the latter portion of the video demonstrates, even through the casual back-and-forth, is that a studio session is an iterative process. Jessica isn’t resetting her entire rig between poses. She’s making small adjustments, checking the back of the camera, and building on what’s working. The background stays the same. The modifier stays in place. She’s only changing the variable she needs to change, which is the model’s position and energy.
This is a discipline worth training yourself into. In early studio work, the temptation is to keep adjusting lights every few frames. What that usually means is you never get enough frames from any single configuration to evaluate it properly. Lock in your light, shoot twenty frames, then decide if the light needs to move. Incremental adjustment is how you actually learn what your modifiers are doing.
What I’d Add From My Own Studio Work
The one thing this tutorial doesn’t address, which I’d flag for anyone setting up a similar shot, is color temperature calibration between your softbox and any ambient room light. If there’s a window in your space or an overhead fluorescent, it’s fighting your softbox at a different Kelvin value. The result is mixed color casts across the frame that look worse on certain skin tones and are harder to correct in post than people expect. I once let a tungsten ceiling fixture leak into a beauty shoot and spent two hours fixing the color on sixty selects. Now I either kill all ambient light or tape a strip of warming gel over every rogue source. A quick custom white balance reading off a gray card after your lights are positioned costs you thirty seconds and saves you everything.
The most important thing this video confirms is that strong studio work doesn’t require a complicated setup. One light, one modifier, one background, and clear direction. Understand why each element is there and what it’s doing, and you have a foundation you can build anything on.
Watch the full tutorial on YouTube and pay particular attention to how Jessica handles the model throughout. The lighting is the frame. The direction is the picture.
Comments
Leave a Comment