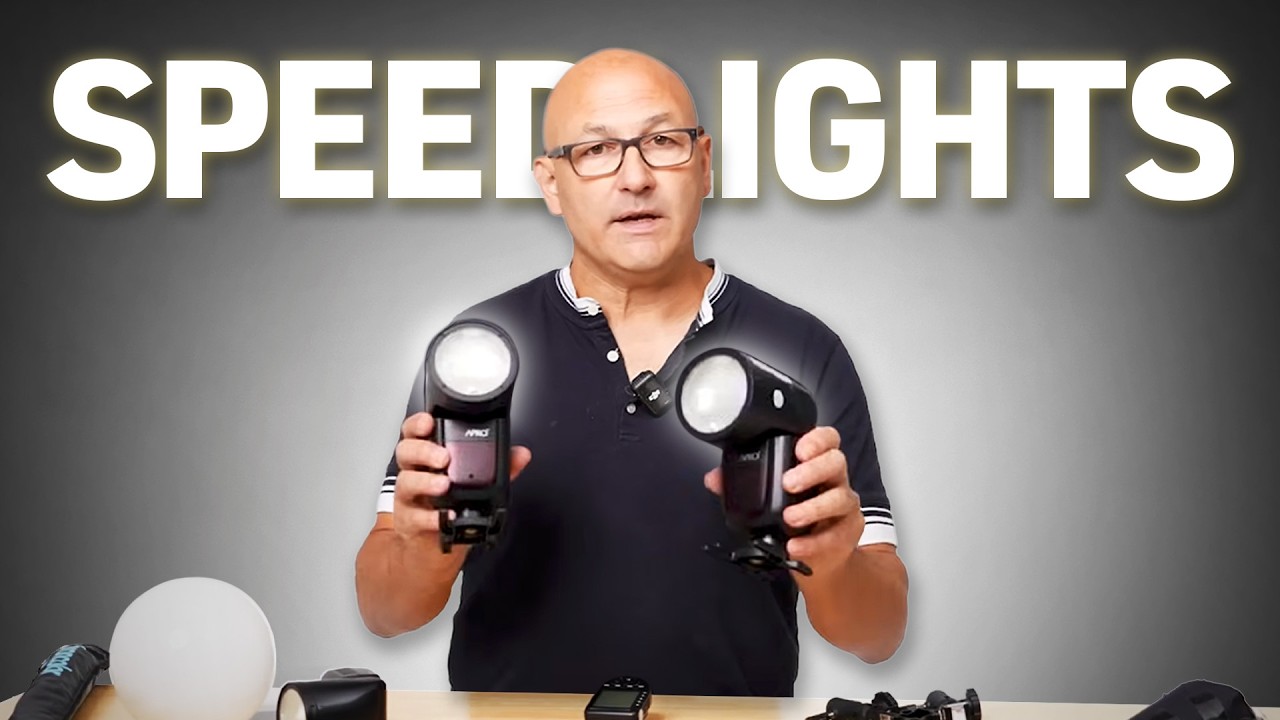
I label everything in my studio with masking tape. Every light, every cable, every modifier bracket. It looks obsessive until you’re mid-shoot with a client waiting and you need to swap a unit fast. That same instinct toward clarity and control is exactly what I found most valuable when I watched Karl Taylor’s speedlight tutorial from Visual Education. It solved a problem I see constantly: photographers who own speedlights but treat them like a camera-mounted party trick instead of the capable, flexible light sources they actually are.
Watch the full tutorial on YouTube
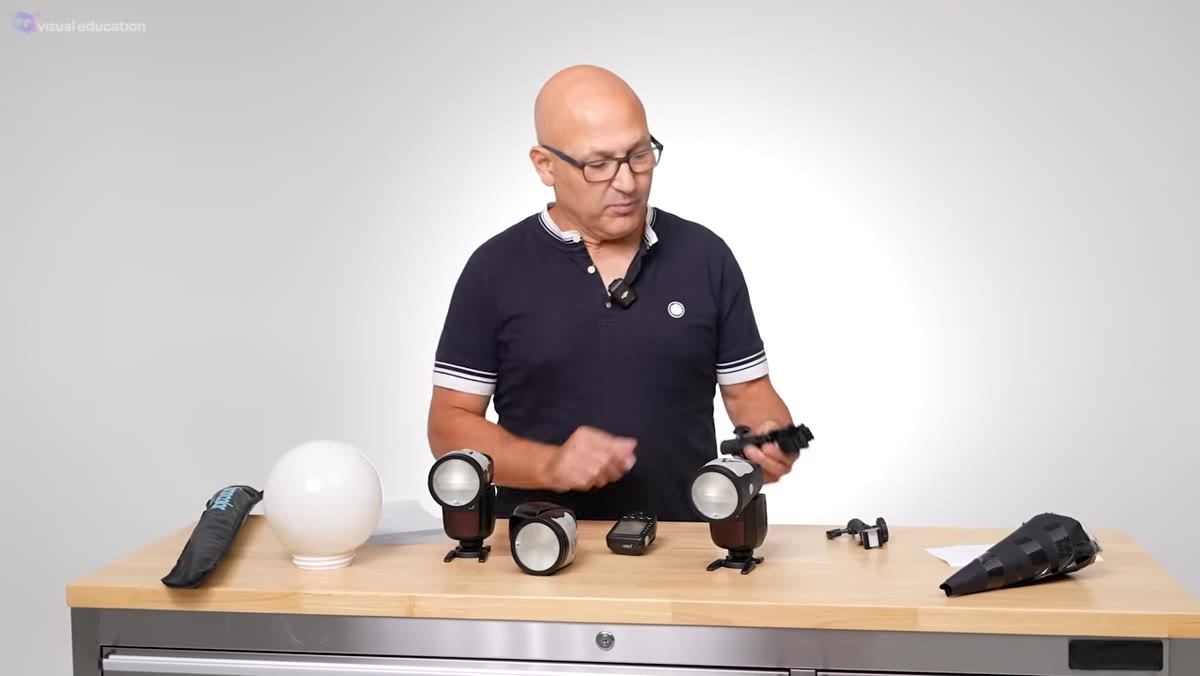
The moment you move a speedlight off camera and start running it manually, it stops being a crutch and starts being a tool. Karl’s tutorial is built around that shift. He works through three speedlights labeled A, B, and C, using a wireless trigger to control each one independently. The whole setup is modest by studio standards. No power packs, no heavy stands, no gear that needs a dedicated case. That’s the point. In this Visual Education tutorial, the argument isn’t that speedlights are a substitute for studio lights. It’s that they’re a genuinely different kind of tool with specific strengths, and understanding those strengths opens up work that heavier gear actually complicates.
Step 1: Understand What a Speedlight Actually Is Before You Touch the Trigger
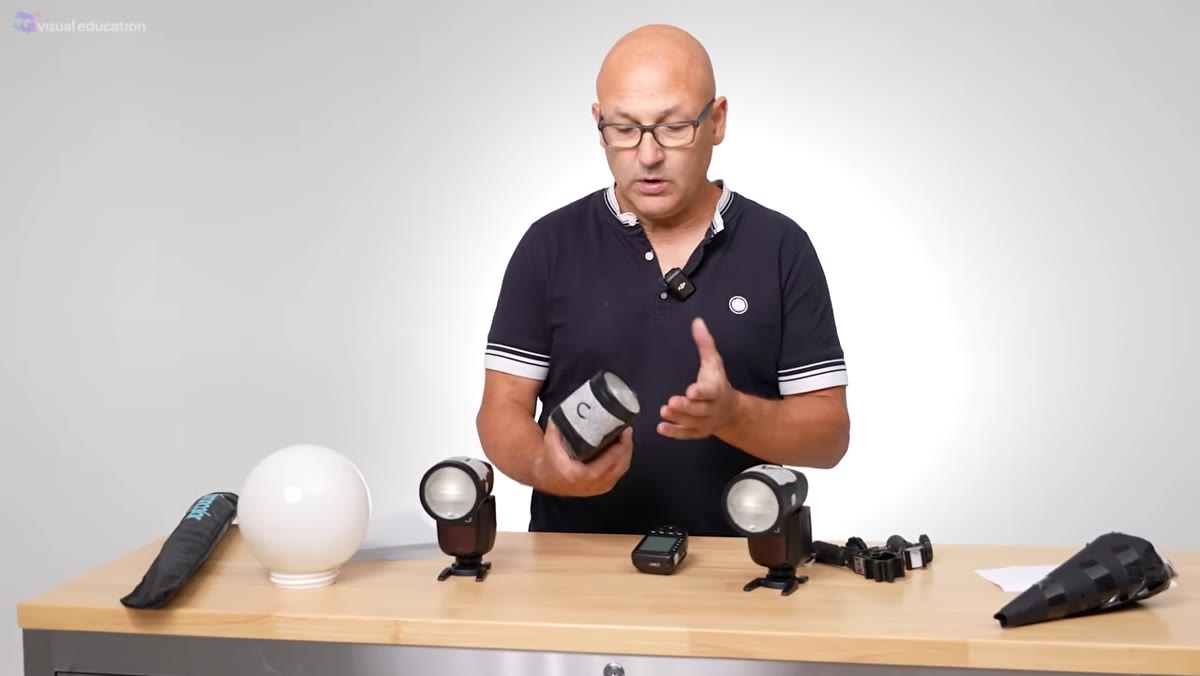 Presenter holding a single speedlight, explaining its basic anatomy
A speedlight is a battery-powered flash with a tilting, rotating head. That rotating head matters more than most people realize because it’s your first modifier before you add any physical modifier at all. You can aim it into a ceiling, bounce it off a wall, or point it directly. It can sit on a camera’s hot shoe, but Karl is explicit that the hot shoe position is the least useful one. The better setup is a flash stand or a standard light stand with a cold shoe mount, positioned wherever the light actually needs to come from, which is almost never directly above the lens.
Presenter holding a single speedlight, explaining its basic anatomy
A speedlight is a battery-powered flash with a tilting, rotating head. That rotating head matters more than most people realize because it’s your first modifier before you add any physical modifier at all. You can aim it into a ceiling, bounce it off a wall, or point it directly. It can sit on a camera’s hot shoe, but Karl is explicit that the hot shoe position is the least useful one. The better setup is a flash stand or a standard light stand with a cold shoe mount, positioned wherever the light actually needs to come from, which is almost never directly above the lens.
If you’re buying speedlights now, the brand compatibility question matters less than you think for off-camera work. The mount between flash and camera only matters for direct on-camera use. The minute you go off-camera with a wireless trigger, the flash brand and the camera brand become mostly independent decisions.
Step 2: Label and Assign Your Speedlights Before You Start Shooting
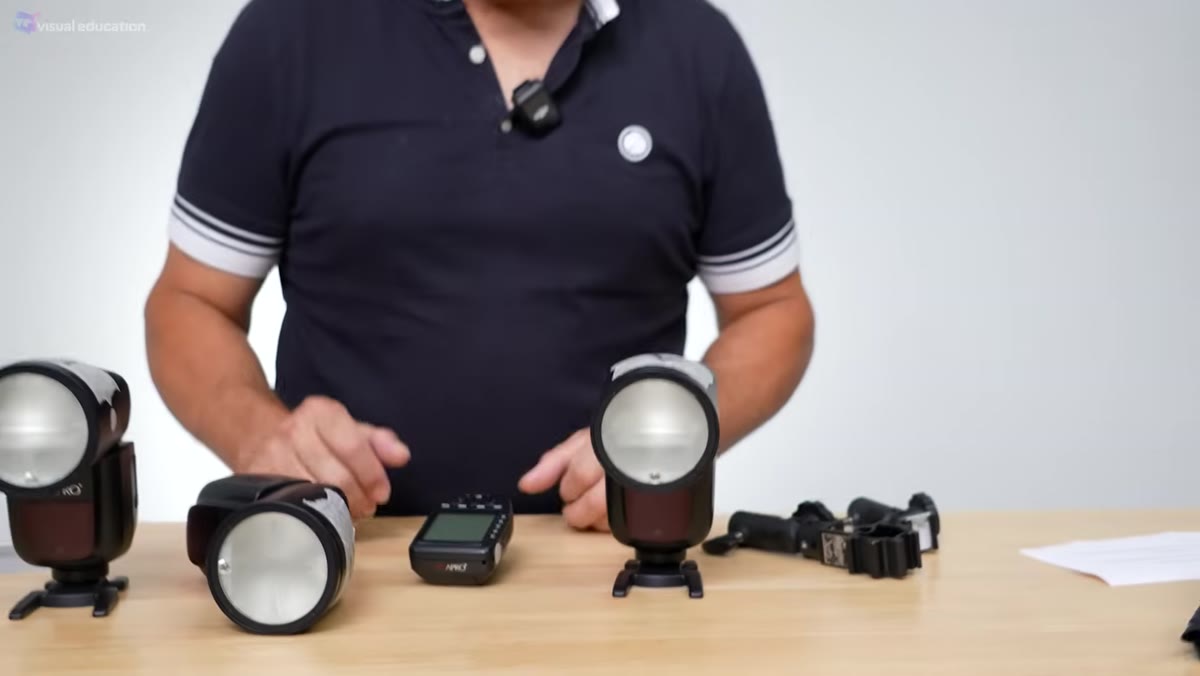
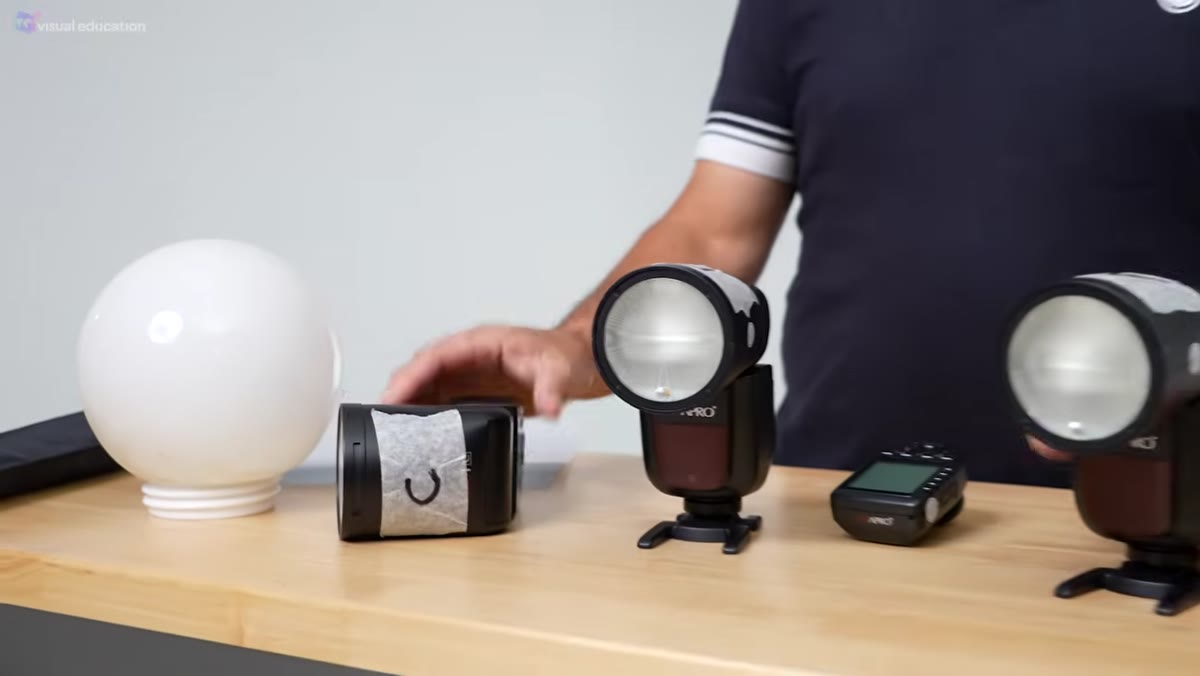 Three speedlights side by side each labeled A, B, and C
Karl labels his three units A, B, and C. This isn’t precious, it’s practical. When you’re controlling multiple speedlights from a single wireless trigger, each unit is assigned to a channel or group. If you can’t tell which physical flash corresponds to which group on your trigger, you’ll spend your shoot walking back and forth to check settings instead of looking at the light. I use masking tape and a marker. It takes thirty seconds and saves the kind of confusion that kills momentum on a shoot.
Three speedlights side by side each labeled A, B, and C
Karl labels his three units A, B, and C. This isn’t precious, it’s practical. When you’re controlling multiple speedlights from a single wireless trigger, each unit is assigned to a channel or group. If you can’t tell which physical flash corresponds to which group on your trigger, you’ll spend your shoot walking back and forth to check settings instead of looking at the light. I use masking tape and a marker. It takes thirty seconds and saves the kind of confusion that kills momentum on a shoot.
Set each flash to its assigned group before you put it on a stand. Confirm the trigger sees it. Then don’t touch the flash again. All your power adjustments happen from the trigger on the camera, which is the whole point of the system.
Step 3: Switch to Manual Power and Learn the Scale
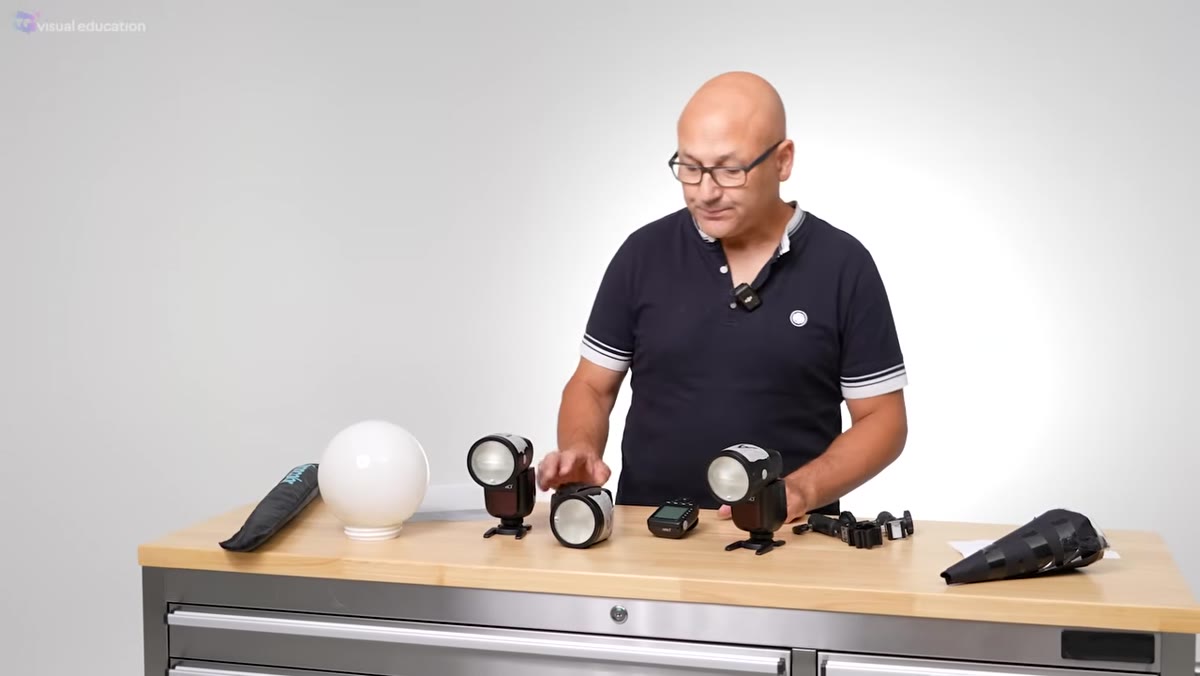 Close-up of speedlight display showing manual power settings
TTL mode, where the flash reads the scene and sets its own power, is useful in run-and-gun situations. For any controlled work, portrait, product, editorial, it introduces variability you don’t want. A slightly different background reflectance or a subject moving a foot closer will shift your exposure. Manual mode gives you a repeatable result every single time you press the shutter.
Close-up of speedlight display showing manual power settings
TTL mode, where the flash reads the scene and sets its own power, is useful in run-and-gun situations. For any controlled work, portrait, product, editorial, it introduces variability you don’t want. A slightly different background reflectance or a subject moving a foot closer will shift your exposure. Manual mode gives you a repeatable result every single time you press the shutter.
Speedlight power is expressed in fractions: full power is 1/1, half power is 1/2, quarter is 1/4, and so on down to 1/128 on most units. Each full stop down halves the output. Start at 1/4 power for most portrait setups at moderate distances, around six to eight feet, and adjust from there. If the image is too dark, you have two levers: increase flash power, or raise your ISO. Karl points out that ISO is a legitimate compensation tool with speedlights precisely because their power ceiling is lower than a monolight.
Step 4: Use the Flash Zoom to Shape the Beam Before Adding Any Modifier
 Presenter demonstrating the zoom head extending on a speedlight
This is the feature most photographers ignore and it changes everything. Most speedlights have a motorized zoom that physically moves the flash tube forward or backward inside the head, narrowing or widening the beam angle. A wide zoom setting spreads light broadly, similar to a bare wide reflector. A tight zoom setting narrows the beam into something close to a snoot effect.
Presenter demonstrating the zoom head extending on a speedlight
This is the feature most photographers ignore and it changes everything. Most speedlights have a motorized zoom that physically moves the flash tube forward or backward inside the head, narrowing or widening the beam angle. A wide zoom setting spreads light broadly, similar to a bare wide reflector. A tight zoom setting narrows the beam into something close to a snoot effect.
Before you attach any modifier, adjust the zoom to match what you want the light to do. Shooting a full-length portrait? Wider zoom, spread the light. Want to isolate just the face? Zoom it in before you even think about additional tools. This costs nothing and requires no extra gear. It’s the most underused control on a speedlight.
Step 5: Add Simple Modifiers to Change the Character of the Light
 Presenter attaching a DIY snoot and diffusion material to a speedlight
Karl demonstrates that you don’t need expensive modifiers to change light quality. Diffusion material softens the output. A homemade snoot made from black card narrows and directs it. A small umbrella gives you a broad, wrapping source. Colored gels shift the color temperature for creative effect or to balance with ambient light. Everyday objects work too.
Presenter attaching a DIY snoot and diffusion material to a speedlight
Karl demonstrates that you don’t need expensive modifiers to change light quality. Diffusion material softens the output. A homemade snoot made from black card narrows and directs it. A small umbrella gives you a broad, wrapping source. Colored gels shift the color temperature for creative effect or to balance with ambient light. Everyday objects work too.
The principle behind all of it is the same one that applies to any studio light: larger apparent source size relative to your subject creates softer light with more gradual shadow transitions. Smaller source creates harder, more defined shadows. A bare speedlight at six feet is a small, hard source. That same speedlight bounced into a thirty-inch umbrella is now a large, soft one. The flash didn’t change. The source size did.
What I’d Add From My Own Experience
One thing the tutorial doesn’t dwell on but that I’ve learned the hard way: color temperature consistency matters with speedlights in a way it sometimes doesn’t with matched studio strobes. Different brands, or even different units of the same model at different power levels, can shift slightly warmer or cooler. When I’m running two or three speedlights on the same subject, I shoot a test frame with a gray card under the full lighting setup and set a custom white balance before I shoot a single frame of the actual work. I ruined an editorial job early in my career by ignoring color temperature differences between my key and fill lights. The correction in post took longer than the entire shoot. Do the calibration on set and you never have to do it twice.
The single biggest thing Karl’s tutorial reinforces is that control comes from understanding what each setting does, not from using more gear. Three speedlights, a trigger, a few cheap modifiers, and a clear understanding of manual power is a legitimate studio setup. It’s not a compromise version of real lighting. It’s a different version of it, and for location work, fast setups, or photographers building their first kit, it’s often the better one.
Watch the full tutorial on YouTube and go through it with one flash in hand. Setting is worth more than watching.
Comments
Leave a Comment