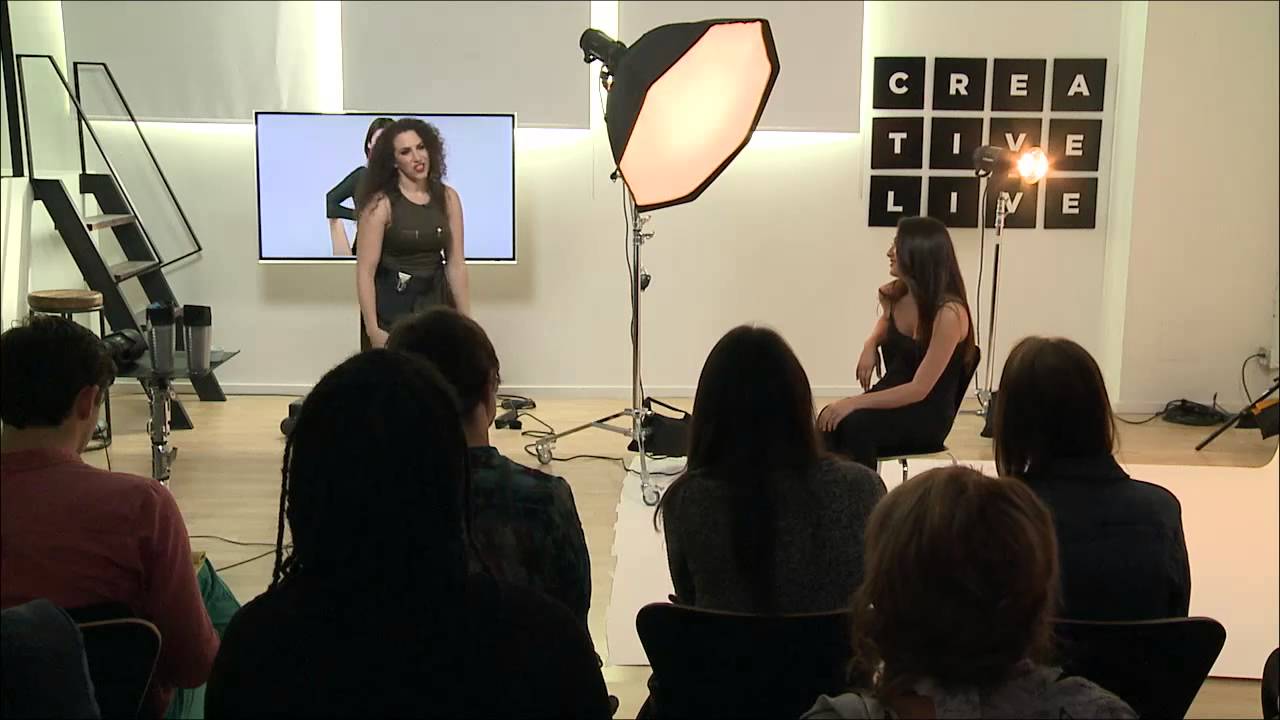
Seated portraits are where a lot of otherwise solid photographers quietly lose control of a shoot. The subject sits down, the body collapses into the furniture, and suddenly you’re fighting a composition instead of building one. I’ve burned time on commercial jobs trying to fix in post what should have been corrected in the first thirty seconds of posing. When I came across Watch the full tutorial on YouTube - Lindsay Adler’s seated posing breakdown from CreativeLive - I had one of those frustrating moments where someone articulates something you half-knew but never fully systematized.
What Adler does well here is connect every physical adjustment to a visual consequence. She’s not just saying “sit up straight.” She’s explaining why the furniture itself works against you, and she gives you a toolkit of corrections that hold up across chairs, benches, and couches. These principles sit in my lighting journal now alongside diagrams, because posing and lighting are inseparable. A beautiful triangle in the body is worthless if your key light is flattening it.
The steps below follow the order of the tutorial. You can work through them as a checklist on your next seated shoot.
Step 1: Understand Why Chairs Are Your Enemy
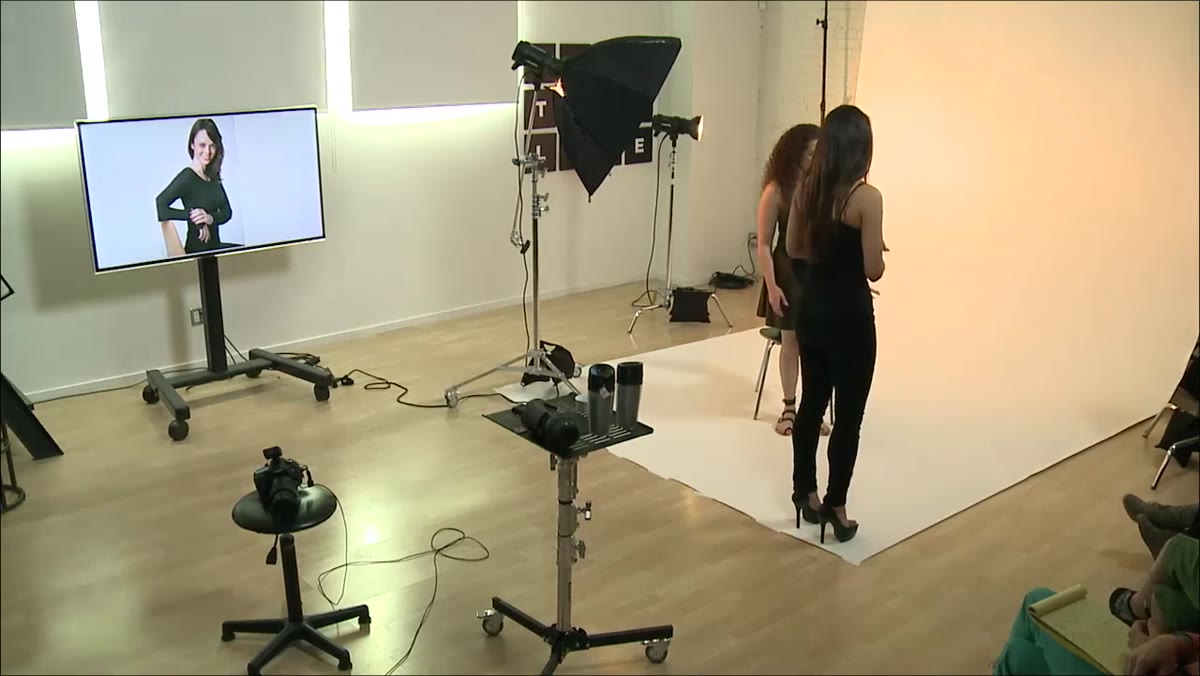 Photographer demonstrating how a subject naturally slouches in a chair
Most people, the moment they sit in a full chair, slide back into the seat. That single habit causes three problems at once: the knees come forward toward the camera (and whatever is closest to the lens reads largest), the stomach pushes out, and the chin drops as the neck shortens. The chair is essentially posing your subject for you, and it’s doing a bad job.
Adler’s preferred solution in her own studio is to replace chairs with posing stools. A stool gives you the seated look without a backrest to collapse against. If you own a studio and you’re still using full chairs as your default seated prop, consider swapping at least one for a simple adjustable stool. The behavioral difference in your subjects will be immediate.
Step 2: Use the Edge of the Chair to Force a Natural Lean
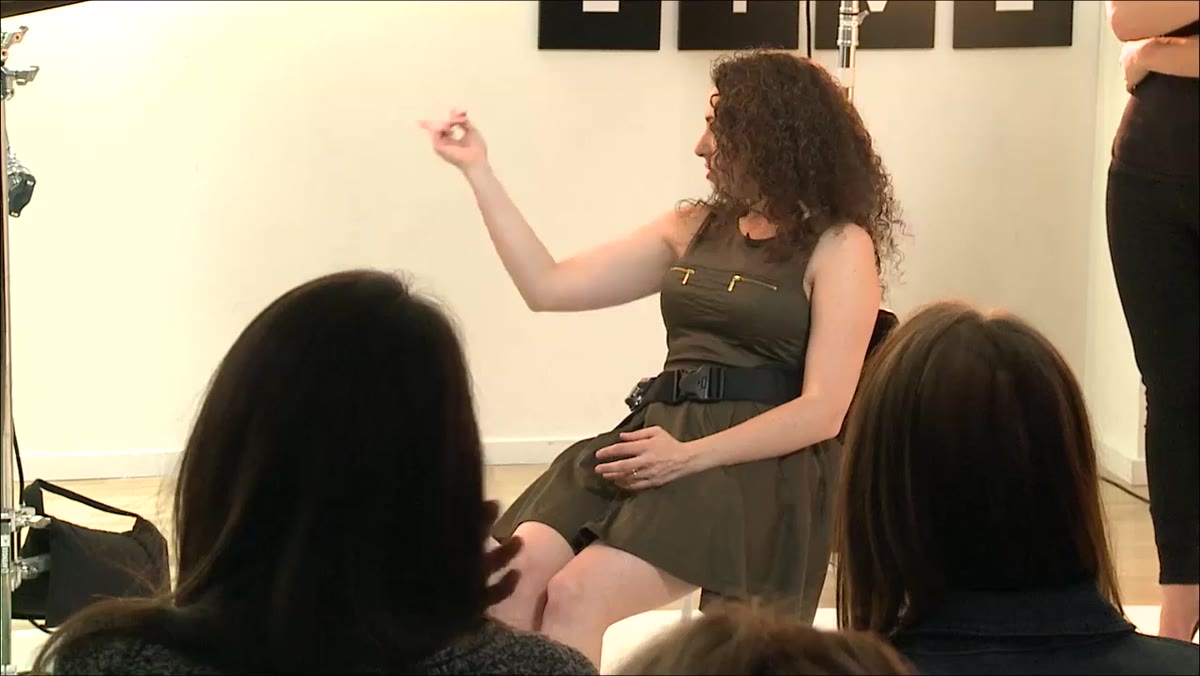 Subject sitting on the edge of a chair, leaning slightly forward
When a chair is part of the location and you can’t swap it out, Adler’s practical fix is simple: move the subject to the very front edge of the seat. Sitting on the edge makes leaning back physically uncomfortable and unstable, so the body naturally tips forward to maintain balance. You’re not fighting the subject’s instincts - you’re redirecting them.
The key word here is “natural.” A forward lean that the body arrives at on its own reads differently on camera than one you’ve manually pushed someone into. Watch for subjects who overcorrect and hunch the shoulders forward as they lean. That’s a separate problem the next steps address.
Step 3: Pull Up Through the Crown to Elongate the Neck
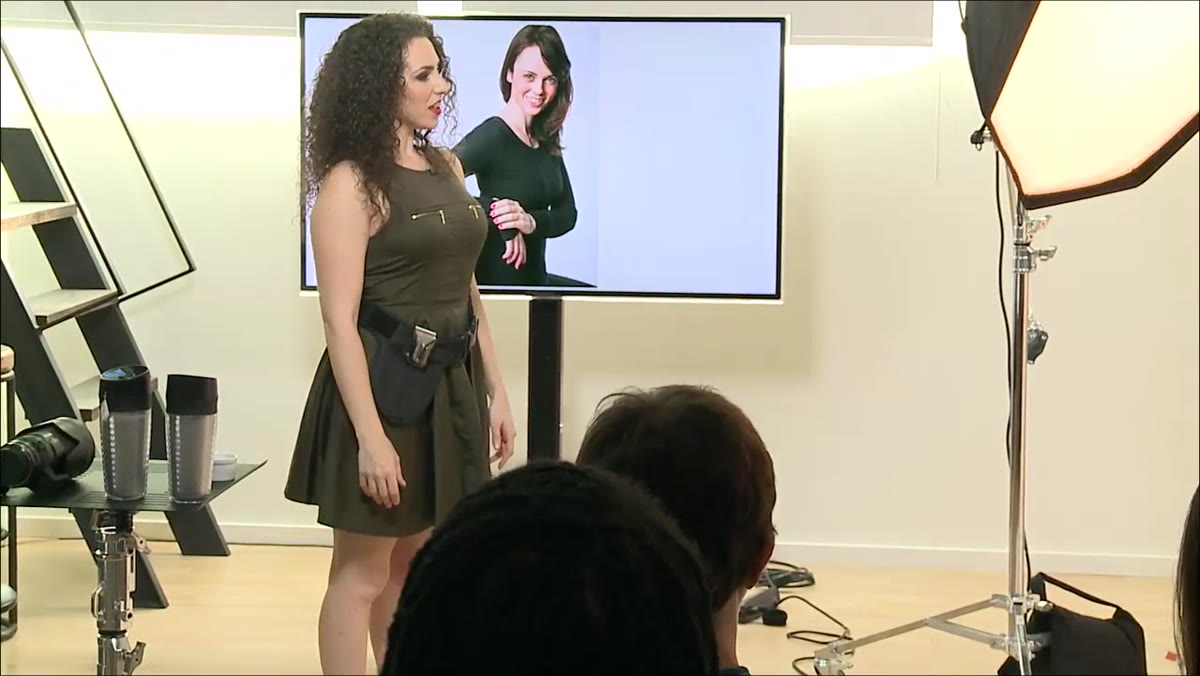 Model lifting through the top of her head, neck visibly lengthened
Once your subject is at the edge of the seat and leaning slightly forward, the next instruction is to have them imagine a string pulling upward from the very top of their skull. This cue elongates the neck, lifts the chin off the chest, and corrects most of the slouch in one move. I use a variation of this on almost every standing portrait too - it’s one of the most reliable posing cues I know.
Say it plainly to your subject: “Grow taller from the top of your head.” Don’t say “sit up straight” - that tends to produce a rigid, military posture rather than a graceful one. The crown-lift cue keeps the spine long without locking the shoulders.
Step 4: Watch the Elbow - Avoid Foreshortening the Arm
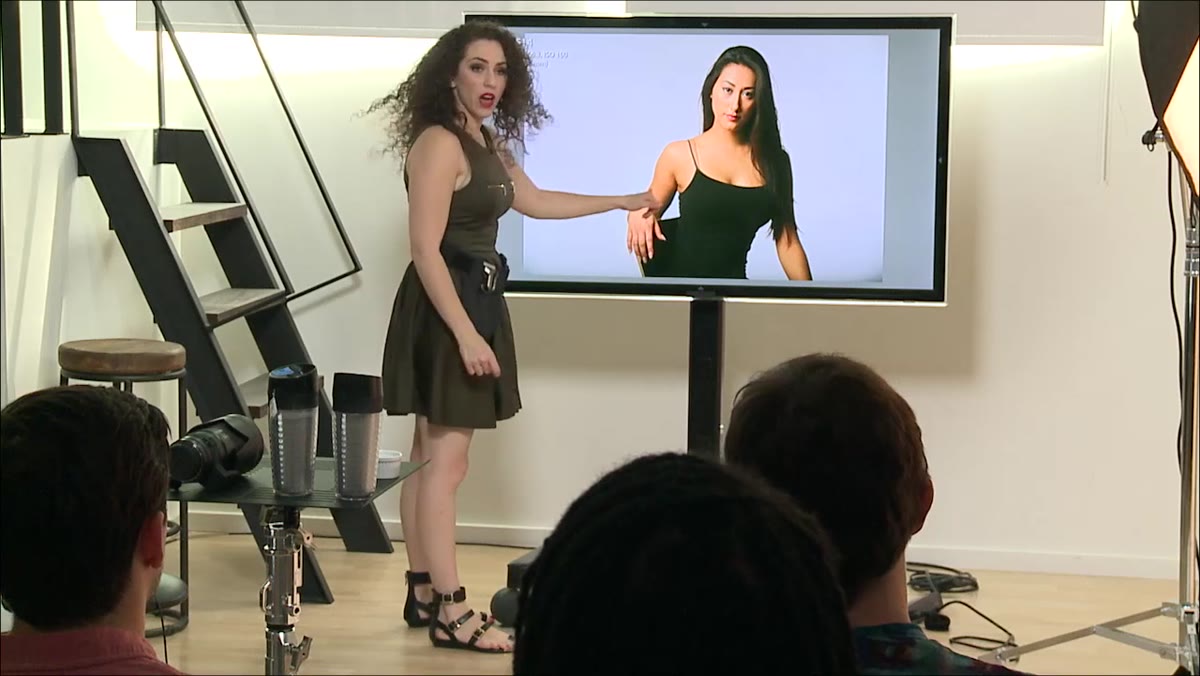 Subject’s elbow pulled back, forearm disappearing from camera perspective
Here’s where a lot of photographers stop and where the posing starts to break down. When the subject sits up tall with one arm resting back on a chair or couch, the elbow tends to pull behind the body. From the camera’s position, that forearm disappears entirely - the arm looks truncated and strange.
Adler’s correction is to rotate the hand forward, back toward the camera. This brings the forearm into the frame and, critically, creates a triangular shape from the shoulder down through the arm to the point of contact with the furniture. That triangle is compositionally stable and visually interesting. Keep the elbow soft, not locked. A rigid arm reads as tension.
Step 5: Build the Triangle and Drop the Front Shoulder
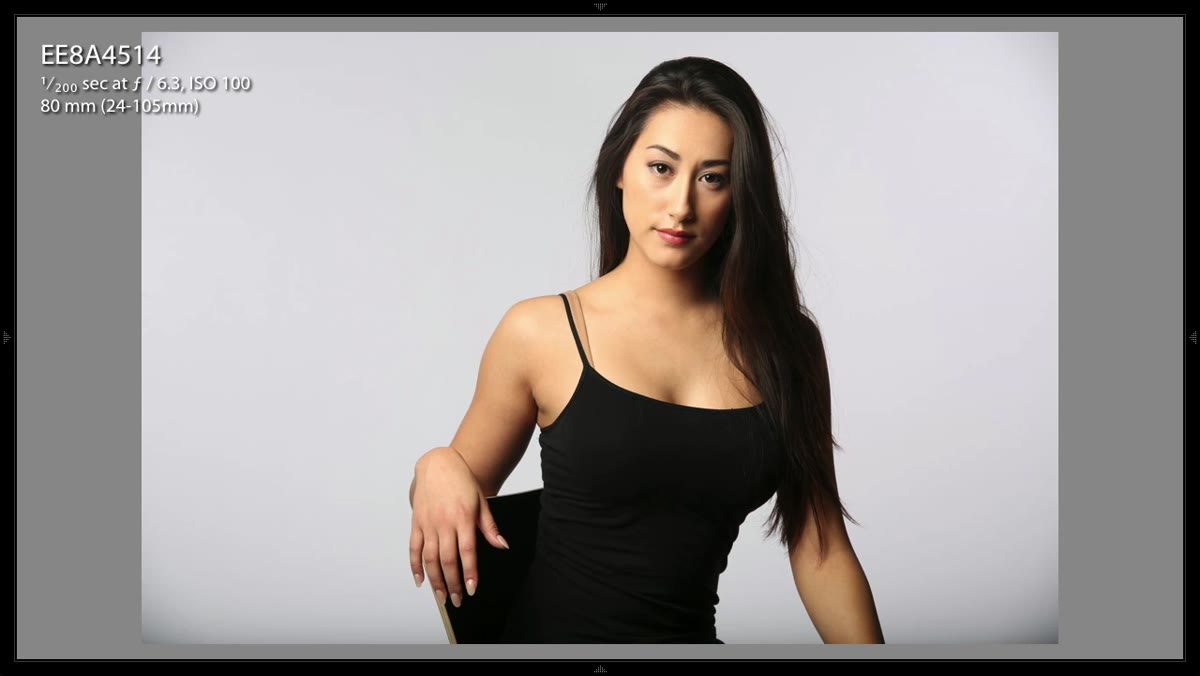 Triangular arm shape formed, front shoulder lowered, composition balanced
With the arm rotated correctly, you now have the triangle Adler is working toward: shoulder, elbow, hand forming three points of a shape that guides the eye. To complete it, ask the subject to drop their front shoulder - the one closest to the camera - slightly downward. This prevents the “hunched and tensed” look and creates a gentle slope that leads the eye toward the face.
These two adjustments together - the rotated forearm and the dropped front shoulder - are what separate a composed portrait from a snapshot of someone sitting on furniture. The negative space that opens up between the arm and the torso is what makes the body shape legible from camera.
Step 6: Shoot from a Second Angle to Use Negative Space
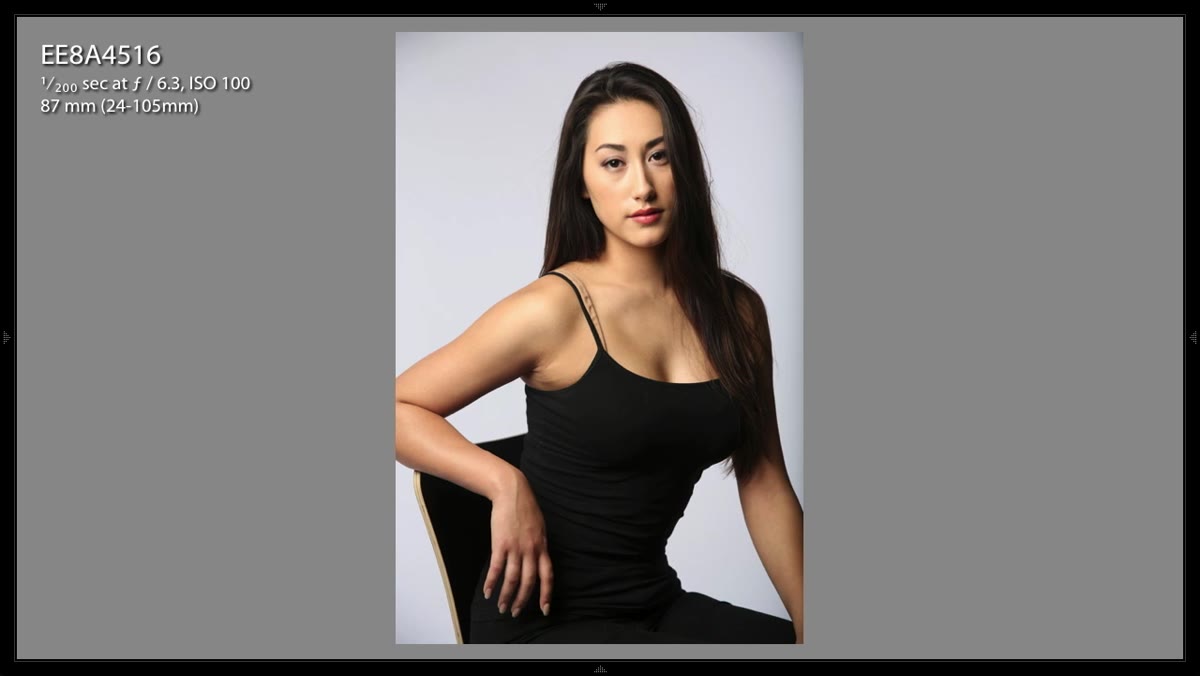 Photographer moving to a side angle, body outline and negative space visible
Once the pose is set, Adler demonstrates moving around to a side-on angle rather than staying front-facing. From the side, the outline of the body becomes a clear, readable silhouette. The negative space between the arm and the torso is visible. The jawline separates cleanly from the neck. If your subject has strong bone structure, this angle will show it.
Adler also experiments with a higher shooting position from this angle. Elevating the camera, even modestly on an apple box or by raising your tripod, lets you maintain negative space above the subject’s silhouette while also producing a slightly more flattering perspective for the face. Try it before you decide the pose is finished.
What I’d Add from My Own Shoots
Every adjustment Adler describes in this tutorial is visible because of where the light is. A triangle in the arm only reads as a triangle if the light is skimming across the body at an angle. Flat, frontal lighting will compress all of that three-dimensional work back into a muddy plane. When I’m shooting a seated portrait on a beauty dish or a large octa, I make sure the light is positioned to rake across the subject’s body, not just illuminate the face. The posing and the lighting diagram have to agree with each other.
I also keep one rule for any session involving furniture: photograph the empty prop before the subject sits in it. Knowing exactly how the chair or bench looks unoccupied tells you immediately which angles show the furniture flatteringly and which kill the composition before you’ve even made a posing decision.
The single most important thing in this tutorial is the edge-of-seat principle. Everything else - the crown lift, the elbow rotation, the triangle - depends on having the body forward and engaged to begin with. Get the subject off the back of the chair first, and most of the other corrections become easier.
Watch the full tutorial on YouTube to see Adler work through these adjustments in real time - the difference between the “bad” and “corrected” versions is worth watching more than once.
Comments
Leave a Comment