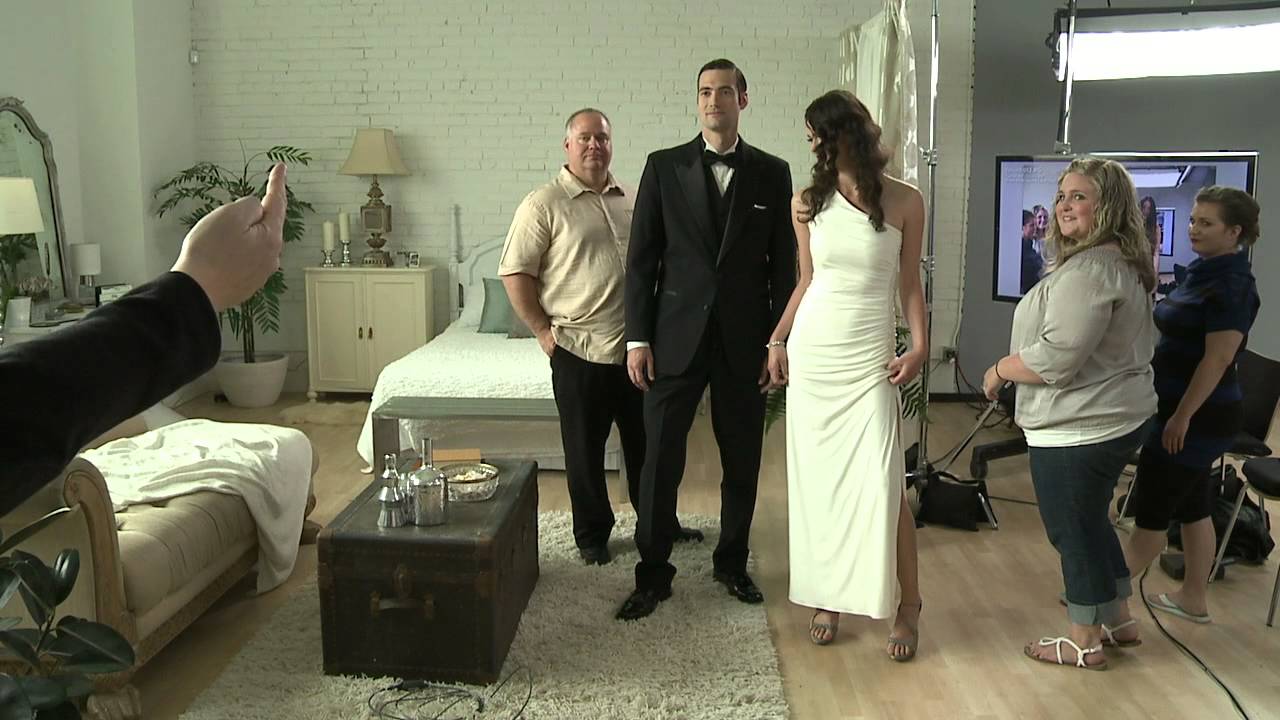
Group portraits are the part of wedding photography that separate photographers who understand people from photographers who understand cameras. I’ve spent most of my career in a controlled studio environment where I dictate every variable. Bring me a strobes-and-seamless setup and I’m comfortable. Hand me twelve people in formal wear with nowhere to hide and a timeline that’s already running late, and for years I had to think hard before I moved. The mechanics of lighting I can solve in minutes. Getting a group of adults to look natural, connected, and visually organized at the same time is a different discipline entirely.
In this CreativeLive tutorial on posing wedding portraits, the instructor walks through a live demonstration with real people playing the bridal party and family groups. Watch the full tutorial on YouTube before or after reading this breakdown. What struck me watching it was how much of the technique is about directing movement and human geometry rather than issuing static instructions. The specific posing vocabulary he uses transfers directly to any group portrait situation, whether you’re shooting a bridal party in a hotel ballroom or a corporate team in a conference room.
Here’s how the method works, broken down into the steps he actually demonstrates.
Step 1: Set the Family Group Without Touching Anyone
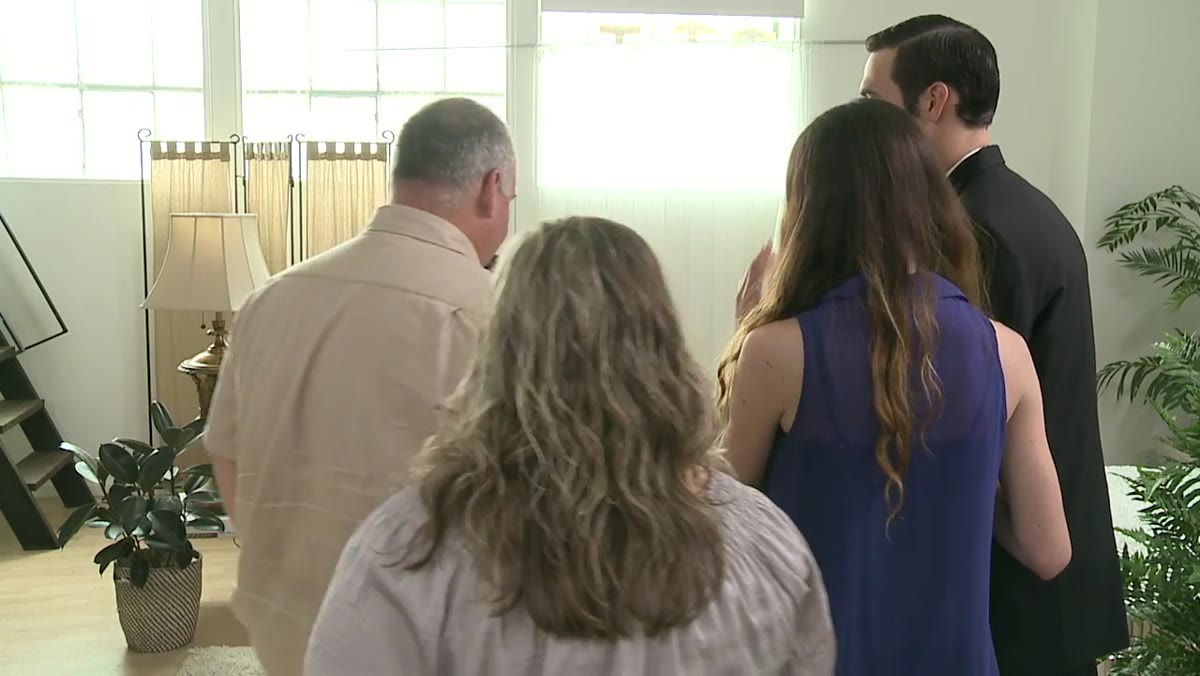 Photographer verbally directing parents of the bride into position
The first sequence covers posing the parents of the bride, and the thing worth noting immediately is the no-contact rule. The photographer positions everyone through verbal cues alone, describing where to move and how to orient their bodies without ever physically placing them. This isn’t just a professional boundary, it’s practical: touching clients mid-session can make people stiffen up, and you lose the relaxed body language you’re trying to build. Use spatial language instead. “Lean forward slightly” and “tilt toward him” give people clear actions without making them feel handled.
For family groupings specifically, acknowledge the dynamic with light humor when it fits. The instructor uses a quick joke about the mother-in-law and father-in-law to break tension and get a genuine reaction. The tone you set in the first thirty seconds of a group interaction will carry through the rest of the shoot. Keep it warm, keep it moving.
Step 2: Build Triangles Into the Composition
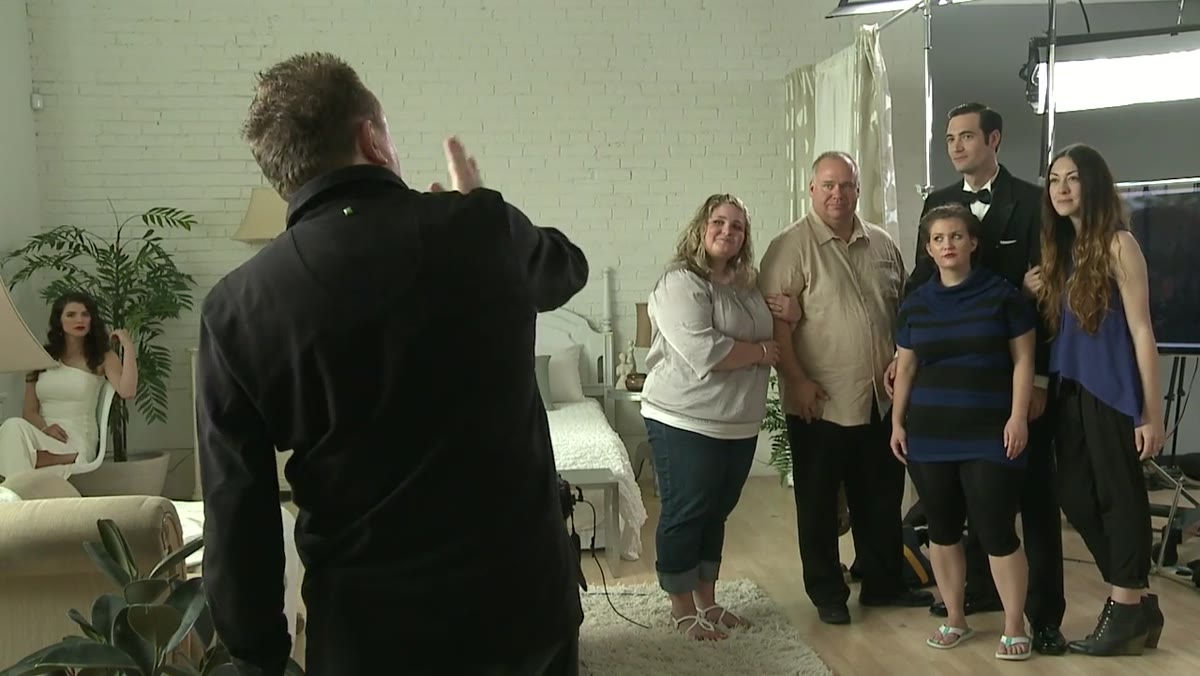 Three people leaning together forming a visible triangle shape
This is the core compositional principle the instructor returns to repeatedly, and it’s one I’ve been applying in studio work for years without always naming it explicitly. A triangle is created when one person stands or leans slightly forward or inward relative to two others, so the group’s silhouette reads as a geometric shape rather than a flat horizontal line. Three people become a visual unit. The eye has somewhere to travel.
With the family group, he gets the bride leaning toward her father-in-law and positions the couple in the center to create a converging arrangement. He’s thinking in shapes, not faces. Once you start seeing your groups as a series of triangles you can interlock and adjust, the posing decisions become much faster and more intentional. Aim to have no group of three or more people at the same height and the same lateral distance from each other.
Step 3: Start the Bridal Party Moving Before You Shoot
 Bridal party walking and moving casually around the frame
This is where the tutorial shifts into what the instructor calls the “Y Groove,” his method for generating natural group poses through directed movement. The principle is simple: instead of posing people statically, you tell the group to walk around freely, then call “stop” and shoot whatever position they’ve landed in. The resulting frames have hands in pockets, weight shifted onto one hip, people mid-turn, bodies at varied angles. Everything that looks labored when you try to arrange it by hand happens organically.
The technical execution is straightforward. Have your camera settings locked before you start moving people. You don’t want to be adjusting exposure between “stop” and the shutter. Shoot the first freeze as your baseline, then repeat the movement sequence multiple times. Each round, the group relaxes a little more, which means each subsequent freeze will read more naturally than the last.
Step 4: Bring the Bride Forward to Create Depth
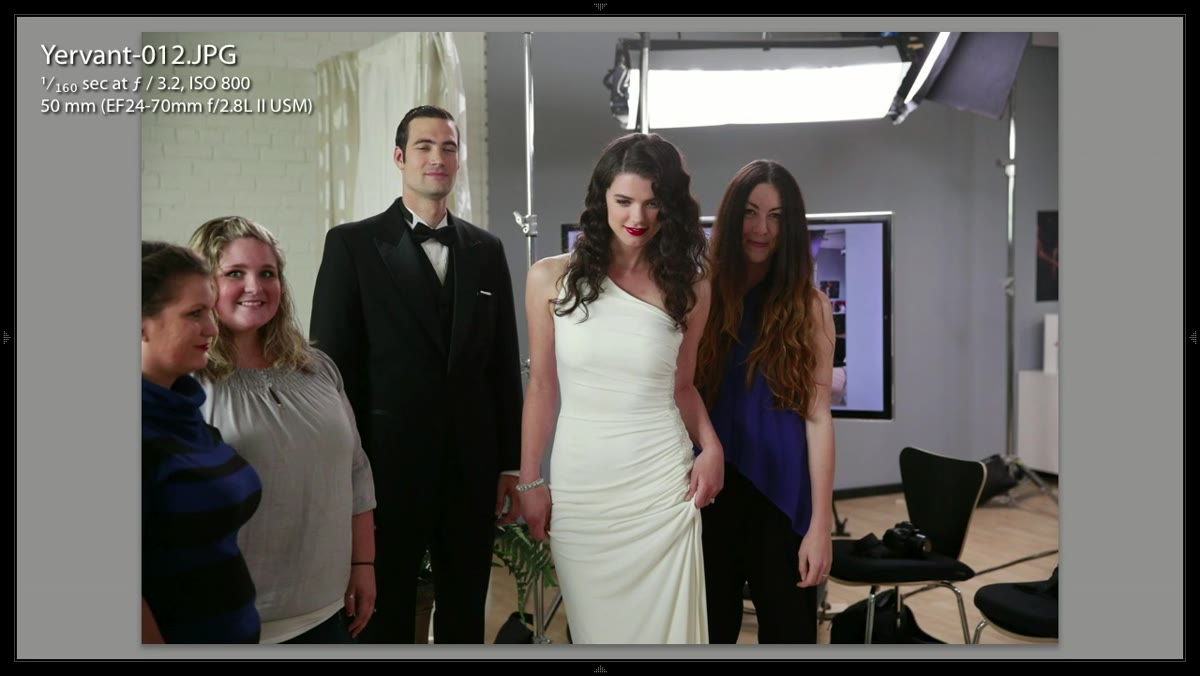 Bride stepping forward while the rest of the group stays back
Depth is what separates a group portrait from a lineup. After getting the group moving, the instructor repeatedly pulls the bride a step or two in front of the group before calling the stop. This creates a foreground subject and a background group, which gives the image a sense of three-dimensional space and immediately identifies the hierarchy of the shot. The viewer’s eye goes to the bride first because she’s closest, largest, and presumably the sharpest point of focus.
The exact distance matters. Too far forward and she disconnects from the group. A half-step or a full step is usually enough to read clearly without breaking the visual unity. If you’re working with a longer lens, even a subtle depth difference will be exaggerated by compression, so err on the side of less separation rather than more.
Step 5: Direct Micro-Adjustments After the Freeze
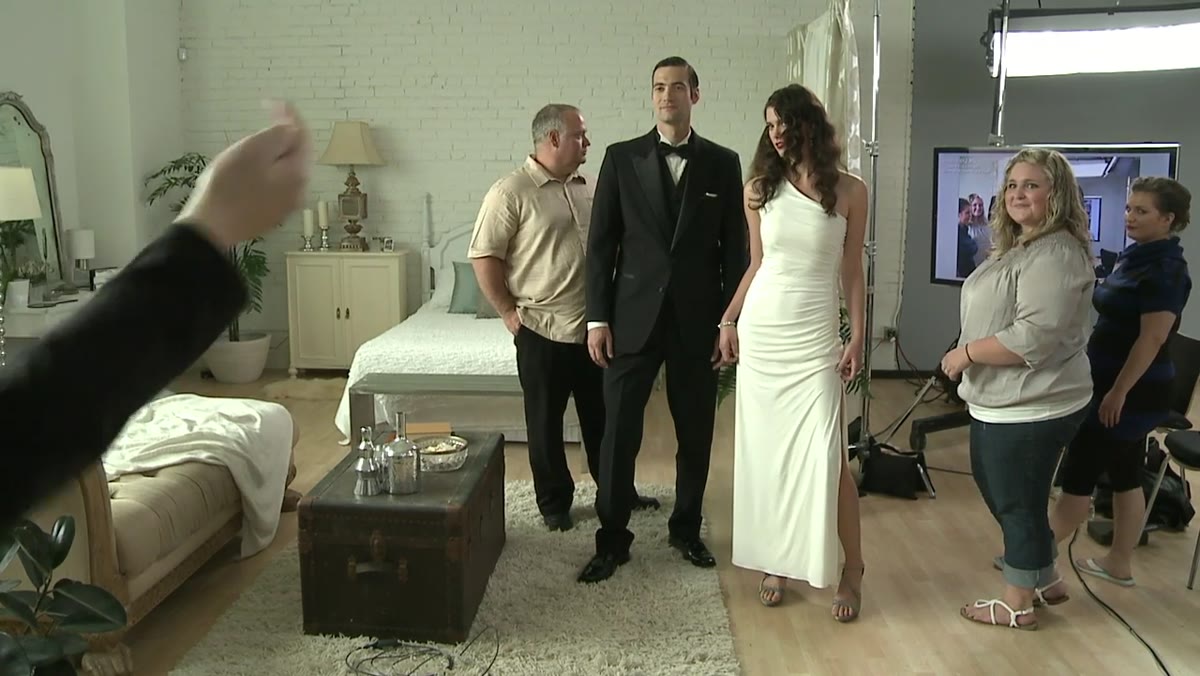 Photographer giving small directional cues after group stops moving
Once the group freezes, you have a few seconds to make small corrections before the moment starts to feel posed again. The instructor uses this window efficiently: one person turns slightly toward camera, another steps into a gap between two taller people, heads angle toward each other. These are all single-instruction moves. One direction per person, maximum. If you start giving multiple corrections to multiple people simultaneously, everyone freezes up and you’re back to the stiff lineup you were trying to avoid.
Learn to read the frame quickly. Look for hands that have drifted somewhere awkward, anyone who has turned their back to camera, and anyone who is being visually swallowed by the person next to them. Fix one thing at a time, then shoot before the energy dissipates.
Step 6: Repeat and Let the Energy Compound
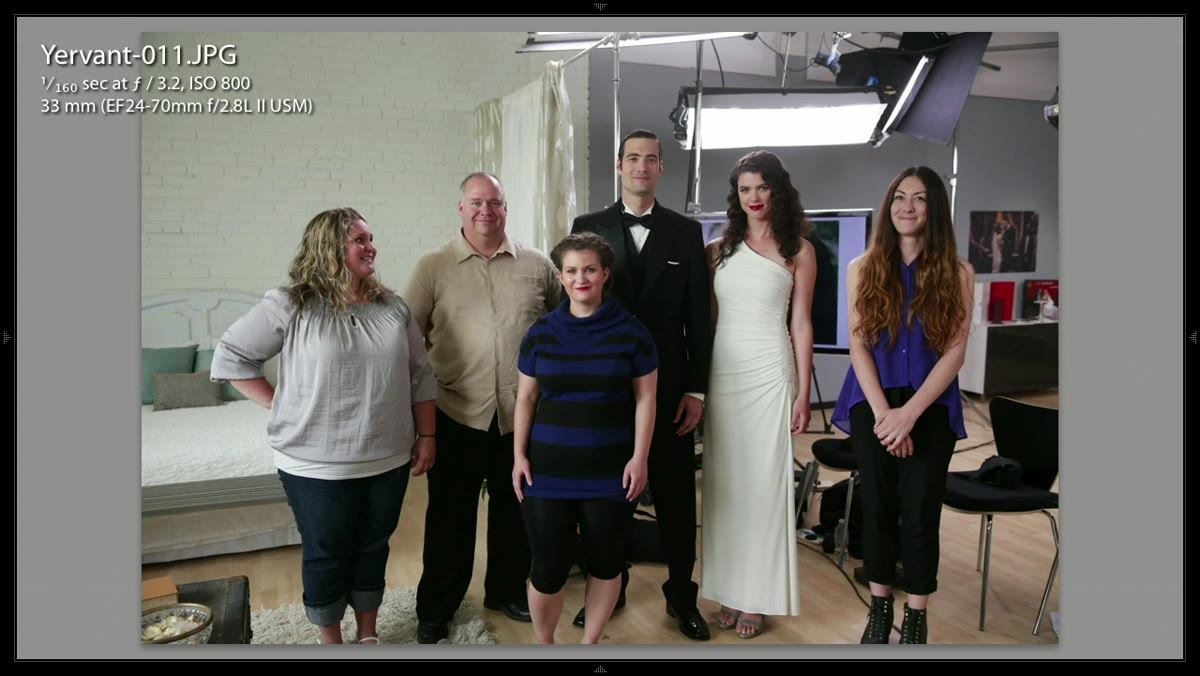
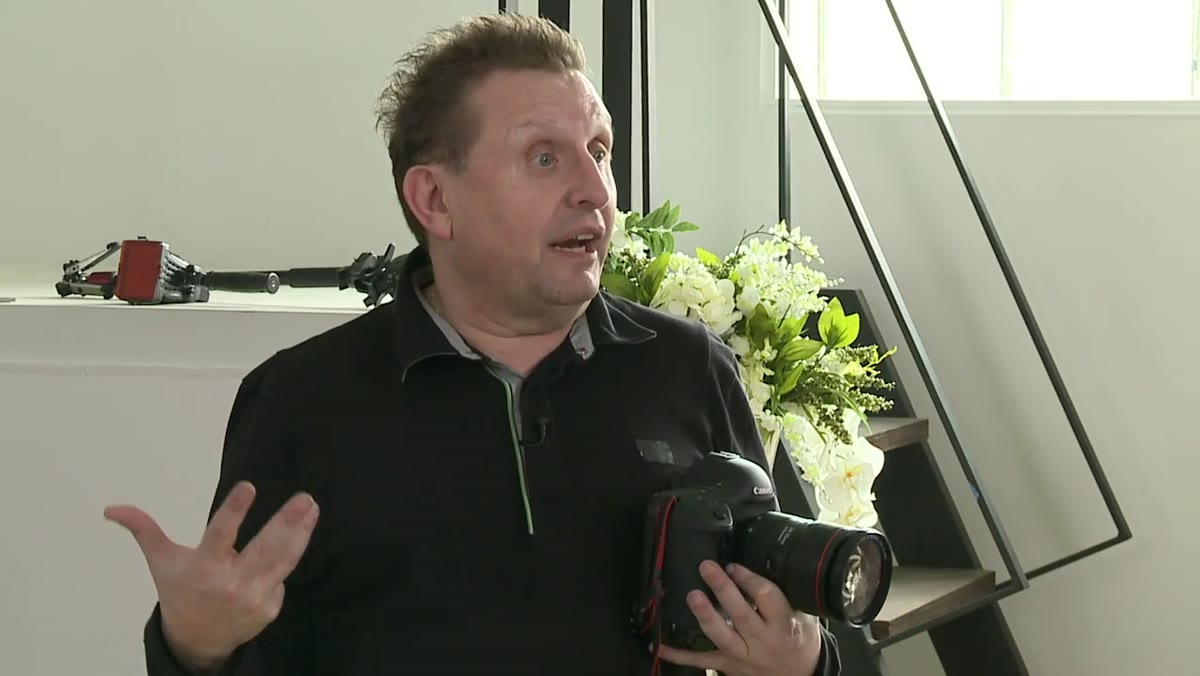 Group laughing naturally as movement rounds continue
The instructor makes a point near the end of the sequence that I think is the most practically important thing in the whole tutorial: the more rounds of movement you do, the more the group starts laughing and connecting with each other, which means the later frames are almost always the strongest ones. Plan for this. Budget enough time to run the movement exercise five to eight times minimum. Your best images will probably come from rounds four through six, once the self-consciousness has worn off.
This compounds with volume. Shooting twenty to thirty frames across those movement rounds gives you a realistic pool to draw five genuinely strong selects from. The math is working in your favor as long as you keep the session moving.
A Note on Using This in a Studio Context
I shoot a lot of this work on seamless paper with controlled strobes, and the movement technique translates directly even in that environment. The one adjustment I make is marking a strip of tape across the floor at the outer boundary of my usable light zone, so when people move freely they don’t wander into falloff. Clients rarely notice the tape, and it keeps the exposure consistent across the freeze frames without requiring me to stop and correct between rounds. The triangle geometry and the no-contact direction style work identically indoors or out.
The single most transferable lesson here is that natural-looking group portraits are not the result of precision arrangement. They are the result of creating conditions where people move, relax, and stop thinking about the camera. Your job as the photographer is to design those conditions, not to manually sculpt every body position. The geometry is a tool. The movement is the method.
Watch the full tutorial on YouTube to see the movement sequences and the triangle posing in action. The live demonstration format makes the pacing and direction style much clearer than any written description can.
Comments
Leave a Comment