Most photographers who own a hot shoe flash are using it wrong. Not recklessly wrong, just… wastefully wrong. They mount it, leave the head aimed straight forward, and wonder why their subjects look like they got caught in a police spotlight. I spent years doing the same thing before I genuinely understood what that swivel head was for. It is not decorative. It is the entire point.
Watch the full tutorial on YouTube
In this KelbyOne tutorial, instructor RC walks through the fundamentals of hot shoe flash technique and then introduces the Phottix Mitros Plus as a transceiver unit capable of functioning as both a transmitter and a receiver. It is a compact episode, but the core insight about bounce direction is one of those things that sounds obvious once you hear it and then immediately changes how you shoot. I have a lighting journal where I sketch every setup from every shoot, and the bounce-to-wall concept appears in some form on nearly every location page going back years. The principle is that durable.
Step 1: Understand Why Direct Flash Fails
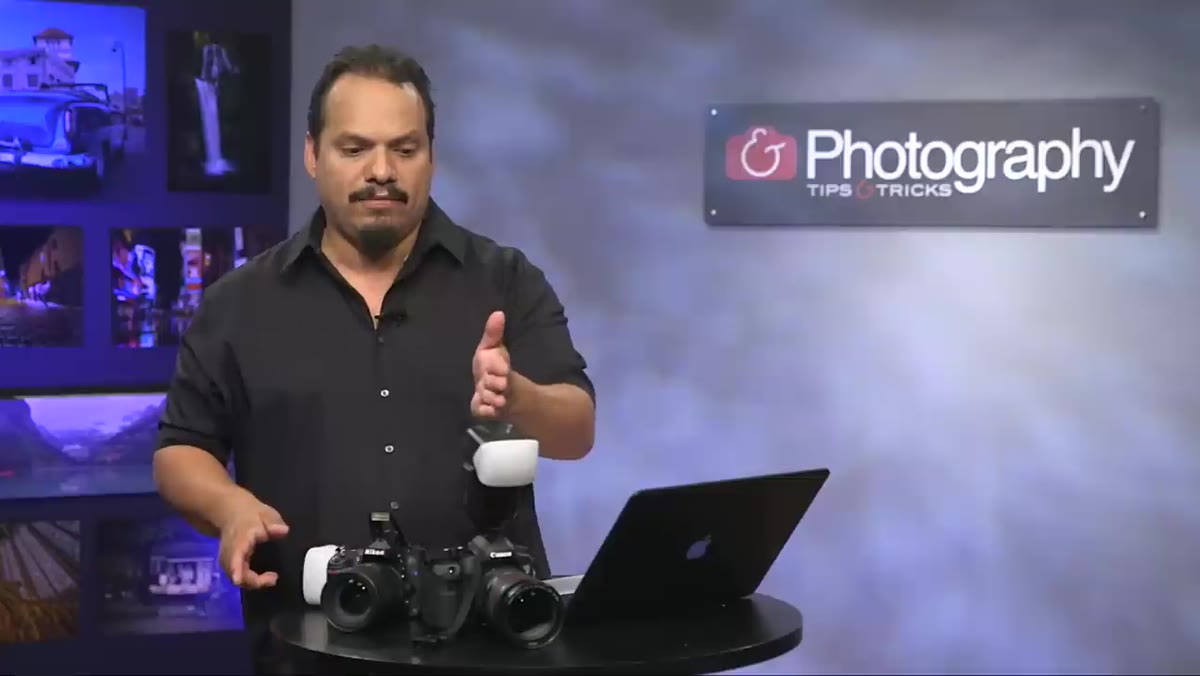 Flash aimed straight at subject, flat frontal light result
A hot shoe flash is physically larger than a pop-up flash, which already gives you a modest improvement in light quality. The head covers more surface area, so the light scatters slightly before it reaches your subject. But “slightly scattered” is not the same as “good.” When you point the flash directly at a person, you are still working with a relatively small, hard light source at close range. The result is flat, shadowless illumination that strips dimension from a face and creates harsh falloff behind the subject.
Flash aimed straight at subject, flat frontal light result
A hot shoe flash is physically larger than a pop-up flash, which already gives you a modest improvement in light quality. The head covers more surface area, so the light scatters slightly before it reaches your subject. But “slightly scattered” is not the same as “good.” When you point the flash directly at a person, you are still working with a relatively small, hard light source at close range. The result is flat, shadowless illumination that strips dimension from a face and creates harsh falloff behind the subject.
The size of your light source relative to your subject determines how soft the light is. A flash head aimed directly forward is small. A ceiling or wall lit by that same flash becomes enormous. That is the mechanical logic behind everything else in this technique.
Step 2: Use the Swivel Head to Bounce Behind You
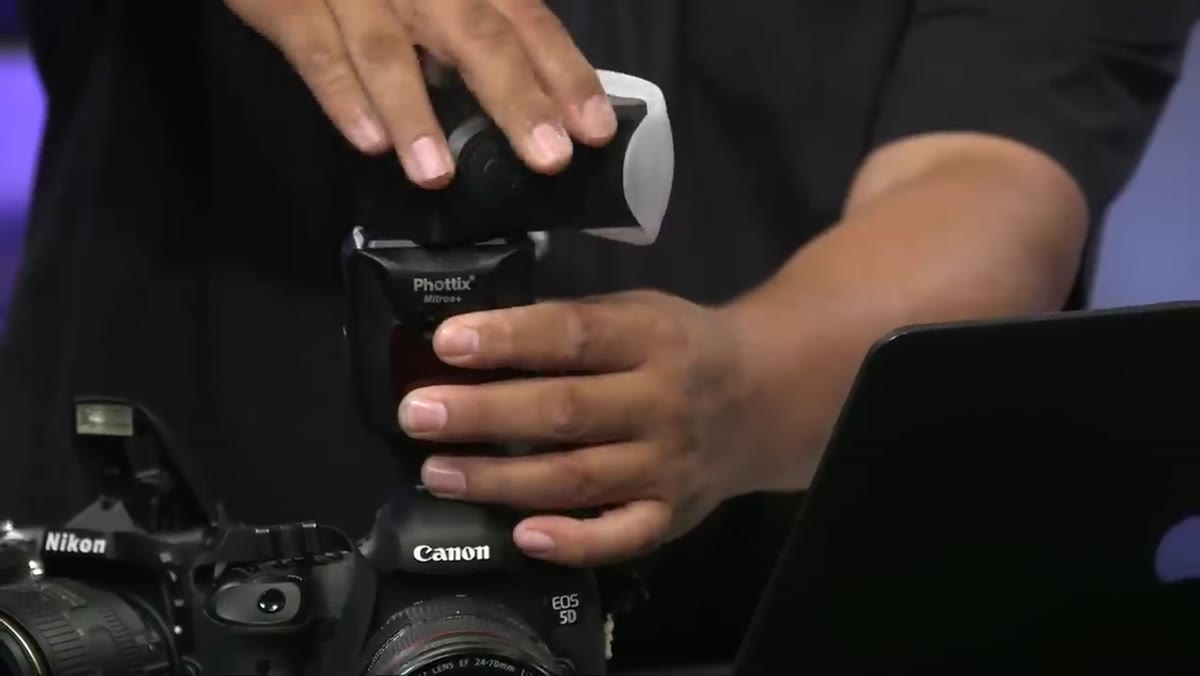 Flash head rotated to point directly behind the photographer
Rotate the flash head 180 degrees so it points directly behind you, toward whatever wall or surface is at your back. When you fire the flash, the light travels backward, strikes that surface, and then reflects forward as a broad, even wash. The wall becomes your actual light source. Depending on the distance and color of the surface, you can expect the quality to improve significantly over direct flash.
Flash head rotated to point directly behind the photographer
Rotate the flash head 180 degrees so it points directly behind you, toward whatever wall or surface is at your back. When you fire the flash, the light travels backward, strikes that surface, and then reflects forward as a broad, even wash. The wall becomes your actual light source. Depending on the distance and color of the surface, you can expect the quality to improve significantly over direct flash.
When I shoot in smaller interior spaces, this is often my first move. The room itself becomes the modifier. One practical note: the color of your bounce surface matters. A cream or off-white wall will warm your light slightly. A pure white will stay neutral. Anything with heavy color saturation will cast a tint you will need to correct in post. I once ruined an editorial shoot early in my career because of a warm-toned ceiling I had not accounted for. I calibrate for bounce surfaces now the same way I calibrate for ambient light.
Step 3: Redirect the Bounce for Side Lighting
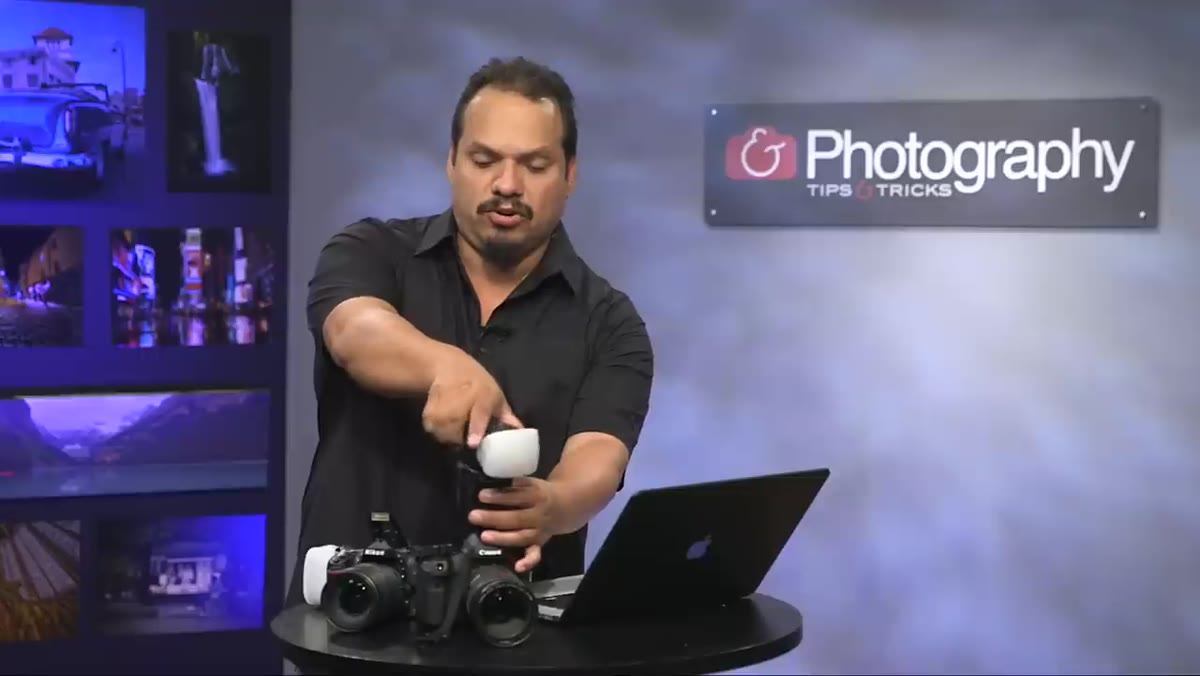 Flash head rotated to the left, aimed at a side wall
If there is no usable wall behind you, do not give up on bounce. Rotate the flash head to the side, toward whichever wall is closest to your shooting position. The swivel mechanism on most hot shoe units allows full 360-degree rotation on the horizontal axis, and the head typically tilts on a vertical axis as well. Use both.
Flash head rotated to the left, aimed at a side wall
If there is no usable wall behind you, do not give up on bounce. Rotate the flash head to the side, toward whichever wall is closest to your shooting position. The swivel mechanism on most hot shoe units allows full 360-degree rotation on the horizontal axis, and the head typically tilts on a vertical axis as well. Use both.
When you bounce to the side, you create lateral illumination across your subject’s face. You get shadow, dimension, and depth that direct flash simply cannot produce. It reads more like window light than camera flash. RC demonstrates this clearly in the tutorial, swinging the head left to simulate a nearby wall on that side. The resulting image has genuine modeling on the subject’s face. That is not a subtle difference. It is the gap between a snapshot and a portrait.
Step 4: Combine Tilt and Rotation for Precise Placement
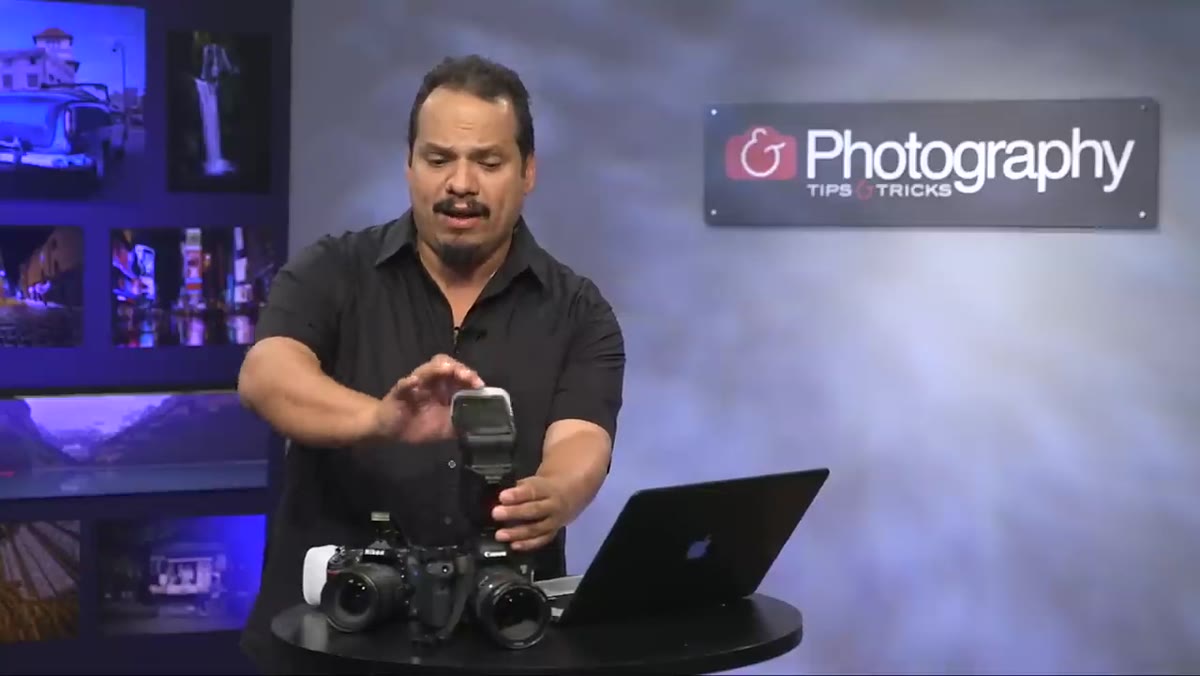 Flash head tilted and rotated to multiple positions in sequence
The swivel head lets you go in two directions simultaneously. You can rotate left or right while also tilting up or down. This matters when your bounce surface is not perfectly vertical, or when you want to favor one part of the frame with more light than another. Tilt the head upward toward a ceiling and rotate slightly toward the subject side to get a light angle that mimics a large overhead source. Tilt down toward a low reflective surface for a fill from below.
Flash head tilted and rotated to multiple positions in sequence
The swivel head lets you go in two directions simultaneously. You can rotate left or right while also tilting up or down. This matters when your bounce surface is not perfectly vertical, or when you want to favor one part of the frame with more light than another. Tilt the head upward toward a ceiling and rotate slightly toward the subject side to get a light angle that mimics a large overhead source. Tilt down toward a low reflective surface for a fill from below.
Spend a few minutes before any shoot just rotating and tilting the head at different angles and observing how the catchlights in your subject’s eyes shift. The catchlight position tells you exactly where your effective light source is. If it is in the upper corner of the eye, your bounce source is high and to the side, which is usually flattering. If it is dead center and flat, you are probably still pointing the flash too directly.
Step 5: Use the Phottix Mitros Plus as a Transceiver
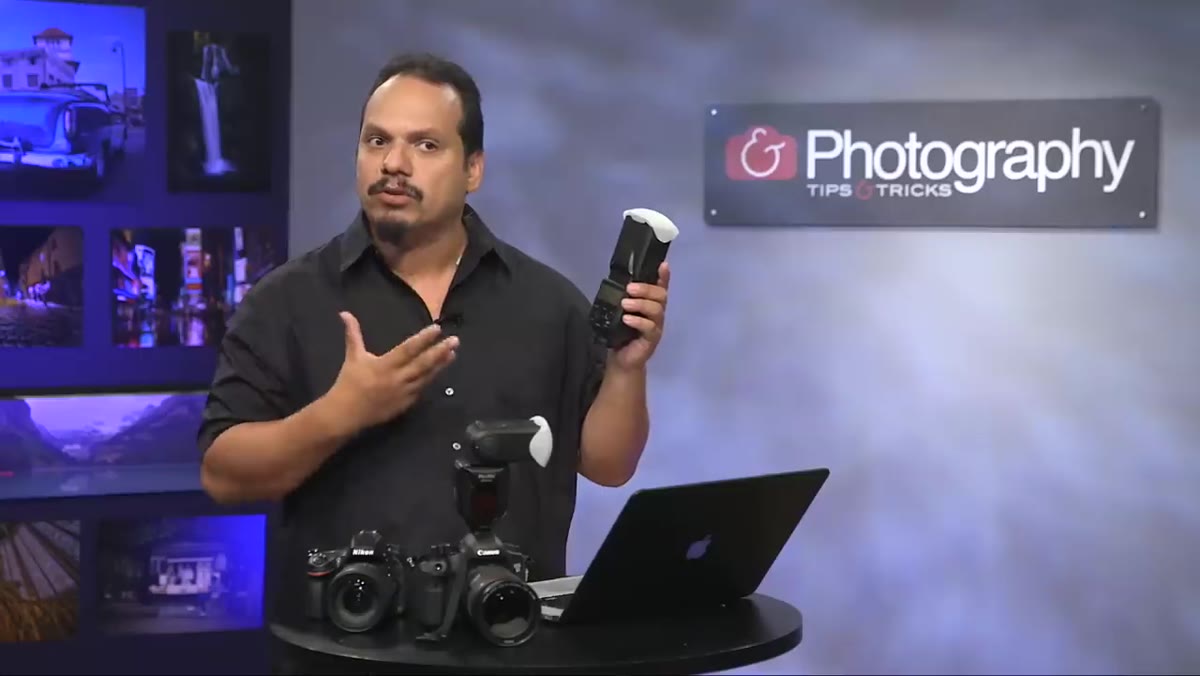 Mitros Plus unit on camera, set to ETL transceiver mode
The Phottix Mitros Plus takes the hot shoe flash concept further by combining the flash unit with a built-in radio transceiver. This means the same unit mounted on your camera can act as a trigger for other flashes, or it can receive a signal from a separate transmitter and fire off-camera. RC sets his up in ETL mode, which allows automatic through-the-lens metering across the wireless system.
Mitros Plus unit on camera, set to ETL transceiver mode
The Phottix Mitros Plus takes the hot shoe flash concept further by combining the flash unit with a built-in radio transceiver. This means the same unit mounted on your camera can act as a trigger for other flashes, or it can receive a signal from a separate transmitter and fire off-camera. RC sets his up in ETL mode, which allows automatic through-the-lens metering across the wireless system.
For studio work, this matters because it removes the need for a separate trigger on the hot shoe. You get one fewer point of failure and one less piece of gear to carry. In a commercial context where I am moving between a camera-mounted bounce setup and a multi-light studio configuration, being able to convert the on-camera unit to a transmitter without pulling it off the camera saves real time.
What I Would Add From My Own Work
The tutorial covers the core mechanics cleanly, but one thing worth adding is the value of a small bounce card attached to the flash head. Most hot shoe units ship with one, and many photographers ignore it. When you bounce directly behind you, a bounce card angled forward at roughly 45 degrees catches a small fraction of the flash output and throws a subtle front fill onto the subject. It prevents the bounce light from going entirely flat and adds a small catchlight that keeps eyes from looking dead.
I started using a strip of white foam core taped to my flash head with, yes, masking tape. It is not elegant. It works every time. The bounce card does not replace the wall bounce. It completes it.
The single most important thing to take from this technique is that your flash is not your light source. Your bounce surface is. Once you understand that, the swivel head stops being a curiosity and starts being a tool with genuine creative range. You are no longer limited to the output of a small unit. You are using entire walls, ceilings, and architectural surfaces as softboxes, and you have not spent a dollar on additional gear.
Watch the full tutorial on YouTube to see RC demonstrate the head rotation and the Mitros Plus transceiver setup in real time. The visual comparison between direct flash and bounced flash alone is worth the watch.
Comments
Leave a Comment