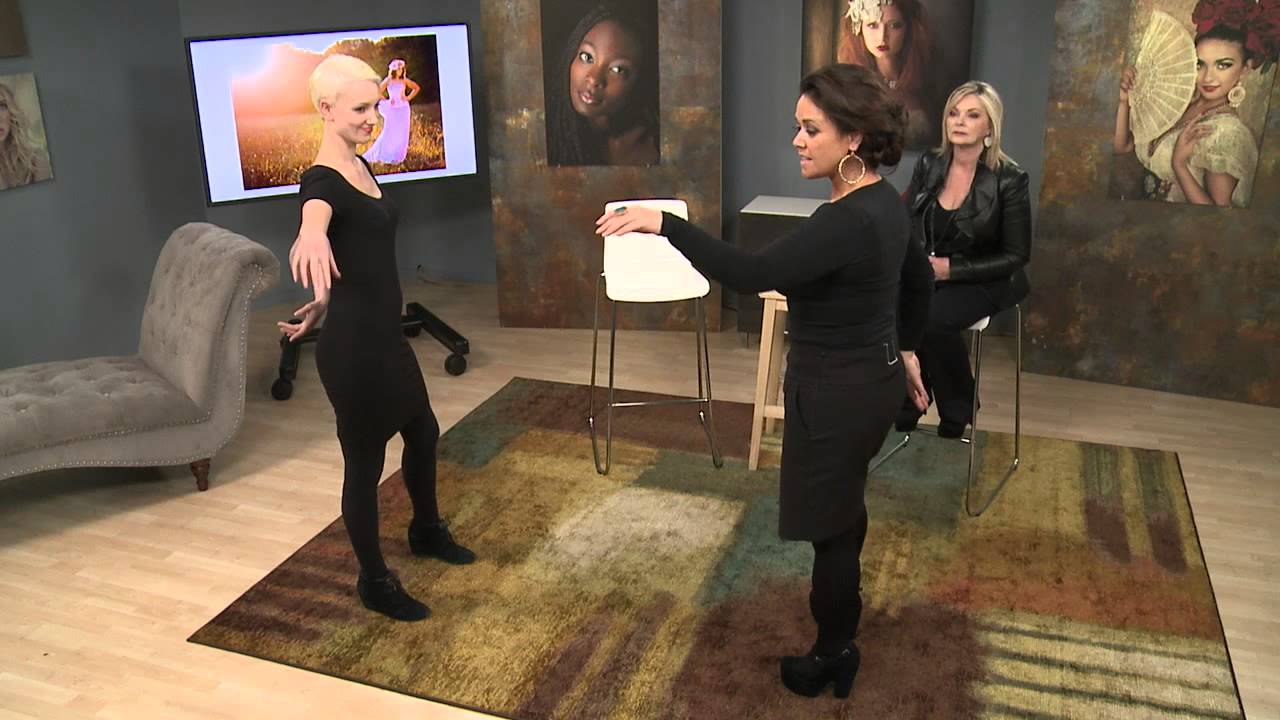
Hand posing is the thing that separates a portrait that looks like a DMV photo from one that looks like a campaign. I’ve been shooting commercial and editorial work in Los Angeles long enough to know that most photographers — including me, early on — treat hands as an afterthought. You get the face right, the light right, the expression right, and then you look down at the hands and they’re just… hanging there. Dead weight. It’s one of the fastest ways to kill an otherwise strong image.
I came across this CreativeLive tutorial featuring Sue Bryce and Bambi Cantrell while I was prepping for a beauty editorial where the art director specifically wanted “movement and life” in the hands. Both photographers are masters of posing, and watching them work through this together is genuinely useful in a way that a lot of posing tutorials are not. Watch the full tutorial on YouTube — it’s worth your time even if you think you already know how to direct clients.
What struck me most is that neither of them treats hand posing as a static position. They treat it as choreography. That mental shift alone changed how I direct on set.
Step 1: Learn the Movements Yourself First
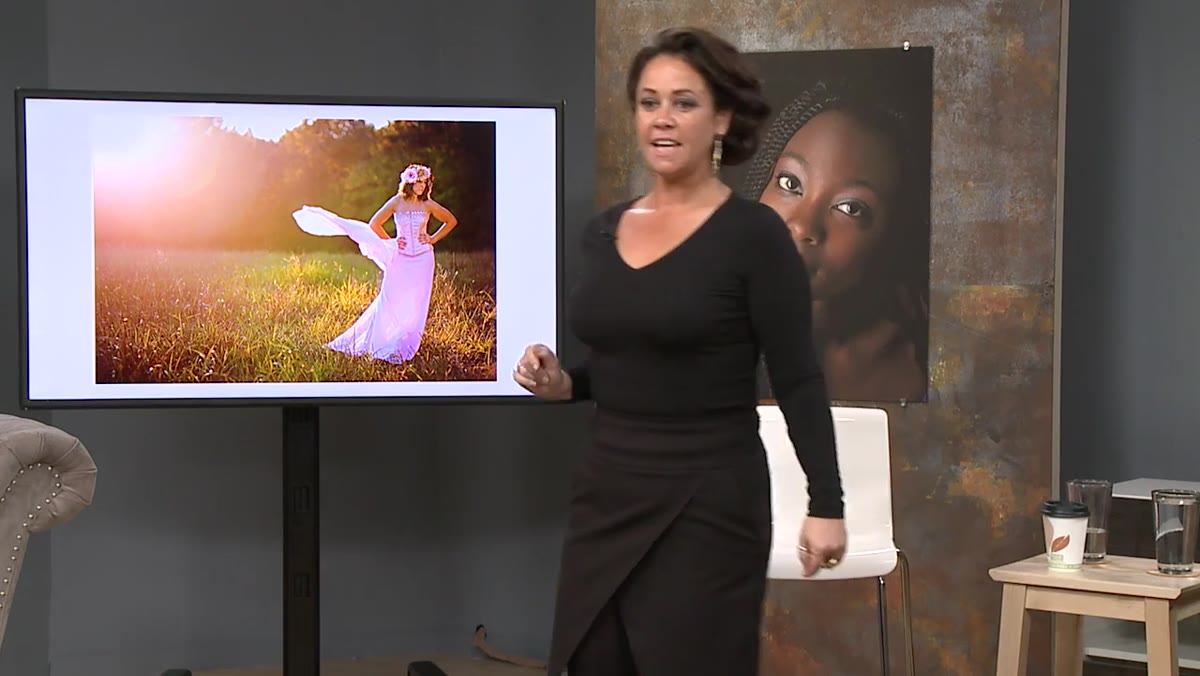
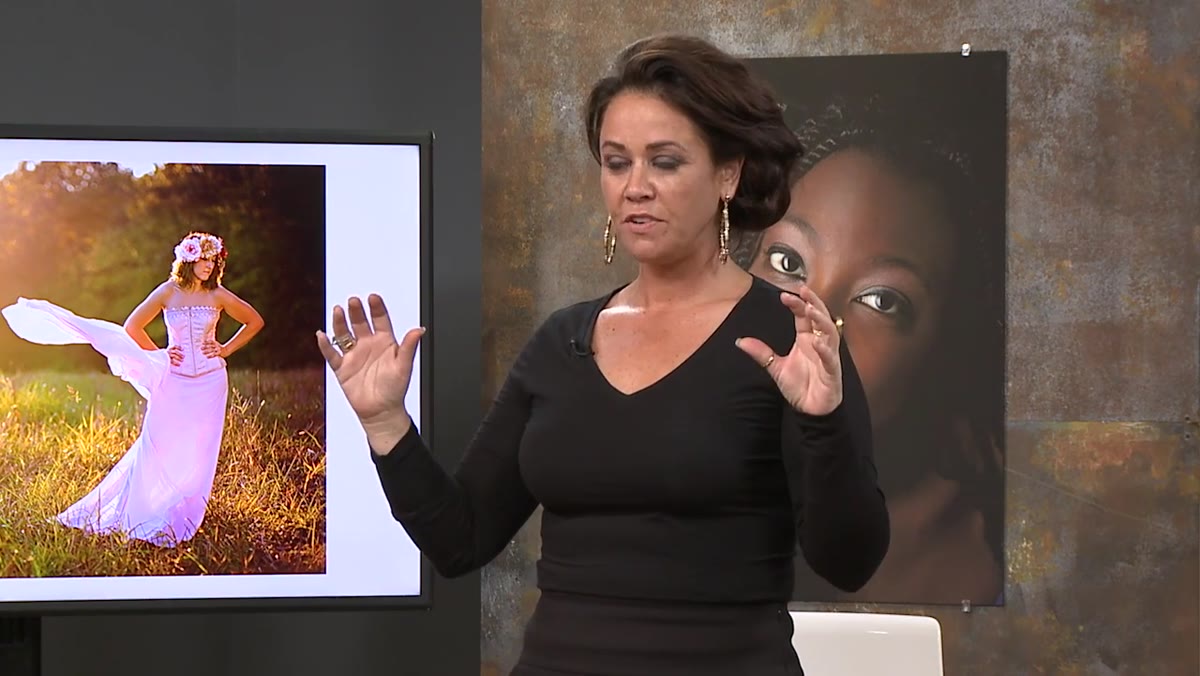 Sue demonstrating flowing hand movements to the class
Before you can direct a client, you have to physically know what you’re asking them to do. Bryce is explicit about this: stand up and practice the movements yourself at home. This applies to every photographer, regardless of gender. The point is not to perform ballet. The point is that your body has to understand the motion so your verbal and physical cues to clients are specific and confident.
Sue demonstrating flowing hand movements to the class
Before you can direct a client, you have to physically know what you’re asking them to do. Bryce is explicit about this: stand up and practice the movements yourself at home. This applies to every photographer, regardless of gender. The point is not to perform ballet. The point is that your body has to understand the motion so your verbal and physical cues to clients are specific and confident.
The movements she demonstrates are fluid and continuous. Think of a slow, sweeping arc from one side of the body to the other, wrists relaxed, palms neither forced open nor clenched. If you practice this and it feels awkward, that awkwardness will come through when you try to direct someone else. Spend ten minutes in front of a mirror. It’s not glamorous, but it works.
Step 2: Direct Movement, Not Position
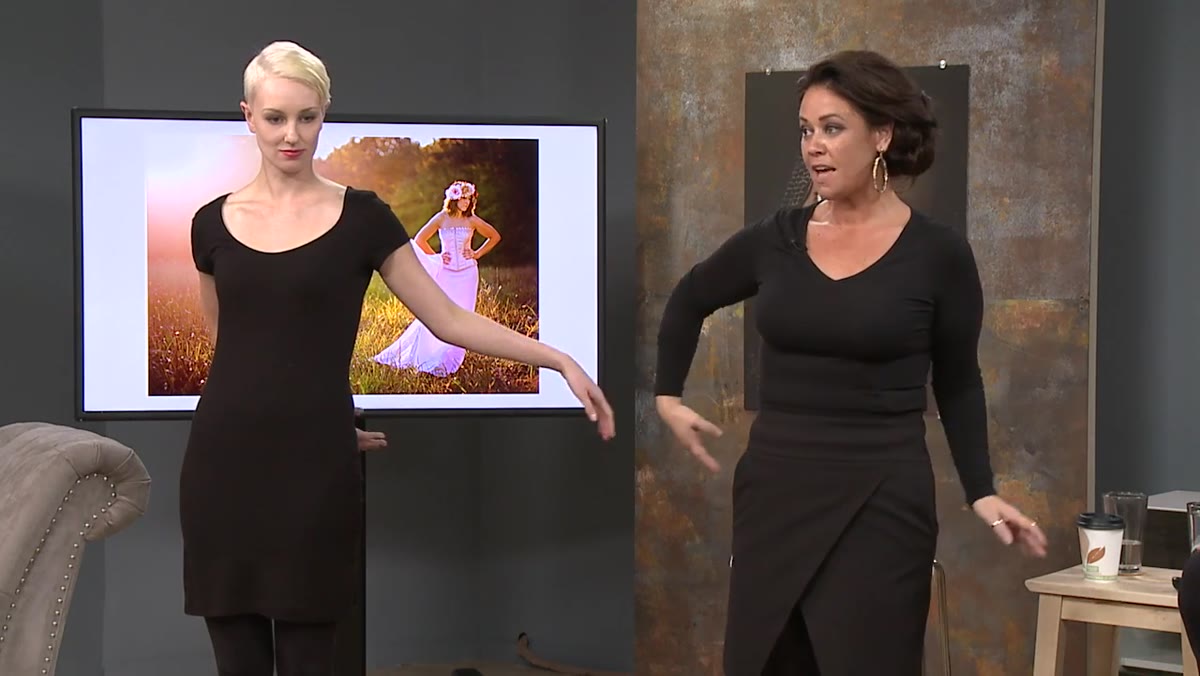 Sue guiding model through continuous sweeping hand motion
The core insight here is that you should be directing your client to move, not to freeze into a specific hand shape. Bryce instructs her subject to rock from one foot to the other and sweep the hands along with that body weight shift. The hands follow the body rather than being placed independently.
Sue guiding model through continuous sweeping hand motion
The core insight here is that you should be directing your client to move, not to freeze into a specific hand shape. Bryce instructs her subject to rock from one foot to the other and sweep the hands along with that body weight shift. The hands follow the body rather than being placed independently.
This is a real technical distinction. When you ask someone to “put your hand here,” you get a static, self-conscious result. When you ask them to rock their weight and let the hands follow, the hands land in a natural position that reads as alive in the frame. Your job as the photographer is to watch the movement and shoot at the right moment, not to manufacture a frozen pose.
Step 3: Watch What the Hands Do to the Whole Body
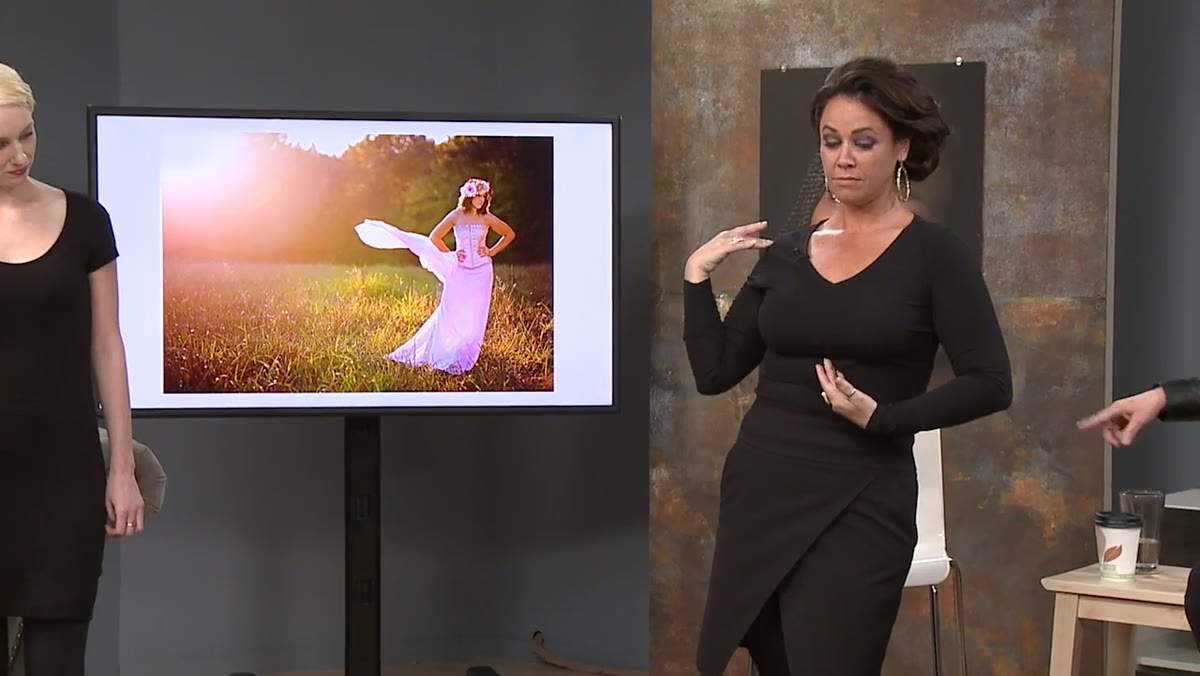 Model’s legs and knees naturally bending during arm movements
Bryce and Cantrell make a point that I’ve started using as a diagnostic on every shoot: look at what happens below the waist when the arms move. When a subject raises or sweeps their arms, the knees naturally bend, the hips shift, and the silhouette gains curves that weren’t there a moment before. The body creates shape automatically when it’s in motion.
Model’s legs and knees naturally bending during arm movements
Bryce and Cantrell make a point that I’ve started using as a diagnostic on every shoot: look at what happens below the waist when the arms move. When a subject raises or sweeps their arms, the knees naturally bend, the hips shift, and the silhouette gains curves that weren’t there a moment before. The body creates shape automatically when it’s in motion.
If you see a client whose upper body is engaged but whose lower body looks stiff and static, that’s a disconnect. Cantrell describes it bluntly as the top half of the body saying hello while the bottom half is disengaged. Use the arm movement as a trigger for full-body engagement. Cue the sweep of the hands and let gravity and balance do the rest.
Step 4: Identify Who Can Move Freely and Who Needs Structure
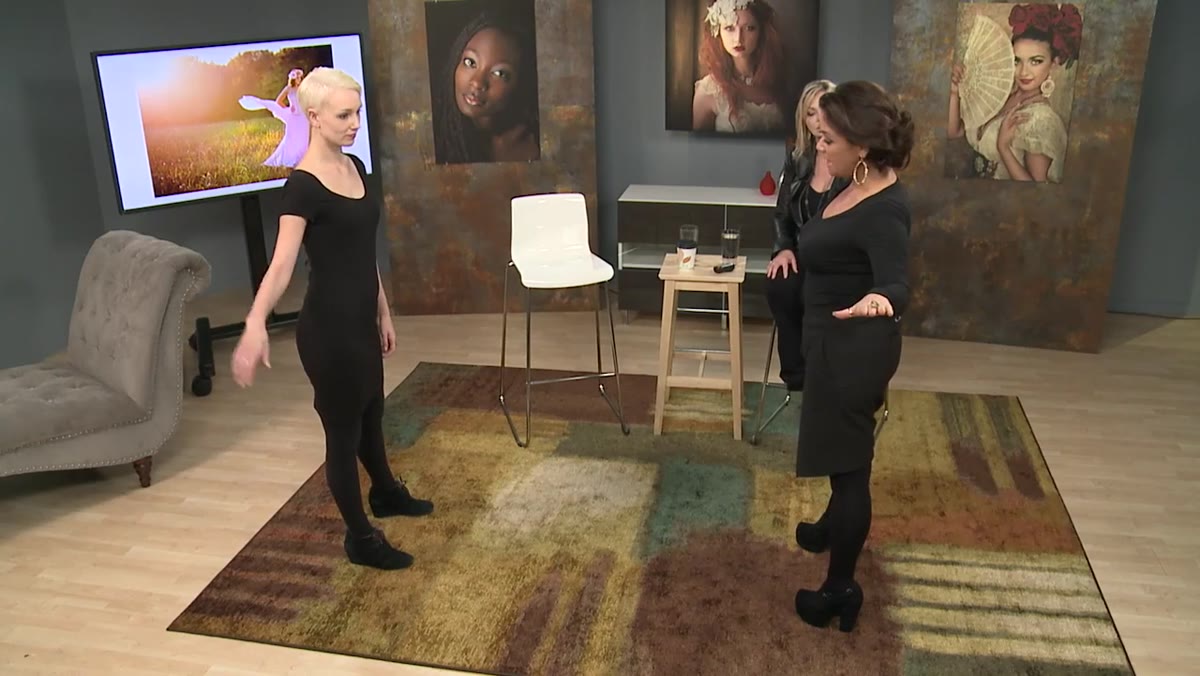
 Sue assessing model’s natural movement ability
Not every client can pull off fluid, dance-like movement. Bryce addresses this directly and without judgment. Some people have natural body awareness and can mirror your movements immediately. Others freeze up, and asking them to “just flow” produces exactly the kind of forced, uncomfortable result you’re trying to avoid.
Sue assessing model’s natural movement ability
Not every client can pull off fluid, dance-like movement. Bryce addresses this directly and without judgment. Some people have natural body awareness and can mirror your movements immediately. Others freeze up, and asking them to “just flow” produces exactly the kind of forced, uncomfortable result you’re trying to avoid.
Your first job is to assess which type of client you have within the first sixty seconds of working with them. Ask them to mirror a simple movement. Watch how they respond. If they pick it up easily, lean into it and let them move through the frame. If they stiffen or overshoot the movement, stop immediately and switch to the structured approach in the next step.
Step 5: Build Movement Through Anchored Positions
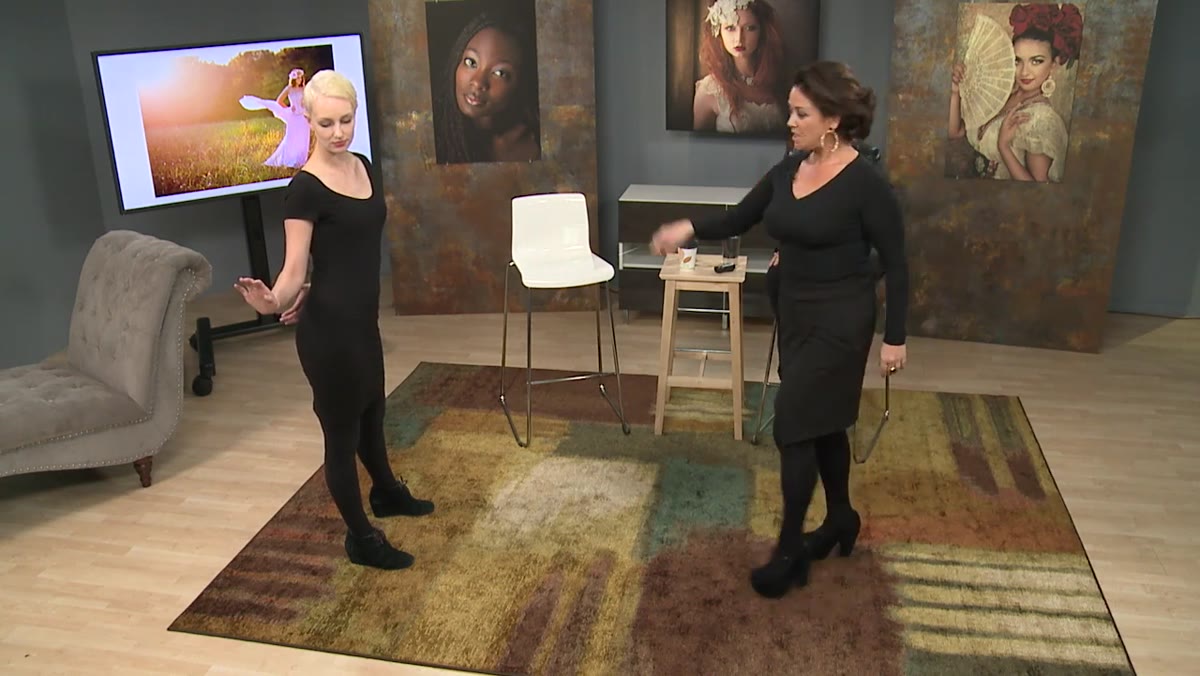
 Sue placing model’s hand and hip into specific structured pose
For clients who can’t move naturally, Bryce uses a series of anchored positions that create the illusion of movement without requiring the client to generate it themselves. The technique: kick one hip out to create a weight shift, place one hand at or near the hip with the elbow bent, palm facing down. The second arm can float slightly behind the body. Add a chin extension toward the camera and you have a frame that reads as dynamic even though the subject is essentially still.
Sue placing model’s hand and hip into specific structured pose
For clients who can’t move naturally, Bryce uses a series of anchored positions that create the illusion of movement without requiring the client to generate it themselves. The technique: kick one hip out to create a weight shift, place one hand at or near the hip with the elbow bent, palm facing down. The second arm can float slightly behind the body. Add a chin extension toward the camera and you have a frame that reads as dynamic even though the subject is essentially still.
The key detail is the palm orientation. Palm down reads as relaxed and natural. Palm up or forward reads as posed and self-aware. Bend the elbow so the arm creates a triangular negative space against the body rather than pressing flat against the side. That triangle is what gives the image shape.
Step 6: Use Environment and Fabric to Reinforce the Illusion
 Discussion of how flowing skirt enhances sense of movement
Bryce mentions this quickly but it’s worth expanding. If your subject is wearing a skirt or any fabric with movement, use a fan or have them give the fabric a small flick just before you shoot. The fabric carries the sense of motion even when the body is anchored. This is a practical tool I use on fashion and beauty shoots regularly. A small V-USB fan at floor level on a low power setting costs almost nothing and solves the “static in a moving pose” problem.
Discussion of how flowing skirt enhances sense of movement
Bryce mentions this quickly but it’s worth expanding. If your subject is wearing a skirt or any fabric with movement, use a fan or have them give the fabric a small flick just before you shoot. The fabric carries the sense of motion even when the body is anchored. This is a practical tool I use on fashion and beauty shoots regularly. A small V-USB fan at floor level on a low power setting costs almost nothing and solves the “static in a moving pose” problem.
The same principle applies to hair. If you have a fan running, the hand and hair movement don’t need to be perfectly synchronized. The camera reads multiple moving elements and registers the whole frame as alive.
A Note on Timing Your Shutter
What the tutorial doesn’t cover explicitly, but what I’ve found critical in practice, is that these techniques demand you work at a faster frame rate than you might use for a standard portrait. When you’re directing movement rather than position, the usable frame lives inside a window that can be as short as a quarter second. I shoot burst sequences of three to five frames during the movement arc and review them immediately. The best hand position almost never happens at the peak of the movement. It happens on the way up or the way down, when the wrist is relaxed and the fingers are slightly separated.
I started keeping a sketch of every posing setup in my lighting journal alongside the lighting diagrams, noting which phase of the movement produced the best hand position. After a year of doing this, patterns emerge that are specific to your shooting style and your typical clients. It’s the kind of data no tutorial can give you because it has to come from your own work.
The single most important idea in this tutorial is that a pose is not a destination, it’s a moment inside a movement. Build the movement, and the pose will present itself. Watch the full tutorial on YouTube and pay particular attention to how Bryce and Cantrell read a subject’s body in real time. That responsiveness is the actual skill being taught.
Comments
Leave a Comment