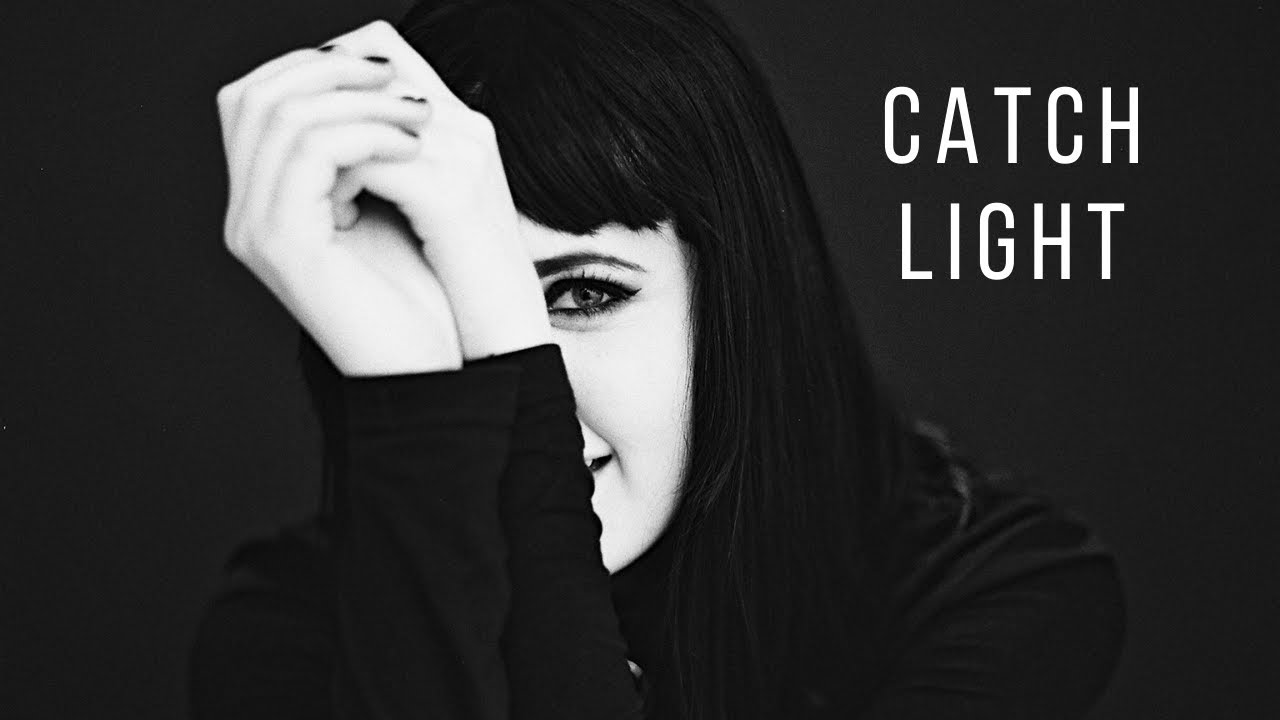
Every working photographer I know has done it. You pull up a portrait you admire, zoom straight into the eyes, squint at the catch light, and try to reconstruct the entire setup from that one bright speck. I’ve done it myself. I still have a torn magazine page in my lighting journal from years back where I traced the catch light in an Annie Leibovitz portrait and tried to map it into a diagram. I got close, but I missed two of the lights completely. The catch light simply didn’t show them.
That’s exactly the problem Daniel Norton tackles head-on in this tutorial. Watch the full tutorial on YouTube. It’s a short, focused video, but it reframes something I thought I understood and sharpened the way I diagnose both my own setups and other photographers’ work. If you’ve been reverse-engineering portraits by leading with catch lights, this will redirect your instincts toward a much more reliable method.
The core argument is straightforward: catch lights are reflections, and reflections follow the angle of incidence equals angle of reflectance rule. That means the catch light only appears when the geometry between the light, the eye, and the camera aligns just right. Change any of those variables, and the catch light disappears or distorts, even if the light itself is massive and close. Shadows, by contrast, are always there. They don’t require a perfect angle. They’re the actual record of where the light was.
Step 1: Recognize What Catch Lights Actually Are (and Aren’t)
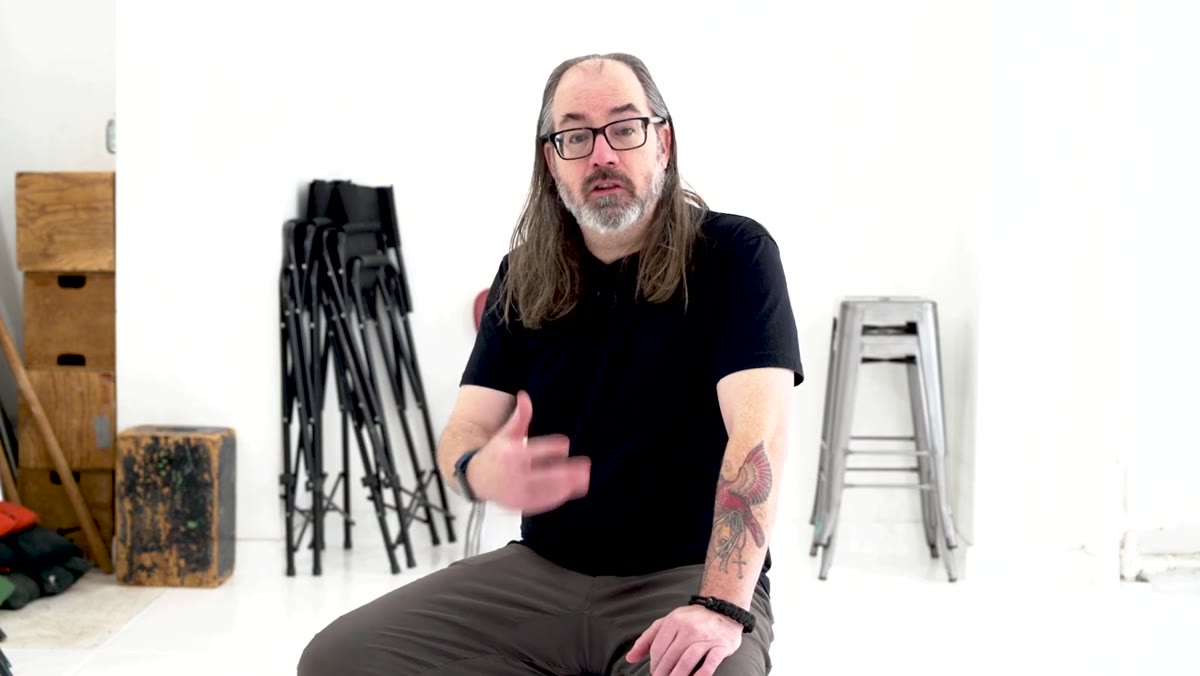 Daniel explaining reflective surface of the eye
The eye is a wet, curved, reflective surface. A catch light is simply a reflection of your light source on that surface, exactly the same way a light reflects off a chrome bumper or a glass of water. Because reflection angles are precise, a catch light only shows up when the math works out. Tilt your subject’s head a few degrees, raise your light slightly, and the catch light can vanish entirely, even from a large softbox sitting three feet from the subject’s face. This matters because it means the absence of a catch light tells you almost nothing, and even the presence of one only confirms that a particular light existed somewhere in a particular general zone, not its exact position, height, or size.
Daniel explaining reflective surface of the eye
The eye is a wet, curved, reflective surface. A catch light is simply a reflection of your light source on that surface, exactly the same way a light reflects off a chrome bumper or a glass of water. Because reflection angles are precise, a catch light only shows up when the math works out. Tilt your subject’s head a few degrees, raise your light slightly, and the catch light can vanish entirely, even from a large softbox sitting three feet from the subject’s face. This matters because it means the absence of a catch light tells you almost nothing, and even the presence of one only confirms that a particular light existed somewhere in a particular general zone, not its exact position, height, or size.
Step 2: Understand the Limits of Catch Light Diagnosis
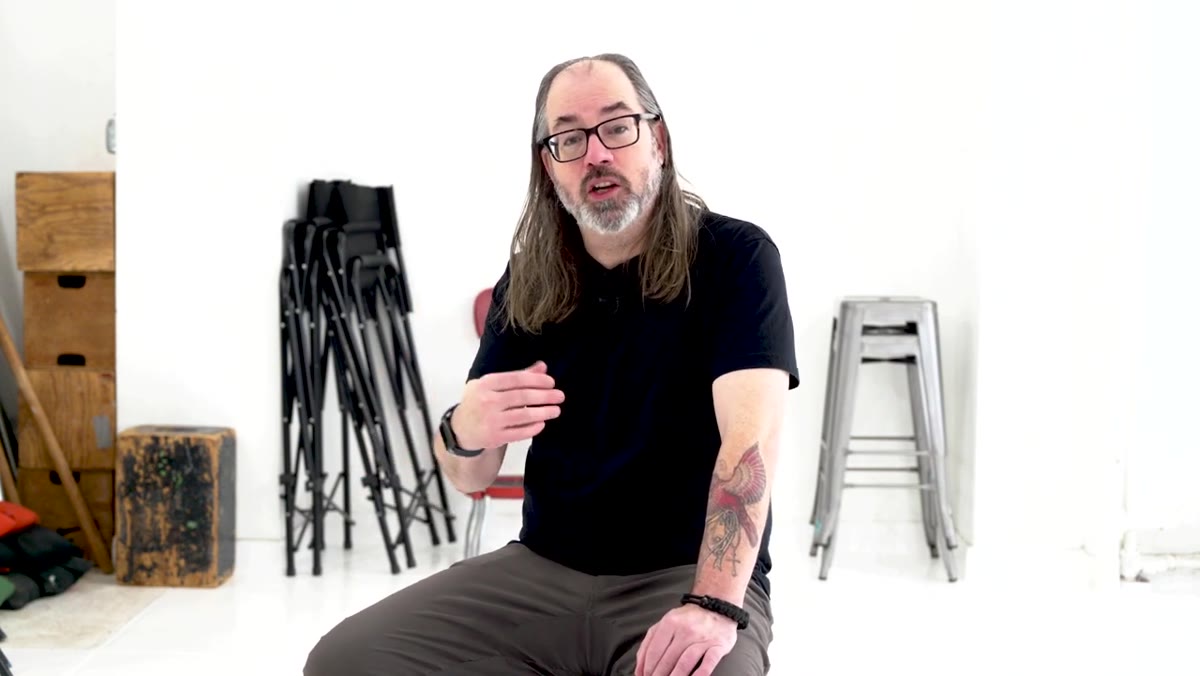 Discussion of lights not visible in catch lights
Here’s the practical problem with relying on catch lights as your primary diagnostic tool: they only capture what’s reflected in the eyes. A hair light above and behind the subject, a kicker grazing the side of a jacket, a strip light running across an arm to reveal tattoo detail, none of those show up in the iris. If a photographer is using three or four sources doing specific jobs on specific parts of the frame, the catch light might show you one of them on a good day. When I label every light in my studio with masking tape and sketch the setup afterward, I often see four or five distinct light contributions in a single frame. A catch light diagnostic would have caught maybe one.
Discussion of lights not visible in catch lights
Here’s the practical problem with relying on catch lights as your primary diagnostic tool: they only capture what’s reflected in the eyes. A hair light above and behind the subject, a kicker grazing the side of a jacket, a strip light running across an arm to reveal tattoo detail, none of those show up in the iris. If a photographer is using three or four sources doing specific jobs on specific parts of the frame, the catch light might show you one of them on a good day. When I label every light in my studio with masking tape and sketch the setup afterward, I often see four or five distinct light contributions in a single frame. A catch light diagnostic would have caught maybe one.
Step 3: Shift Your Focus to Shadows First
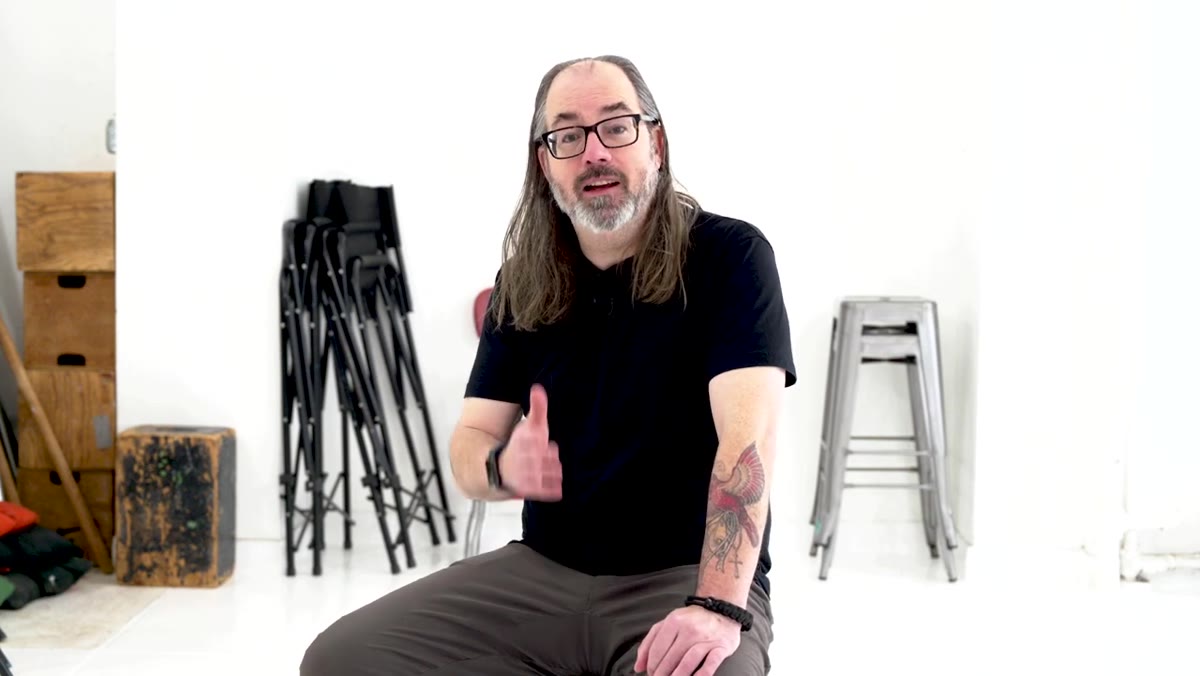 Daniel pointing to shadow direction on a portrait
Shadows are the real data. Start by identifying the direction every shadow falls. The shadow points directly away from its light source, so if the nose shadow falls toward the lower right of the frame, the key light is upper left. This is basic, but the discipline is to do it systematically, not just for the most obvious shadow. Check the shadow under the chin, the shadow the nose throws onto the upper lip, the shadow a cheekbone throws toward the jaw. Each one is a separate vector pointing back to a light source, and when you map them together you start to see the whole geometry of the setup.
Daniel pointing to shadow direction on a portrait
Shadows are the real data. Start by identifying the direction every shadow falls. The shadow points directly away from its light source, so if the nose shadow falls toward the lower right of the frame, the key light is upper left. This is basic, but the discipline is to do it systematically, not just for the most obvious shadow. Check the shadow under the chin, the shadow the nose throws onto the upper lip, the shadow a cheekbone throws toward the jaw. Each one is a separate vector pointing back to a light source, and when you map them together you start to see the whole geometry of the setup.
Step 4: Read Shadow Quality to Determine Light Size and Distance
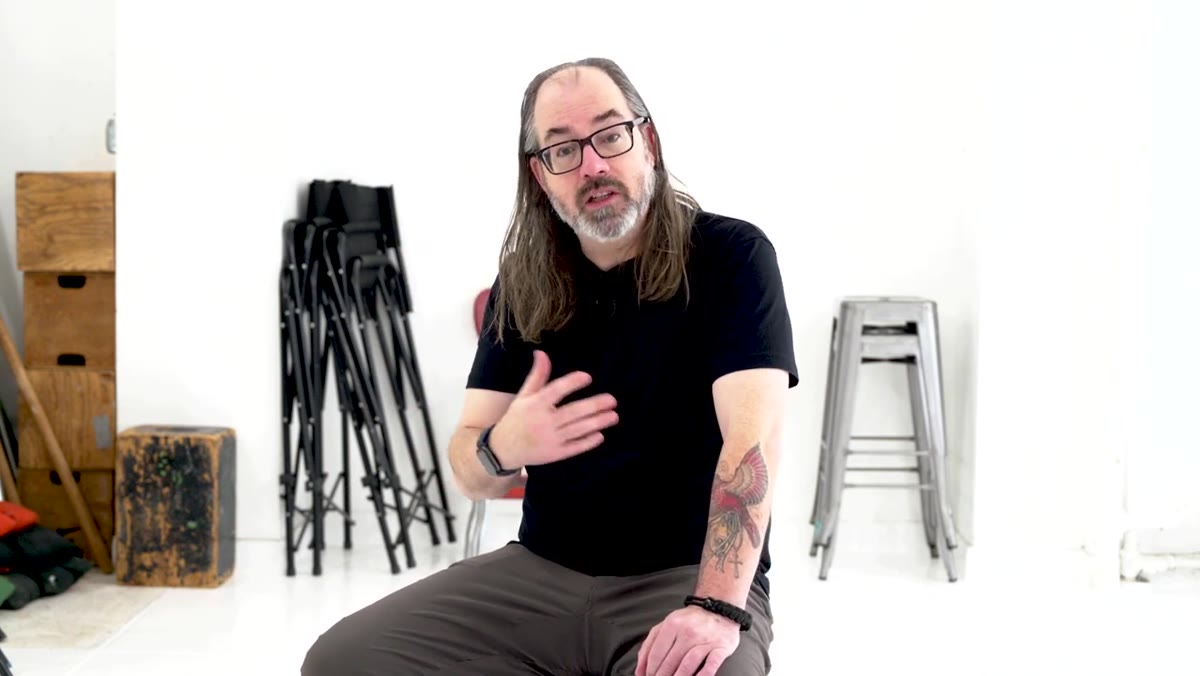 Explanation of hard vs soft shadows and light size
Once you know the direction, look at the character of each shadow edge. A sharp, high-contrast shadow with a clear defined border means a small or distant source, a bare bulb, a gridded spot, or a modifier that’s been pulled back. A soft shadow with a long gradual transition from lit to unlit means a large source close to the subject, a big octabox at arm’s length, a large parabolic, or a bounced wall. The transition zone between highlight and shadow is called the penumbra, and its width relative to the subject tells you the effective size of the light. I tested a new 47-inch octabox last year the afternoon it arrived, shooting a series of frames at different distances. The shadow edge width changed visibly at every position. That’s the variable catch lights can’t communicate at all.
Explanation of hard vs soft shadows and light size
Once you know the direction, look at the character of each shadow edge. A sharp, high-contrast shadow with a clear defined border means a small or distant source, a bare bulb, a gridded spot, or a modifier that’s been pulled back. A soft shadow with a long gradual transition from lit to unlit means a large source close to the subject, a big octabox at arm’s length, a large parabolic, or a bounced wall. The transition zone between highlight and shadow is called the penumbra, and its width relative to the subject tells you the effective size of the light. I tested a new 47-inch octabox last year the afternoon it arrived, shooting a series of frames at different distances. The shadow edge width changed visibly at every position. That’s the variable catch lights can’t communicate at all.
Step 5: Count Shadows to Count Light Sources
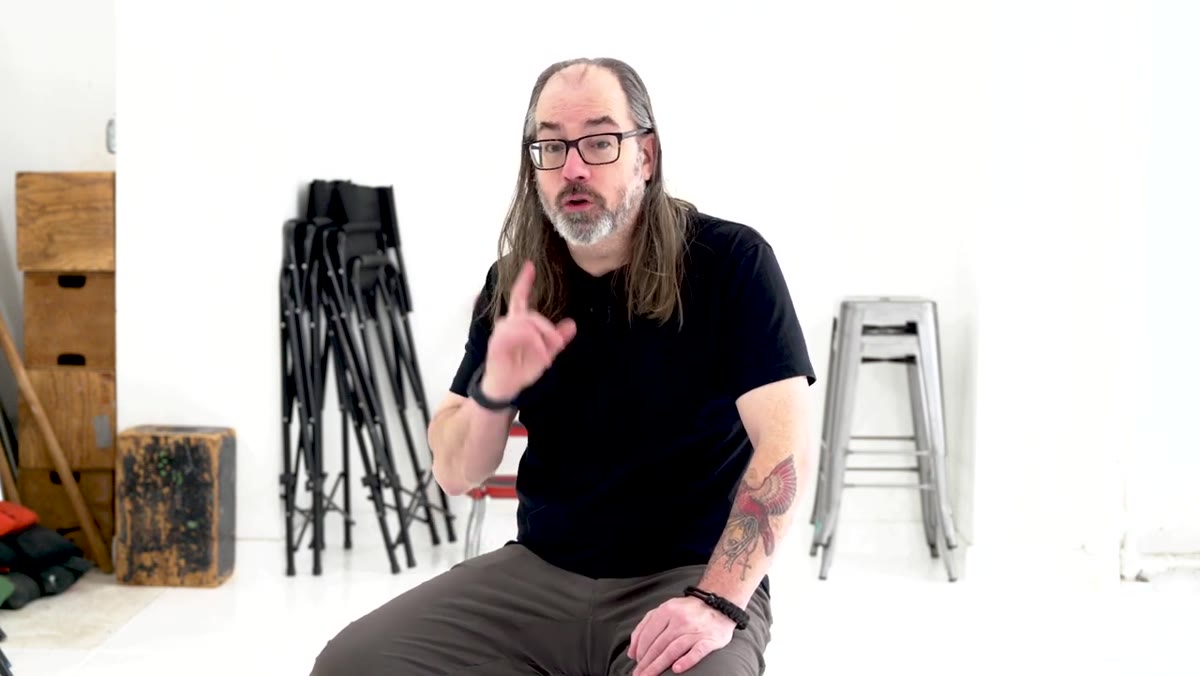 Multiple shadows indicating multiple light sources
Distinct shadows from a single feature, like the nose, pointing in different directions indicate multiple light sources. This is one of the cleanest ways to identify a multi-light setup from a finished image. A nose throwing two separate shadows at slightly different angles means two sources were contributing meaningful light from different positions. If you see a subtle second shadow that’s softer or lower in contrast than the primary one, that’s likely a fill source or a bounce card. Track every shadow in the frame, including the ones falling on the background, and you’ll often find lights the catch lights never hinted at.
Multiple shadows indicating multiple light sources
Distinct shadows from a single feature, like the nose, pointing in different directions indicate multiple light sources. This is one of the cleanest ways to identify a multi-light setup from a finished image. A nose throwing two separate shadows at slightly different angles means two sources were contributing meaningful light from different positions. If you see a subtle second shadow that’s softer or lower in contrast than the primary one, that’s likely a fill source or a bounce card. Track every shadow in the frame, including the ones falling on the background, and you’ll often find lights the catch lights never hinted at.
Step 6: Use Specular Highlights on Skin as a Secondary Check
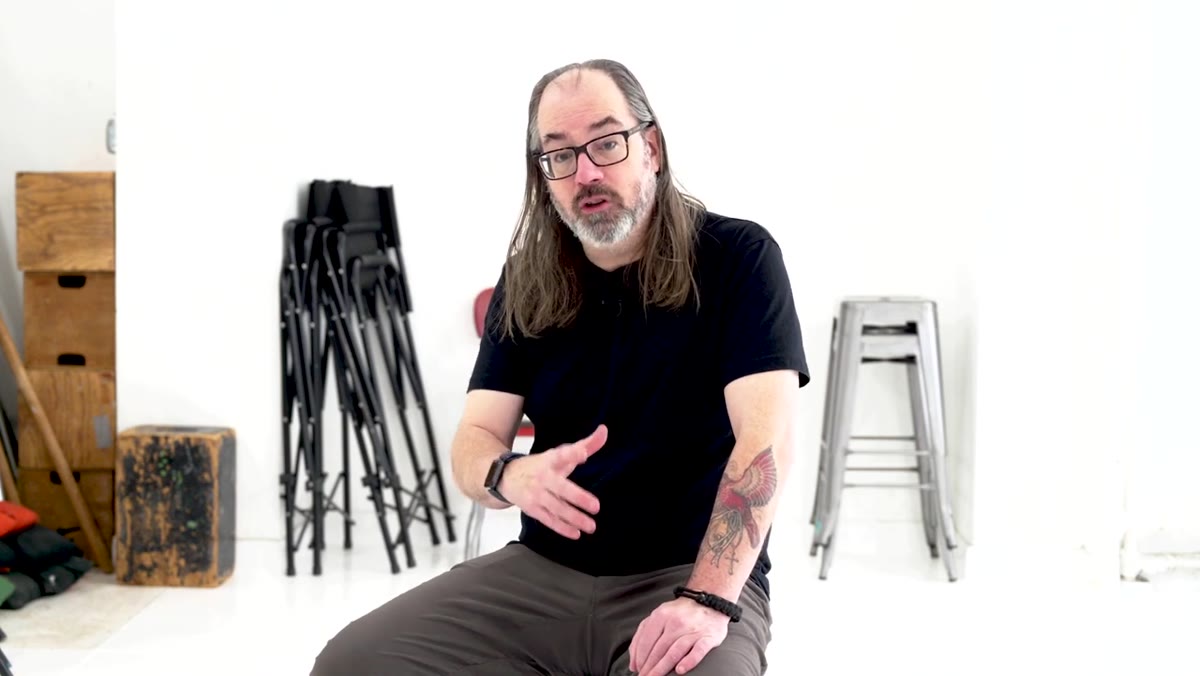 Shine on forehead and nose indicating light position
After working through shadows, specular highlights on skin surfaces like the forehead, nose bridge, and cheekbones give you a second confirmation. These highlights behave similarly to catch lights in that they’re reflective, but because they appear on a flatter, less curved surface than the eye, they tend to be more position-specific. A bright specular on the top of the nose tells you the light has significant height. A highlight running along the cheekbone tells you the source was positioned to the side. Cross-reference these with your shadow map and the picture gets sharper.
Shine on forehead and nose indicating light position
After working through shadows, specular highlights on skin surfaces like the forehead, nose bridge, and cheekbones give you a second confirmation. These highlights behave similarly to catch lights in that they’re reflective, but because they appear on a flatter, less curved surface than the eye, they tend to be more position-specific. A bright specular on the top of the nose tells you the light has significant height. A highlight running along the cheekbone tells you the source was positioned to the side. Cross-reference these with your shadow map and the picture gets sharper.
One Thing the Tutorial Doesn’t Cover: Skin Tone Changes Everything
Shadow reading gets harder when skin tone is very dark or very light, because contrast ratios behave differently across the tonal range. On darker skin, shadow transitions are often compressed in a JPEG or edited image, making soft sources look harder than they were. On very fair skin, the reverse can happen. I learned this slowly over years, but my wife, who I photograph regularly, taught me more about how light actually falls across different skin tones than any formal course I ever took. When I’m diagnosing a portrait now, I mentally adjust my shadow-edge expectations based on the subject’s tone before drawing conclusions about modifier size. It’s a calibration step worth building into your habit.
The single most useful thing to take from this tutorial is the hierarchy: shadows first, highlights second, catch lights last. Catch lights are a starting point at best, a distraction at worst. The shadow tells you direction, quality, and count, which is nearly everything you need to reconstruct or understand a lighting setup.
Watch the full tutorial on YouTube and pay attention to how Daniel frames the angle of incidence principle. Once that clicks, you’ll never look at a portrait the same way again.
Comments (4)
Would love to see a follow-up going deeper into this topic.
Just subscribed. If the rest of your content is this good, I'm in.
Quality content like this is rare. Keep it up.
Would love to see a follow-up going deeper into this topic.
Leave a Comment