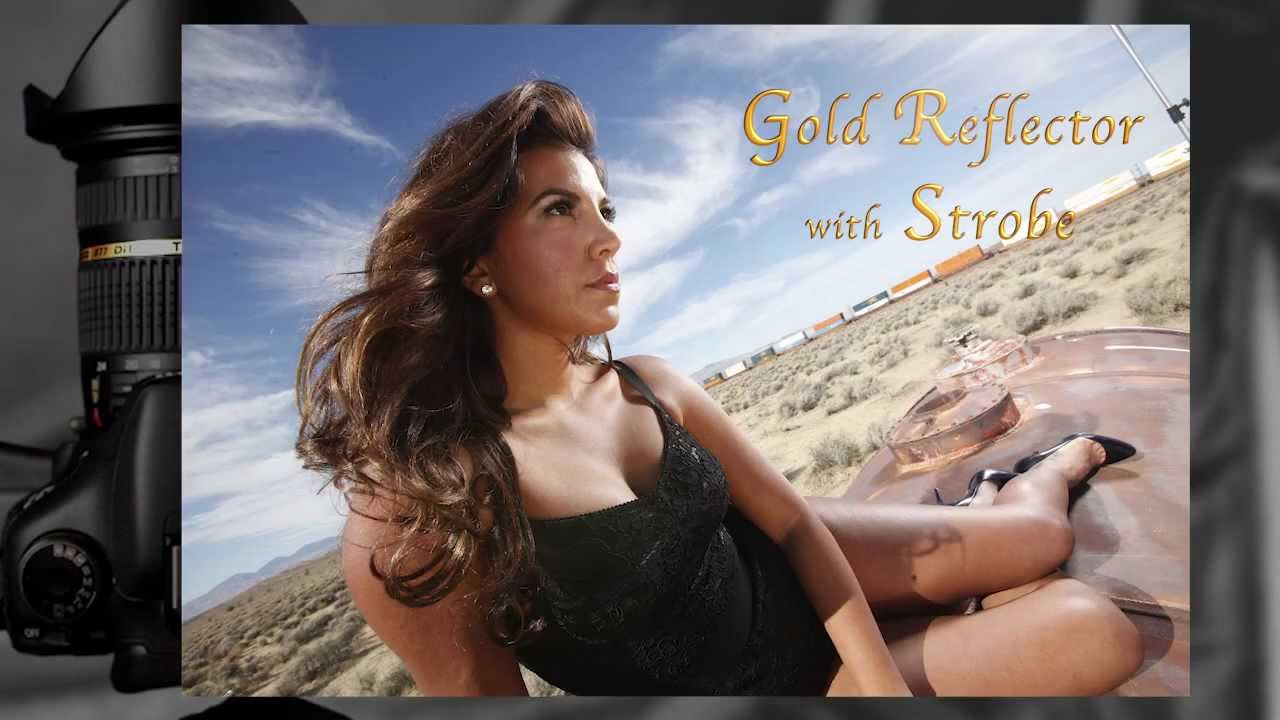
There’s a specific frustration that comes up on almost every outdoor portrait shoot, and if you’ve been doing this long enough, you know exactly what I mean. You meter for the sky, and your subject goes dark. You expose for your subject, and the sky blows out. You’re constantly trading one problem for another, and no amount of reflector-wrangling fully closes the gap. It’s the kind of thing that used to derail my editorial work before I got disciplined about treating ambient and artificial light as two separate, controllable variables rather than one problem to compromise on.
In this The Slanted Lens tutorial, JP Morgan walks through a practical location workflow he developed shooting model Liz Hernandez in the desert. The core idea is straightforward but easy to undervalue: start with a reflector, identify what it can and cannot do, and then add a single strobe only where the reflector falls short. What looks like a two-light setup actually functions as a three-light rig because the sun is always doing something, whether you account for it or not. The discipline is in deciding what job each source gets.
I sketched this setup into my lighting journal the first time I watched it, and it changed how I think about run-and-gun location work. Here’s how to execute it step by step.
Step 1: Meter for the Background First
 Meter reading showing f20 at 1/100th, sky behind subject
Before you touch a reflector or a strobe, take your ambient reading from the background. JP meters f/20 at 1/100th of a second at ISO 100 to lock in a deep blue sky with defined clouds. That’s your anchor. Everything else you add, your reflector, your strobe, is layered on top of that exposure. If you set your camera to the ambient reading and your subject is too dark, that’s not a failure. That’s diagnostic information telling you exactly how much work your supplemental light needs to do.
Meter reading showing f20 at 1/100th, sky behind subject
Before you touch a reflector or a strobe, take your ambient reading from the background. JP meters f/20 at 1/100th of a second at ISO 100 to lock in a deep blue sky with defined clouds. That’s your anchor. Everything else you add, your reflector, your strobe, is layered on top of that exposure. If you set your camera to the ambient reading and your subject is too dark, that’s not a failure. That’s diagnostic information telling you exactly how much work your supplemental light needs to do.
This is the step most photographers skip because they’re already thinking about their modifier placement. Don’t skip it. Your background exposure does not move once you’ve set it.
Step 2: Try the Reflector Alone First
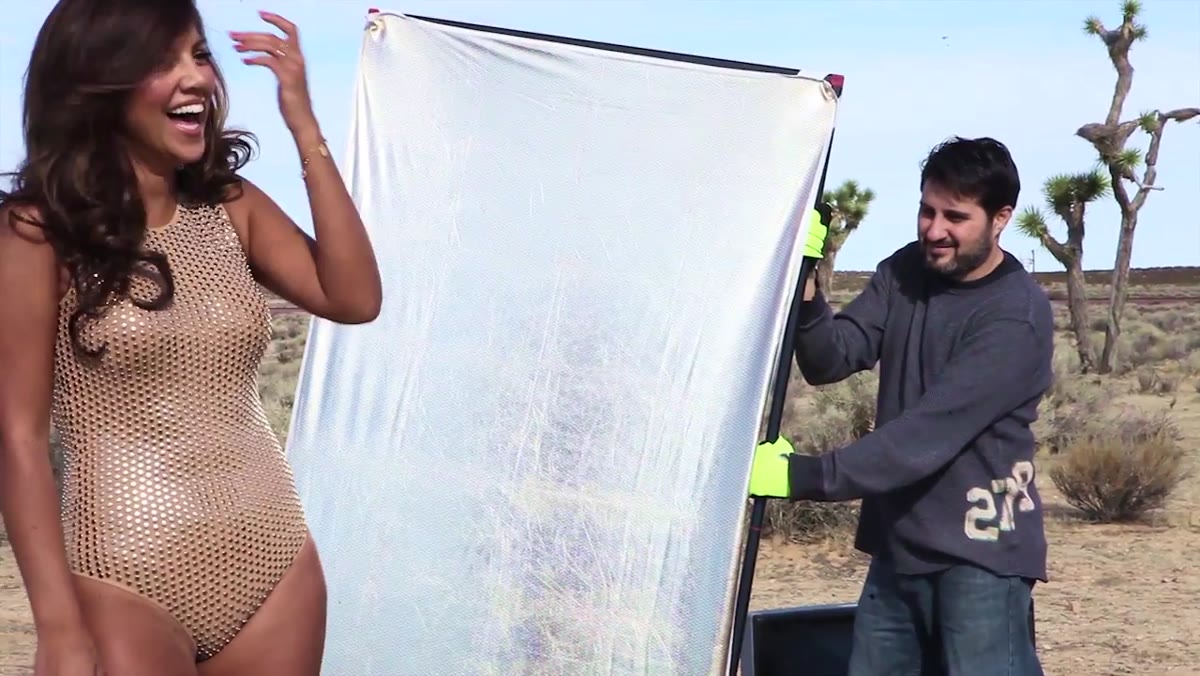
 Reflector positioned facing subject in outdoor desert location
Position a reflector to bounce available light onto your subject’s face and take a test shot. The goal here isn’t to get the final image. The goal is to see whether the reflector can serve as a key light or whether it can only function as fill. In the desert setup, even with the reflector bouncing hard sunlight, Liz’s face didn’t open up enough to match the background exposure. The reflector gave a usable fill, but not a key.
Reflector positioned facing subject in outdoor desert location
Position a reflector to bounce available light onto your subject’s face and take a test shot. The goal here isn’t to get the final image. The goal is to see whether the reflector can serve as a key light or whether it can only function as fill. In the desert setup, even with the reflector bouncing hard sunlight, Liz’s face didn’t open up enough to match the background exposure. The reflector gave a usable fill, but not a key.
Knowing that distinction matters because it tells you exactly what role the strobe needs to play. If the reflector can key, you don’t need a strobe at all. If it can’t, the strobe becomes the key and the reflector steps down to fill. Don’t pick up the strobe before you’ve had this conversation with your reflector.
Step 3: Add the Strobe as Key Light with a Beauty Dish
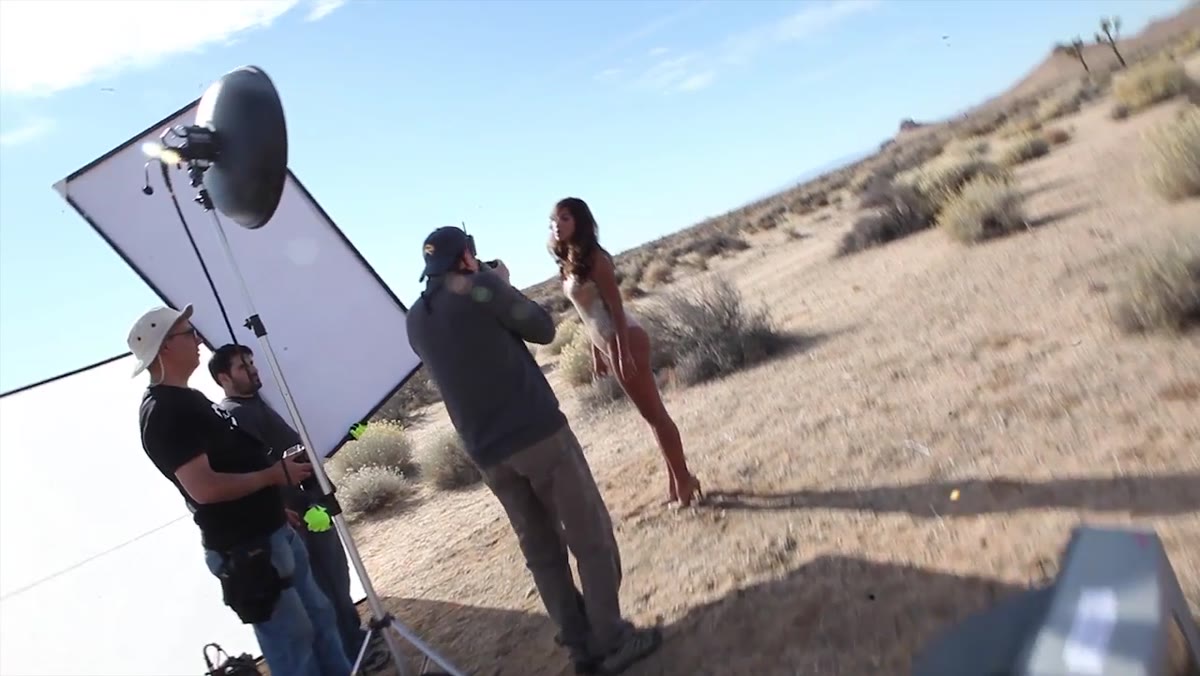 Beauty dish on strobe head positioned at subject’s face
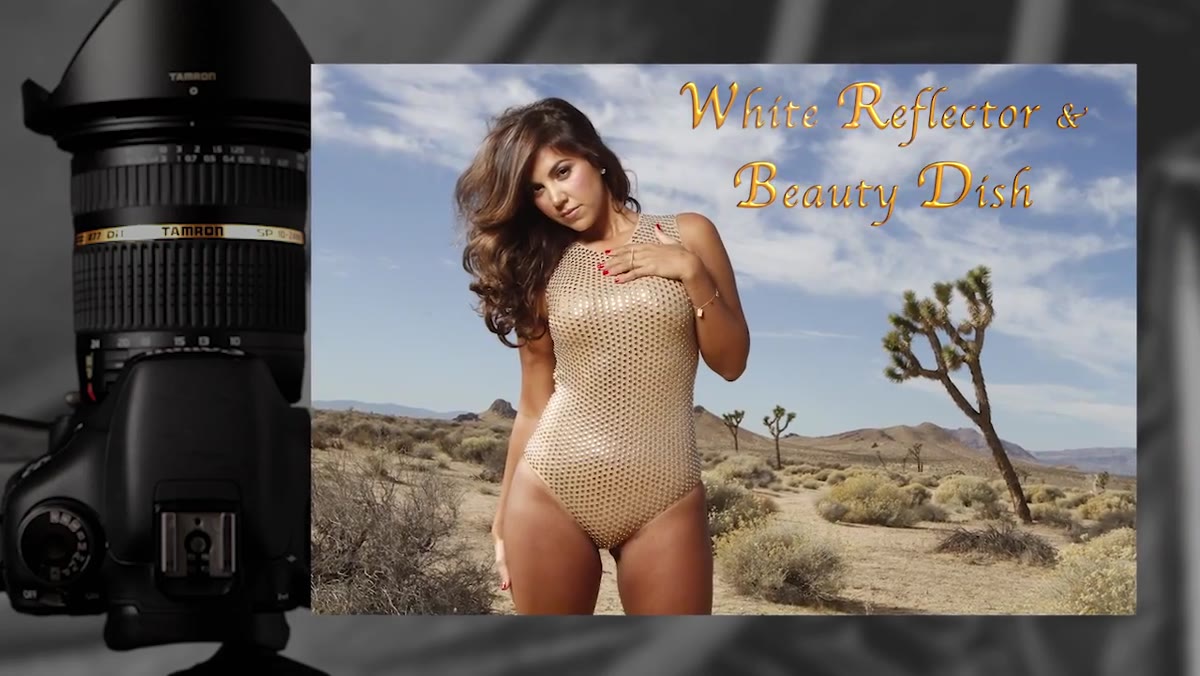
JP runs a beauty dish on half power with no grid. That combination gives you a broad, slightly-wrapped light that flatters the face without going flat. At f/20, half power on a pack like the Hensel Porty is enough to bring the subject’s face up to match the locked-in sky exposure without any alteration to your camera settings.
Beauty dish on strobe head positioned at subject’s face
JP runs a beauty dish on half power with no grid. That combination gives you a broad, slightly-wrapped light that flatters the face without going flat. At f/20, half power on a pack like the Hensel Porty is enough to bring the subject’s face up to match the locked-in sky exposure without any alteration to your camera settings.
The beauty dish without a grid spreads light over the face and down the body, which reads as natural and cohesive in a full-length desert shot. If you switch to a gridded beauty dish, you contain the light to the face, and the subject’s legs and lower body fall into relative shadow. That’s a stylistic choice, not a mistake, but it’s worth knowing before you commit.
Step 4: Let the Reflector Handle Fill
 Reflector positioned on shadow side of subject as fill
Once the strobe is keying, reposition your reflector to the shadow side of the subject. At this point you have a genuine three-light setup: strobe as key, reflector as fill, and sun as a rim or backlight wrapping the subject’s shoulders and hair. The sun’s rim is free, it’s already there, but you have to position your subject to use it. Face the subject slightly away from the sun so the light catches the edge of the face and separates the subject from the background.
Reflector positioned on shadow side of subject as fill
Once the strobe is keying, reposition your reflector to the shadow side of the subject. At this point you have a genuine three-light setup: strobe as key, reflector as fill, and sun as a rim or backlight wrapping the subject’s shoulders and hair. The sun’s rim is free, it’s already there, but you have to position your subject to use it. Face the subject slightly away from the sun so the light catches the edge of the face and separates the subject from the background.
The ratio between the strobe and the reflector determines how much dimension the face has. A silver reflector gives you a harder, brighter fill. A white reflector softens and reduces the fill-to-key ratio for a more even result.
Step 5: Flip the Hierarchy When the Scene Calls for It
 Subject repositioned with sun as key, strobe moved to rim position
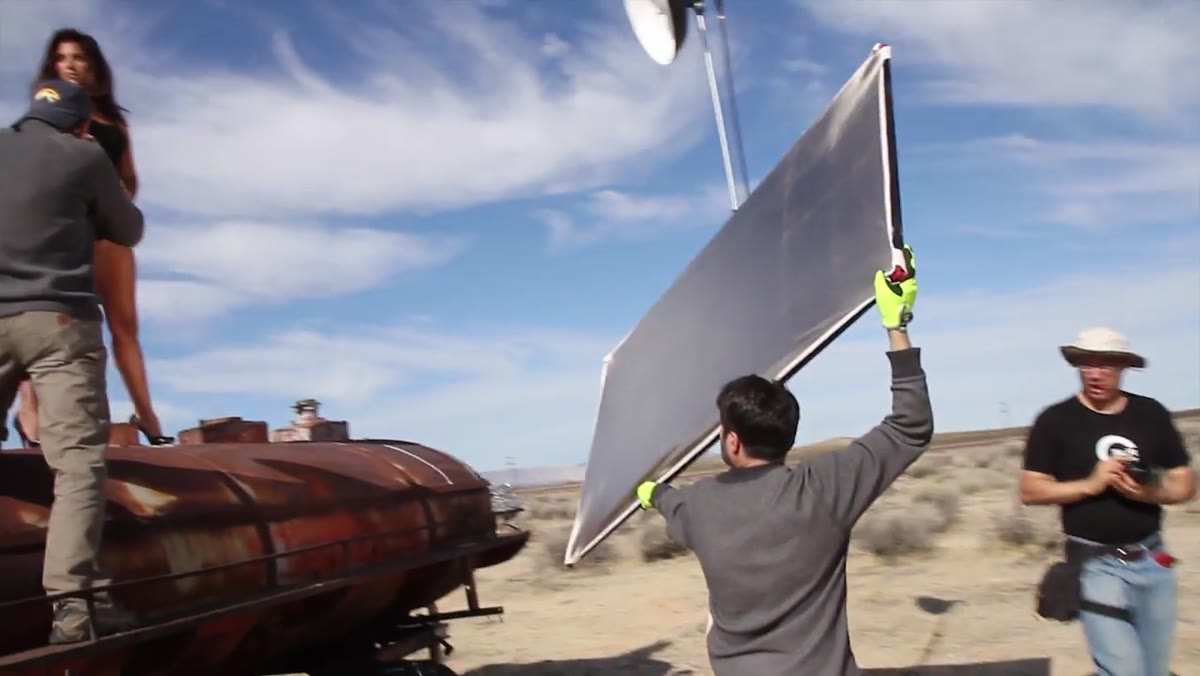
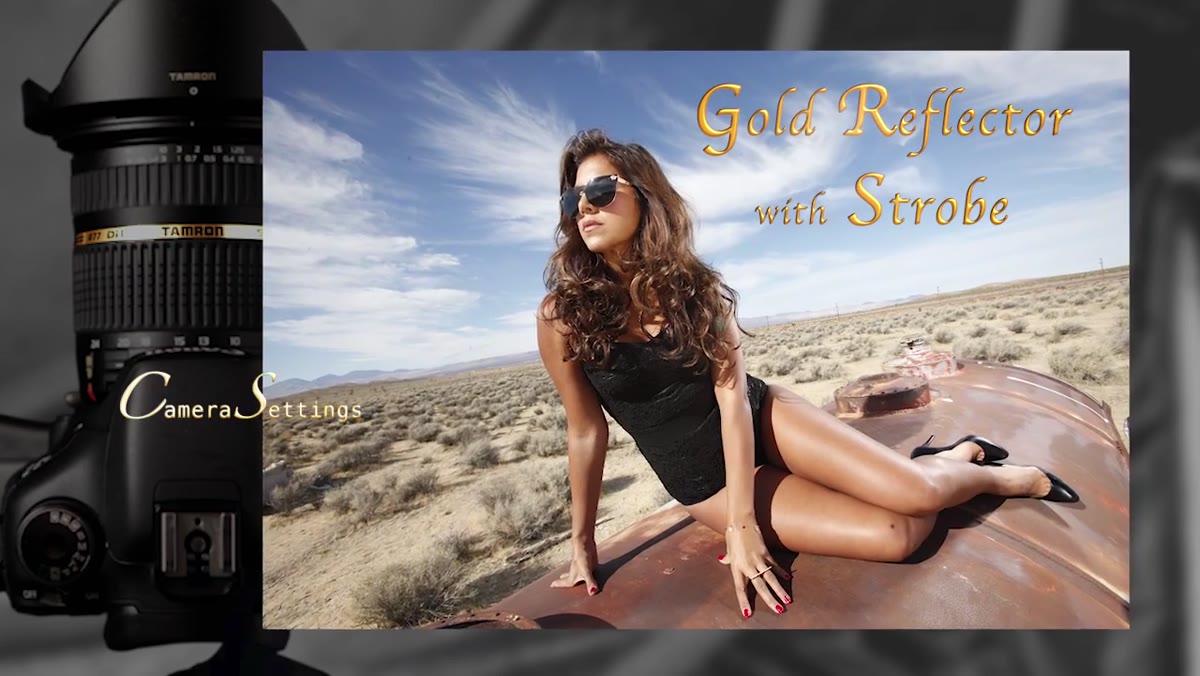
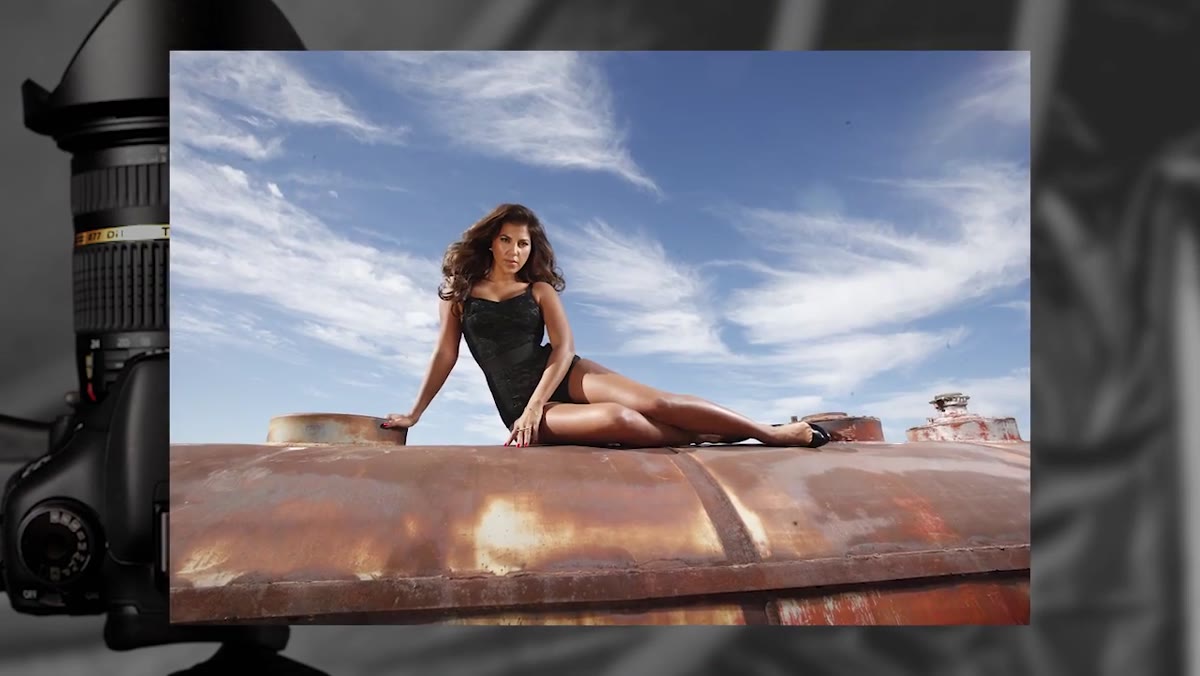
This is the part of the workflow I find most useful on unpredictable locations. Once you understand that any of your three sources can serve any of the three roles (key, fill, rim), you can adapt in seconds when the light shifts. JP demonstrates this by repositioning the strobe to act as a rim while letting the sun function as the key and using a gold reflector to warm up the fill side.
Subject repositioned with sun as key, strobe moved to rim position
This is the part of the workflow I find most useful on unpredictable locations. Once you understand that any of your three sources can serve any of the three roles (key, fill, rim), you can adapt in seconds when the light shifts. JP demonstrates this by repositioning the strobe to act as a rim while letting the sun function as the key and using a gold reflector to warm up the fill side.
The gold reflector adds color temperature that complements warm desert sunlight. It also gives you a wide working zone. As the subject turns toward or away from the sun, there’s a broad range of positions where the light still reads well on her face. That flexibility is exactly what you need when you’re working fast outdoors and the sun is moving.
Step 6: Choose Your Pack for Portability
 Hansel Porty pack being handled on location
Battery-powered packs make this entire workflow viable. JP uses the Hensel Porty, which is lightweight and doesn’t require a power outlet. On location, being tethered to a generator or a wall changes everything about how you move and where you can shoot. A self-contained battery pack with a single head means you pick it up and go. Two or three reflectors and one strobe head is all you need to cover most lighting scenarios outdoors.
Hansel Porty pack being handled on location
Battery-powered packs make this entire workflow viable. JP uses the Hensel Porty, which is lightweight and doesn’t require a power outlet. On location, being tethered to a generator or a wall changes everything about how you move and where you can shoot. A self-contained battery pack with a single head means you pick it up and go. Two or three reflectors and one strobe head is all you need to cover most lighting scenarios outdoors.
If you’re already working with TTL flash, that can work too, though you give up some precision over the exact power-to-ambient ratio. Whatever system you use, the principle stays the same. Know your tool’s output well enough to dial it in fast.
What I’d Add from My Own Work
The one thing JP doesn’t get into, and understandably so given the pace of the shoot, is color temperature management between the strobe and the reflector. In my experience, a silver reflector bouncing direct desert sun skews warmer than you expect, and if your strobe is dialed to daylight balance, you can end up with a subtle but noticeable temperature mismatch between the key and fill sides of the face. I ruined an early editorial job by ignoring color temperature entirely and it’s something I calibrate for on every location now. A light amber gel on the strobe, or choosing a white instead of silver reflector, can keep both sides consistent. It’s worth a test shot before the subject is in front of the camera.
The single most valuable idea in this workflow is the diagnostic sequence: meter the background, test the reflector alone, then decide what job the strobe gets. That order stops you from defaulting to artificial light before you’ve understood what the available light is already doing. It makes your lighting decisions intentional rather than reactive.
Watch the full tutorial on YouTube to see the actual before-and-after frames and the setup shots that show exactly where JP positions each element relative to the subject.
Comments (1)
The before and after really sells it. Incredible difference.
Leave a Comment