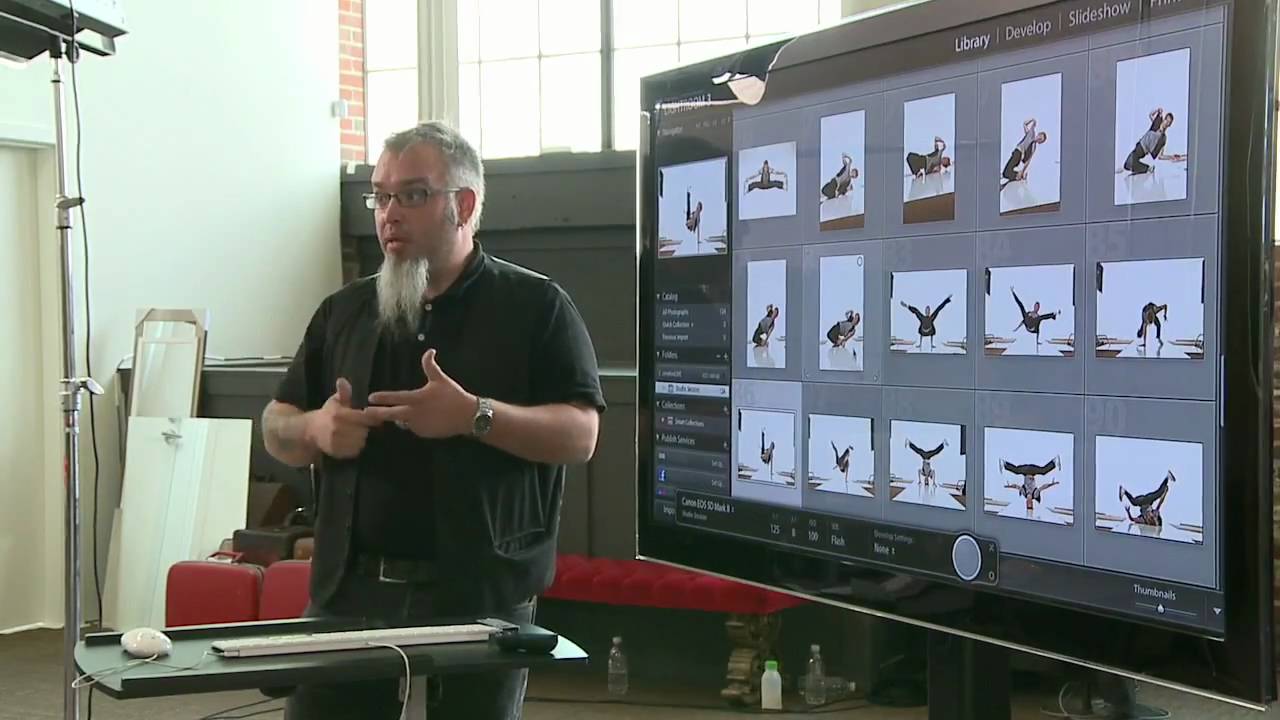
There’s a specific kind of frustration that doesn’t show up until you’re mid-shoot and the moment you needed is already gone. You fire, the light didn’t recycle, and the frame that comes back is either dark or flat. You assume you missed the pose. You ask your subject to reset. You try again. But the real problem isn’t the pose — it’s that your strobe couldn’t keep up with you. I’ve watched this happen to photographers who are technically solid, compositionally sharp, and still walking away from shoots with nothing usable because their gear had a ceiling they didn’t know about.
Watch the full tutorial on YouTube
In this CreativeLive tutorial, Zack Arias and Chase Jarvis get into exactly this problem during a candid, fast-moving conversation about shooting styles, strobe performance, and what happens when a job demands more than your current kit can deliver. It’s one of those discussions that sounds casual but contains real professional logic underneath. What follows is my breakdown of the core technique and gear thinking they lay out, translated into something you can actually apply before your next shoot.
Step 1: Understand What Recycle Rate Actually Means in Practice
 Zack explaining motor drive limitations with strobe sync
Recycle rate is the time it takes for a strobe to fully recharge between flashes. At its most basic, that sounds like a technical spec you read on a box. In practice, it’s the difference between capturing a sequence and capturing a single frame while the rest of your burst is underexposed. When you’re shooting on a motor drive at eight or nine frames per second, a strobe that recycles in one to two seconds is useless for anything but static subjects. You’ll fire once, get your light, and then shoot dark frames until the unit catches up.
Zack explaining motor drive limitations with strobe sync
Recycle rate is the time it takes for a strobe to fully recharge between flashes. At its most basic, that sounds like a technical spec you read on a box. In practice, it’s the difference between capturing a sequence and capturing a single frame while the rest of your burst is underexposed. When you’re shooting on a motor drive at eight or nine frames per second, a strobe that recycles in one to two seconds is useless for anything but static subjects. You’ll fire once, get your light, and then shoot dark frames until the unit catches up.
This matters most when movement is involved. Portraits of seated subjects give you time. Action, sport, and sequential narrative shots do not. Before you even pick up a modifier or think about ratios, ask yourself: does the job require one peak moment or a series of moments? Your answer changes everything about which gear belongs on set.
Step 2: Know the Difference Between Budget and Professional Strobes Under Pressure
 Discussion of Broncolor strobes keeping up with nine frames per second
Arias is direct about this without being dismissive. Budget monolights like Alien Bees are genuinely good tools. They’re durable, affordable, and replaceable. He describes being comfortable throwing them in checked luggage because losing one isn’t a financial disaster. But there is a measurable performance gap between a $300 unit and a $3,000 pack-and-head system, and that gap becomes visible the moment you need continuous, consistent light output at high shooting speeds.
Discussion of Broncolor strobes keeping up with nine frames per second
Arias is direct about this without being dismissive. Budget monolights like Alien Bees are genuinely good tools. They’re durable, affordable, and replaceable. He describes being comfortable throwing them in checked luggage because losing one isn’t a financial disaster. But there is a measurable performance gap between a $300 unit and a $3,000 pack-and-head system, and that gap becomes visible the moment you need continuous, consistent light output at high shooting speeds.
The professional systems Arias and Jarvis reference, specifically Broncolor and Profoto, are designed to maintain consistent color temperature and power output across rapid sequential firing. That consistency is the part photographers often overlook. It’s not just that they fire faster. It’s that the light quality doesn’t degrade between frames. When you’re stitching a sequence in post or delivering a high-end client job, inconsistent color shifts between frames will cost you hours in retouching or, worse, cost you the client.
Step 3: Match Your Strobe to Your Shooting Style, Not Just Your Budget
 Zack describing methodical posing versus Chase’s fast action work
One of the most useful observations in this conversation is that shooting style determines gear requirements as much as budget does. Jarvis notes that Arias shoots methodically. He works carefully through poses, communicates with his subject, and fires deliberately. That approach is compatible with a wider range of strobes because there’s time between frames. The light recycles. No problem.
Zack describing methodical posing versus Chase’s fast action work
One of the most useful observations in this conversation is that shooting style determines gear requirements as much as budget does. Jarvis notes that Arias shoots methodically. He works carefully through poses, communicates with his subject, and fires deliberately. That approach is compatible with a wider range of strobes because there’s time between frames. The light recycles. No problem.
Jarvis describes his own work in the opposite direction. Chasing athletes across the sky in New Zealand, needing to be ready at 1/1000th of a second, tracking unpredictable motion. That job requires strobes that respond without hesitation, every single time. Neither approach is better. But being honest about which category your work falls into is how you stop blaming your images for what is actually a gear mismatch.
Step 4: Design Sequences Intentionally Rather Than Hoping for a Peak Moment
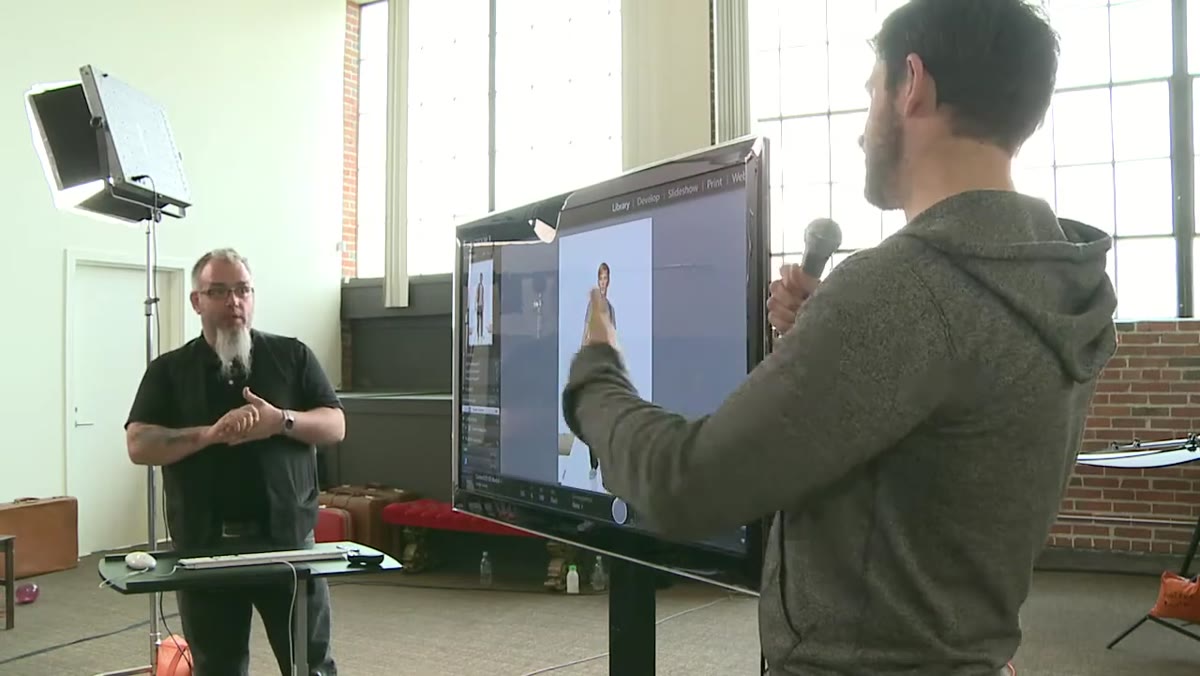 Explaining the SanDisk snowboarder sequence shot with motor drive
The SanDisk snowboarder project Jarvis describes is a good model for thinking about sequential photography. The goal wasn’t to capture one perfect frame. It was to capture a continuous arc of motion that could be stitched into a composite. Shooting for a sequence requires you to plan the lighting so it works across a range of positions in the frame, not just one sweet spot. That means wider coverage, sometimes multiple strobes tracking a subject’s path, and a recycle rate that genuinely keeps pace with your camera’s burst speed.
Explaining the SanDisk snowboarder sequence shot with motor drive
The SanDisk snowboarder project Jarvis describes is a good model for thinking about sequential photography. The goal wasn’t to capture one perfect frame. It was to capture a continuous arc of motion that could be stitched into a composite. Shooting for a sequence requires you to plan the lighting so it works across a range of positions in the frame, not just one sweet spot. That means wider coverage, sometimes multiple strobes tracking a subject’s path, and a recycle rate that genuinely keeps pace with your camera’s burst speed.
The key decision they made was to motor drive through the entire action rather than anticipate a single peak and fire once. That approach produces more usable raw material and smoother transitions in post. It also puts more pressure on your lighting setup to perform consistently across every frame. If you’re planning a composite or a motion sequence for a client, build your lighting diagram around the movement path first, then work backward to the gear you need.
Step 5: Recognize When a Job Is Telling You to Upgrade
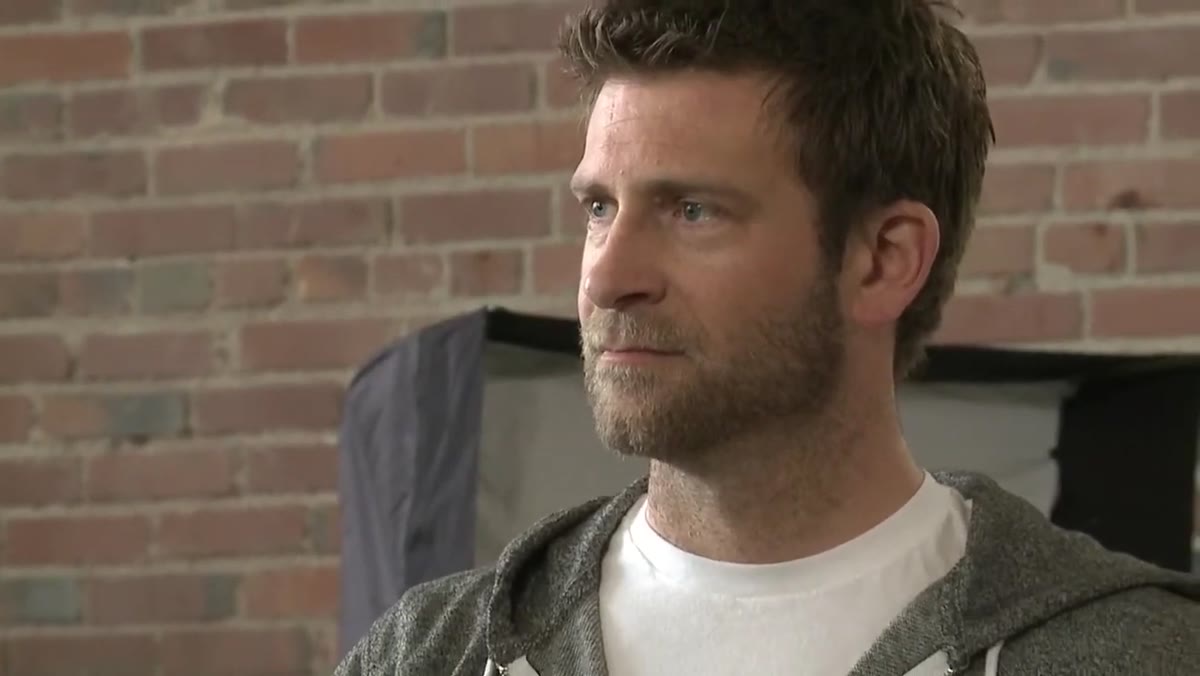 Zack saying “I need new lights” when a demanding job arrives
Arias says something that stuck with me: when a job shows up that your current gear can’t handle, that’s not a crisis. That’s information. A request for a snowboarding sequence shot under strobe at high frame rate is a clear signal. The lights you use for headshots in a controlled studio environment are probably not the right tool.
Zack saying “I need new lights” when a demanding job arrives
Arias says something that stuck with me: when a job shows up that your current gear can’t handle, that’s not a crisis. That’s information. A request for a snowboarding sequence shot under strobe at high frame rate is a clear signal. The lights you use for headshots in a controlled studio environment are probably not the right tool.
The practical move is to either rent the gear that fits the job or be upfront with the client about what the shoot requires. I keep a lighting journal sketched from every setup I’ve done, and one of the columns I’ve started adding is a note about where the gear showed a limitation. Over time, that log becomes a clear argument for what to invest in next. You’re not guessing. You’re reading your own shoot history.
What I’d Add From My Own Studio Work
The conversation between Arias and Jarvis focuses mostly on action and location work, which makes sense given the context. But recycle rate failures happen in the studio too, and they’re subtler and therefore easier to miss. When I’m shooting a tight beauty sequence for a cosmetics client, trying to capture micro-expressions or the exact moment a smile breaks naturally, a half-second of recycle lag is enough to miss it. I’ve started treating recycle rate as part of my pre-production checklist alongside color temperature calibration and power settings. If the job involves any real spontaneity from a subject, even in a controlled environment, I want to know my lights will fire every single time I press the shutter.
Budget gear absolutely has a place. I still use workhorse monolights for fill and background work where consistency under pressure isn’t the priority. But the main light on any shoot where timing matters needs to be something I can trust to keep up with me.
The single most important idea in this tutorial is deceptively simple: know what your gear will and won’t do before the job, not during it. Every limitation you discover on set is one you could have addressed in pre-production. Spend time with your equipment. Fire it at full burst. Test the recycle under real conditions. That knowledge is what separates a photographer who gets the shot from one who gets close.
Watch the full tutorial on YouTube
Comments (3)
The tip about strobe recycle rates are killi was the missing piece for me. Thank you.
This is the kind of content that keeps me coming back.
Couldn't agree more. I've seen this make a huge difference in compositing work specifically.
Leave a Comment