There are problems in commercial studio work that nobody warns you about until they cost you a job. Time-lapse is one of them. Clients ask for it more than they used to, especially for social content and behind-the-scenes brand work, and the default assumption is that you just point the camera at something and let it run. What they don’t account for is the complexity that comes when you want to control the light completely, which is every studio shooter’s instinct. Natural light time-lapse is forgiving because the light source moves on its own. Artificial light time-lapse is a different animal. You are making every decision, and those decisions compound over two hours.
In this The Slanted Lens tutorial, Jay P. Morgan builds a candle-and-clock scene in studio using three strobes, a motorized shuttle pod, and a specific aperture technique that solves one of the most common DSLR time-lapse failures. I watched this one twice and sketched the whole rig into my lighting journal because the logic behind each light placement is exactly the kind of thinking I try to bring to set. Here is how the setup works, step by step.
Step 1: Design the Scene Around a Story, Not Just a Subject
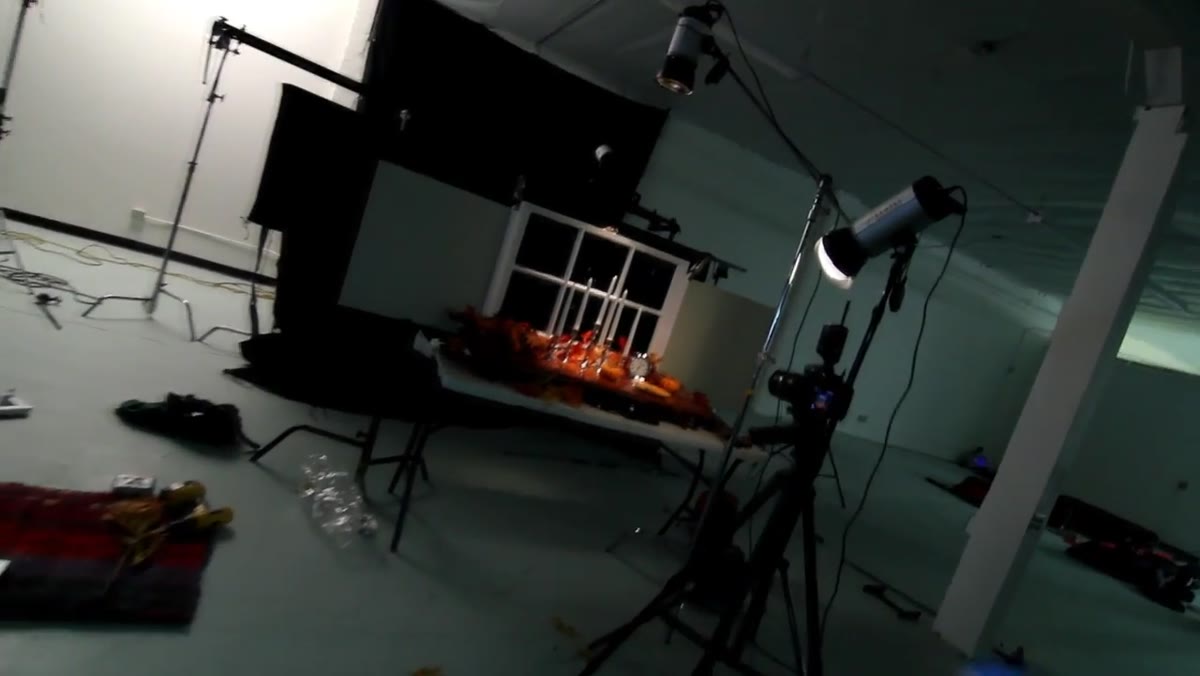 Candelabras and clock arranged on a table in studio
Before a single light goes up, the scene needs a reason for the light to exist. In this setup, the concept is a moonlit interior at night, with candles burning down over time and a clock face rotating through two hours. Every lighting decision flows from that fiction. The moon is outside. The candles are the primary interior source. The clock needs to be legible. That hierarchy gives you your three lights before you even open a case.
Candelabras and clock arranged on a table in studio
Before a single light goes up, the scene needs a reason for the light to exist. In this setup, the concept is a moonlit interior at night, with candles burning down over time and a clock face rotating through two hours. Every lighting decision flows from that fiction. The moon is outside. The candles are the primary interior source. The clock needs to be legible. That hierarchy gives you your three lights before you even open a case.
This is how I approach any atmospheric studio build. I write down what the light source is supposed to be in the scene, and then I reverse-engineer which modifier and placement mimics that source most convincingly. Label each light’s role before you set it up, not after.
Step 2: Place the Key Light Directly Overhead to Simulate Candle Flame
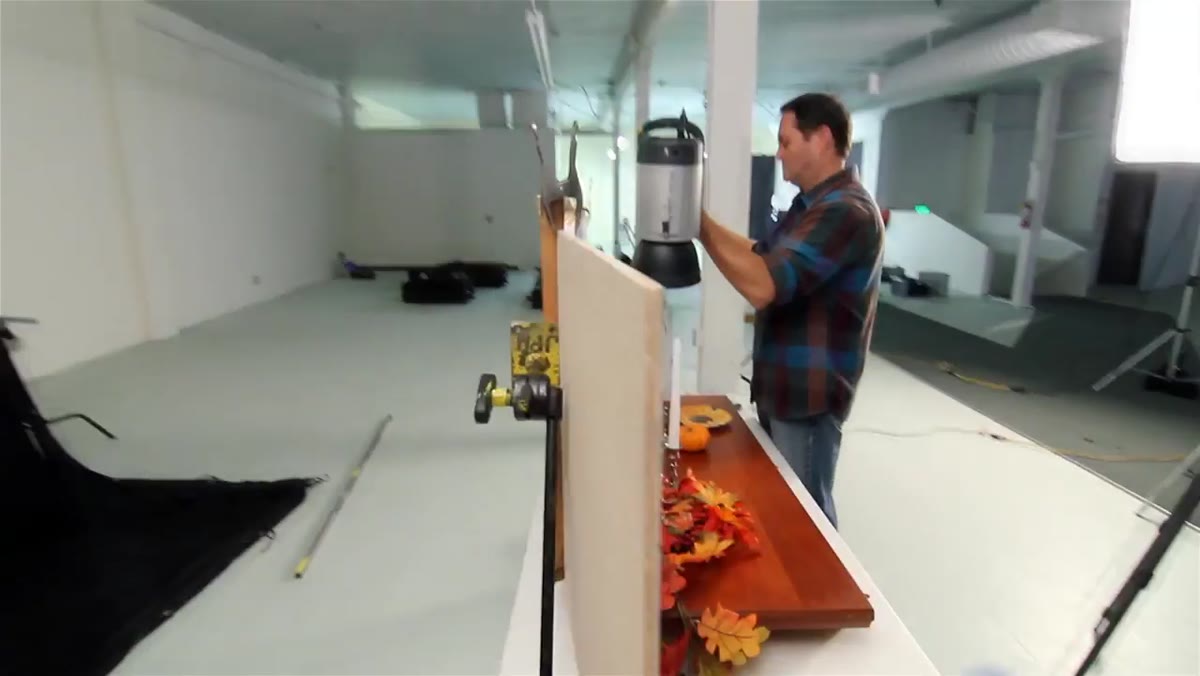 Hensel 500W monoblock positioned overhead with grid attached
The first light is a Hensel 500W monoblock mounted directly overhead the candelabras, fitted with a grid. The grid is doing two things here. It controls spill so the light pools tightly around the candles, and it forces the shadow to fall straight down rather than at an angle. That straight-down shadow is the visual cue that sells the illusion. If the light drifts even slightly to one side, the shadow angle reads as wrong to the eye, and the fiction collapses.
Hensel 500W monoblock positioned overhead with grid attached
The first light is a Hensel 500W monoblock mounted directly overhead the candelabras, fitted with a grid. The grid is doing two things here. It controls spill so the light pools tightly around the candles, and it forces the shadow to fall straight down rather than at an angle. That straight-down shadow is the visual cue that sells the illusion. If the light drifts even slightly to one side, the shadow angle reads as wrong to the eye, and the fiction collapses.
I have a piece of masking tape on every light stand in my studio with the modifier currently on it written in marker. When I swap a grid for a beauty dish, I update the tape. It sounds obsessive, but on a long shoot where you’re checking camera angles and running intervalometer tests, you don’t want to be walking back to the light to remember what’s on it.
Step 3: Add a Secondary Light to Illuminate a Specific Detail
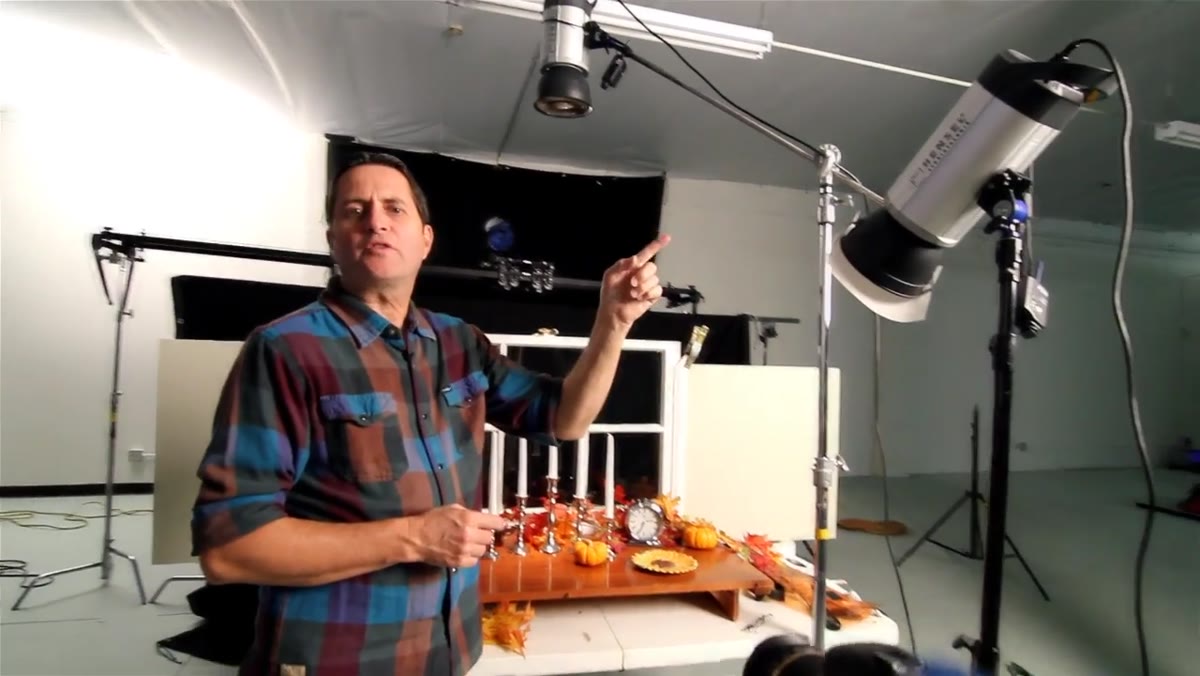 Hensel 1000W monoblock aimed at clock face, dialed low
The second light is a Hensel 1000W monoblock, also fitted with a grid, aimed specifically at the clock face. It is dialed significantly down because the goal is not drama, it is legibility. The clock needs to be readable across two hours of footage without competing with the candle pool. A gridded head at low power lets you target one surface without affecting the ambient character of the scene.
Hensel 1000W monoblock aimed at clock face, dialed low
The second light is a Hensel 1000W monoblock, also fitted with a grid, aimed specifically at the clock face. It is dialed significantly down because the goal is not drama, it is legibility. The clock needs to be readable across two hours of footage without competing with the candle pool. A gridded head at low power lets you target one surface without affecting the ambient character of the scene.
This is a principle I use constantly in product work. Separation lights and detail lights are almost always running at 1/4 to 1/8 of your key power. Their job is to let the camera see something, not to look like a light source. If you can tell where the light is coming from in the final image, it is probably too bright.
Step 4: Mount a Moving Light on a Motorized Dolly to Simulate the Moon
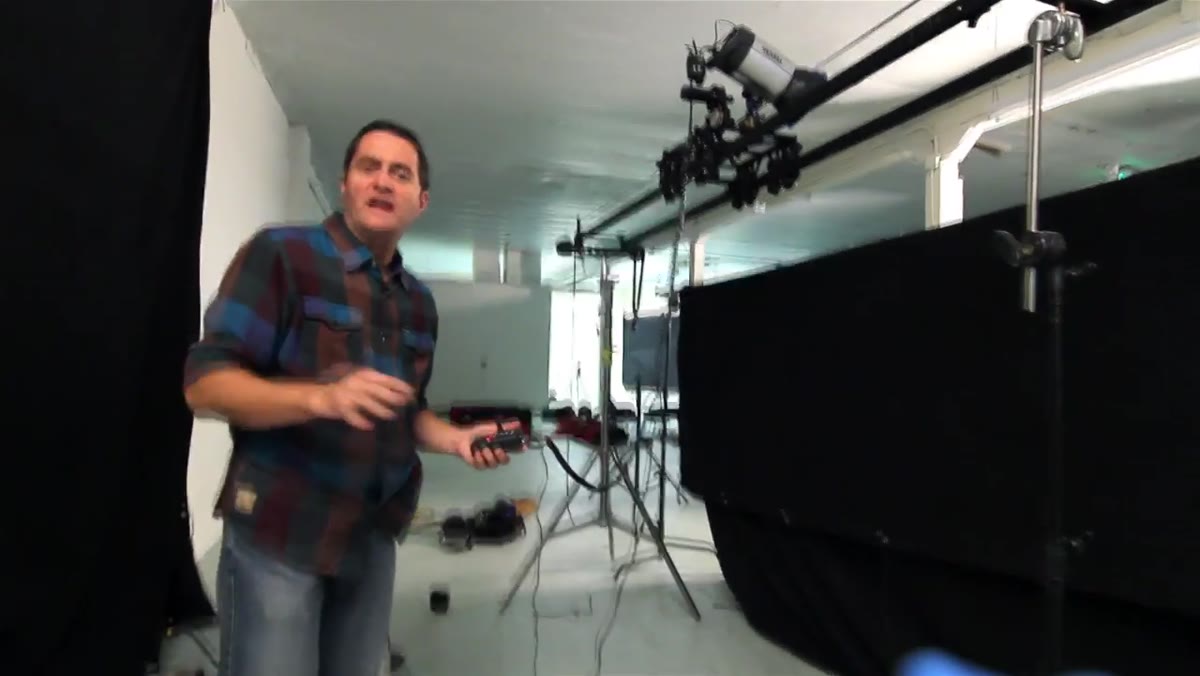 Hensel 500W on Kessler shuttle pod, blue light traveling across scene
The third light is where the setup gets genuinely interesting. Another Hensel 500W monoblock is mounted on a Kessler shuttle pod, a motorized camera slider repurposed as a light mover. As the time-lapse runs, this light travels slowly across the back of the scene, casting moving shadows from the candelabras onto the floor and walls. The effect reads as moonlight drifting through a window.
Hensel 500W on Kessler shuttle pod, blue light traveling across scene
The third light is where the setup gets genuinely interesting. Another Hensel 500W monoblock is mounted on a Kessler shuttle pod, a motorized camera slider repurposed as a light mover. As the time-lapse runs, this light travels slowly across the back of the scene, casting moving shadows from the candelabras onto the floor and walls. The effect reads as moonlight drifting through a window.
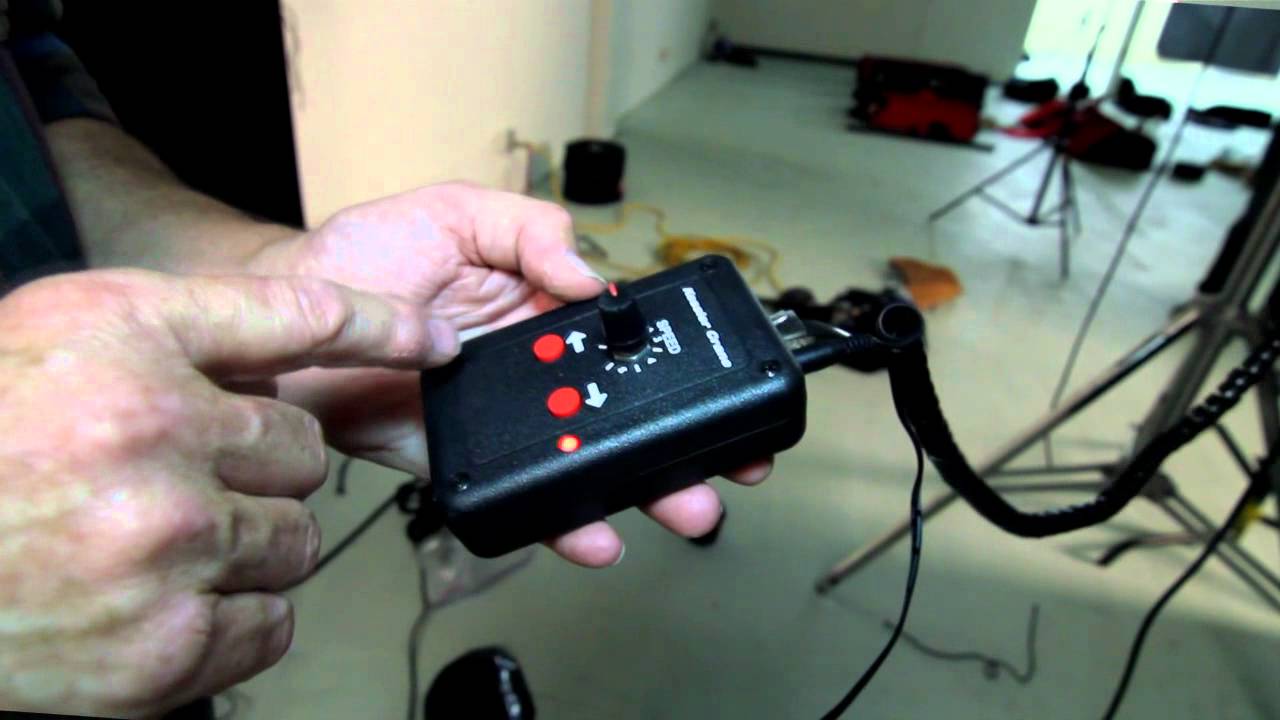
The shuttle pod speed is set between the one and two positions on the controller, timed to complete the full traverse in roughly two hours to match the candle burn time. I would test this with a stand-in object and a stopwatch before committing to a full shoot. Getting the timing wrong means your moon finishes its pass in the first 40 minutes of a 2-hour time-lapse, and you are left with a flat scene for the back half.
Step 5: Set Your Interval and Prepare the Candles
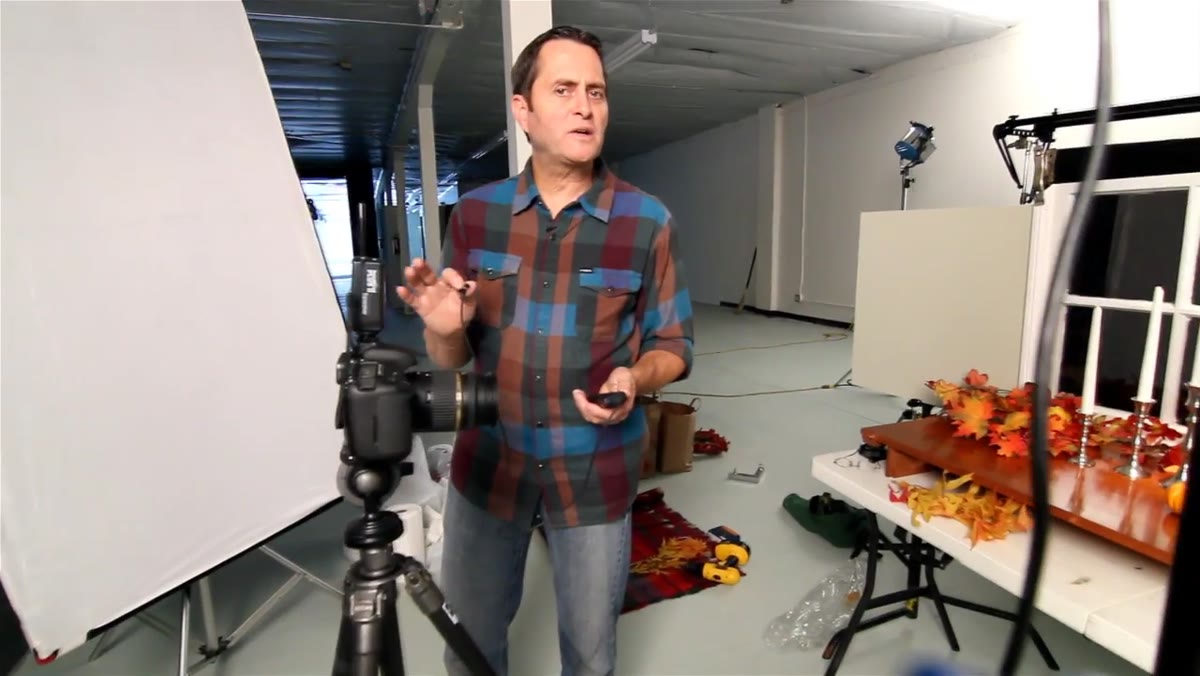 Intervalometer set to 5-second intervals on camera
The camera is set to fire every five seconds. For a two-hour burn, that gives you 1,440 frames, which plays back at roughly two minutes of footage at 24fps. Before starting, the candles are shaved down on their backs to accelerate the burn rate. Full, untouched candles burn too slowly to show meaningful change across the shoot window.
Intervalometer set to 5-second intervals on camera
The camera is set to fire every five seconds. For a two-hour burn, that gives you 1,440 frames, which plays back at roughly two minutes of footage at 24fps. Before starting, the candles are shaved down on their backs to accelerate the burn rate. Full, untouched candles burn too slowly to show meaningful change across the shoot window.
This is practical problem-solving, not a hack. Time-lapse is about compressing change into a watchable duration. If the change is too slow to register, you end up with footage where nothing appears to happen. Test your candle burn rate with a timer before you lock the camera down.
Step 6: Lock Your Aperture to Eliminate Flicker
 Photographer holding depth-of-field preview button while rotating lens
This is the most technically important step in the entire tutorial, and it is the one most shooters skip until they ruin a sequence. On DSLR cameras, the aperture blades open and close on every single exposure. Over hundreds of frames, tiny mechanical inconsistencies mean the aperture does not land in exactly the same position each time. The result is exposure flicker in the final time-lapse, a strobing quality that is extremely difficult to fix in post.
Photographer holding depth-of-field preview button while rotating lens
This is the most technically important step in the entire tutorial, and it is the one most shooters skip until they ruin a sequence. On DSLR cameras, the aperture blades open and close on every single exposure. Over hundreds of frames, tiny mechanical inconsistencies mean the aperture does not land in exactly the same position each time. The result is exposure flicker in the final time-lapse, a strobing quality that is extremely difficult to fix in post.
The solution is to lock the aperture open mechanically. Set your exposure, hold the depth-of-field preview button to close the aperture to your working f-stop, and while holding that button, press the lens release button and rotate the lens slightly out of its mount. The aperture blades stay physically locked at your chosen stop. Verify your exposure once more, then shoot. When you are done, seat the lens fully before moving anywhere. A lens that is not fully locked can fall off during transport.
My Own Addition: Test the Full Two-Hour Run Before Committing
I always run a 10-minute proxy test before starting any long time-lapse, especially one with moving elements. Set everything as you plan to shoot it, run the intervalometer, let the shuttle pod travel a fraction of its total distance, and play back the frames. You will catch flicker problems, you will see if the moving light is casting unexpected shadows in the wrong part of the frame, and you will find out if your motorized dolly is moving smoothly or stuttering. Ten minutes of test footage has saved me from wasting a two-hour setup more than once.
The single most important idea in this tutorial is that studio time-lapse is a lighting design problem first and a camera settings problem second. Every creative choice, the overhead pool, the detail light, the traveling moon, exists to serve a scene that has an internal logic. Get that logic right, lock your aperture, and the camera can mostly take care of itself.
Watch the full tutorial on YouTube to see the final footage and all three lights in action across the full burn.
Comments (2)
This is exactly what I needed today. Been struggling with this for weeks.
My workflow just got 10x faster. Not even kidding.
Leave a Comment