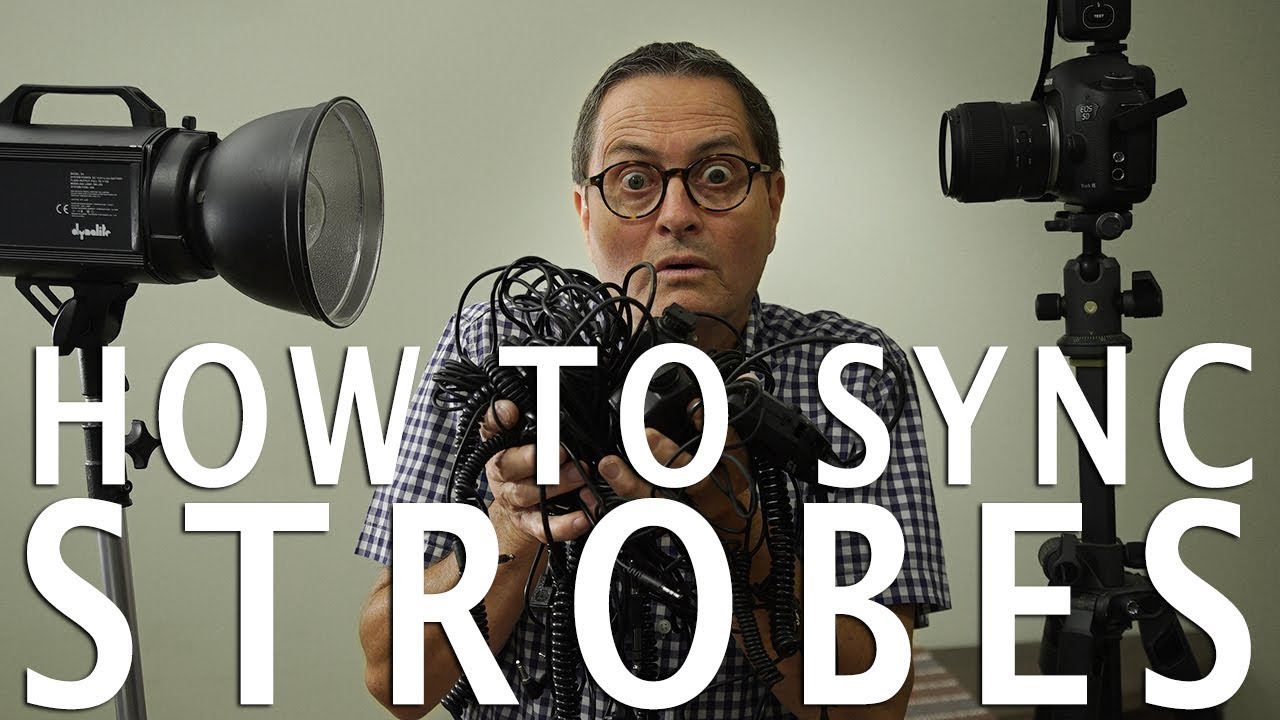
Every working studio photographer has a story about the shoot where their lights refused to cooperate. Mine involved a fashion client, three Profoto heads, and a radio trigger with a dying battery I hadn’t checked. The strobes fired maybe one frame in five. I smiled through it, shot tethered so the client could see something on the laptop, and fixed it in the next lighting setup. What I needed that day wasn’t more gear knowledge – I needed a cleaner mental framework for understanding how sync actually works and what to reach for when things go sideways.
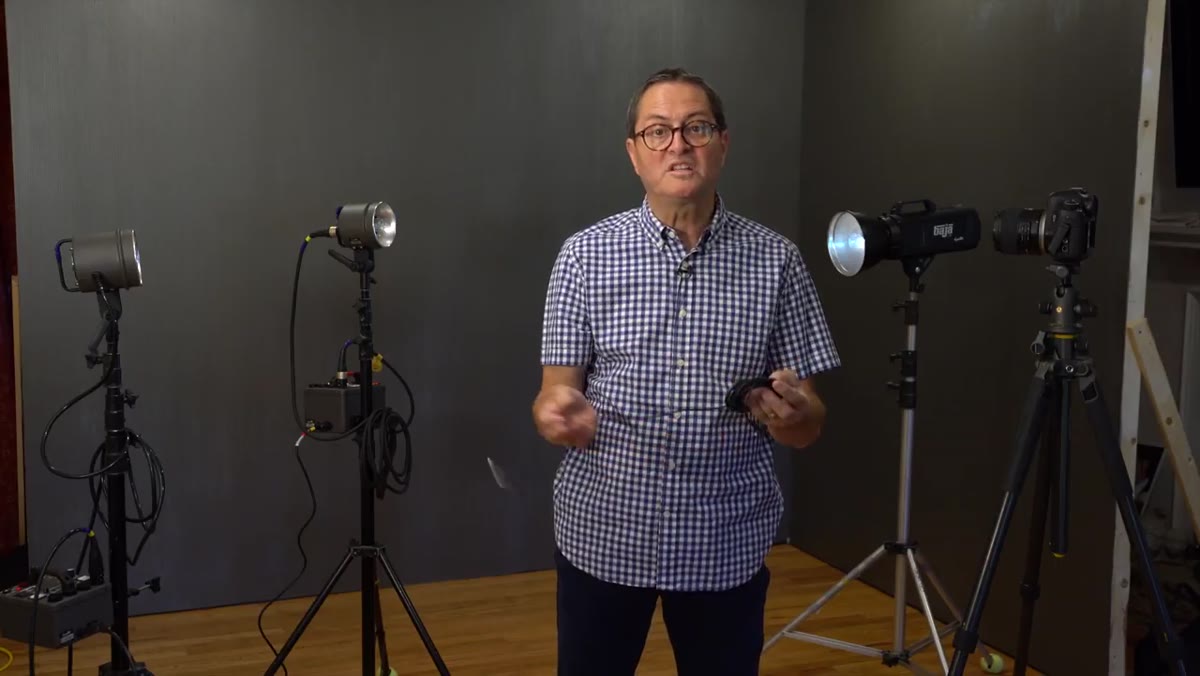
That’s exactly what Jay P. Morgan covers in this The Slanted Lens tutorial on syncing strobes to your camera. Watch the full tutorial on YouTube. Morgan walks through three practical methods with real strobes in a real studio environment, and the way he frames the pros and cons of each is genuinely useful – not a spec sheet reading, but a working photographer’s honest assessment. What follows is my breakdown of the tutorial, with notes from my own studio experience layered in.
Step 1: Start With the Sync Cable
 Sync cable plugged into camera’s PC sync port
The sync cable is the oldest method and, in terms of raw reliability, still the best. One end plugs into the PC sync port on the side of your camera body – most dedicated studio cameras have one, though you may need a hot shoe adapter on some mirrorless bodies. The other end plugs directly into the strobe head or power pack. That’s the entire signal chain. There are no batteries to die, no frequencies to interfere with, no pairing sequence to forget.
Sync cable plugged into camera’s PC sync port
The sync cable is the oldest method and, in terms of raw reliability, still the best. One end plugs into the PC sync port on the side of your camera body – most dedicated studio cameras have one, though you may need a hot shoe adapter on some mirrorless bodies. The other end plugs directly into the strobe head or power pack. That’s the entire signal chain. There are no batteries to die, no frequencies to interfere with, no pairing sequence to forget.
The trade-offs are real though. Your strobe can only be as far away as the cable is long. Standard sync cables run about 10 to 15 feet, which is workable but limiting. More practically, a cable running across a studio floor is a trip hazard, especially when clients or assistants are walking the set. And the bigger limitation: a single sync cable fires a single strobe. If you’re running a multi-head setup, you need another solution on top of it. Think of the sync cable as your fallback, not your system.
Step 2: Add Slave Heads Using Optical Triggers
 Electronic slave eye visible on top of strobe power pack
Most modern strobe heads and power packs have a small optical sensor built into them – usually a little clear dome you’ll find on the body of the unit. This is the electronic slave. When it detects a burst of light, it triggers the strobe it’s attached to. The logic is simple: fire one light, and every other light set to slave mode fires with it.
Electronic slave eye visible on top of strobe power pack
Most modern strobe heads and power packs have a small optical sensor built into them – usually a little clear dome you’ll find on the body of the unit. This is the electronic slave. When it detects a burst of light, it triggers the strobe it’s attached to. The logic is simple: fire one light, and every other light set to slave mode fires with it.
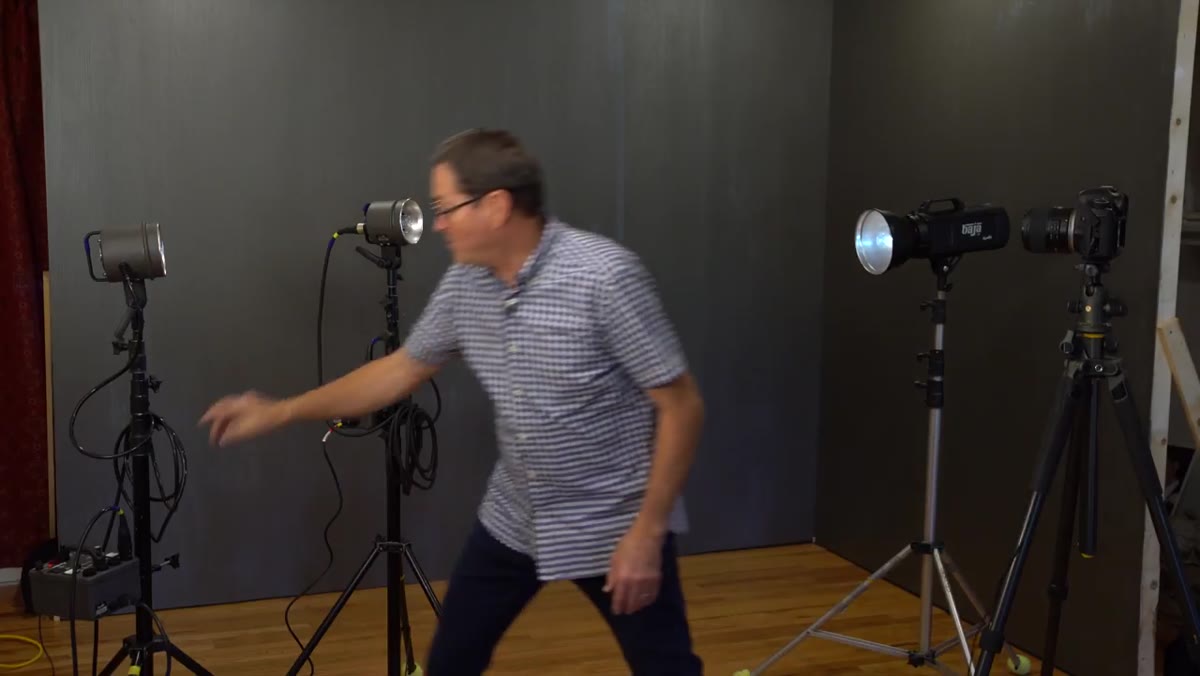
In Morgan’s demo, he runs the sync cable to one strobe, sets the other two heads to slave mode, and fires all three simultaneously. The single cabled strobe becomes the master trigger. You can take this further by swapping the cable for a small manual speedlight mounted on your camera’s hot shoe – set it to minimum power so it barely contributes to the exposure, and let it serve purely as the trigger pulse for all your slave-mode strobes. The limitation here is environment. Optical slaves work well indoors and in controlled studio conditions, but outdoors in bright sun they tend to fail completely. The ambient light is already so intense that the sensor can’t detect the flash burst as a meaningful change. If you shoot on location in daylight, optical slaves aren’t your answer.
Step 3: Mount a Trigger Speedlight on Your Hot Shoe
 Small speedlight mounted on camera hot shoe, set to manual
When you move away from the sync cable and lean on optical slaves, you need something to generate that initial trigger flash. A small manual speedlight on your hot shoe does the job. Set it to full manual mode and dial the power down as low as it goes – Morgan recommends this specifically so the on-camera flash doesn’t interfere with the exposure your studio strobes are creating. You want it contributing zero to the image. It’s there only to wake up the slaves.
Small speedlight mounted on camera hot shoe, set to manual
When you move away from the sync cable and lean on optical slaves, you need something to generate that initial trigger flash. A small manual speedlight on your hot shoe does the job. Set it to full manual mode and dial the power down as low as it goes – Morgan recommends this specifically so the on-camera flash doesn’t interfere with the exposure your studio strobes are creating. You want it contributing zero to the image. It’s there only to wake up the slaves.
This combination – hot shoe speedlight plus optical slaves – gives you meaningful freedom of movement around your set. You’re not tethered to a cable. You can step back, move the camera position, shoot from a ladder. The downside beyond the outdoor limitation is that some highly reflective or dark set environments can cause inconsistent slave triggering. I’ve had issues shooting on very dark sets where the slave eyes weren’t catching the trigger flash reliably. In those cases, I’d position the master speedlight or cable-triggered strobe so its flash spills directly toward the slave sensors.
Step 4: Upgrade to Radio Triggers for Full Control
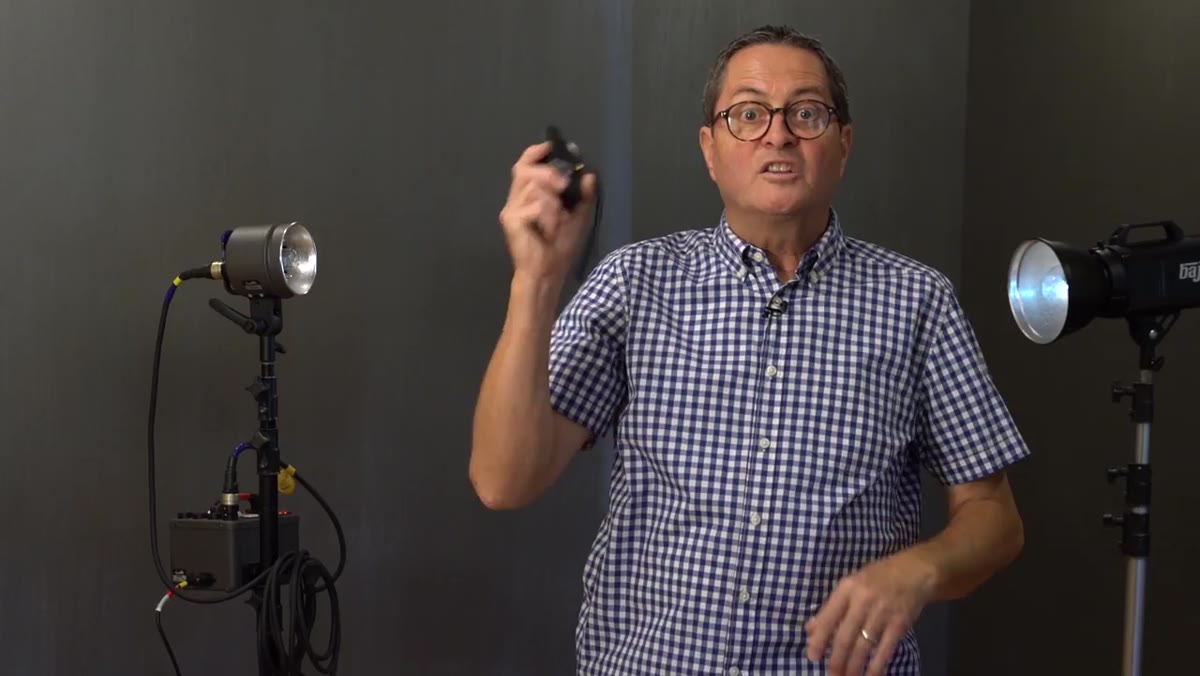 Radio trigger transmitter mounted on camera hot shoe
Radio triggers – PocketWizard, Godox, Profoto Air, and a growing number of competitors – solve almost every problem the first two methods leave open. They operate on radio frequencies rather than light, so bright sun, distance, and line-of-sight obstacles stop being issues. The transmitter sits on your camera’s hot shoe. Each strobe gets a receiver unit, either built into the head (some newer strobes like the Dynalite units Morgan mentions have PocketWizard receivers integrated at the factory) or connected via a small receiver module and sync cable.
Radio trigger transmitter mounted on camera hot shoe
Radio triggers – PocketWizard, Godox, Profoto Air, and a growing number of competitors – solve almost every problem the first two methods leave open. They operate on radio frequencies rather than light, so bright sun, distance, and line-of-sight obstacles stop being issues. The transmitter sits on your camera’s hot shoe. Each strobe gets a receiver unit, either built into the head (some newer strobes like the Dynalite units Morgan mentions have PocketWizard receivers integrated at the factory) or connected via a small receiver module and sync cable.
The cost is the honest downside. A basic PocketWizard Plus pair runs well over $150, and if you’re building a four-head setup, you’re buying receivers for each strobe. That adds up quickly. But for anyone shooting regularly on location, in mixed natural and artificial light, or who needs to be 50 feet from their lights, radio triggers are the only answer that actually works consistently. I label every trigger in my studio with masking tape – transmitter, receiver one, receiver two – because troubleshooting a misfiring trigger is much faster when everything is clearly marked.
What I’d Add: Know Which Method the Job Demands Before You Pack
Morgan’s tutorial gives you the three tools. What it doesn’t spell out – and what took me longer to internalize than I’d like to admit – is that the right sync method often isn’t the most sophisticated one available. It’s the one appropriate to the specific conditions of the shoot.
For a controlled product shoot in my studio where nothing moves and I’m shooting tethered three feet from my lights, the sync cable is legitimately the best choice. No batteries, no interference, zero chance of dropped frames from a radio hiccup. For a location editorial shoot in a bright outdoor environment with strobes spread across a wide scene, radio triggers are the only real option. And the optical slave setup sits in the middle: fast to deploy, great for indoor work, useful when I want to keep costs down or I’m helping a newer photographer build their first multi-light setup. I think about all three methods before I pack my kit, not just the one I used on the last shoot.
The single most important thing to take away from Morgan’s tutorial is that reliability is the most important variable when choosing a sync method, not sophistication. A sync cable that fires every frame beats a radio trigger that drops one in ten. Understand the failure points of each method, match the method to the environment, and build redundancy where you can – carrying a sync cable even when you’re running radio triggers has saved me more than once.
Watch the full tutorial on YouTube to see Morgan demonstrate all three methods with live strobes – the visual of the slave eyes firing is worth seeing in real time.
Comments (1)
Shared this with my photography group. Everyone loved it.
Leave a Comment