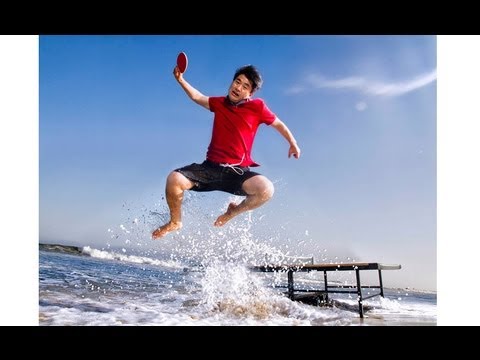
Every time I take strobes outside, I’m reminded that natural light is not your friend — it’s a variable you have to negotiate with. The sun moves, clouds shift, and the beautiful golden hour you planned around disappears in about twelve minutes. What I always come back to is having a system: know where your ambient is coming from, decide how to use it, then build your artificial light around that decision. That workflow clicked for me again watching this location shoot tutorial from The Slanted Lens. Watch the full tutorial on YouTube
The shoot is a promotional campaign for a TV show called King Pong, filmed in Malibu with a national Chinese ping pong champion. It’s a genuinely unusual brief — action, ocean, fire, golden hour — and the way the tutorial walks through each lighting decision as a response to conditions on the ground is exactly the kind of problem-solving breakdown I wish I had access to early in my career. I keep a lighting journal where I sketch every setup from every shoot, and this one went straight in.
Step 1: Scout the Sun Before You Touch a Light Stand
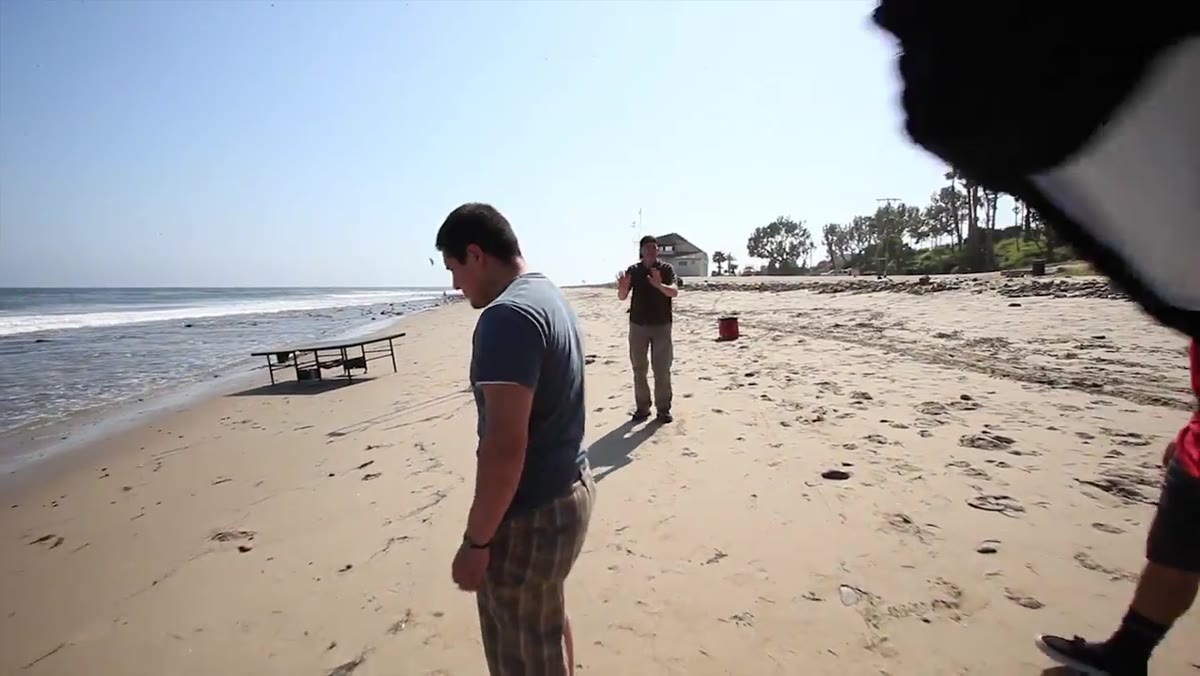 Photographer assessing beach location and sun position
When you arrive on location, your first job is not unpacking gear. It’s figuring out where the sun is and where it will be when you actually shoot. In this tutorial, the photographer uses a sun-tracking iPhone app called Sun Seeker to map out the sun’s arc for the afternoon. He knows it will set behind mountains to the west, which immediately narrows his options for camera direction.
Photographer assessing beach location and sun position
When you arrive on location, your first job is not unpacking gear. It’s figuring out where the sun is and where it will be when you actually shoot. In this tutorial, the photographer uses a sun-tracking iPhone app called Sun Seeker to map out the sun’s arc for the afternoon. He knows it will set behind mountains to the west, which immediately narrows his options for camera direction.
Two positions are possible: shooting northeast, which puts the sun as a front key light, or shooting southwest, which puts the sun behind the subject as a rim light. He chooses the rim position, and this is the decision that shapes everything else. A rim-lit subject in front of an ocean horizon is a much more compelling image than a front-lit one, but it means the face now needs artificial fill. Every other lighting choice on this shoot flows from that one call.
Step 2: Choose a Small Octodome to Match the Quality of Sunlight
 Small octodome with grid mounted on strobe head
Once you’ve committed to using the sun as a rim, you need a key light for the face. The tutorial specifies a small octodome with a grid, and the reasoning is precise: a small modifier produces harder light with more defined shadows, which matches the character of direct sunlight. If you had used a large octodome or a softbox here, the key light would have looked noticeably softer than the sun behind the subject, and the image would have felt inconsistent.
Small octodome with grid mounted on strobe head
Once you’ve committed to using the sun as a rim, you need a key light for the face. The tutorial specifies a small octodome with a grid, and the reasoning is precise: a small modifier produces harder light with more defined shadows, which matches the character of direct sunlight. If you had used a large octodome or a softbox here, the key light would have looked noticeably softer than the sun behind the subject, and the image would have felt inconsistent.
The grid serves a second purpose. On a beach, you’re surrounded by sand, water, and sky — all of which are highly reflective. A grid keeps your light directional and prevents spill that would wash out the shadows you’re trying to preserve. I label every modifier in my studio, and the small octodome with grid is what I reach for whenever I want artificial light that can hold its own alongside hard natural light.
Step 3: Dial the Strobe Down One Stop for Action-Stopping Flash Duration
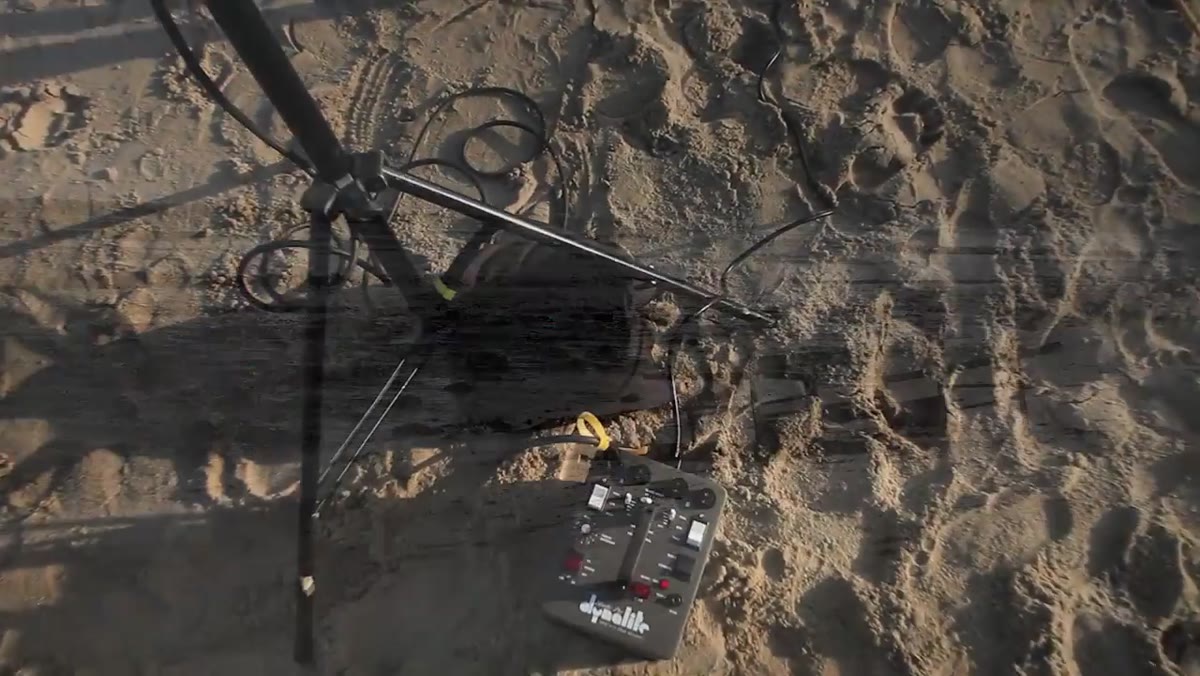 Dial 1600 Ws power pack with settings adjusted
The subject is jumping, which means you need a flash duration fast enough to freeze motion. The tutorial uses a Dynalite 1600 Ws road pack and deliberately dials it down one stop from full power. This is counterintuitive if you think of flash power as simply brightness, but the real advantage of backing off power on a high-end pack is that the flash duration gets shorter. Faster flash duration, not a faster shutter speed, is what stops action when strobes are involved.
Dial 1600 Ws power pack with settings adjusted
The subject is jumping, which means you need a flash duration fast enough to freeze motion. The tutorial uses a Dynalite 1600 Ws road pack and deliberately dials it down one stop from full power. This is counterintuitive if you think of flash power as simply brightness, but the real advantage of backing off power on a high-end pack is that the flash duration gets shorter. Faster flash duration, not a faster shutter speed, is what stops action when strobes are involved.
Exposure settings are set at f/14, 1/250s, ISO 320. The f/14 is tight enough to keep the background in focus while still getting clean exposure from the strobe, and the 1/250s is at or near the sync speed limit. ISO 320 gives just enough sensitivity without adding noise to what will be a hero shot. If you’re working with a lower-powered pack, consider whether you can achieve comparable flash duration at the power level you’re using before you start jumping your subject.
Step 4: Move the Setup Into the Ocean for the Next Shot
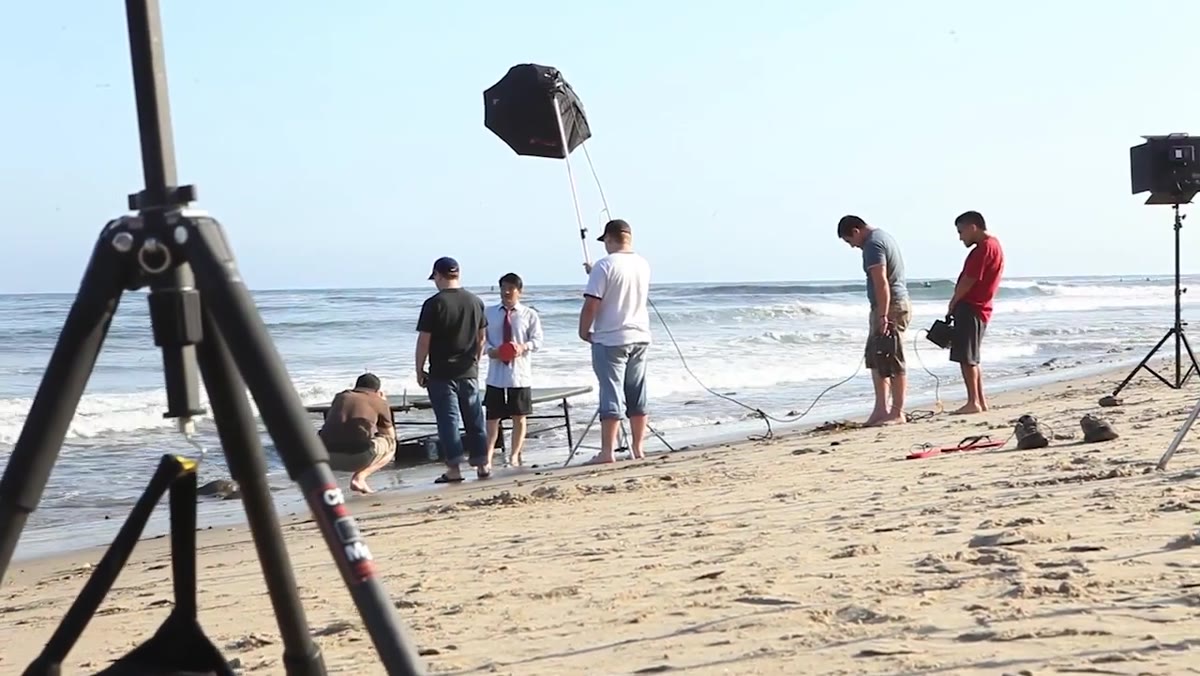 Ping pong table being positioned in shallow ocean water
This is where the shoot gets genuinely difficult. The table is carried into the shallows, stabilized as well as possible, and the lighting setup is reconfigured for video. For the moving image portion, a 1000W continuous LED light replaces the strobe and is run through the same small octodome. Continuous light is necessary for video because strobes don’t sync with rolling shutter at speed.
Ping pong table being positioned in shallow ocean water
This is where the shoot gets genuinely difficult. The table is carried into the shallows, stabilized as well as possible, and the lighting setup is reconfigured for video. For the moving image portion, a 1000W continuous LED light replaces the strobe and is run through the same small octodome. Continuous light is necessary for video because strobes don’t sync with rolling shutter at speed.
The logistical problem here is obvious: you’ve got power packs near saltwater. The tutorial notes that the packs were handheld above the water line to keep them safe while still allowing the octodome to get close enough to the subject’s face. If you’re replicating this, have a dedicated assistant on pack duty. Do not put a power pack in a bag and set it on wet sand and hope for the best. I’ve seen that go wrong.
Step 5: Add a Bare Head to the Background for the Fire Shot
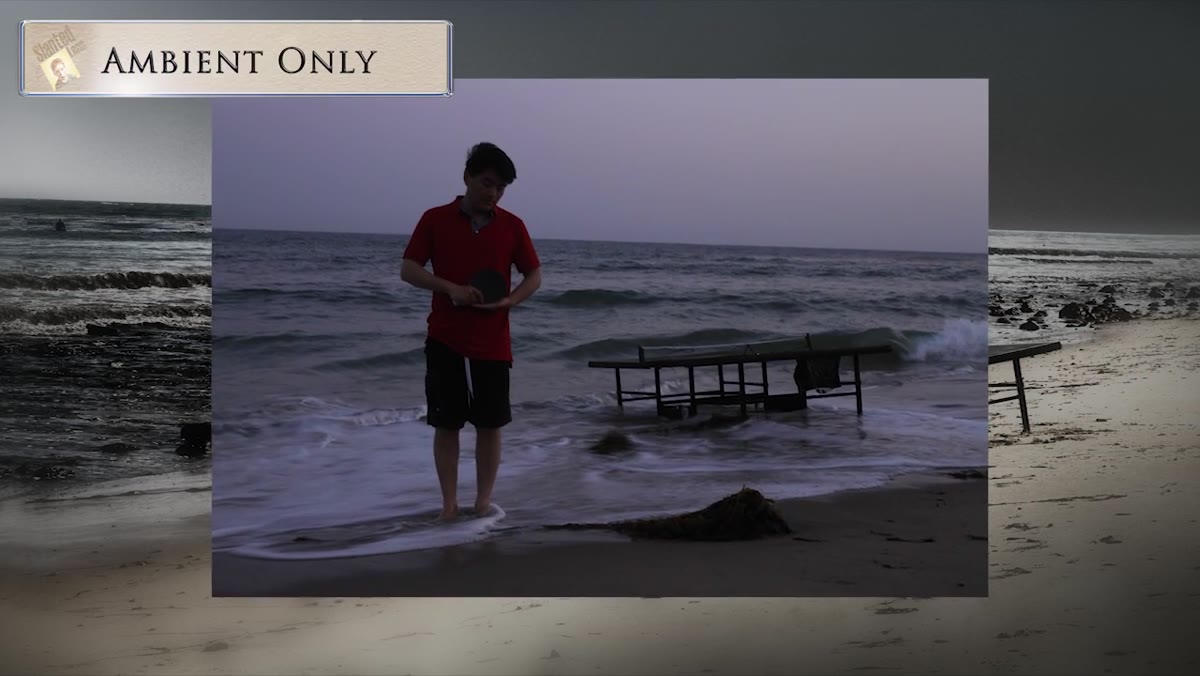 Bare strobe head positioned behind ping pong table on beach
As the sun drops below the mountains, the available light becomes almost entirely ambient blue. The tutorial adds a bare strobe head pointed at the table from behind. Initially, the light on the sand reads as overlighting. It’s too much, too raw. But the shot isn’t finished yet, and this is the important lesson: set a light for how the final composite conditions will look, not for how they look before the practical element is in frame.
Bare strobe head positioned behind ping pong table on beach
As the sun drops below the mountains, the available light becomes almost entirely ambient blue. The tutorial adds a bare strobe head pointed at the table from behind. Initially, the light on the sand reads as overlighting. It’s too much, too raw. But the shot isn’t finished yet, and this is the important lesson: set a light for how the final composite conditions will look, not for how they look before the practical element is in frame.
When you understand the intention, the logic is solid. The bare head simulates the glow that fire would throw across the table and onto the sand below. Matching the intensity of your strobe to what a real fire would emit in that environment means the final image feels physically plausible.
Step 6: Light the Table on Fire and Protect the Shot in Post
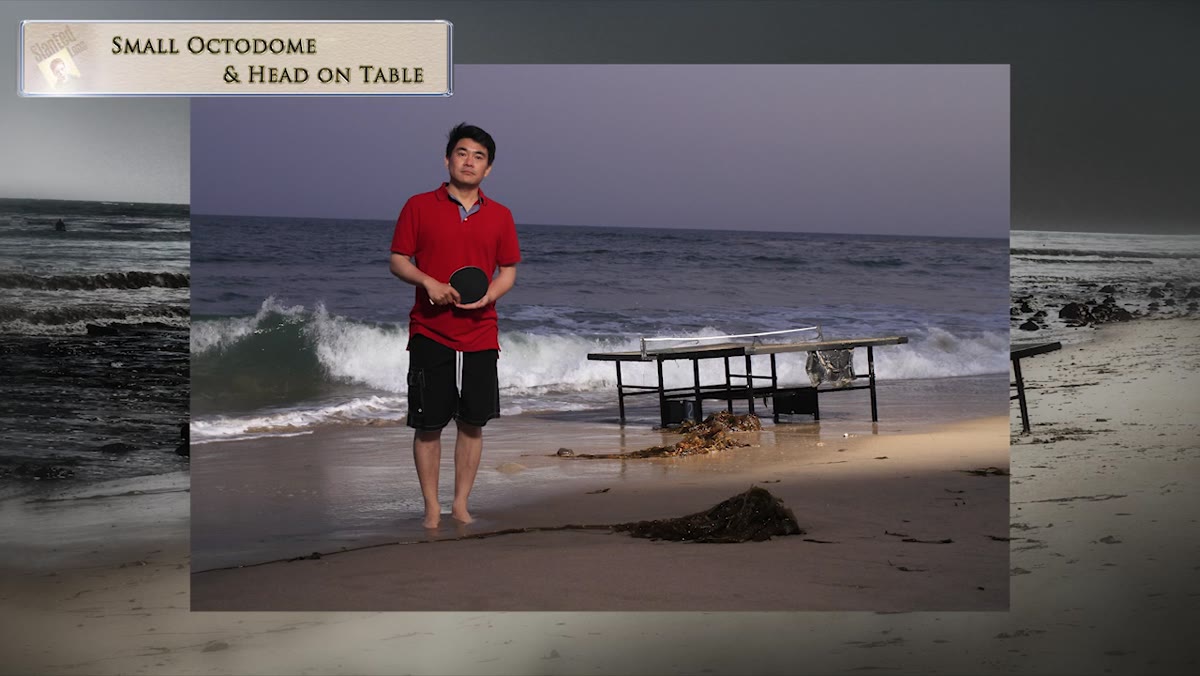 Ping pong table surface burning with visible flame
Bestine — a rubber cement solvent — is used as the fuel. The reason it’s chosen over anything petroleum-based is that it burns without flashing. It ignites steadily rather than exploding upward, which matters enormously when a person is standing six inches from the table. Read that again before you substitute anything else.
Ping pong table surface burning with visible flame
Bestine — a rubber cement solvent — is used as the fuel. The reason it’s chosen over anything petroleum-based is that it burns without flashing. It ignites steadily rather than exploding upward, which matters enormously when a person is standing six inches from the table. Read that again before you substitute anything else.
In post, the image is processed in Nik software. The overall image gets a slight brightness boost, contrast and structure added, and warmth pulled back globally to keep the ambient tones cool. Then a control point is placed on the face to brighten it selectively, and a second control point is placed over the fire to push warmth back into that region only. This localized warmth is what makes the fire feel like a practical light source rather than a digital addition.
What I’d Do Differently
I’d shoot a second exposure without the fire and blend the face from the cleaner frame. Fire is unpredictable and the light it throws shifts between frames. When I shoot anything with a practical flame element, I always bracket the ambient-only version so I have a clean plate for the subject if the fire exposure goes wrong. The tutorial’s post-processing with control points is elegant for a single-image workflow, but if you want maximum control, that clean plate is worth the extra three frames.
The clearest principle in this entire tutorial is the one stated first: let the ambient light tell you what role your strobe needs to play. Sun as a rim, strobe as a key. Fire as a practical, strobe as a fill and match. Every lighting decision here is a response to what was already in the scene, not an imposition on top of it. That instinct is what separates a working location photographer from someone who just owns nice gear.
Watch the full tutorial on YouTube
Comments (2)
This should be required reading for anyone starting out.
This should be required reading for anyone starting out.
Leave a Comment