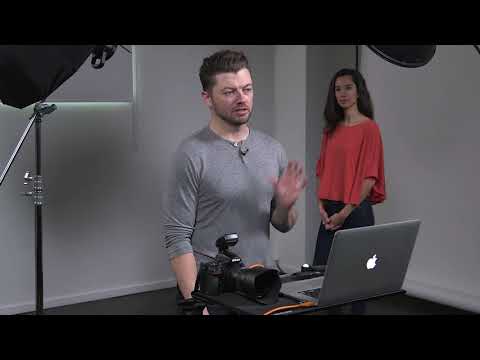
Every time I hand off a tethered setup to a newer shooter in my studio, I watch them fumble through the same twenty minutes of confusion I went through years ago. Wrong session folder, camera not recognized, images flying into some mystery directory. Tethering should make your shoot faster and more collaborative. When it’s misconfigured, it just adds friction at the worst possible moment. That’s exactly why this CreativeLive tutorial caught my attention. Watch the full tutorial on YouTube and follow along below with the breakdown I’ve written for my own reference.
In this CreativeLive tutorial, the photographer walks through a complete tethered session start to finish in Capture One, including the lighting build for a two-light studio portrait setup. What I appreciate is that the workflow is shown in real time, with a model, real light modifiers, and actual meter readings. This isn’t a classroom demo. It’s a working shoot. I’ve pulled the steps apart and added the specifics you need to actually replicate it.
One note before we dig in: if you’ve ever ruined a shoot because your files organized themselves into chaos and you couldn’t find the raw with the hero frame, this tutorial is your corrective. I keep a lighting journal with sketches from every shoot, but I also annotate the session structure. What you’ll see below is what I now treat as the standard opening sequence for any tethered studio day.
Step 1: Create a New Session with a Naming Convention
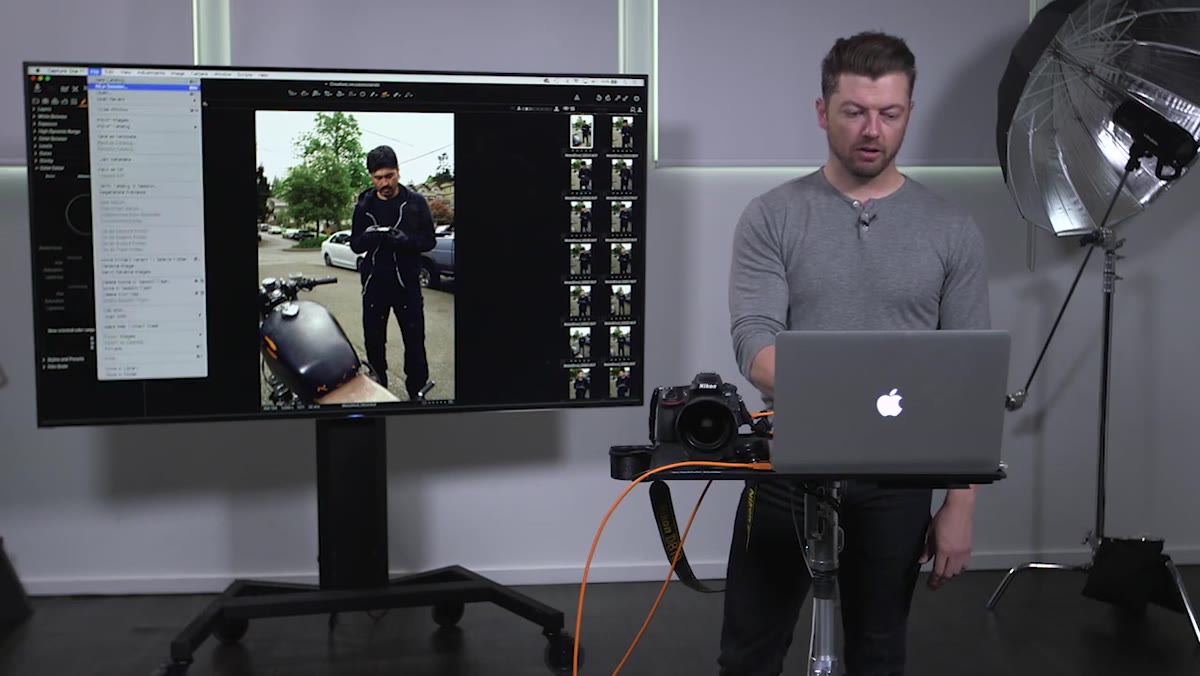 Capture One “New Session” dialog box with name field
Open Capture One and go to File, then New Session. The presenter names the session with a clear prefix and an underscore separator, for example “CL_Test,” because Capture One uses that session name to organize all your capture folders automatically. The underscore isn’t decoration. It keeps your file names sortable and legible in any operating system.
Capture One “New Session” dialog box with name field
Open Capture One and go to File, then New Session. The presenter names the session with a clear prefix and an underscore separator, for example “CL_Test,” because Capture One uses that session name to organize all your capture folders automatically. The underscore isn’t decoration. It keeps your file names sortable and legible in any operating system.
More importantly, he’s working from a saved session template. That means the folder structure, including Captures, Selects, Output, and Trash, is pre-built before a single frame fires. If you don’t have a template yet, build one clean session, organize the folders the way you want them, and save it as your default. Stop reinventing this every shoot.
Step 2: Save Your Workspace in Capture One
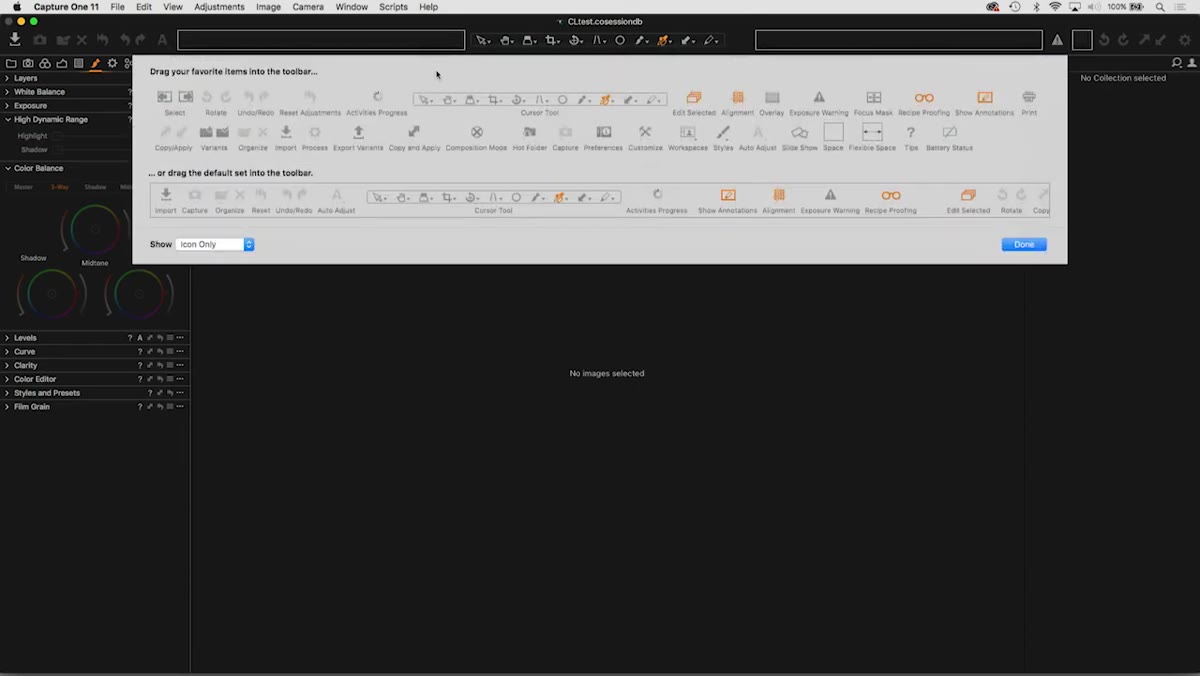 “Customize Toolbar” panel showing available tool options
Capture One’s toolbar is completely customizable, and that flexibility is also a trap. If you rearrange tools and don’t save the workspace, Capture One will revert to a default layout the next time you open it. The presenter goes to Window, then Workspace, then Save Workspace. He uses a named workspace, his own label, so he can always return to his exact configuration.
“Customize Toolbar” panel showing available tool options
Capture One’s toolbar is completely customizable, and that flexibility is also a trap. If you rearrange tools and don’t save the workspace, Capture One will revert to a default layout the next time you open it. The presenter goes to Window, then Workspace, then Save Workspace. He uses a named workspace, his own label, so he can always return to his exact configuration.
My recommendation is to do this immediately after you’ve set up Capture One for the first time. Label the workspace with your own name or a date so you know it’s intentional. Then lock it. You shouldn’t be hunting for the Capture tab mid-shoot because someone bumped the layout.
Step 3: Connect Your Camera and Confirm the Tether
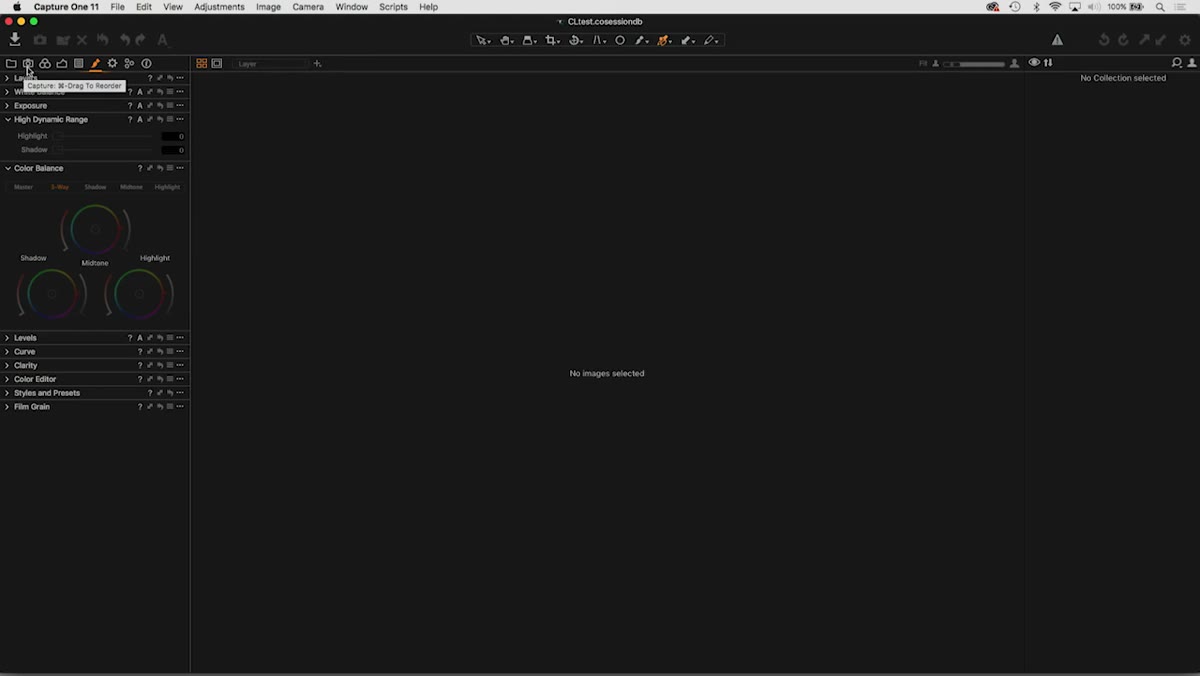 Capture One Capture tab showing live camera settings
With the camera physically connected via USB, open the Capture tab in the Capture One toolbar. When the camera is off, the field shows blank. The moment you power on the camera, Capture One reads the connection and pulls in your live camera settings: shutter speed, ISO, aperture, and color temperature in Kelvin.
Capture One Capture tab showing live camera settings
With the camera physically connected via USB, open the Capture tab in the Capture One toolbar. When the camera is off, the field shows blank. The moment you power on the camera, Capture One reads the connection and pulls in your live camera settings: shutter speed, ISO, aperture, and color temperature in Kelvin.
In the tutorial, the camera is set to manual, 1/200s, ISO 100, and f/5.6, which is a completely standard studio flash baseline. What’s useful here is that you can see and adjust all of those settings from inside Capture One without touching the camera body. If your camera is mounted overhead or locked off on a tripod in an awkward position, remote triggering from the software is a real option. I still prefer to make my own changes at the camera, but knowing that override exists has saved me more than once.
Step 4: Build Your Lighting One Source at a Time
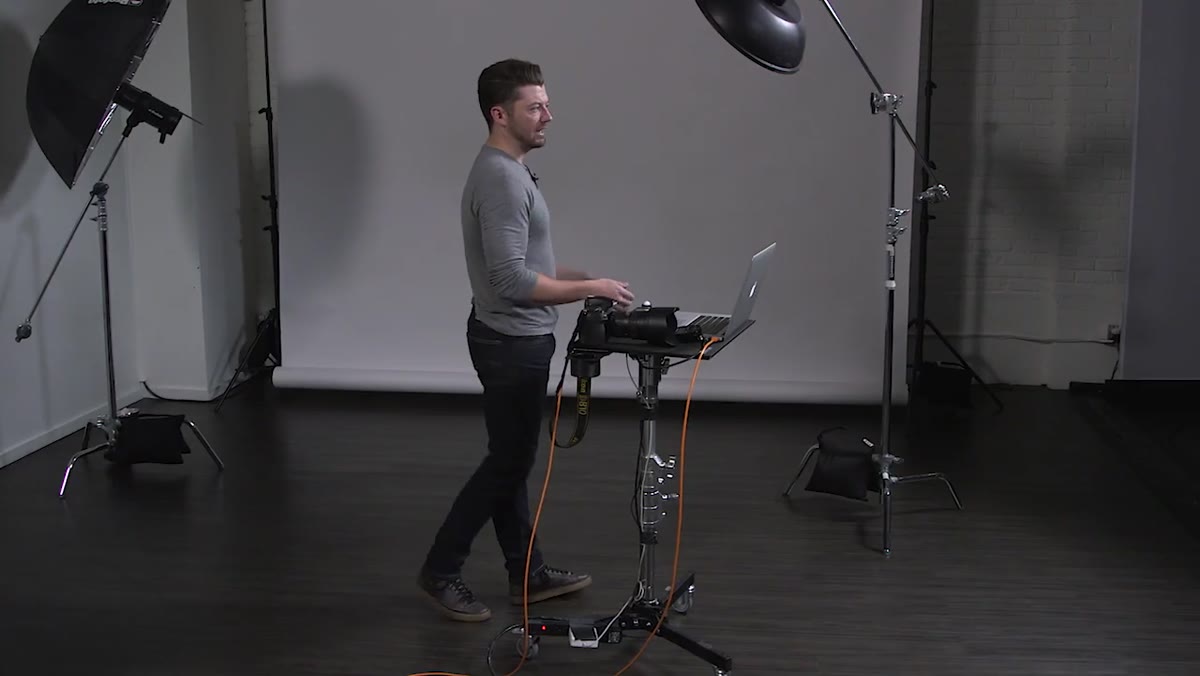 Studio setup showing model on white seamless backdrop
The presenter starts with a white seamless backdrop but wants it to read dark gray, close to black. His method is simple geometry. The farther your subject stands from the background, and the more controlled your light sources, the less spill reaches that paper. He positions his model well away from the seamless and keeps his lights close to the subject, not the background.
Studio setup showing model on white seamless backdrop
The presenter starts with a white seamless backdrop but wants it to read dark gray, close to black. His method is simple geometry. The farther your subject stands from the background, and the more controlled your light sources, the less spill reaches that paper. He positions his model well away from the seamless and keeps his lights close to the subject, not the background.
Main light is a beauty dish with a grid. That grid is critical. Without it, a beauty dish throws a wide, soft wrap. With a grid, the light is collimated and directional, which means the falloff is rapid and the background stays dark. He places it off to one side deliberately, chasing the shadow, not trying to eliminate it. This is the part most beginners get backwards. The shadow is the shot.
Step 5: Meter One Light at a Time, Then Dial In the Fill
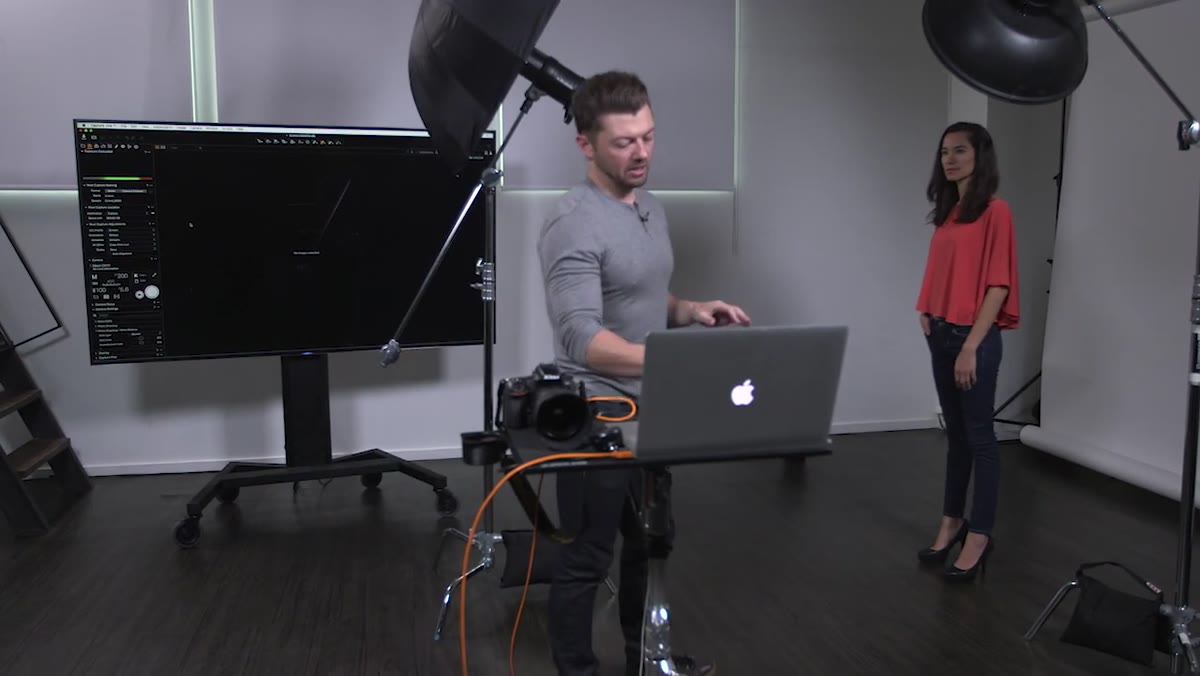 Incident meter reading taken at subject position
He meters with an incident meter at the subject position, targeting f/5.6. His initial reading comes in at f/6.3, which means the main light is slightly hot. He pulls it back until he hits his target. Only after confirming the main light does he introduce the fill.
Incident meter reading taken at subject position
He meters with an incident meter at the subject position, targeting f/5.6. His initial reading comes in at f/6.3, which means the main light is slightly hot. He pulls it back until he hits his target. Only after confirming the main light does he introduce the fill.
The fill is a silver shoot-through umbrella, no baffle, roughly 40 inches across. Silver umbrellas kick harder than white and have a slightly cooler quality, which works well for fashion and beauty. He keeps the fill close to the camera axis for the same reason he keeps the main light close to the subject: minimize background contamination. Each light is metered and evaluated independently before both are combined. Shooting tethered makes this fast because every test frame appears on the monitor immediately and the whole team can read the image at once.
What I’d Add From My Own Studio Practice
The tethered session structure the presenter demonstrates is solid, but I’d add one more layer at setup: color temperature verification before the first frame. I learned this the hard way early in my career when a strobe with a failing tube shifted noticeably warmer than the rest of the kit and I didn’t catch it until editing. Now I shoot a gray card on a tethered test frame before the model steps in, and I set my white balance in Capture One off that card. Every subsequent frame in the session inherits that correction as a base.
I’d also label each light with masking tape on the stand, a habit I developed to keep my lighting journal accurate. When you’re running multiple modifiers and you want to sketch the setup afterward, it’s easy to forget which head was at what power. The tape label takes two seconds and saves you from reconstructing a setup from memory three weeks later when a client wants to reshoot.
The single most important thing this tutorial teaches is that tethering is a discipline, not just a cable. Your session structure, workspace, naming convention, and metering sequence all have to be locked down before the model arrives. Once they’re in front of the camera, your only job is making great images, not troubleshooting software.
Watch the full tutorial on YouTube to see the complete shoot unfold in real time, including how the tethered display changes the way you communicate with your team on set.
Comments
Leave a Comment