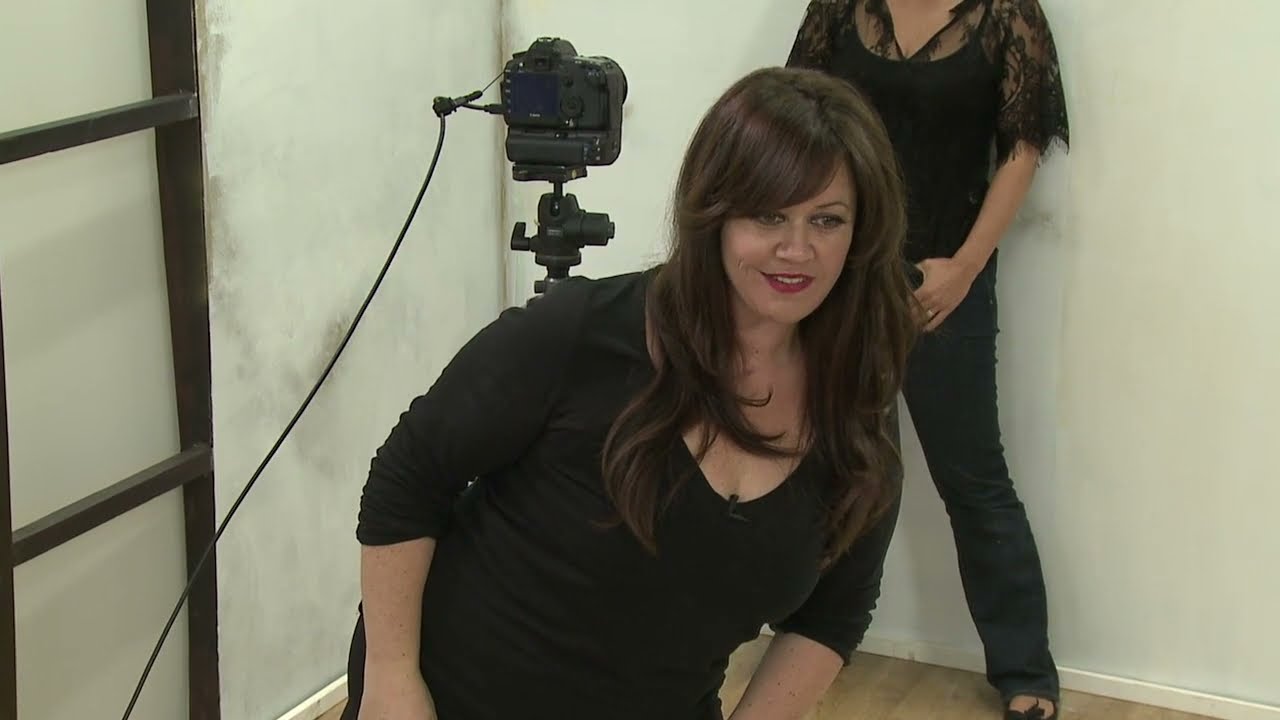
There’s a specific moment in a client sales session that I’ve learned to read like a weather forecast. The woman leans toward the screen, goes quiet for a second, and then says something like “that one looks like it could be in a magazine.” That is the moment a print gets sold. Not just considered. Sold. And after years of studio work shooting for fashion clients and beauty brands, I can trace almost every version of that moment back to one pose category: the tight, half-body, magazine-cover composition that most photographers either stumble into accidentally or never quite crack intentionally.
In this CreativeLive tutorial, photographer and educator Sue Bryce walks through what she calls the “Covergirl” shot live on a model, explaining not just how to position the subject but why each choice serves the final image. Watch the full tutorial on YouTube. I’ve sketched versions of this setup in my lighting journal a dozen times over the years, but watching her name the logic behind it helped me sharpen a few things I’d been doing on instinct. Here’s what the tutorial teaches, broken down into actionable steps.
Step 1: Understand Why This Pose Exists
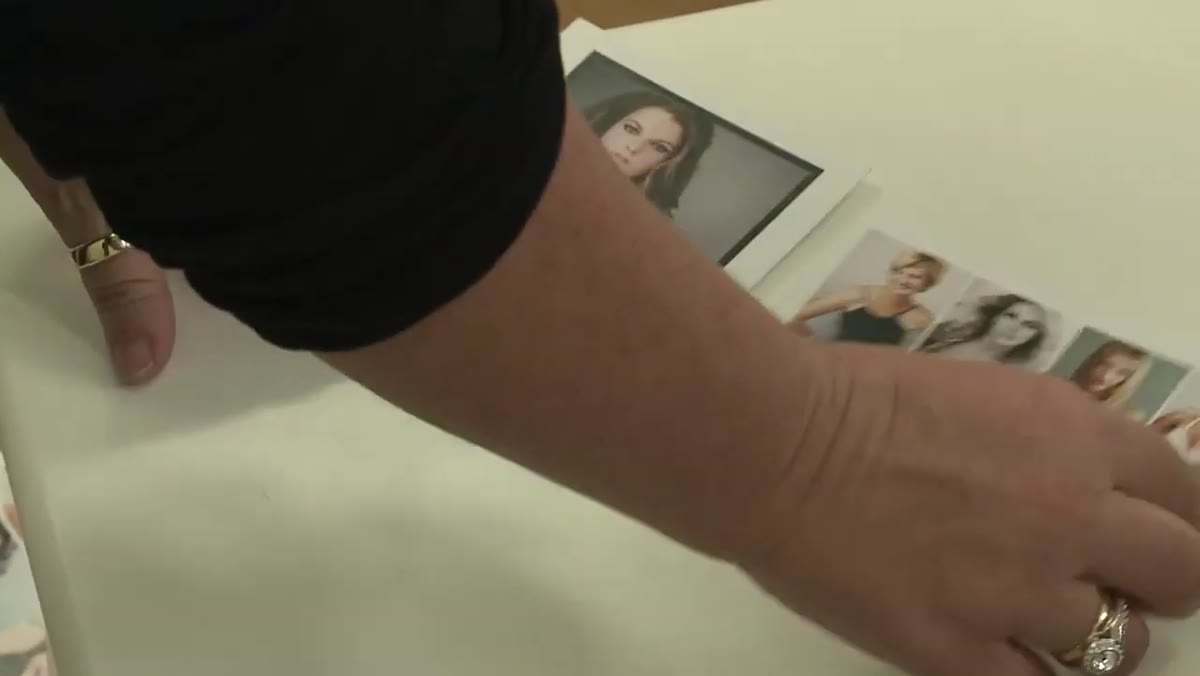 Photographer explains the origin and name of the covergirl shot
Before you place your subject anywhere, get clear on the goal. The covergirl shot exists because most women who book a studio portrait session want to feel like they belong on a magazine cover. That’s not vanity. That’s a specific visual language they’ve absorbed their whole lives and want to inhabit for one morning. Your job is to deliver that language with technical precision.
Photographer explains the origin and name of the covergirl shot
Before you place your subject anywhere, get clear on the goal. The covergirl shot exists because most women who book a studio portrait session want to feel like they belong on a magazine cover. That’s not vanity. That’s a specific visual language they’ve absorbed their whole lives and want to inhabit for one morning. Your job is to deliver that language with technical precision.
Magazine covers have a narrow compositional vocabulary. Once you recognize that, you stop treating every session as an open creative problem and start working within a proven frame. This is not a constraint. It’s a blueprint.
Step 2: Lock in Your Three Compositions Before You Shoot
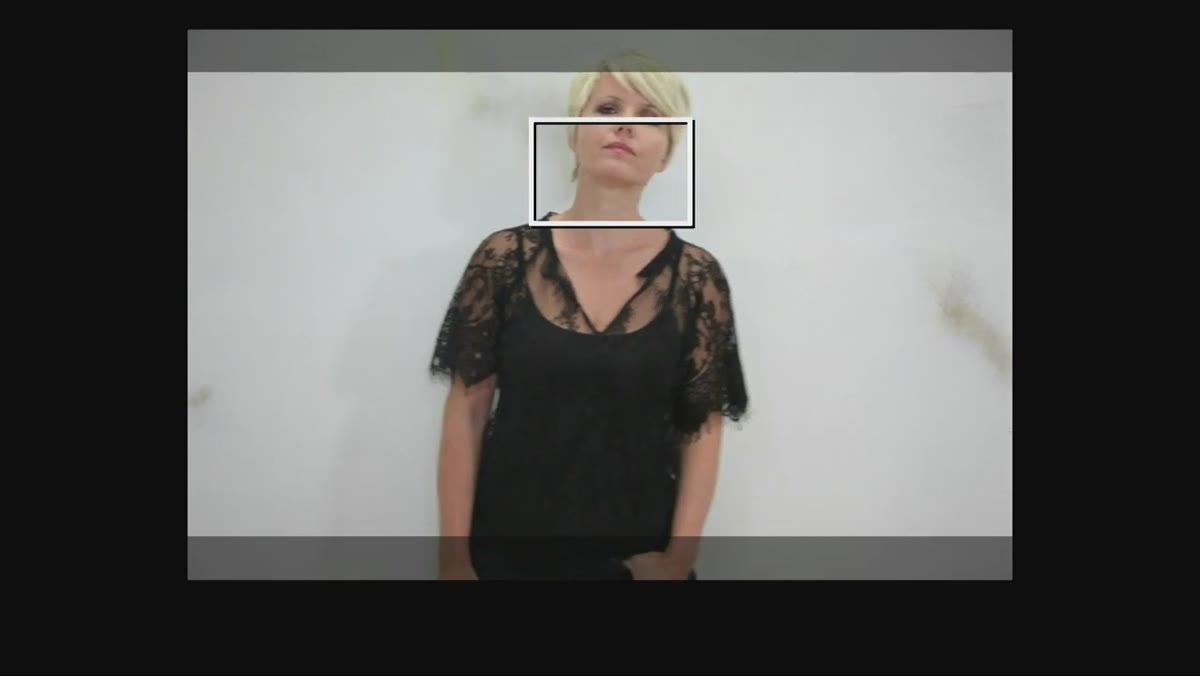
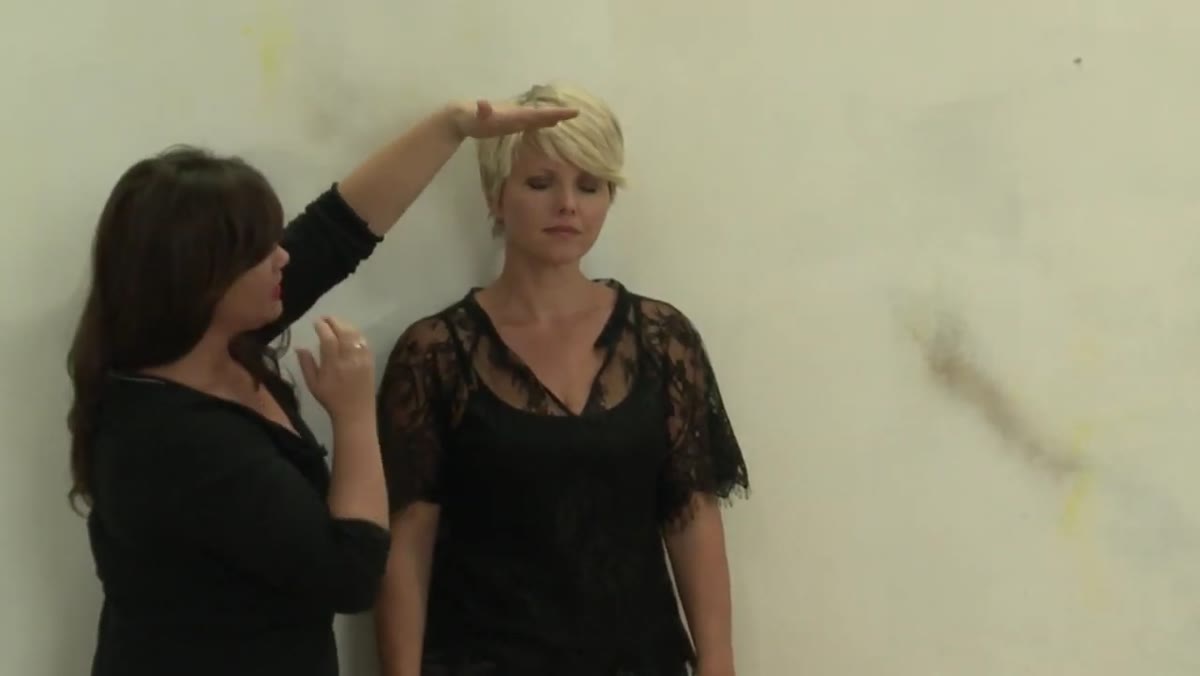 Photographer outlines three crop zones from face to mid-thigh
The tutorial identifies three tight crop positions that cover everything the covergirl shot needs. The first is the tightest: just above the eyebrows down to the bust line. This is the magazine cover crop. The second pulls back to include the top of the head down to the waist, which lets you see the body begin to taper and gives the image a bit more shape. The third goes from just above the top of the head to mid-thigh, showing more of the body while keeping everything contained and intentional.
Photographer outlines three crop zones from face to mid-thigh
The tutorial identifies three tight crop positions that cover everything the covergirl shot needs. The first is the tightest: just above the eyebrows down to the bust line. This is the magazine cover crop. The second pulls back to include the top of the head down to the waist, which lets you see the body begin to taper and gives the image a bit more shape. The third goes from just above the top of the head to mid-thigh, showing more of the body while keeping everything contained and intentional.
These aren’t arbitrary crop choices. They map to how the body reads on screen and in print. Knowing them before you lift the camera means you’re composing with purpose, not hunting for something to look at through the viewfinder. I shoot 8x12 and crop in camera, which the tutorial also mentions as both a habit and a genuine risk. If you crop tight to the eyebrows and the client’s partner wants to see the full face, you have nothing to fall back on. Give yourself a little room above the head on your first frame, then tighten from there.
Step 3: Set the Feet for Stability and Hip Movement
 Photographer demonstrates feet-apart stance for hip mobility
Once you’ve got your compositions mapped, you’re ready to place the subject. Start with the feet. The tutorial is specific here: feet apart, planted wide enough that the subject can shift her hips laterally without losing her balance. This sounds like a small thing until you try directing someone to push their hip out and watch them wobble like they’re stepping off a curb.
Photographer demonstrates feet-apart stance for hip mobility
Once you’ve got your compositions mapped, you’re ready to place the subject. Start with the feet. The tutorial is specific here: feet apart, planted wide enough that the subject can shift her hips laterally without losing her balance. This sounds like a small thing until you try directing someone to push their hip out and watch them wobble like they’re stepping off a curb.
A wide, stable base gives the subject confidence in the movement. You need that confidence because you’re about to ask her to shift her weight in ways that feel unnatural standing still but read beautifully in a frame. If she’s fighting her own balance, you’ll see it in her shoulders and her face. Plant the feet first, then work up.
Step 4: Keep the Body Square and Move It Laterally
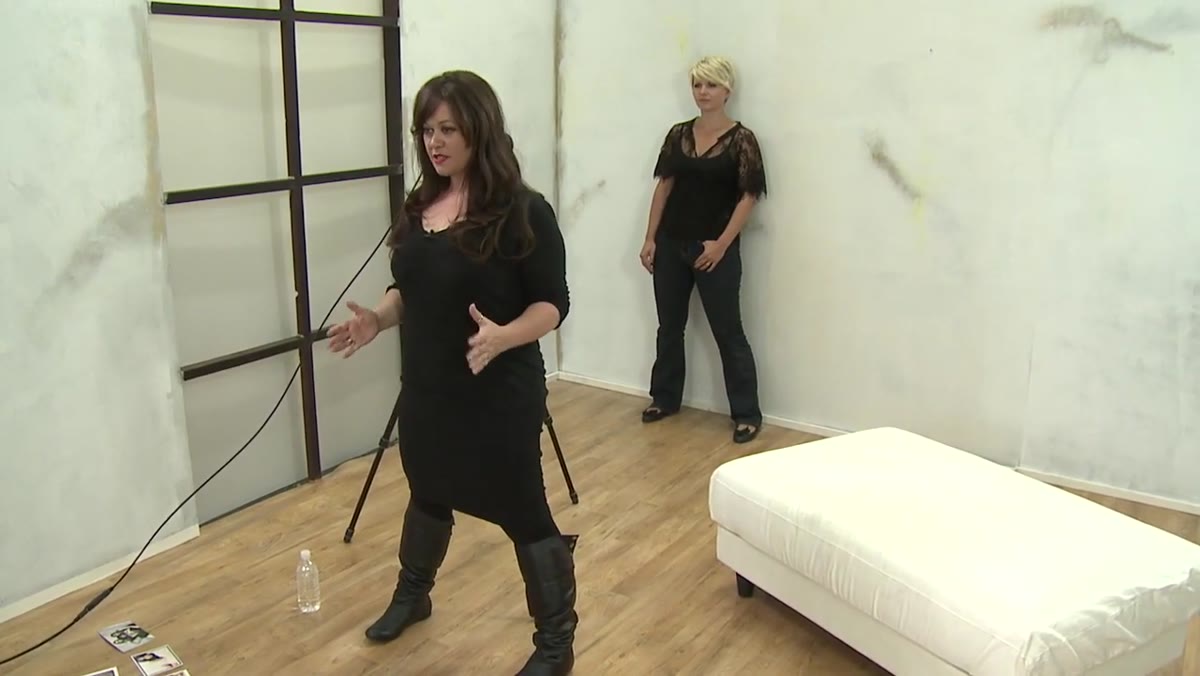 Photographer positions subject’s body square to camera
This is where the tutorial diverges from what a lot of posing guides teach. The body stays square to the camera. No angling the torso at 45 degrees to slim the frame. In fashion and editorial work, that square-on stance reads as intentional and strong rather than self-conscious. The slimming work happens through hip movement, not body rotation.
Photographer positions subject’s body square to camera
This is where the tutorial diverges from what a lot of posing guides teach. The body stays square to the camera. No angling the torso at 45 degrees to slim the frame. In fashion and editorial work, that square-on stance reads as intentional and strong rather than self-conscious. The slimming work happens through hip movement, not body rotation.
Once the subject is square, the only direction you’re moving her is side to side. Hip shifts left, hip shifts right. Never forward, never backward. The tutorial makes the point cleanly: if the subject pitches her lower half backward, it looks like she’s bracing herself. If she tips forward, it reads as awkward rather than engaged. Lateral is the operating axis for this pose, full stop.
Step 5: Direct the Hip with Specificity
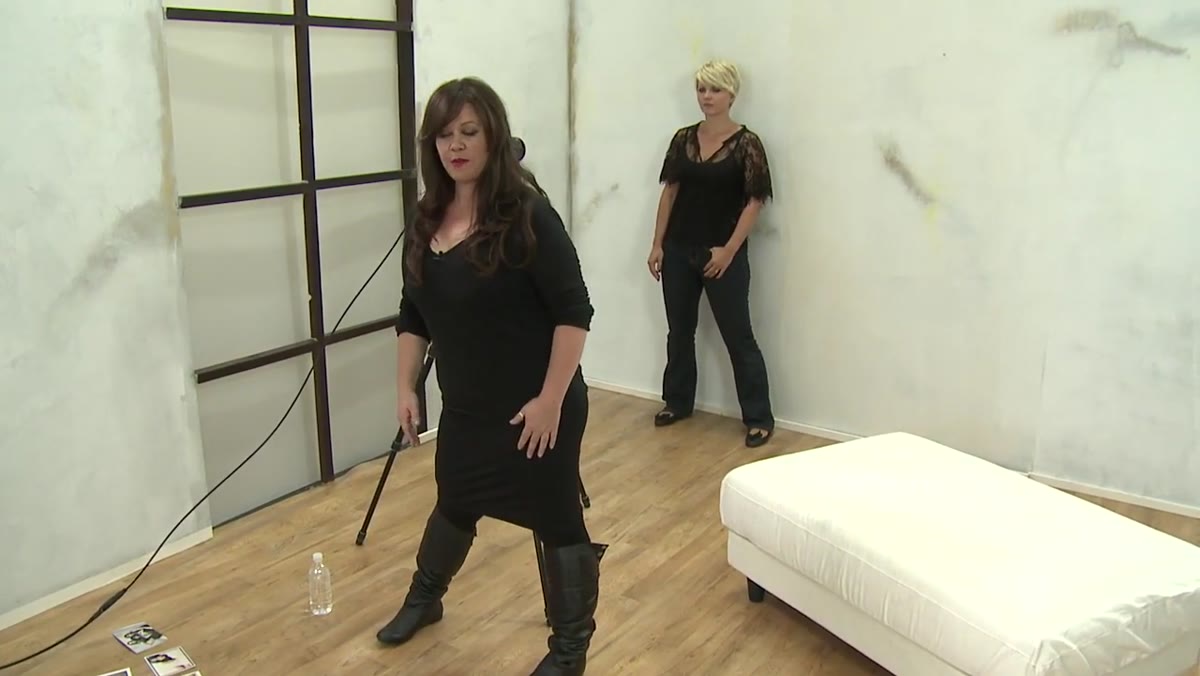 Photographer demonstrates common hip direction mistakes on model
“Push your hip out” is a direction that produces about five different results depending on who’s standing in front of you. Some subjects push the hip directly to the side and then stop. Some bring it forward and down into a teapot shape. Some do a small, hesitant shift that barely registers on camera. The tutorial walks through these failure modes and the fix is simple: be more specific in your language.
Photographer demonstrates common hip direction mistakes on model
“Push your hip out” is a direction that produces about five different results depending on who’s standing in front of you. Some subjects push the hip directly to the side and then stop. Some bring it forward and down into a teapot shape. Some do a small, hesitant shift that barely registers on camera. The tutorial walks through these failure modes and the fix is simple: be more specific in your language.
Instead of “push your hip out,” try “shift your weight onto your left leg and let your right hip float up.” Or demonstrate it yourself. I’ve found that physically mirroring the movement I want, even exaggerating it slightly, gets a more accurate response from the subject than any verbal direction. The goal is a clean lateral shift that creates a visible curve at the waistline without contorting the upper body.
Step 6: Handle Hair as Part of the Composition
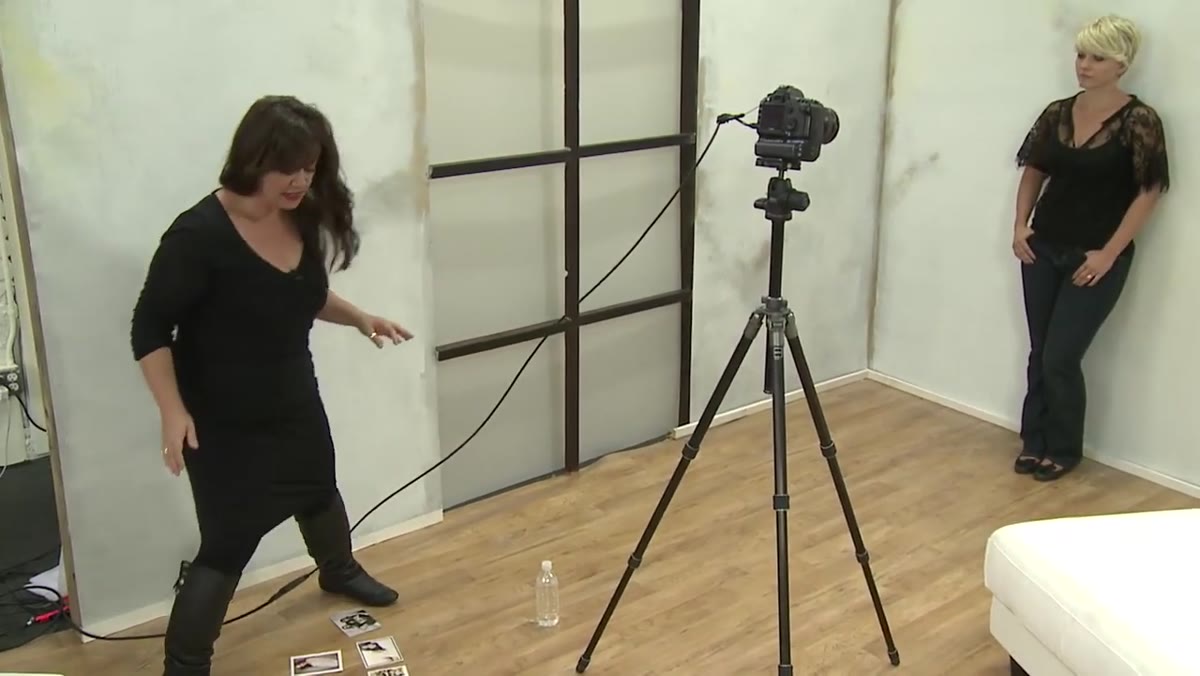 Photographer discusses blowing hair for subjects with long hair
For subjects with long hair, the tutorial notes that movement in the hair, whether from a fan or natural motion, adds life to what can otherwise be a static composition. This is a technical consideration as much as an aesthetic one. A still, flat fall of hair against the shoulders can visually flatten the whole frame. Movement separates the hair from the body, creates depth, and draws the eye to the face.
Photographer discusses blowing hair for subjects with long hair
For subjects with long hair, the tutorial notes that movement in the hair, whether from a fan or natural motion, adds life to what can otherwise be a static composition. This is a technical consideration as much as an aesthetic one. A still, flat fall of hair against the shoulders can visually flatten the whole frame. Movement separates the hair from the body, creates depth, and draws the eye to the face.
If you’re using a fan, position it at roughly a 45-degree angle to the subject rather than dead-on. Dead-on wind flattens the hair against the face and creates a squinting problem. A slight angle lifts and separates without forcing the subject to fight her own hair for the duration of the shot.
One Thing I’d Add From My Own Experience
The tutorial focuses on the pose itself, and it does that brilliantly. What it doesn’t address is the lighting context that makes or breaks the covergirl frame. A square-on body and a strong hip shift will look flat without a light source that sculpts the face and separates the subject from the background.
For this specific composition, I typically run a medium softbox at roughly 45 degrees to the face, elevated slightly above eye level. That placement creates the cheekbone shadow that fashion images depend on. Add a reflector on the opposite side set low to fill the jawline without killing the shadow, and you have a lighting setup that supports the composition rather than fighting it. I label every light in my studio before a session, a habit that looks obsessive until the moment a client asks you to recreate a shot from six months ago and you can actually do it. For the covergirl setup specifically, I’ve got a piece of masking tape on the floor marking the exact softbox position I use most often.
The single most important thing this tutorial teaches is that the covergirl shot is a defined system, not a happy accident. Three compositions. Square body. Stable feet. Lateral hip movement. Once you internalize those parameters, you can execute it reliably in the first ten minutes of a session and walk away with a near-certain sale. That reliability is what separates a working studio from a guessing game.
Watch the full tutorial on YouTube and pay particular attention to how Sue Bryce narrates her own direction in real time. The posing language she uses is as instructive as the pose itself.
Comments
Leave a Comment