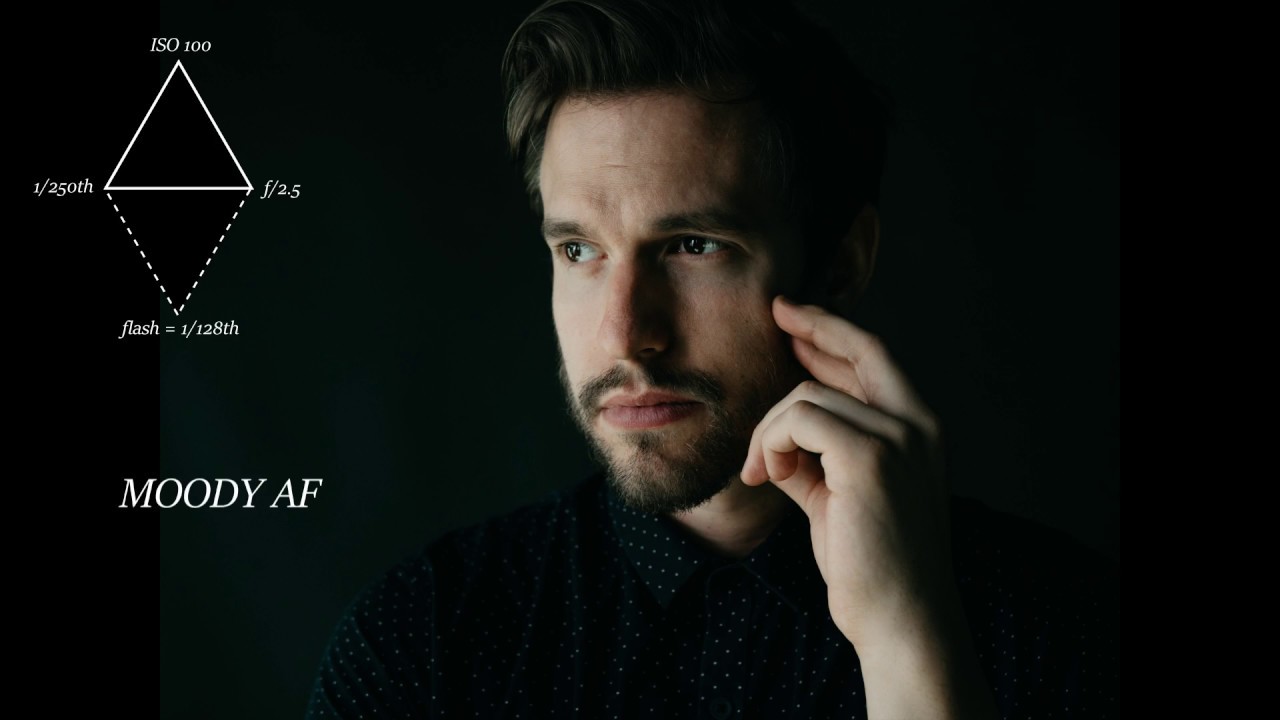
Every few months I send a tutorial link to a newer photographer I’m mentoring, and for a long time I didn’t have a good one for the specific problem of mixing natural light with artificial flash in a studio setting. Either the tutorial was too gear-obsessed, or it skipped the foundational thinking entirely and jumped straight to power settings. When I came across this Mango Street tutorial featuring commercial photographer and filmmaker Daniel DeArco, I finally had something worth forwarding. Watch the full tutorial on YouTube before or after reading this breakdown.
The core problem DeArco is solving is one I’ve seen sink shoots at every level: photographers who reach for flash first, crank the power, and then wonder why the result looks flat or artificial. The instinct to overpower the scene is almost universal in beginners. I’ve done it myself. Early in my career I walked into a studio with a beautiful north-facing window and spent the first hour fighting it with flash instead of working with it. DeArco’s approach flips that sequence entirely, and once it clicks, it changes how you read every room you shoot in.
What I appreciate most about his framework is that it’s portable. You don’t need a Profoto pack or a $3,000 strobe to apply it. A pair of speedlights and a soft modifier will take you through most of what he demonstrates. The thinking is the expensive part, and he gives it away for free.
Step 1: Let Go of the Gear Myth
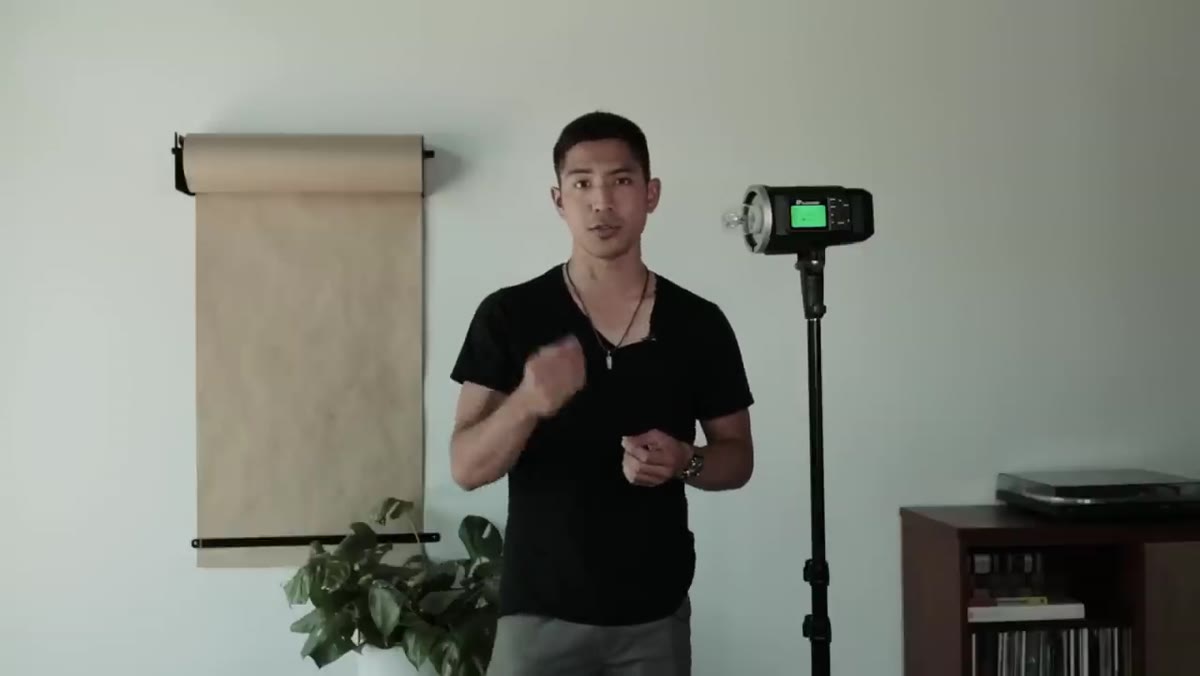 Photographer gesturing toward a single studio flash unit
The first thing DeArco establishes is that studio lighting does not require high-powered monolight packs at full power. He’s shooting with a 600-watt unit in the video, but he’s explicit that speedlights can handle the same jobs. This matters because gear anxiety is real and it stops people from even trying. The question is never “do I have enough power?” The question is “am I using the right amount of power for what the scene needs?” I label every light in my studio with masking tape so I’m never guessing what’s plugged in or what it’s set to. That kind of discipline starts with understanding that the light serves the image, not the other way around.
Photographer gesturing toward a single studio flash unit
The first thing DeArco establishes is that studio lighting does not require high-powered monolight packs at full power. He’s shooting with a 600-watt unit in the video, but he’s explicit that speedlights can handle the same jobs. This matters because gear anxiety is real and it stops people from even trying. The question is never “do I have enough power?” The question is “am I using the right amount of power for what the scene needs?” I label every light in my studio with masking tape so I’m never guessing what’s plugged in or what it’s set to. That kind of discipline starts with understanding that the light serves the image, not the other way around.
Step 2: Build Your Exposure from the Ground Up Using the Diamond
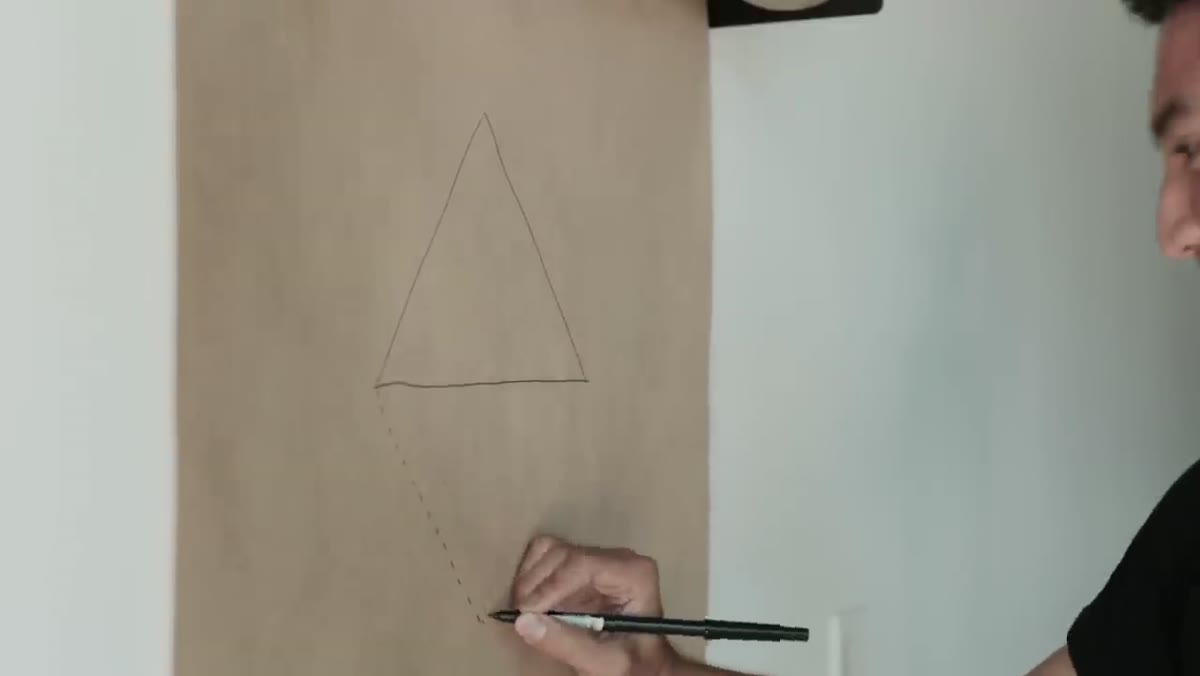 Diagram or visual showing ISO, shutter speed, aperture, and flash as four points
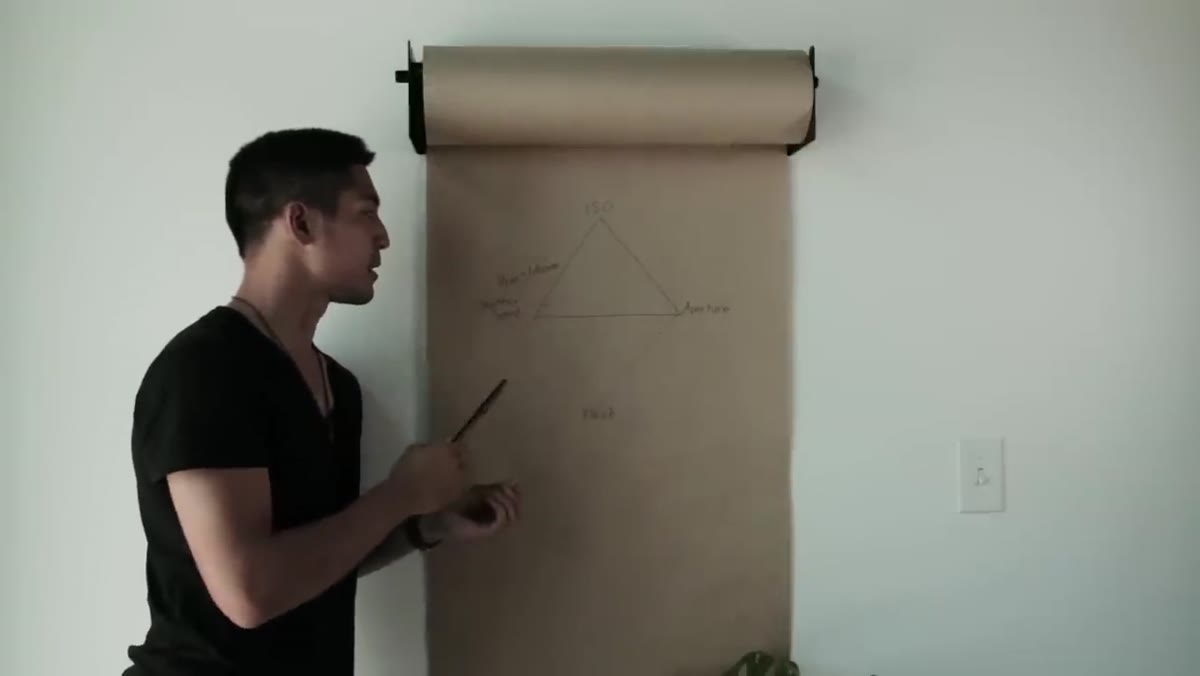
DeArco introduces what he calls the “exposure diamond” rather than the traditional triangle, and this reframe is genuinely useful. The standard triangle covers ISO, shutter speed, and aperture. His fourth point is flash, added last and treated as a supporting element rather than the foundation. Start by exposing for your ambient or natural light using those first three controls. Lock in what you know before you introduce anything artificial. Only once your baseline exposure is clean do you bring in the flash, and when you do, its job is to fill and support, not to dominate. I sketch every setup like this in my lighting journal, including the ambient reading before flash is introduced. It keeps the logic clear even when I’m moving fast on a paid job.
Diagram or visual showing ISO, shutter speed, aperture, and flash as four points
DeArco introduces what he calls the “exposure diamond” rather than the traditional triangle, and this reframe is genuinely useful. The standard triangle covers ISO, shutter speed, and aperture. His fourth point is flash, added last and treated as a supporting element rather than the foundation. Start by exposing for your ambient or natural light using those first three controls. Lock in what you know before you introduce anything artificial. Only once your baseline exposure is clean do you bring in the flash, and when you do, its job is to fill and support, not to dominate. I sketch every setup like this in my lighting journal, including the ambient reading before flash is introduced. It keeps the logic clear even when I’m moving fast on a paid job.
Step 3: Respect the Sync Speed Ceiling
 Camera settings screen showing shutter speed near sync speed limit
One of the most common technical errors when mixing flash with ambient light is exceeding the camera’s maximum sync speed. DeArco flags this clearly. Most cameras will sync with an external flash up to somewhere between 1/160th and 1/250th of a second, depending on the body. Push past that and you’ll get a dark band across the frame where the shutter curtain intersects with the flash burst. This isn’t a matter of taste. It’s a hard technical limit. Set your shutter speed before you add flash, keep it at or below your camera’s sync ceiling, and don’t touch it afterward unless you’re prepared to recalibrate everything else.
Camera settings screen showing shutter speed near sync speed limit
One of the most common technical errors when mixing flash with ambient light is exceeding the camera’s maximum sync speed. DeArco flags this clearly. Most cameras will sync with an external flash up to somewhere between 1/160th and 1/250th of a second, depending on the body. Push past that and you’ll get a dark band across the frame where the shutter curtain intersects with the flash burst. This isn’t a matter of taste. It’s a hard technical limit. Set your shutter speed before you add flash, keep it at or below your camera’s sync ceiling, and don’t touch it afterward unless you’re prepared to recalibrate everything else.
Step 4: Choose Your Modifier to Match the Existing Light Quality
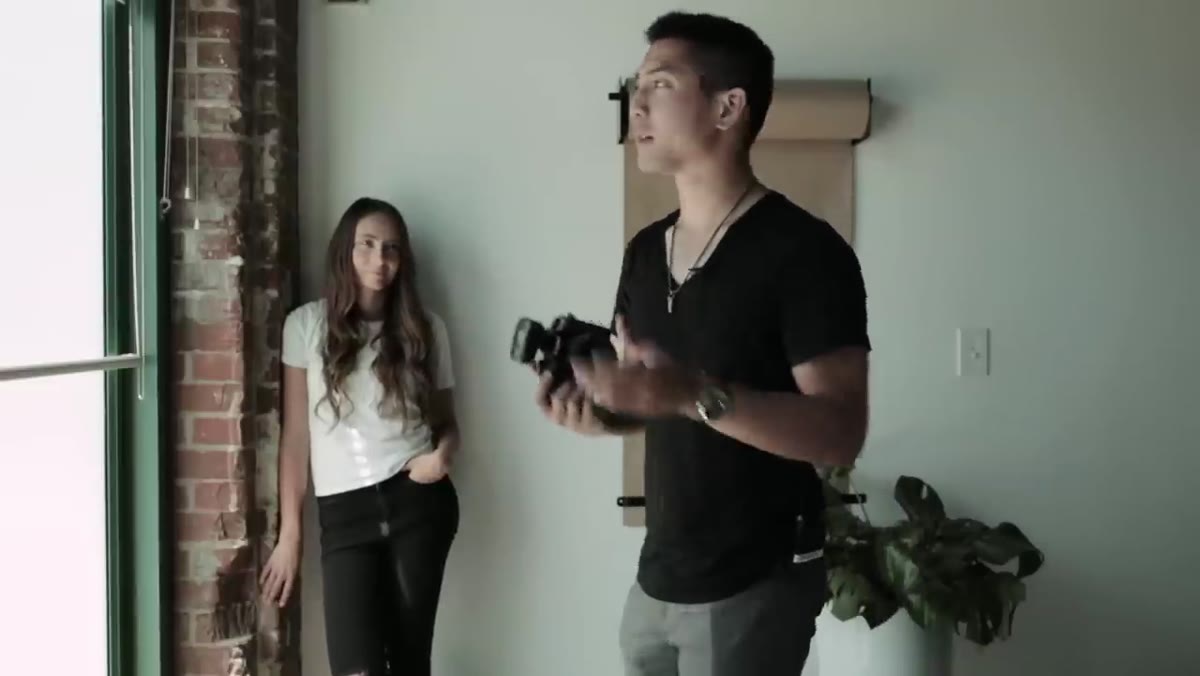 Large 5-foot octabox positioned near a window with soft natural light
DeArco is working with a large window throwing soft, diffused light onto his subject. His modifier choice follows directly from that. He uses a five-foot octabox because its surface area is large enough to produce light of a similar quality to the window. This is a principle I apply on every shoot: the modifier should match the character of the light that’s already in the room. Soft ambient source means a large, diffuse modifier. Hard directional light might mean a grid or a bare strobe. Mismatching the two creates a visual inconsistency that most viewers can’t name but everyone feels. Larger light sources produce softer light, and that softness is a function of the source’s size relative to the subject’s distance from it.
Large 5-foot octabox positioned near a window with soft natural light
DeArco is working with a large window throwing soft, diffused light onto his subject. His modifier choice follows directly from that. He uses a five-foot octabox because its surface area is large enough to produce light of a similar quality to the window. This is a principle I apply on every shoot: the modifier should match the character of the light that’s already in the room. Soft ambient source means a large, diffuse modifier. Hard directional light might mean a grid or a bare strobe. Mismatching the two creates a visual inconsistency that most viewers can’t name but everyone feels. Larger light sources produce softer light, and that softness is a function of the source’s size relative to the subject’s distance from it.
Step 5: Position the Fill Light Where the Shadow Begins
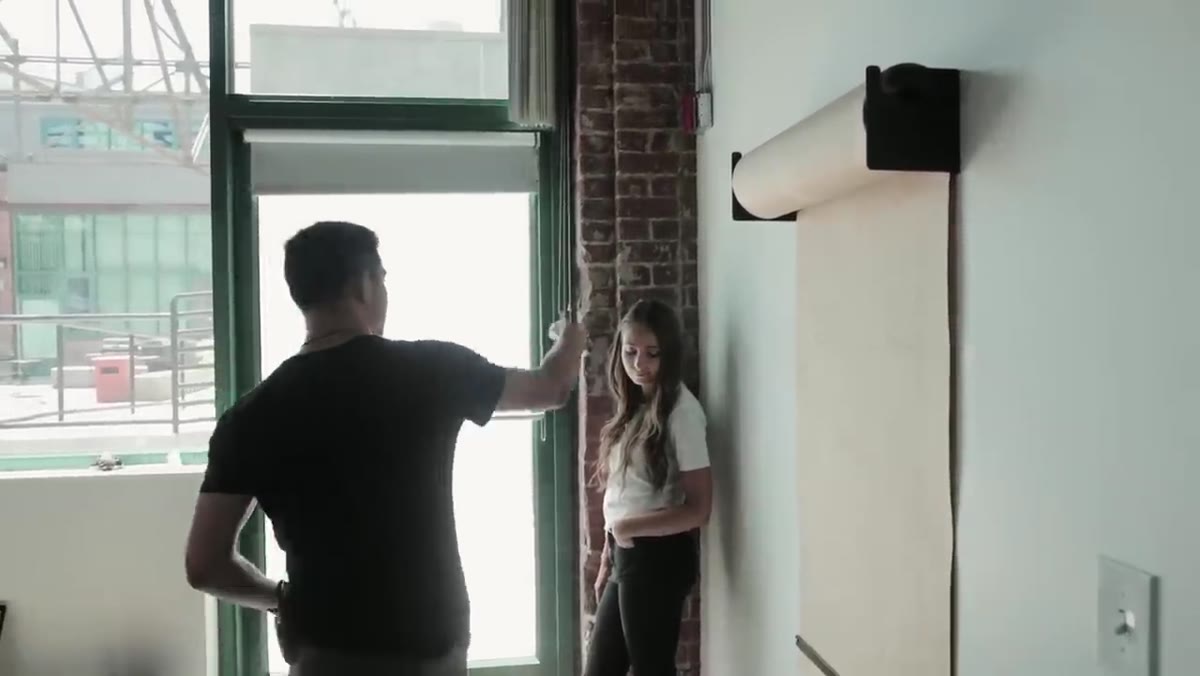 Octabox placed at the edge of the window light’s highlight-to-shadow transition
This is the most practical and immediately applicable technique in the tutorial. DeArco doesn’t center the octabox on the subject or place it wherever it’s convenient. He positions it precisely at the point where the window light starts to fall off into shadow. That transition zone is where fill light belongs. The goal is to catch the shadow before it gets too deep, not to eliminate it. He’s running the flash at roughly 1/128th power at this point, which should tell you something about restraint. The flash isn’t illuminating the subject. It’s protecting the shadow region from going too dark. I test every new modifier the day it arrives using exactly this kind of placement drill, because getting a feel for how much light a modifier throws at low power is something you can’t learn from a spec sheet.
Octabox placed at the edge of the window light’s highlight-to-shadow transition
This is the most practical and immediately applicable technique in the tutorial. DeArco doesn’t center the octabox on the subject or place it wherever it’s convenient. He positions it precisely at the point where the window light starts to fall off into shadow. That transition zone is where fill light belongs. The goal is to catch the shadow before it gets too deep, not to eliminate it. He’s running the flash at roughly 1/128th power at this point, which should tell you something about restraint. The flash isn’t illuminating the subject. It’s protecting the shadow region from going too dark. I test every new modifier the day it arrives using exactly this kind of placement drill, because getting a feel for how much light a modifier throws at low power is something you can’t learn from a spec sheet.
Step 6: Adjust Modifier and Power for the Subject’s Intended Look
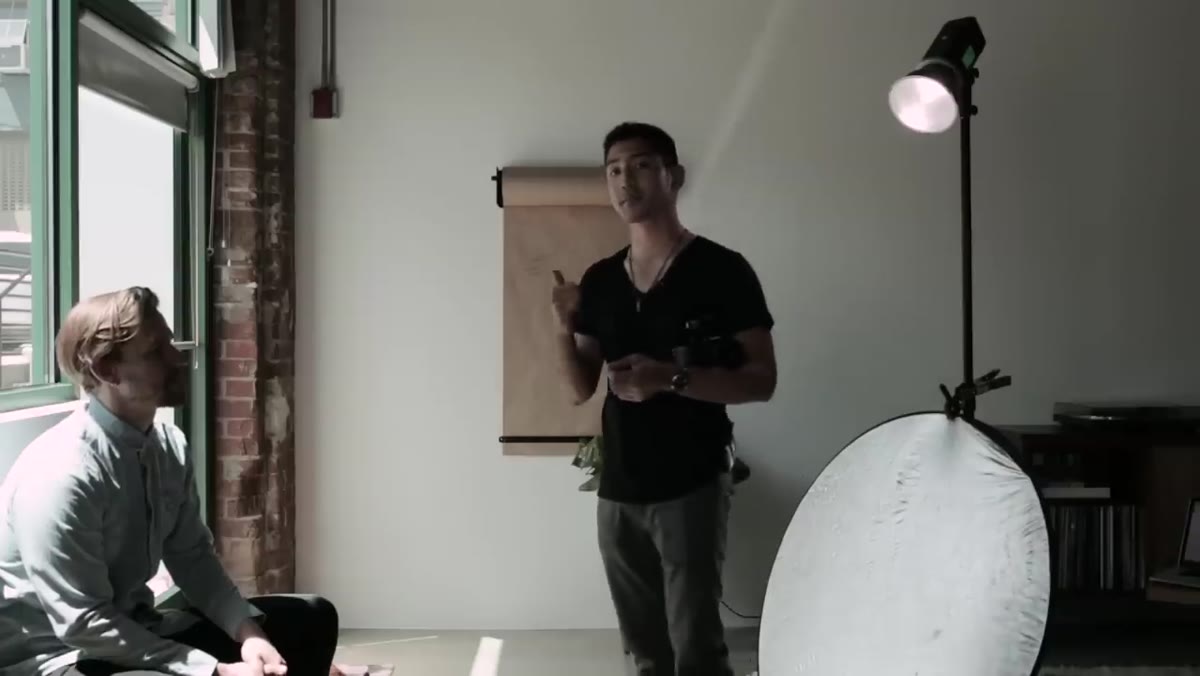 Harder, more directional light setup used for a male subject
DeArco shifts the setup when working with a male subject, moving from a large soft modifier to a harder, more directional source. This isn’t a rule about gender. It’s a decision about intention. Harder light creates more defined shadows and stronger contrast, which reads as more dramatic or sculptural. Softer light wraps around the subject and flatters. Knowing which effect you want before you set up the light is more important than knowing which modifier to reach for. The modifier is just the tool that produces the effect you’ve already decided on.
Harder, more directional light setup used for a male subject
DeArco shifts the setup when working with a male subject, moving from a large soft modifier to a harder, more directional source. This isn’t a rule about gender. It’s a decision about intention. Harder light creates more defined shadows and stronger contrast, which reads as more dramatic or sculptural. Softer light wraps around the subject and flatters. Knowing which effect you want before you set up the light is more important than knowing which modifier to reach for. The modifier is just the tool that produces the effect you’ve already decided on.
What I’d Add From My Own Experience
DeArco doesn’t spend much time on the color temperature side of mixing flash with natural light, and that’s where I’ve been burned before. Natural light shifts throughout the day, and flash is typically calibrated to daylight balanced output around 5500K. Early morning or late afternoon window light can run warmer, and if your flash isn’t matched to it, your fills will look visibly different from your mains even when the power is dialed in perfectly. I calibrate with a gray card every time I move to a new location in the studio, not just at the start of the day. It takes two minutes and it has saved more than a few shots that would have otherwise been unusable.
The single most important idea DeArco demonstrates in this tutorial is that flash is an addition to a working exposure, not a replacement for one. Get your natural light reading right first, then let the flash do the minimum amount of work needed to support it. That shift in sequencing is worth more than any modifier upgrade.
Watch the full tutorial on YouTube to see DeArco walk through each setup in real time.
Comments
Leave a Comment