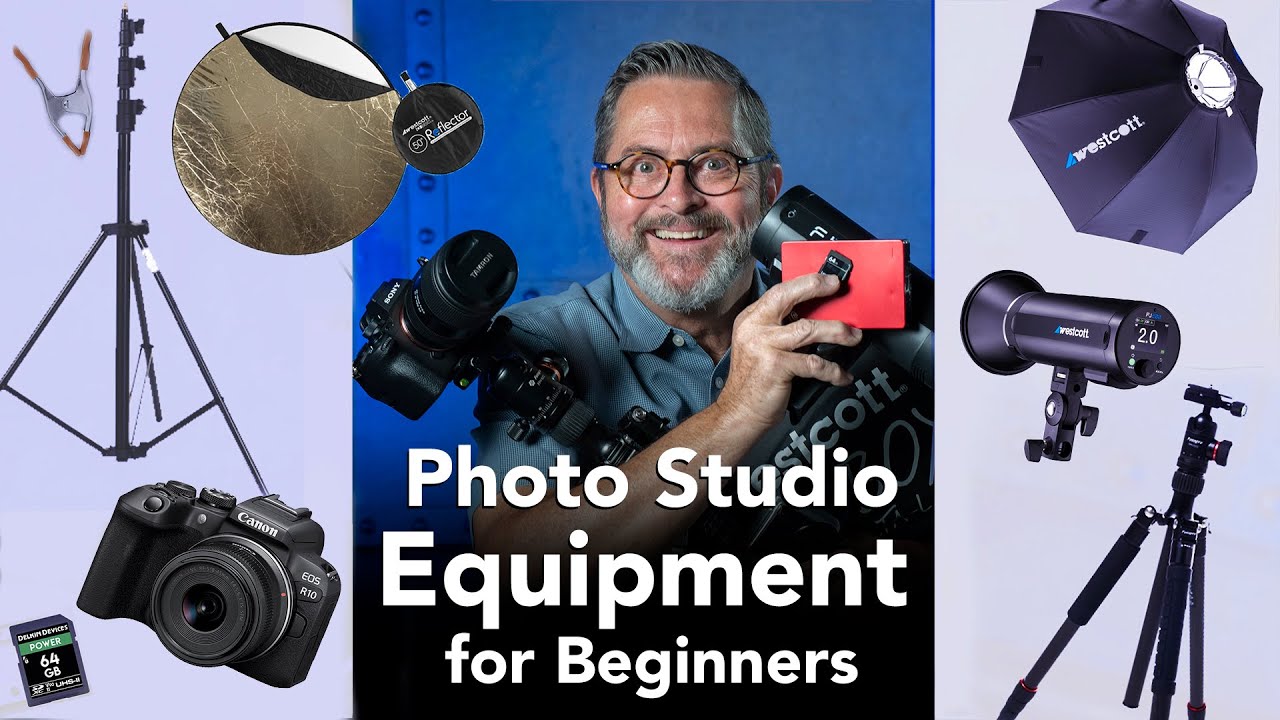
Every few months someone emails me asking what gear they need to start shooting professionally. My honest answer used to be long, expensive-sounding, and probably discouraging. The truth is simpler than most people expect, and a recent tutorial from Jay P. Morgan over at The Slanted Lens lays it out better than I could have said it myself. Watch the full tutorial on YouTube before or after reading this – either order works.
What I appreciate about Jay’s approach is that he structures the problem the way I’d structure a recipe. You don’t need every ingredient on the shelf. You need the right ones in the right order. He breaks his gear recommendations into three budget tiers, and even the lowest tier gets you to a place where you can charge money for your work. That framing matters. Most beginner gear articles are written to make you feel behind. This one is written to get you moving.
I’m going to walk through the entry-level tier here, because that’s where the most useful decisions live. If you get this foundation right, everything above it becomes an upgrade rather than a correction.
Step 1: Choose a Camera That Grows With You
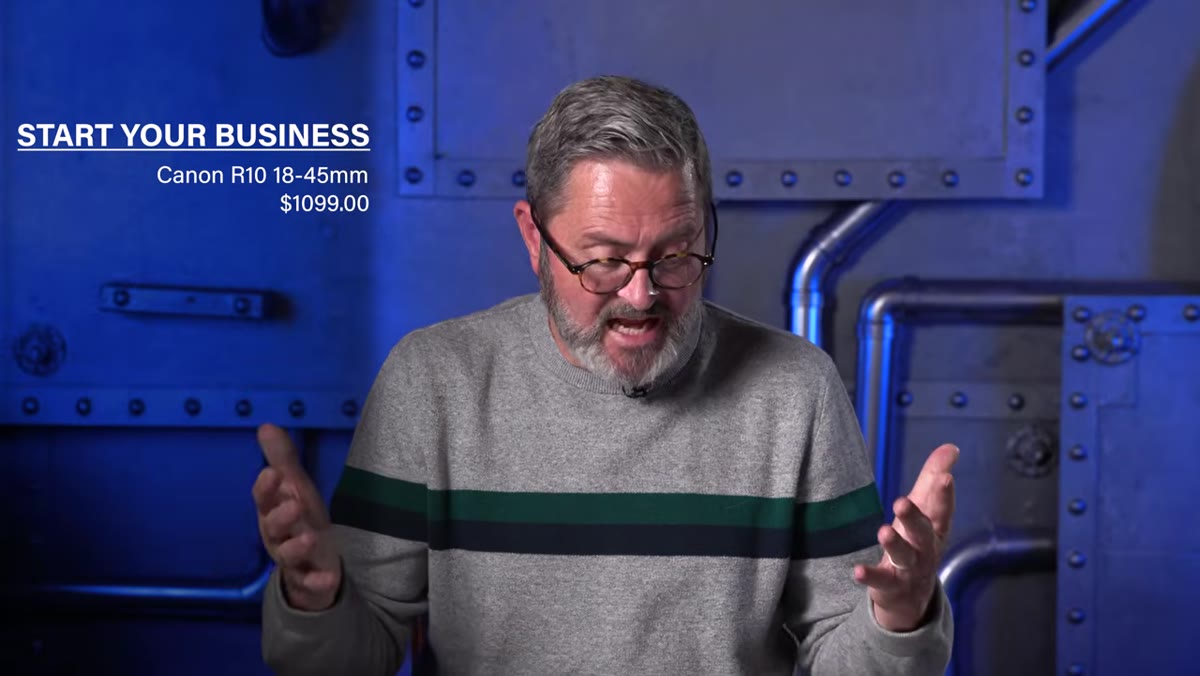 Canon R10 mirrorless camera shown on screen
Jay’s 2022 recommendation is the Canon R10, which replaced the older Rebel line as his entry-level pick. At around $1,100 with a kit lens, it’s a mirrorless body with an APS-C sensor, 24 megapixels, and autofocus that would have embarrassed cameras twice its price five years ago. The detail worth paying attention to is the mount – it uses Canon’s RF system, which means any lens you buy now carries forward when you move to a higher-end Canon body later. That’s not a small thing. Buying into a dead-end mount early is one of the more expensive beginner mistakes you can make.
Canon R10 mirrorless camera shown on screen
Jay’s 2022 recommendation is the Canon R10, which replaced the older Rebel line as his entry-level pick. At around $1,100 with a kit lens, it’s a mirrorless body with an APS-C sensor, 24 megapixels, and autofocus that would have embarrassed cameras twice its price five years ago. The detail worth paying attention to is the mount – it uses Canon’s RF system, which means any lens you buy now carries forward when you move to a higher-end Canon body later. That’s not a small thing. Buying into a dead-end mount early is one of the more expensive beginner mistakes you can make.
For studio portraiture, the included 18-45mm kit lens is adequate to start. On an APS-C sensor, the long end translates to roughly 72mm equivalent, which gives you a workable head-and-shoulders framing. It’s not an 85mm prime – which is still my first lens recommendation for portrait work – but it gets you shooting without an additional purchase on day one.
Step 2: Add a Reflector Before You Add a Strobe
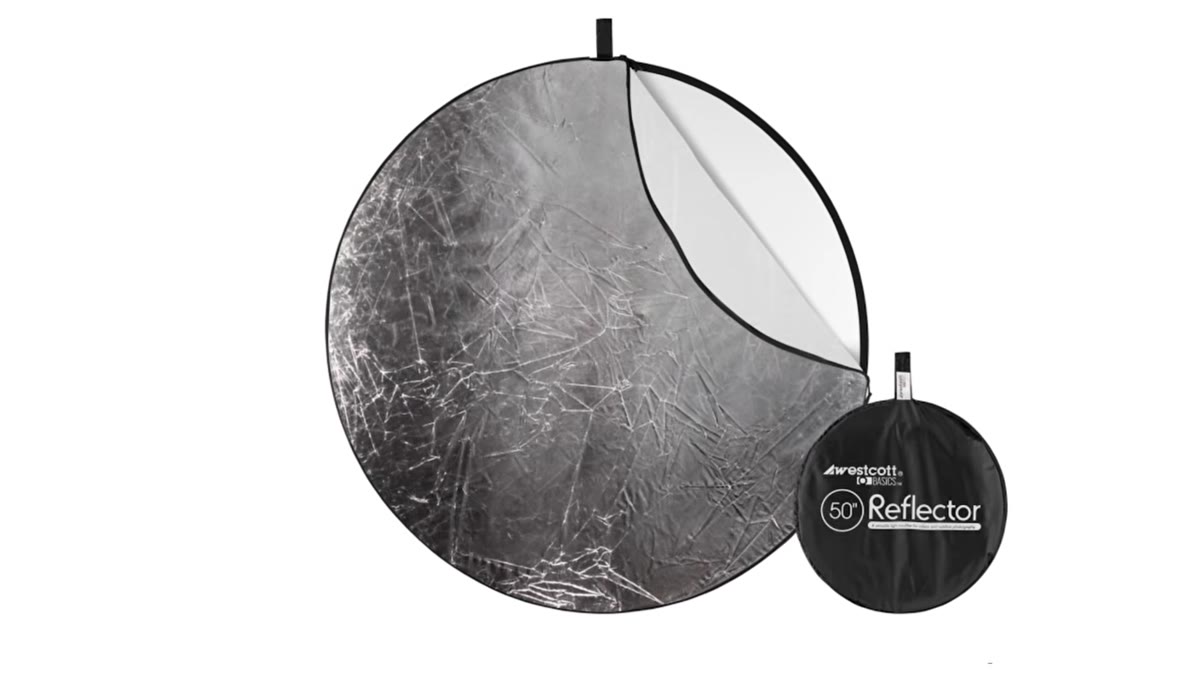 Five-in-one reflector shown collapsed and expanded
This is where Jay and I are completely aligned, and it’s also the advice most beginners skip because a reflector feels too simple. The Westcott 5-in-1 he recommends runs about $35 and gives you five working surfaces: translucent for diffusion, white for a soft bounce, silver for a harder fill, gold for warming skin tones, and black for subtracting light. That last one – using a dark surface to pull light off a face and create shadow – is a technique I use on commercial beauty shoots to this day.
Five-in-one reflector shown collapsed and expanded
This is where Jay and I are completely aligned, and it’s also the advice most beginners skip because a reflector feels too simple. The Westcott 5-in-1 he recommends runs about $35 and gives you five working surfaces: translucent for diffusion, white for a soft bounce, silver for a harder fill, gold for warming skin tones, and black for subtracting light. That last one – using a dark surface to pull light off a face and create shadow – is a technique I use on commercial beauty shoots to this day.
The reflector teaches you something a strobe can’t: it shows you how light moves. Because you’re working with existing light and a physical bounce surface, you see the effect in real time. I kept a reflector as my only light source for my first eight months of paid work. The images held up. Start here.
Step 3: Mount It on a Stand That Won’t Limit You
 Kupo light stand shown fully extended
A reflector held in someone’s lap points at the ceiling. You need a stand, and the one Jay recommends – a Kupo universal black stand rated to 12.5 feet – is a legitimate piece of professional equipment, not a beginner compromise. The load rating matters: a stand that can hold a heavy strobe head and modifier means you won’t be replacing it when you upgrade your lights. Buy equipment that can carry more than you currently own.
Kupo light stand shown fully extended
A reflector held in someone’s lap points at the ceiling. You need a stand, and the one Jay recommends – a Kupo universal black stand rated to 12.5 feet – is a legitimate piece of professional equipment, not a beginner compromise. The load rating matters: a stand that can hold a heavy strobe head and modifier means you won’t be replacing it when you upgrade your lights. Buy equipment that can carry more than you currently own.
Position the stand so the reflector sits just outside your frame at roughly 45 degrees to your subject, angled slightly downward. For window-lit setups, place it on the shadow side of the face and angle the white surface toward the window. You’ll fill in the shadow detail without killing the natural falloff that makes window light so flattering.
Step 4: Use Two Smaller Cards Instead of One Large One
 Two SD cards shown side by side
Jay’s card strategy sounds like a small detail but it reflects a working professional’s mindset about data. Instead of one 128GB card, he recommends two 64GB cards. The reason is behavioral, not technical. A single high-capacity card becomes a storage device. You shoot, fill it, and leave the images sitting on the card for weeks because there’s still room. Two smaller cards force a different habit: when one fills, you swap it, back up the full card, clear it, and return it to rotation.
Two SD cards shown side by side
Jay’s card strategy sounds like a small detail but it reflects a working professional’s mindset about data. Instead of one 128GB card, he recommends two 64GB cards. The reason is behavioral, not technical. A single high-capacity card becomes a storage device. You shoot, fill it, and leave the images sitting on the card for weeks because there’s still room. Two smaller cards force a different habit: when one fills, you swap it, back up the full card, clear it, and return it to rotation.
I use a version of this on every client shoot. Cards are shooting media, not an archive. An external drive is the archive.
Step 5: Back Up to an External Drive Immediately After Every Shoot
 External hard drive plugged into laptop shown
The external drive Jay recommends costs around $60. That’s not a significant expense in a gear budget, and the loss it prevents is catastrophic by comparison. His rule – and mine – is that the drive lives at your edit station, not in your camera bag. After every shoot, the cards get backed up before anything else happens.
External hard drive plugged into laptop shown
The external drive Jay recommends costs around $60. That’s not a significant expense in a gear budget, and the loss it prevents is catastrophic by comparison. His rule – and mine – is that the drive lives at your edit station, not in your camera bag. After every shoot, the cards get backed up before anything else happens.
Jay deliberately leaves the laptop out of this budget because it’s a separate category of expense and most people already own something workable. The external drive connects to whatever you have and gets your images off a fragile card and onto a more stable medium immediately.
What I’d Add From My Own Experience
The one thing Jay doesn’t cover in this tier – and I understand why, because the budget is already structured – is a gray card or color checker. I learned the hard way on an early editorial shoot that mixed light sources and no calibration reference can wreck your white balance in post in ways that cost you hours. A $15 gray card solves this completely. Before every studio session, I shoot a frame with the gray card under the same light I’ll be using, and I set my white balance from that reference in Lightroom. Every skin tone in the batch corrects from that single frame.
It’s not glamorous equipment. It doesn’t make the gear list in most beginner tutorials. But it’s the difference between images that edit quickly and images that fight you.
The single most important idea in Jay’s tutorial is that your first investment in studio photography does not need to be expensive – it needs to be intentional. A reflector, a solid stand, two cards, and a backup drive will not limit your photography. They’ll teach it. Get those four things working before you spend a dollar on strobes. Watch the full tutorial on YouTube for his mid-range and professional tier breakdowns, which are equally practical.
Comments
Leave a Comment