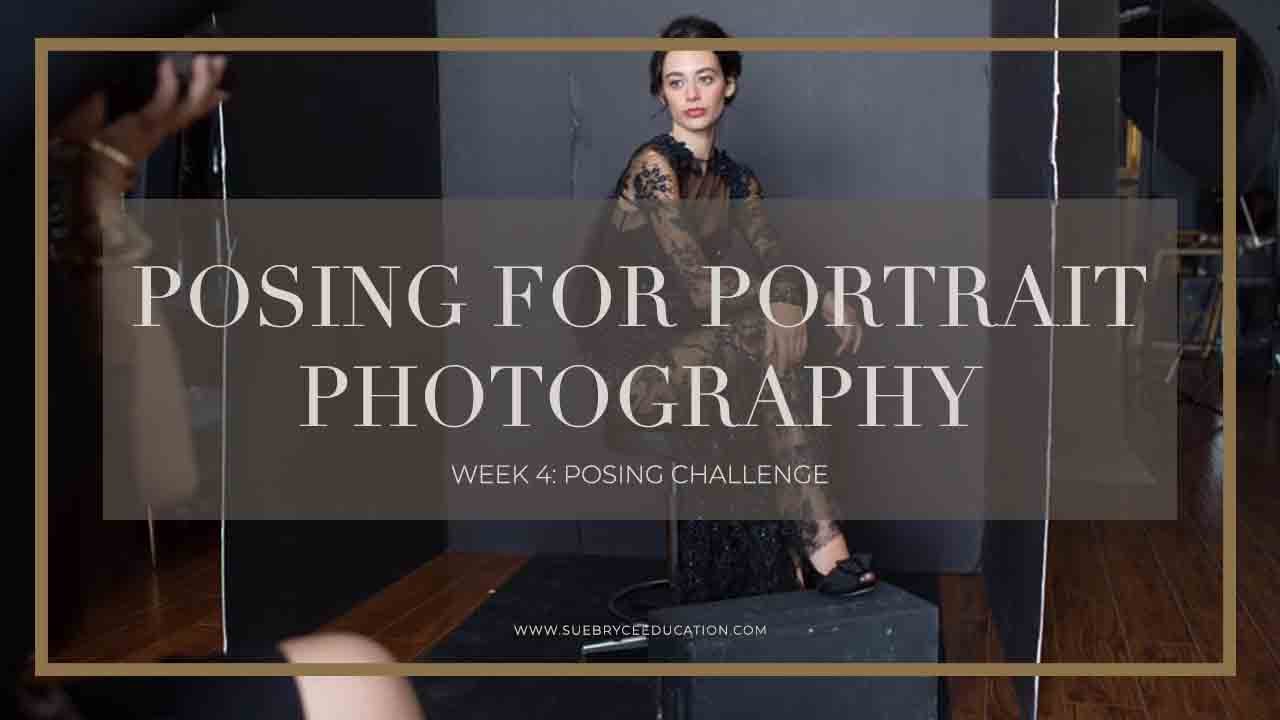
Posing is the part of portrait work most photographers quietly dread. Lighting I can diagram. Exposure I can calculate. But the moment a client walks in and stands flat-footed in the middle of my seamless, every instinct I’ve developed over years of commercial work has to fire at once — shape the body, read the energy, direct without stiffening them up. I’ve shot enough editorial work to know that bad posing kills a technically perfect frame faster than any lighting mistake ever could.
That’s why I keep coming back to Sue Bryce’s teaching. In this Watch the full tutorial on YouTube The Portrait System tutorial, she lays out what she calls the posing challenge — a framework built around a small set of anchors that apply to every client, every session, every body type. What struck me the first time I watched it wasn’t any single trick. It was the underlying logic: posing isn’t a list of positions, it’s a vocabulary. Learn the letters before you try to write sentences.
I’ve been running this framework in my own studio for a while now, and I want to break it down the way I’d explain it to a second shooter prepping for a client day. Concrete, sequential, no theory for its own sake.
Step 1: Internalize the Core Variables Before You Pick Up the Camera
 Sue listing posing fundamentals: chin, shoulders, hands, hourglass
Before you arrange a single body part, you need a mental checklist you can run in real time. Bryce names these explicitly: chin, shoulders, hands, hourglass shape, body language, connection, and asymmetry. Write them on a card and tape it to your monitor if you have to. I keep a short version in my lighting journal alongside every session diagram, because posing and lighting solve the same problem from different directions — both are about how form reads against a background.
Sue listing posing fundamentals: chin, shoulders, hands, hourglass
Before you arrange a single body part, you need a mental checklist you can run in real time. Bryce names these explicitly: chin, shoulders, hands, hourglass shape, body language, connection, and asymmetry. Write them on a card and tape it to your monitor if you have to. I keep a short version in my lighting journal alongside every session diagram, because posing and lighting solve the same problem from different directions — both are about how form reads against a background.
The point isn’t to tick boxes mechanically. It’s to have a scanning pattern so you never miss the obvious. A dropped shoulder that creates an hourglass line. A chin pushed slightly forward to avoid compression under the jaw. These aren’t stylistic choices, they’re structural ones, and they apply before any creative direction starts.
Step 2: Build Your Session Around Five Physical Anchors
 Wall, chair, box, ottoman, and floor listed as posing locations
Bryce organizes every session around a fixed set of locations and props: wall, chair, box, ottoman, floor, and open freestyle space. This is deceptively simple and genuinely useful. When I shoot beauty or editorial work, I’m often working with art directors who want variety fast. Having five distinct physical anchors means I can rotate through them methodically and deliver contrast without burning time reinventing the wheel mid-shoot.
Wall, chair, box, ottoman, and floor listed as posing locations
Bryce organizes every session around a fixed set of locations and props: wall, chair, box, ottoman, floor, and open freestyle space. This is deceptively simple and genuinely useful. When I shoot beauty or editorial work, I’m often working with art directors who want variety fast. Having five distinct physical anchors means I can rotate through them methodically and deliver contrast without burning time reinventing the wheel mid-shoot.
Each anchor creates different body geometry. The wall gives you compression and support so the client doesn’t have to think about where to put their weight. A chair or box forces sitting positions that naturally bend joints and break up the straight vertical line. The floor opens up lying-down angles that lengthen the body and reduce the sense of height in frame. Map these out in your studio space before the client arrives, not during.
Step 3: Lead with the Chin and Shoulder Relationship
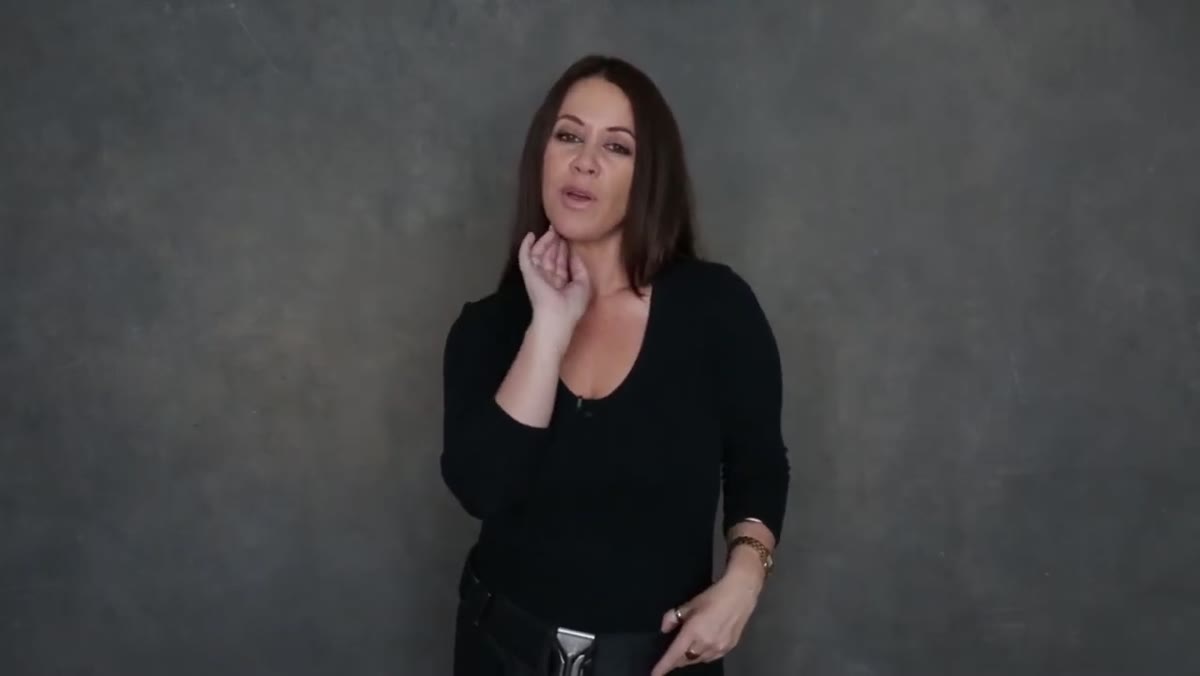
 Demonstrating chin forward and shoulder drop toward camera
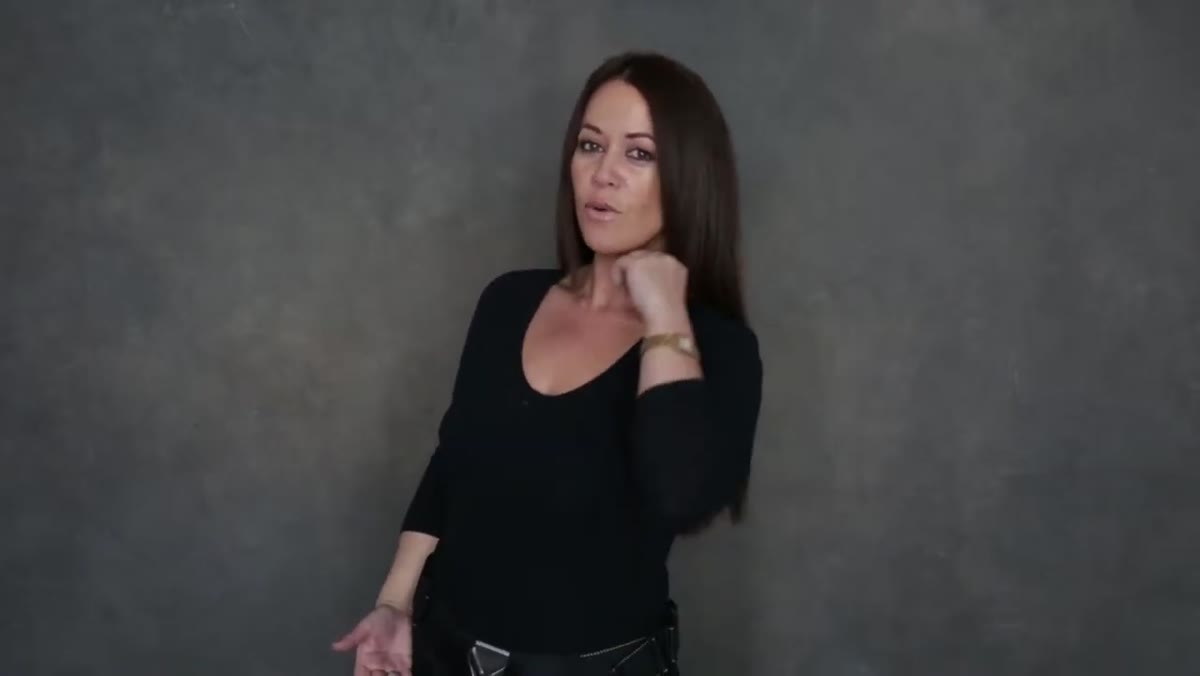
Of all the technical notes in this tutorial, the chin-shoulder connection is the one I’d tattoo on my hand if I weren’t so attached to clean skin. Bryce is specific: bring the chin toward the shoulder to create connection and lengthen the neck, but don’t stack them so the chin sits directly on top of the shoulder. That collapses the line. You want proximity, not contact.
Demonstrating chin forward and shoulder drop toward camera
Of all the technical notes in this tutorial, the chin-shoulder connection is the one I’d tattoo on my hand if I weren’t so attached to clean skin. Bryce is specific: bring the chin toward the shoulder to create connection and lengthen the neck, but don’t stack them so the chin sits directly on top of the shoulder. That collapses the line. You want proximity, not contact.
This single adjustment does three things simultaneously. It angles the face to the light, extends the visible length of the neck, and creates a natural tilt that reads as relaxed engagement rather than stiff attention. In my commercial work, where clients often come in with no posing experience at all, this is the first correction I make. Everything else flows more easily once that relationship is right.
Step 4: Use Rotation and Curvature to Shape Every Body Type
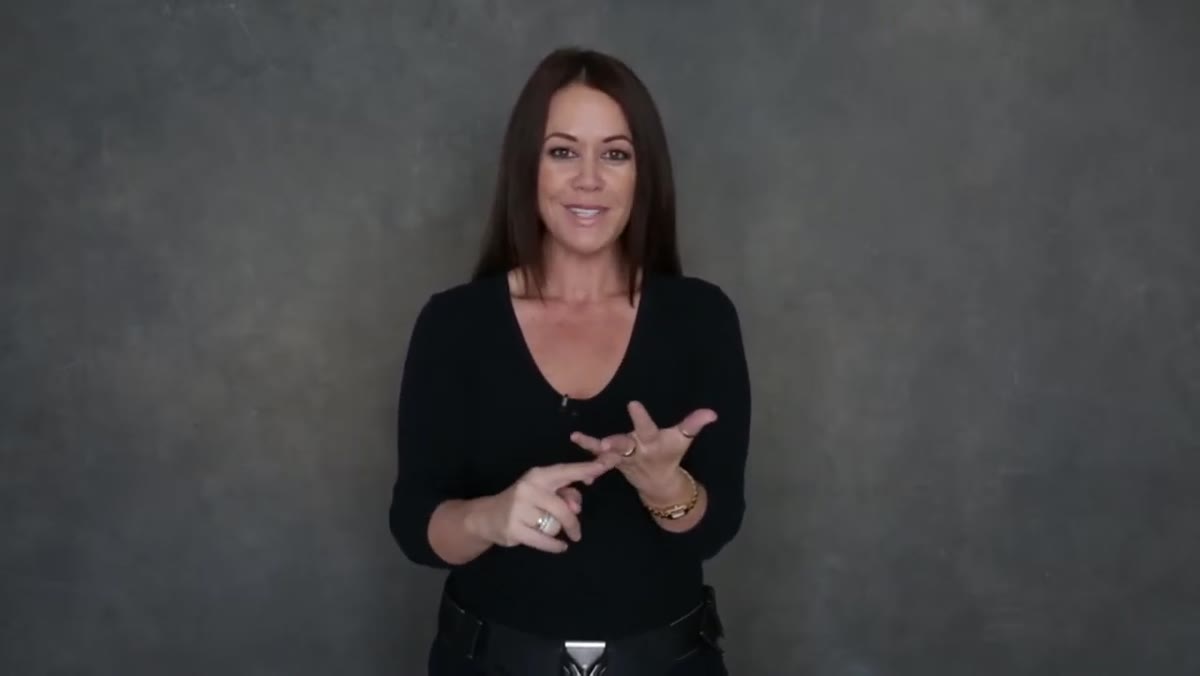 Demonstrating curves and body rotation to create hourglass silhouette
Flat-on, symmetrical poses rarely photograph well. Bryce emphasizes curving the body and using rotation to create the hourglass silhouette that reads as dynamic and proportional on camera. This applies to seated, standing, and floor work equally. The mechanics are the same: open up the torso slightly to the camera, angle the hips away, and let the natural S-curve of the spine do the work.
Demonstrating curves and body rotation to create hourglass silhouette
Flat-on, symmetrical poses rarely photograph well. Bryce emphasizes curving the body and using rotation to create the hourglass silhouette that reads as dynamic and proportional on camera. This applies to seated, standing, and floor work equally. The mechanics are the same: open up the torso slightly to the camera, angle the hips away, and let the natural S-curve of the spine do the work.
Perspective distortion matters here too, and Bryce flags it directly. What your lens sees and what your eye sees are not the same thing. A hand placed close to the lens reads as enormous. A hip angled toward a wide lens reads as much wider than it is. Knowing how your focal length behaves at your typical working distance is non-negotiable. I always shoot portrait work at 85mm or longer specifically to compress and flatter proportions. If you’re using anything wider than 50mm for close head-and-shoulder frames, the distortion is working against you.
Step 5: Keep the Session Moving and Never Stop Talking
 Directing client through continuous pose transitions without stopping
This is the step most photographers underestimate, including me early on. Bryce is emphatic: stay verbal, stay moving, don’t freeze on a single pose. The more you talk, the more settled your client feels. Silence from a photographer reads as uncertainty, and uncertain clients tighten up, which reads directly in the frame.
Directing client through continuous pose transitions without stopping
This is the step most photographers underestimate, including me early on. Bryce is emphatic: stay verbal, stay moving, don’t freeze on a single pose. The more you talk, the more settled your client feels. Silence from a photographer reads as uncertainty, and uncertain clients tighten up, which reads directly in the frame.
The practical technique is to shift continuously between your anchors and within them, rotating the client’s body slightly, adjusting the chin angle, moving from wall to seated to floor in a flow rather than a series of separate setups. Think of it as choreography with light commentary. You’re directing a performance while simultaneously watching for the moment the body language looks genuinely inhabited rather than performed.
Step 6: Save Hand Posing for Later
 Sue explaining hands are advanced posing to address after fundamentals
Bryce gives explicit permission to deprioritize hands early on, and I think this is worth calling out because it goes against the instinct to fix everything at once. Hands are advanced posing. They involve fine motor direction, and overcueing them before the basics are solid creates self-consciousness in both the photographer and the subject. Get the body structure right first. Hands will often fall naturally into something workable once the larger shapes are working.
Sue explaining hands are advanced posing to address after fundamentals
Bryce gives explicit permission to deprioritize hands early on, and I think this is worth calling out because it goes against the instinct to fix everything at once. Hands are advanced posing. They involve fine motor direction, and overcueing them before the basics are solid creates self-consciousness in both the photographer and the subject. Get the body structure right first. Hands will often fall naturally into something workable once the larger shapes are working.
When I’m training someone to assist on a shoot, this is the guidance I give them too. Master the macro before the micro. A poorly shaped body with perfect hands is still a poorly shaped body.
What I’d Add From My Own Studio Work
The piece Bryce doesn’t spend as much time on – understandably, given the scope – is how lighting direction interacts with pose. The same body shape can look completely different depending on which side your key light hits. A turned shoulder that creates a beautiful shadow fall-off toward a broad light source can become a flat, unflattering blob if you rotate the body 30 degrees the wrong way. I always run a quick test frame when I introduce a new pose to confirm the light is landing where I want it. My lighting diagrams include a rough stick figure indicating the subject orientation, not just the equipment positions. It took me an embarrassingly long time to start doing that systematically.
The single most important idea in this tutorial is the one Bryce returns to repeatedly: your job is to make people look natural and unposed. That’s the entire point of having a posing system – not to impose a structure, but to move through it fast enough that the structure disappears. When the chin is right and the shoulder is right and the body is curved and the client is talking and laughing, nobody is thinking about posing. That’s when you get the frame.
Watch the full tutorial on YouTube and work through each anchor position before your next session. Print the posing guides Bryce references. Run through the sequence solo in your studio if you have to – learn where your light hits each anchor before a paying client is standing in front of it.
Comments
Leave a Comment