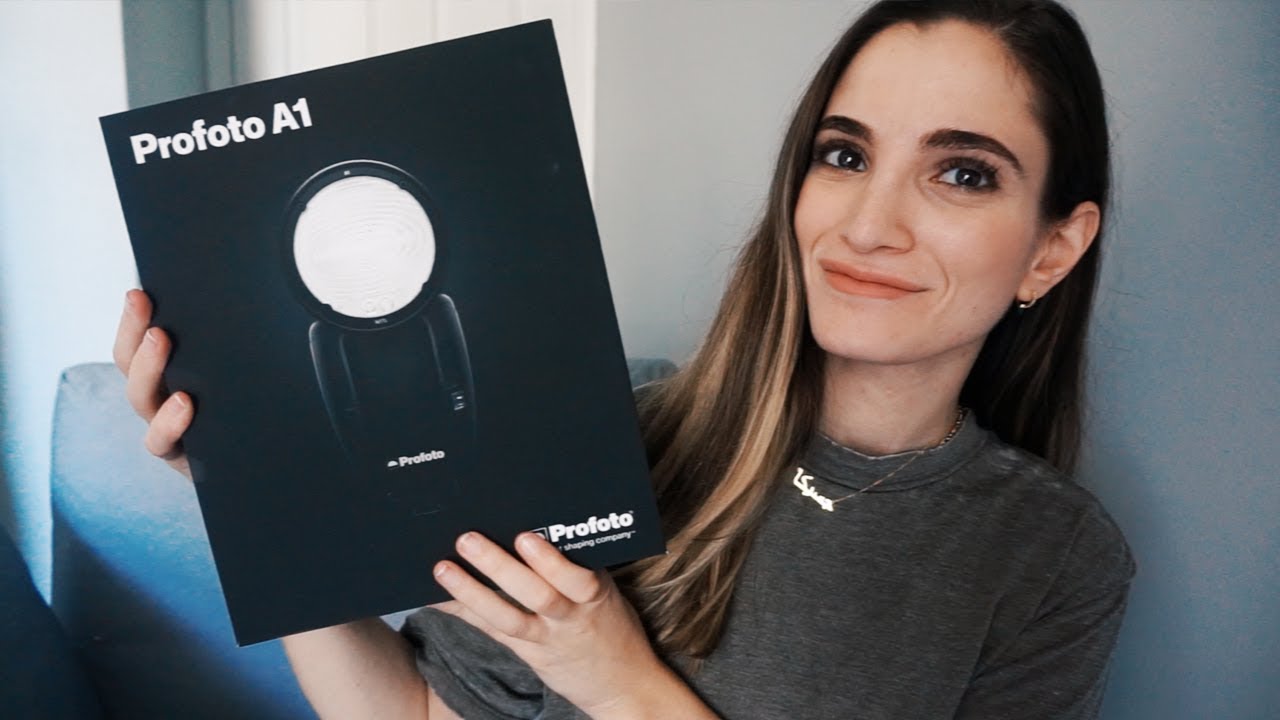
I have labeled every flash in my studio with masking tape. Not because I’m obsessive, although my assistants would argue otherwise, but because I’ve learned the hard way that ambiguity on set costs time and money. So when a new flash unit comes along that’s designed from the ground up to reduce confusion and friction, I pay attention. I’ve watched a lot of gear releases come and go, and most of them are incremental. The Profoto A1 felt like something worth examining more carefully.
Watch the full tutorial on YouTube
In this Jessica Kobeissi tutorial, she walks through an unboxing of the Profoto A1 after being invited to Stockholm for the official press launch. What makes her perspective valuable here is that she comes at this as someone who openly dislikes using flash. That’s not a weakness in the review. That’s actually the most useful vantage point. If a flash wins over someone who finds flash photography frustrating and technically intimidating, that tells you something real about the design philosophy behind it.
I test every modifier the day it arrives. When I watched this video, I found myself making notes, not about specs I could pull from a product page, but about workflow decisions and physical design choices that would actually affect how I shoot. Here’s what’s worth paying attention to.
Step 1: Understand Who This Flash Is Built For
 Jessica prefacing her limited flash shooting background
Before you evaluate any piece of gear, you need to know its intended user. Kobeissi is upfront about the fact that she’s not a studio shooter. She does weddings and portraits, often avoiding flash entirely because the reload times on her Canon speedlights caused her to miss shots. Profoto apparently invited photographers with exactly that background to the launch, which tells you something deliberate about the A1’s market positioning. This is not a flash built only for lighting technicians. It’s built for working photographers who need reliability without a steep learning curve. If you’re already comfortable with a Profoto D2 or B10, some of this may feel elementary. If you’re anywhere on the spectrum between “I avoid flash” and “I use flash but find it stressful,” this product deserves a serious look.
Step 2: Open the Box and Take Inventory
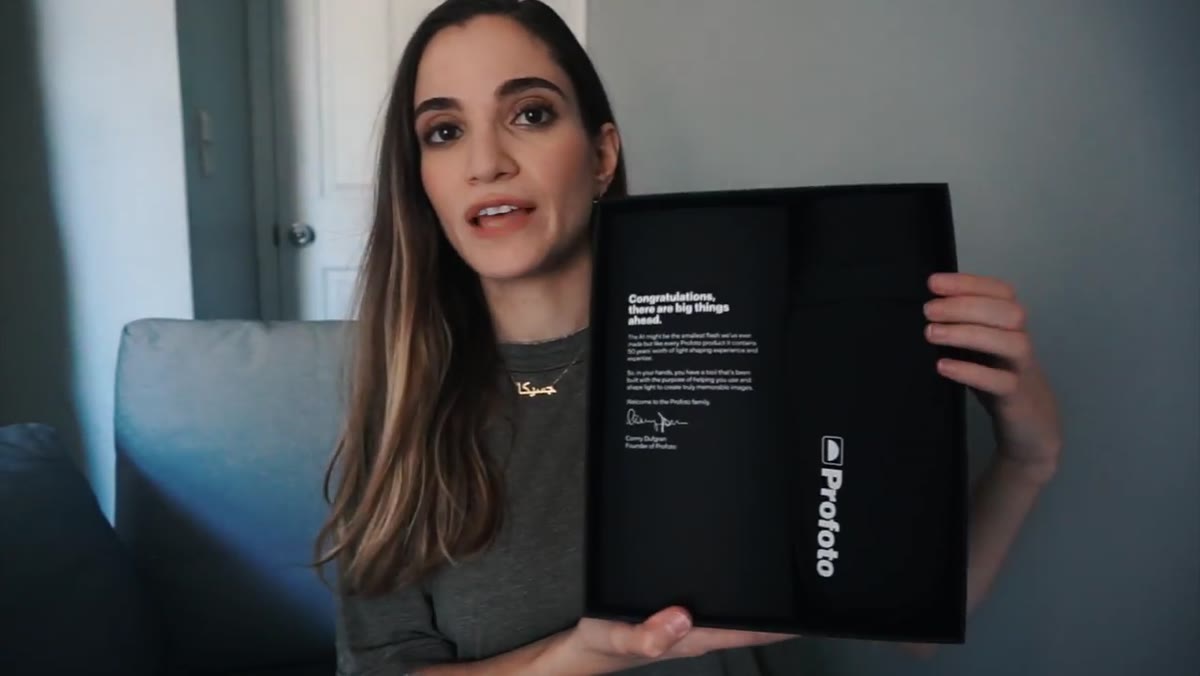 Box opened, flash unit and secondary compartment visible
The packaging itself is worth noting because it reflects how Profoto has organized the kit. When Kobeissi opens the box, there are two distinct sections. The main compartment holds the flash head itself, protected inside a soft pouch. The secondary compartment contains the accessories. Before you attach anything or fire a single test shot, lay everything out. Know what you have. Skipping this step on a new flash is how you end up on set wondering where the dome diffuser went. The A1 ships with at least one magnetic accessory attached or included, and knowing the full inventory before you shoot gives you a baseline for the system’s capabilities.
Step 3: Note the Rechargeable Battery Design
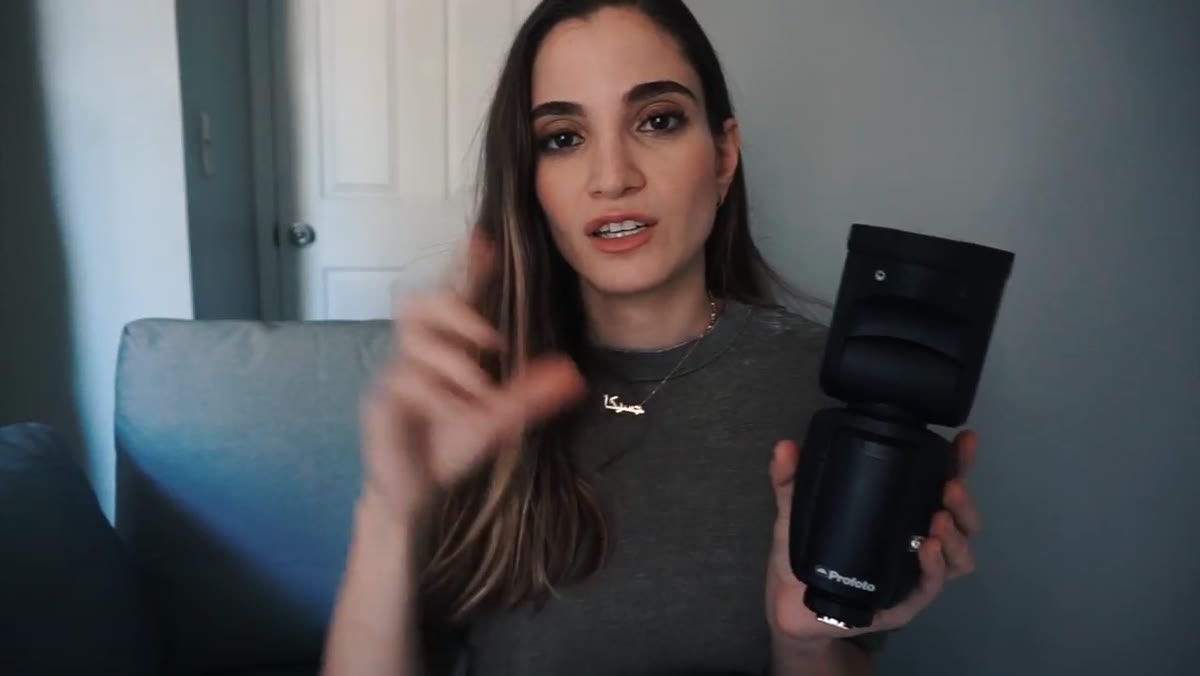 Rechargeable battery removed from the base of the flash
The A1 uses a rechargeable lithium battery rather than AA batteries. This sounds minor until you’ve stood in a reception hall at 10pm with a dead speedlight and a pocket full of mixed used and new AAs that you can’t reliably distinguish from each other. The battery on the A1 slides out cleanly from the base of the unit. You swap the depleted one for a charged one and keep shooting. For anyone doing event work or long editorial days, this changes the logistics of how you pack and how you plan your power management. Carry two batteries, keep one on the charger, rotate. It’s a cleaner system than anything involving a AA organizer and a prayer.
Step 4: Register the Rounded Flash Head Shape
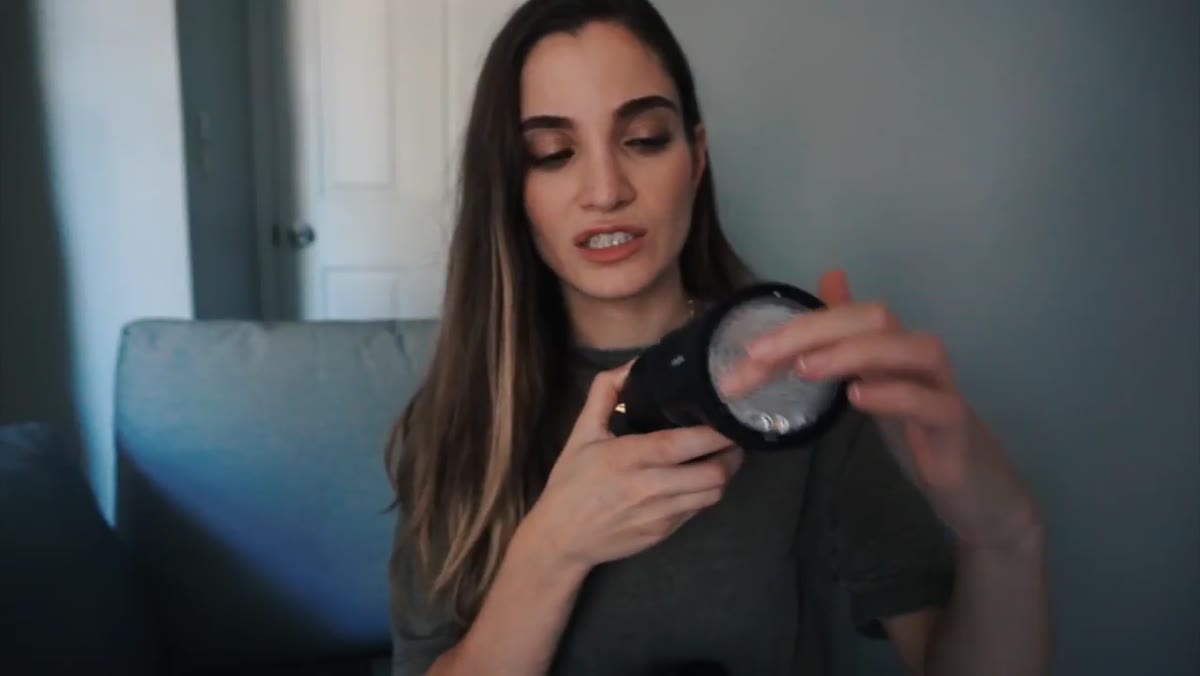 Side profile of A1 showing rounded head versus traditional rectangular form
Traditional speedlights have a rectangular flash tube, which produces a harder, more directional quality of light. The A1 uses a rounded head design that more closely mimics the shape of a studio monolight’s flash tube. This is not a cosmetic difference. A rounder light source produces a more even spread and a catchlight in the eye that looks less like a staple and more like a softbox. For portrait and beauty work, this matters. The catchlight shape is visible in the final image, and clients notice the difference even if they can’t articulate why one image feels more polished than another. When I’m shooting beauty editorial, I’m already thinking about catchlight geometry. The A1’s head addresses this at the hardware level.
Step 5: Learn the Magnetic Modifier System
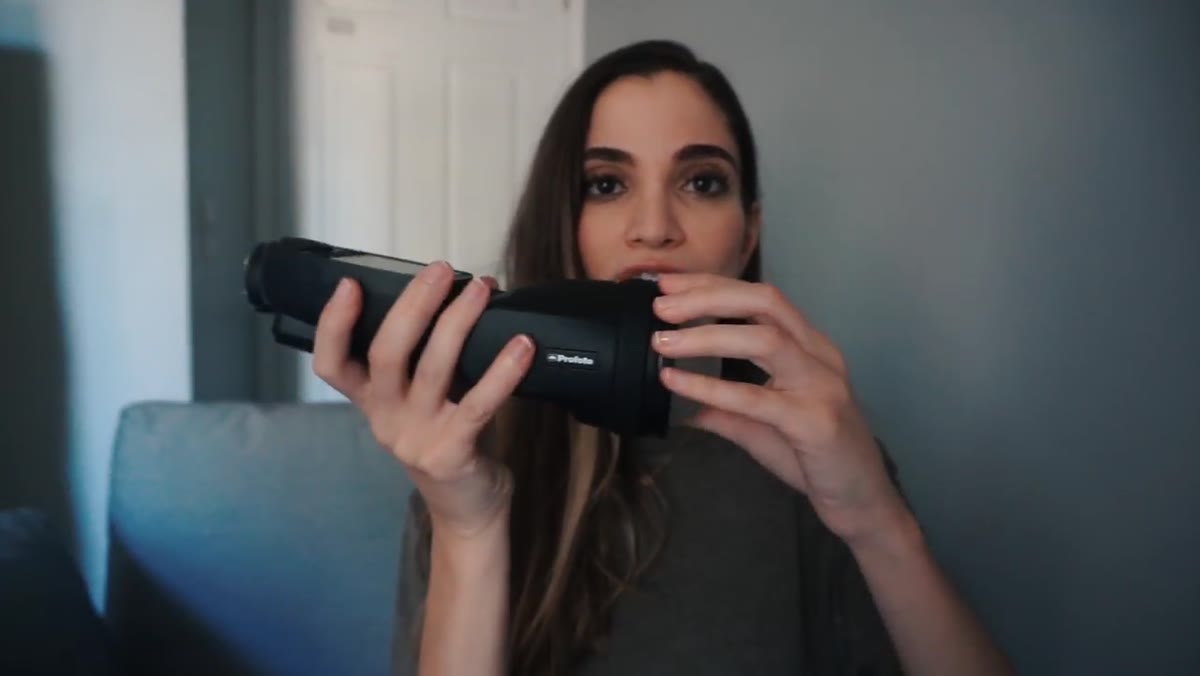 Dome diffuser snapping onto flash head magnetically
The magnetic attachment system is the feature most likely to change your on-set behavior. Kobeissi demonstrates the dome diffuser snapping onto the head without any twisting, locking, or threading. It holds firmly enough that it won’t fall off mid-shoot, but it releases instantly when you pull it. Profoto has also introduced a gel system that uses the same magnetic mount. For anyone who has fumbled with gel holders in low light or watched a modifier drop to the floor during a portrait session, the practical value here is immediate. The speed of modifier changes on set directly affects your shooting rhythm. If swapping a gel takes ten seconds instead of ninety, you stay in the moment with your subject instead of breaking the energy in the room.
Step 6: Consider What Magnetic Gels Add to Your Kit
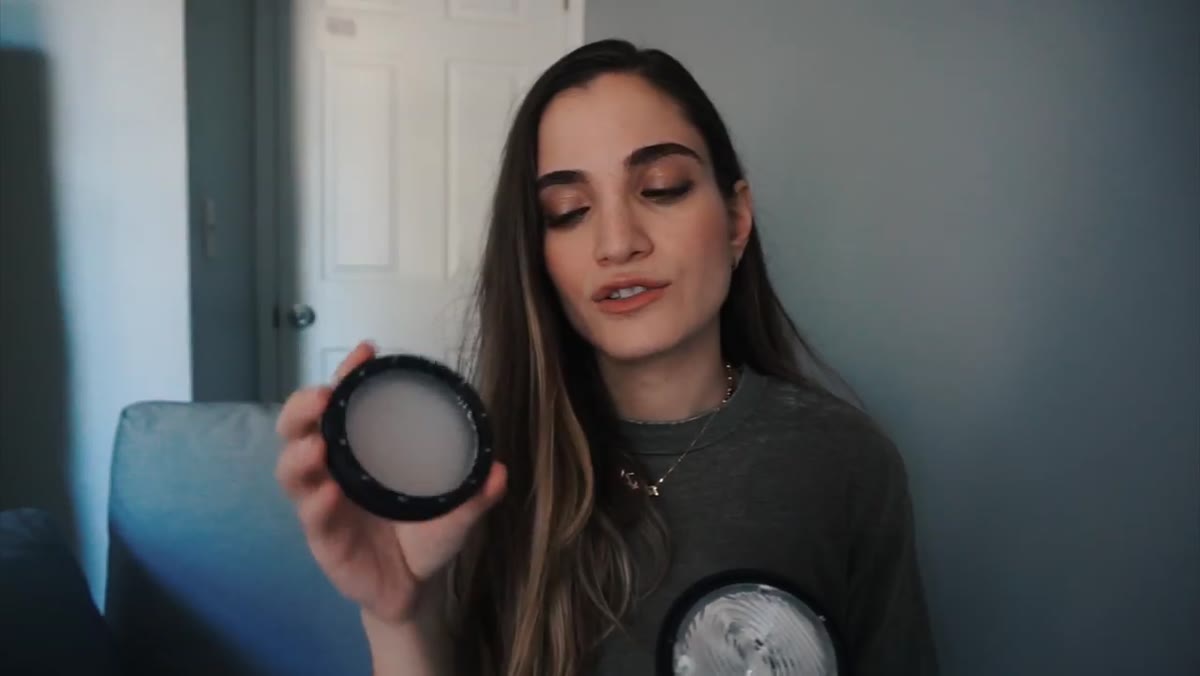 Discussion of gel color options for the magnetic system
The gel compatibility deserves its own step because it’s easy to dismiss gels as a specialty tool. They’re not. I use gels constantly, whether I’m correcting a flash to match tungsten ambient light or adding a deliberate color cast for a fashion editorial. The fact that the A1’s gel system is magnetic means you can change color temperature or creative color mid-shoot in seconds. If you’re doing a multi-look shoot where one setup calls for a neutral strobe and the next calls for a warm fill, that transition no longer requires a grip tape and a steady hand. It requires pulling one gel off and snapping another one on.
What I’d Add From My Own Studio Work
The A1 is clearly designed to reduce the friction between the photographer’s intention and the light’s output. That’s the right problem to solve. Where I’d push new users is on calibration. I once ruined an entire editorial shoot early in my career because I didn’t account for color temperature drift between my flash and the ambient window light. The resulting images were unpredictable across the sequence, and no amount of post-processing made them consistent. Whatever flash system you use, make a habit of shooting a gray card reference frame at the start of every lighting setup. The A1’s magnetic gel system is fast and flexible, but flexibility only helps you if you know what you’re starting from.
The most important thing the A1 gets right is lowering the activation energy for photographers who would otherwise avoid flash entirely. Better light on your subject beats no light, every time, regardless of whether you consider yourself a “flash shooter.” If this gear review has you curious about whether the A1 fits your workflow, go watch the full breakdown from the source.
Watch the full tutorial on YouTube
Comments
Leave a Comment