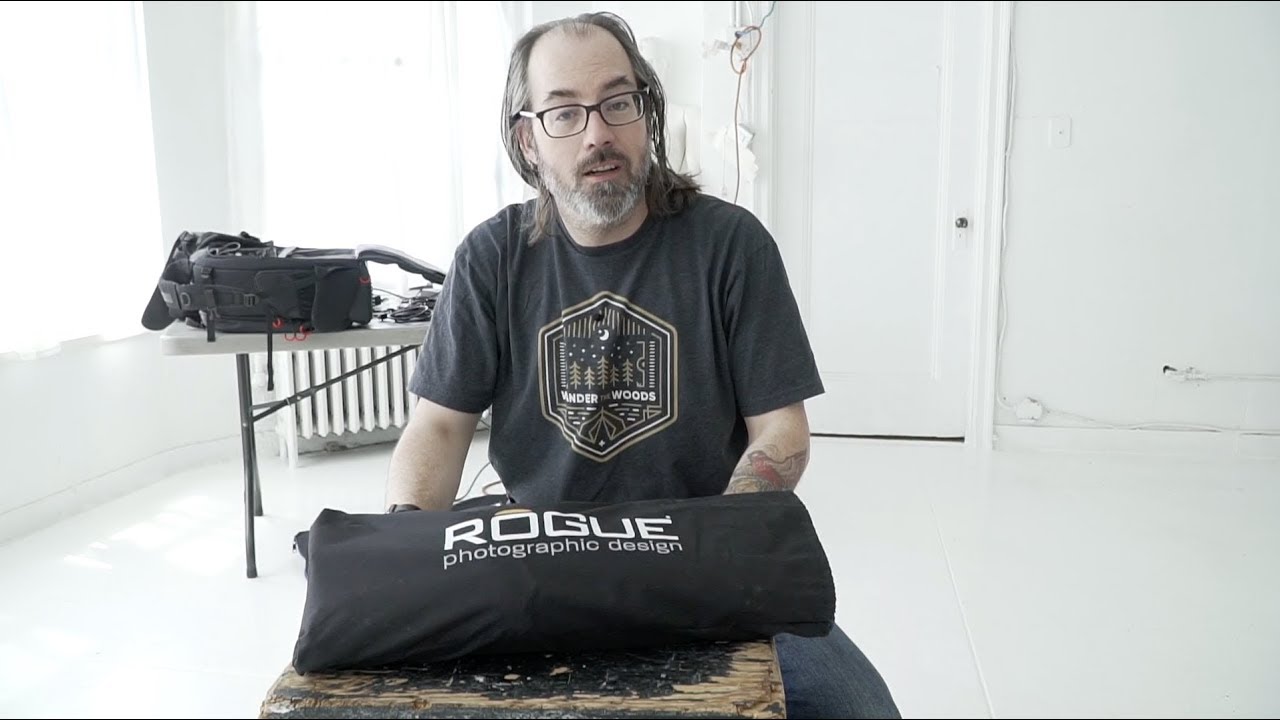
Every working studio photographer eventually hits the same wall: the job calls for location work, the client wants polished light, and your monolight stays home. Speedlights become the answer by necessity, and suddenly the quality of your modifiers matters more than you expected. I’ve been shooting commercial and editorial work long enough to know that a bare speedlight is a liability, not a tool. Controlling and shaping that small, harsh source is the entire game.
In this Daniel Norton Photographer tutorial, Watch the full tutorial on YouTube, Daniel unpacks the Rogue Flashbender XL Pro kit sent to him by Expoimaging and walks through exactly what each component does. It is a short, conversational video, but the practical detail inside it is worth slowing down for. I watched it the afternoon a similar kit arrived at my studio, and I ran every test he mentions before I wrapped for the day.
What I want to do here is pull the technique out of the unboxing format and give you a proper step-by-step that you can follow at your bench, or on set, without rewinding a video every thirty seconds.
Step 1: Understand What the Flashbender Base Unit Actually Is
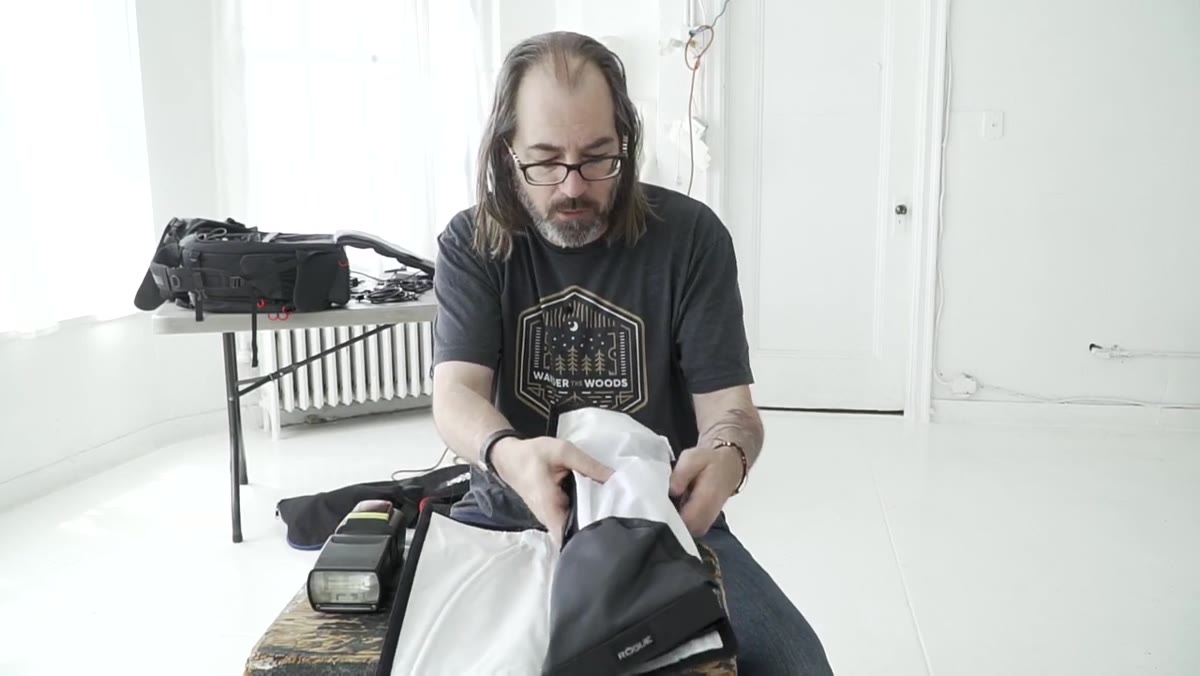 Host holding the bare Flashbender bender panel toward camera
The Rogue Flashbender is not a softbox. Not yet, anyway. In its base form, it is a flexible reflective panel that straps directly onto your speedlight head. The panel has internal ribs running across its back face. Those ribs are the whole point: they let you hold any curve you bend into the material without the panel snapping back flat. Think of it less like a modifier and more like a raw material you sculpt per shot.
Host holding the bare Flashbender bender panel toward camera
The Rogue Flashbender is not a softbox. Not yet, anyway. In its base form, it is a flexible reflective panel that straps directly onto your speedlight head. The panel has internal ribs running across its back face. Those ribs are the whole point: they let you hold any curve you bend into the material without the panel snapping back flat. Think of it less like a modifier and more like a raw material you sculpt per shot.
The attachment system uses a buckle strap. You tilt your flash head to 90 degrees, pointing straight up, lay the panel against the front of the head, and cinch the strap down. It is firm enough for handheld use. This is the foundation everything else builds on, so take a minute to get the fit right before you start bending anything.
Step 2: Use the Bounce Technique for Immediate Diffusion
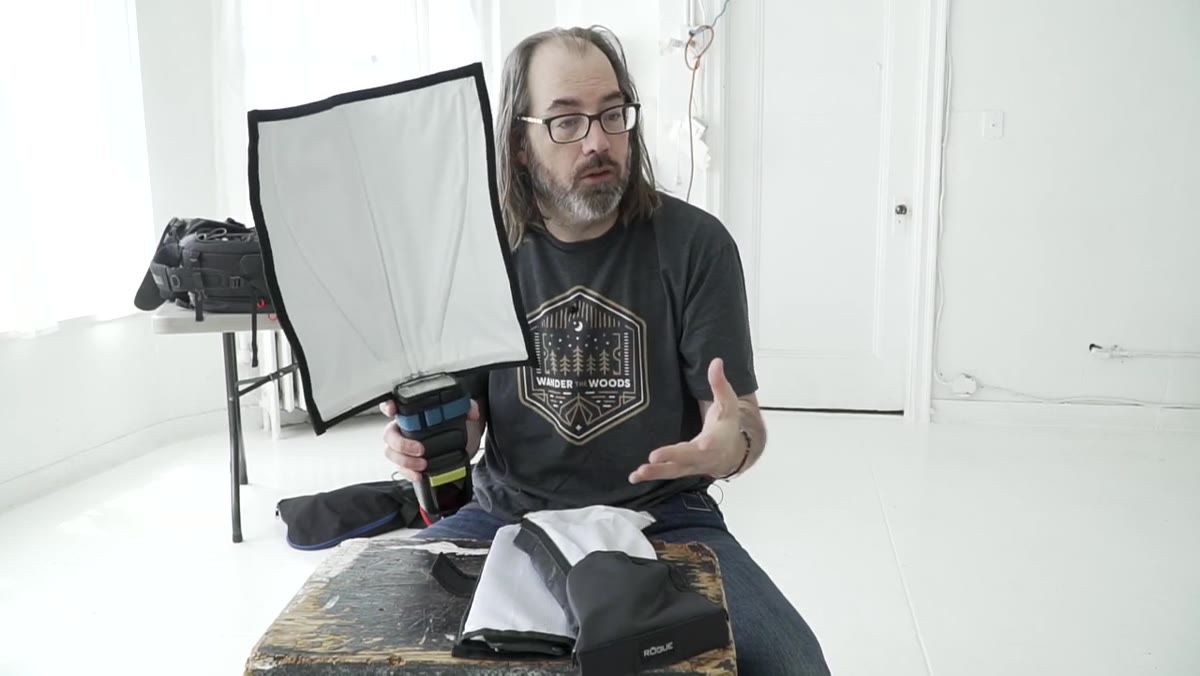 Host demonstrating the panel bent into a curved shape like a catcher’s mitt
With the panel mounted and the flash pointing up, bend the flashbender into a concave curve, similar to a catcher’s mitt shape. The light fires upward, hits the curved reflective interior, and redirects forward toward your subject. This is not the same as bouncing off a ceiling. You are controlling the direction precisely and keeping the light source closer to your axis, which changes the shadow quality.
Host demonstrating the panel bent into a curved shape like a catcher’s mitt
With the panel mounted and the flash pointing up, bend the flashbender into a concave curve, similar to a catcher’s mitt shape. The light fires upward, hits the curved reflective interior, and redirects forward toward your subject. This is not the same as bouncing off a ceiling. You are controlling the direction precisely and keeping the light source closer to your axis, which changes the shadow quality.
Why is this softer than bare flash? Two reasons. First, the reflective surface is physically larger than the flash tube, which always moves light quality in the right direction. Second, the curve breaks the reflection across multiple angles simultaneously, so instead of one concentrated beam, you get a spread with varying angles of incidence. The result reads softer on skin even though you are still working with a small unit. Daniel describes this well: the shape creates diffusion through the geometry of the bounce, not just through a scrim.
Step 3: Add the Softbox Diffuser Panel for a Box-Style Output
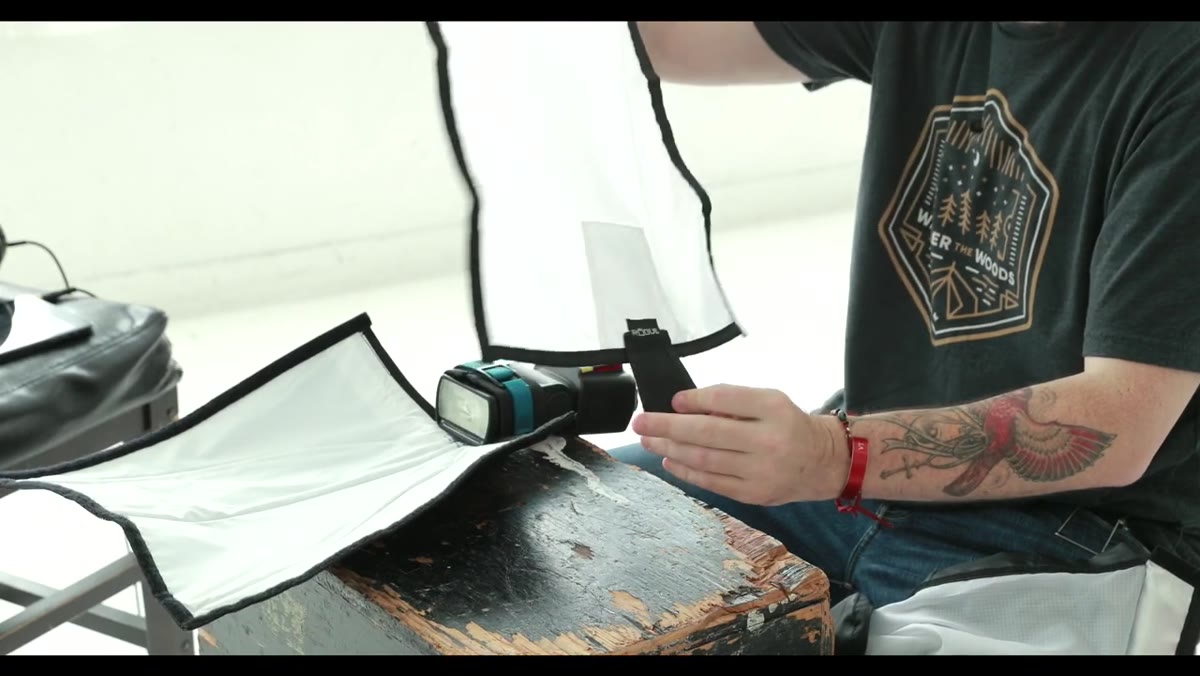 Host attaching the velcro diffuser panel to the front of the bent Flashbender
The kit includes a separate diffuser panel, sometimes listed as the softbox attachment. It is a rectangular piece with a grid-cloth diffusion face and a velcro backing. You attach it to the front of the already-bent Flashbender using the velcro border around the panel’s edge. The fit is not complicated, but pay attention to the orientation: there is a small tab at the bottom that tucks under the buckle strap to keep the diffuser from drifting down under gravity.
Host attaching the velcro diffuser panel to the front of the bent Flashbender
The kit includes a separate diffuser panel, sometimes listed as the softbox attachment. It is a rectangular piece with a grid-cloth diffusion face and a velcro backing. You attach it to the front of the already-bent Flashbender using the velcro border around the panel’s edge. The fit is not complicated, but pay attention to the orientation: there is a small tab at the bottom that tucks under the buckle strap to keep the diffuser from drifting down under gravity.
Once attached, the unit reads more like a collapsible softbox than a bounce reflector. The diffusion material spreads and softens the light a second time after it has already been broken up by the curved interior bounce. That double-pass quality control is what makes this combination more useful than either element alone. The whole assembly stays reasonably compact for its output quality.
Step 4: Note the Silver Interior and What It Does to Your Output
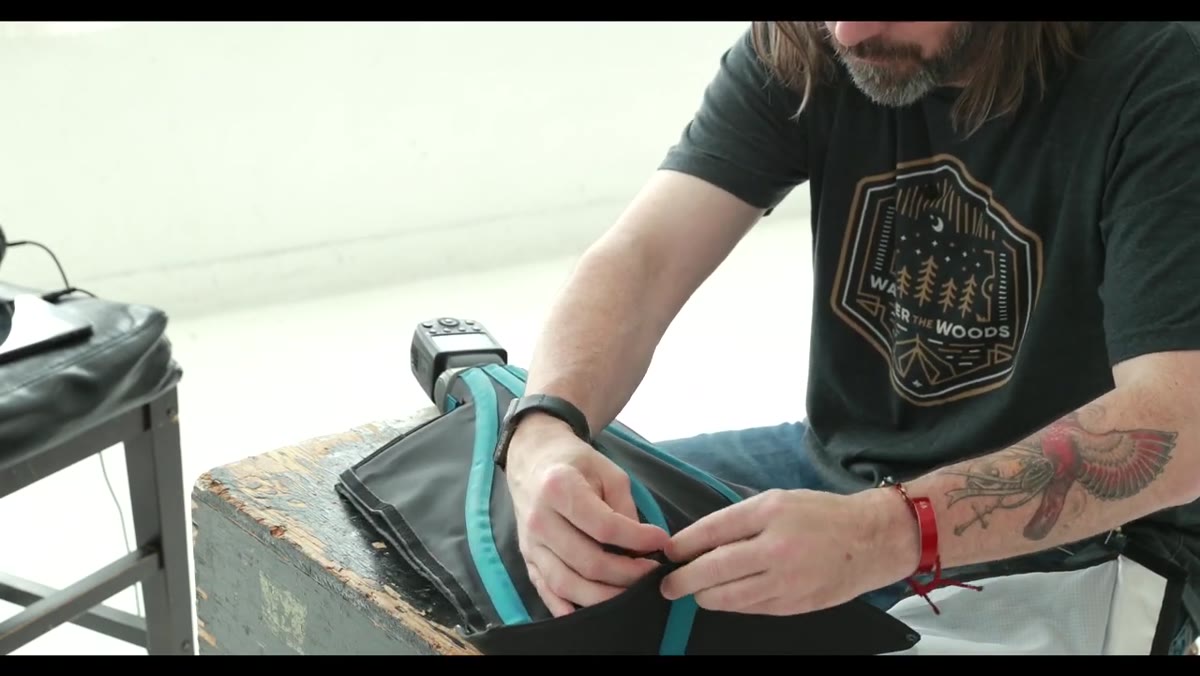 Close-up of the silver reflective interior of the Flashbender panel
The inside of the Flashbender is silver, not white. This is a deliberate choice that changes the character of the light in two ways. Silver reflects more total output than white, which matters when you are already working with a small flash at its limits. It also introduces a very slight specularity to the bounce, meaning the light has a touch more snap compared to a white-interior softbox of the same size.
Close-up of the silver reflective interior of the Flashbender panel
The inside of the Flashbender is silver, not white. This is a deliberate choice that changes the character of the light in two ways. Silver reflects more total output than white, which matters when you are already working with a small flash at its limits. It also introduces a very slight specularity to the bounce, meaning the light has a touch more snap compared to a white-interior softbox of the same size.
For beauty and fashion work, this is often the right call. White-interior modifiers produce extremely flat, matte light. Silver adds a subtle bite that keeps skin texture from disappearing entirely. It is a small difference, but on a close-up beauty shot, it is the difference between a face that looks alive and one that looks lit by a ring flash at full diffusion. I test for this specifically every time I try a new modifier: I shoot a gray card at an angle and look at the quality of the specular highlight.
Step 5: Recognize the Kit’s Flexibility for Shooting Scenarios
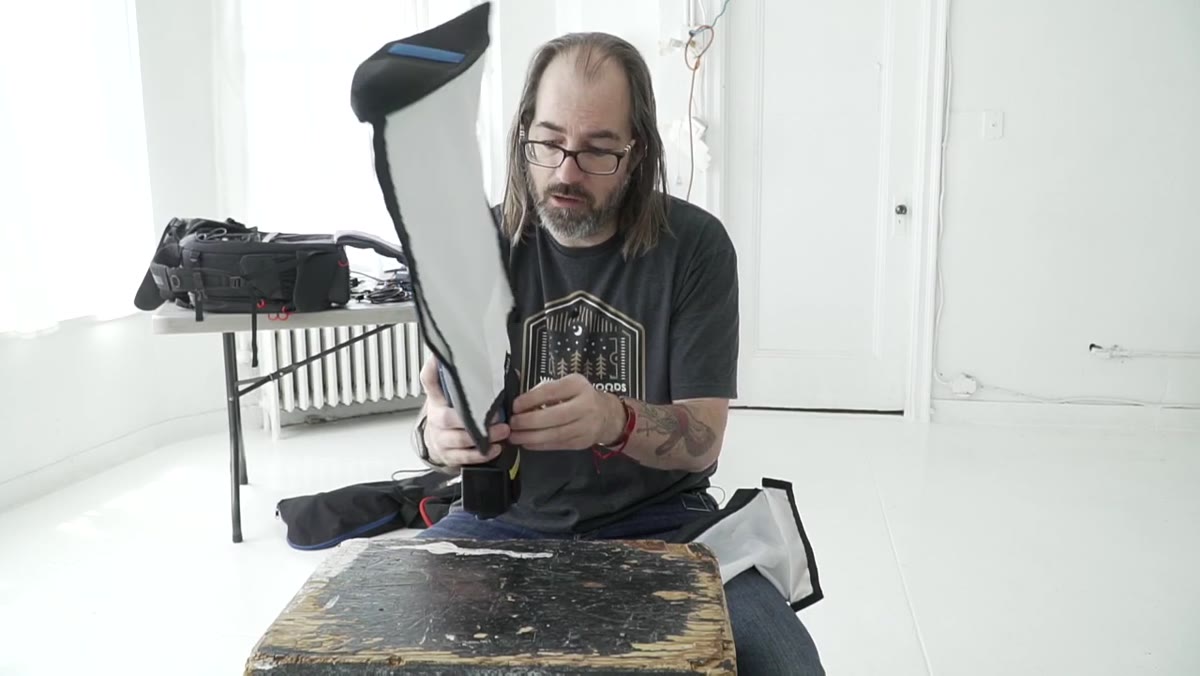 Host indicating the various components spread out on the table
Daniel mentions the grid kit separately as one of his favorite speedlight accessories, and the large kit includes one. The grid drops over the diffuser face and narrows your angle of coverage. For portrait work where you need to keep light off the background, the grid earns its place fast. You can move through three distinct configurations: bare bounce for fill, curved bounce for key, softbox attachment for main light, and softbox plus grid for controlled key with a defined falloff edge.
Host indicating the various components spread out on the table
Daniel mentions the grid kit separately as one of his favorite speedlight accessories, and the large kit includes one. The grid drops over the diffuser face and narrows your angle of coverage. For portrait work where you need to keep light off the background, the grid earns its place fast. You can move through three distinct configurations: bare bounce for fill, curved bounce for key, softbox attachment for main light, and softbox plus grid for controlled key with a defined falloff edge.
Each configuration takes under two minutes to change. That speed matters on a live shoot. I keep a strip of masking tape on each piece with its configuration name written in marker so I am not making decisions under client pressure.
What I’d Add From My Own Work
The Flashbender system is genuinely useful, but it rewards a specific kind of shooter: someone who has already worked with larger modifiers and understands what they are approximating. If you have never used a medium softbox and do not know what that quality of light looks like on a face, the Flashbender’s output will not teach you by itself. Use it to replace or approximate a modifier you already know, not to discover your first good light.
My one consistent note on the softbox configuration: watch your color temperature. The silver interior and the diffusion fabric can shift slightly warm compared to your ambient or secondary lights. I calibrate with a color checker on the first frame of every new setup. I learned that lesson the hard way on an editorial shoot years ago, and I have not stopped running the check since.
The single most important idea in this tutorial is that modifier geometry drives light quality, not just size. The Flashbender earns its output through the physics of how it bends, bounces, and diffuses, not through being large. That principle applies whether you are working with a unit like this or scaling up to a larger studio modifier.
Watch the full tutorial on YouTube to see Daniel handle the components in real time and hear his thoughts on what he wants to test in future shoots with the kit.
Comments
Leave a Comment