The Studio Workflow That Actually Works
I’ve spent fifteen years refining my studio process, and I’ve learned that the difference between a chaotic shoot and a smooth one isn’t talent—it’s structure. A solid workflow removes decision fatigue, lets you focus on your subject, and produces consistent, professional results. Here’s the exact system I use.
Pre-Session Prep Is Non-Negotiable
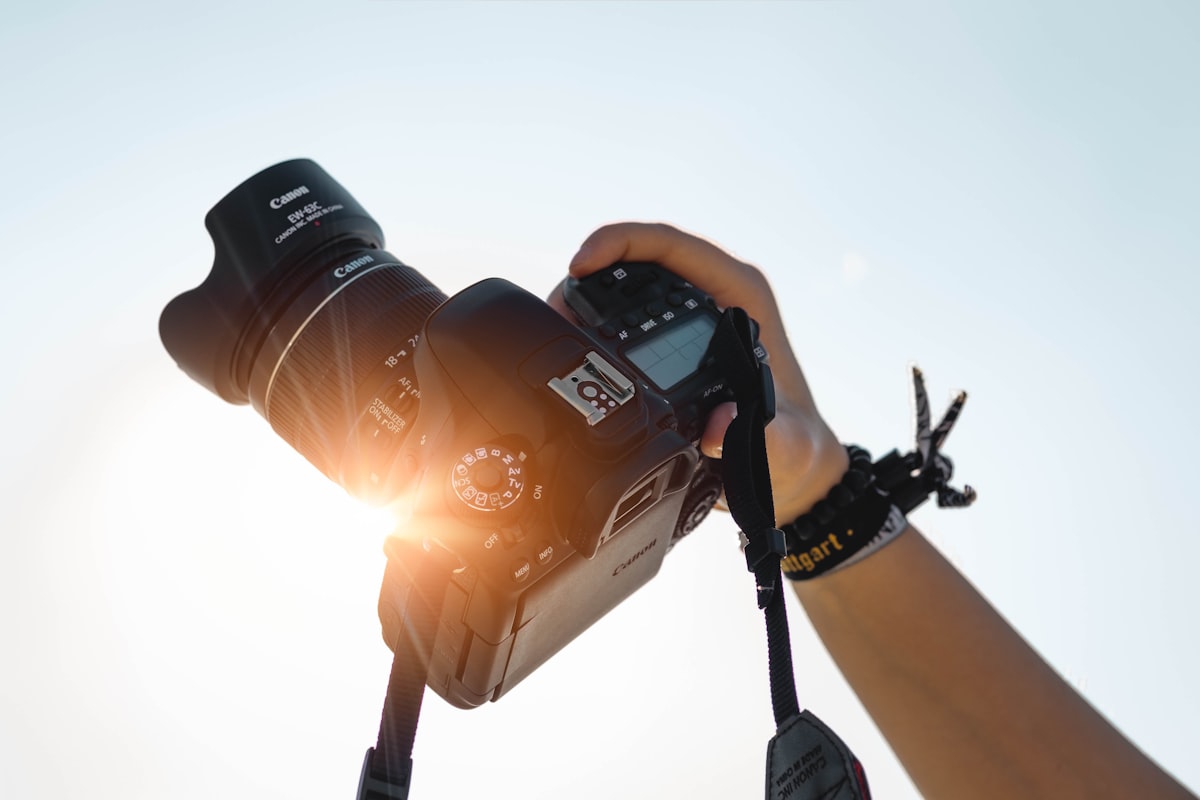
Before anyone steps foot in my studio, I’ve already made 80% of my creative decisions. I scout the space, test my lighting setup with a stand-in, and write down the exact camera settings I’ll use.
This means: aperture locked at f/5.6 or f/8 (depending on subject distance and depth of field requirements), ISO at 100, shutter speed at 1/160th. I’m shooting tethered to a monitor, so I verify color temperature—I always set white balance to 5500K and shoot RAW to maintain flexibility in post.
I prepare three distinct lighting setups before the first client arrives. This isn’t overcomplicated gear rotation. It’s: a main light (typically a 4x6 softbox with 1200w of flash), a secondary fill (reflector or 600w), and a kicker light for separation. I measure distances with my light meter—main light at 5 feet, fill at 8 feet, kicker at a 45-degree angle. Write it down.
Posing Protocol: Start with Structure
I don’t “wing it” on posing. I have a posing sequence that I run through systematically, and I’ve learned that client confidence rises when they see you execute with precision.
My sequence for headshots: chin forward slightly, shoulders back and angled 45 degrees to camera, weight on back leg, hands either in lap or resting naturally. For full-length portraits: feet shoulder-width apart, one foot forward, hands occupied (holding something, pockets, crossed arms). Eyes: always have the subject look just past the camera, never directly into the lens.
The critical detail: I adjust posture before discussing expression. Once the body is positioned correctly, the face follows naturally. Too many photographers reverse this and end up with awkward tension.
The Shooting Sequence
I take exactly twelve frames per pose setup. Not ten, not twenty—twelve. This gives me three good frames, six decent alternates, and three backups. I take the first frame, then request micro-adjustments: “Chin down one inch. Eyes slightly left. Relax the jaw.” Frames 4-6. Then: “Shoulders back further. Confidence.” Frames 7-9. The final three are my safety net.
Between poses, I review the monitor—tethered shooting is essential here. I’m checking focus sharpness (critical at f/5.6), skin tone consistency, and whether shadows are falling where I intended. If the shadow from the main light is too harsh, I move the fill light 6 inches closer. If it’s too soft, I move it back. Small movements matter.
Session Flow and Pacing
A one-hour portrait session breaks down as: 10 minutes arrival and rapport-building, 5 minutes final posture adjustments, 40 minutes actual shooting across 4-5 different setups (roughly 8 minutes per setup), 5 minutes final frames.
I move my lights between setups using a simple routine: main light shifts first, fill second, kicker third. Same sequence every time. This rhythm keeps momentum and prevents technical fumbling that breaks client confidence.
The Non-Negotiable Rule
Never make decisions during shooting. Every choice—lighting angle, pose direction, expression cue—should be predetermined or instantly executed without hesitation. Your client watches your hands and your eyes. Confidence is the most important light modifier you own.
Comments
Leave a Comment