The Studio Workflow That Eliminates Wasted Time and Bad Light
I’ve watched photographers burn through two-hour sessions shooting 800 frames, then spend weeks sorting through mediocre images. The problem isn’t talent—it’s workflow. A structured process separates professionals from people who own equipment.
I treat studio sessions like cooking. You mise en place before you touch heat. You don’t improvise seasoning mid-dish. The same principle applies to photography: prepare everything before your subject arrives, execute the plan with precision, adjust only what needs adjusting.
Preparation: The Non-Negotiable Foundation
I spend 20 minutes before any session physically checking my gear. Not mentally reviewing it. Actually touching it. Batteries charged? Fully. Memory cards formatted? Every one. Lenses clean? Yes. Modifiers mounted and undamaged? Confirmed.
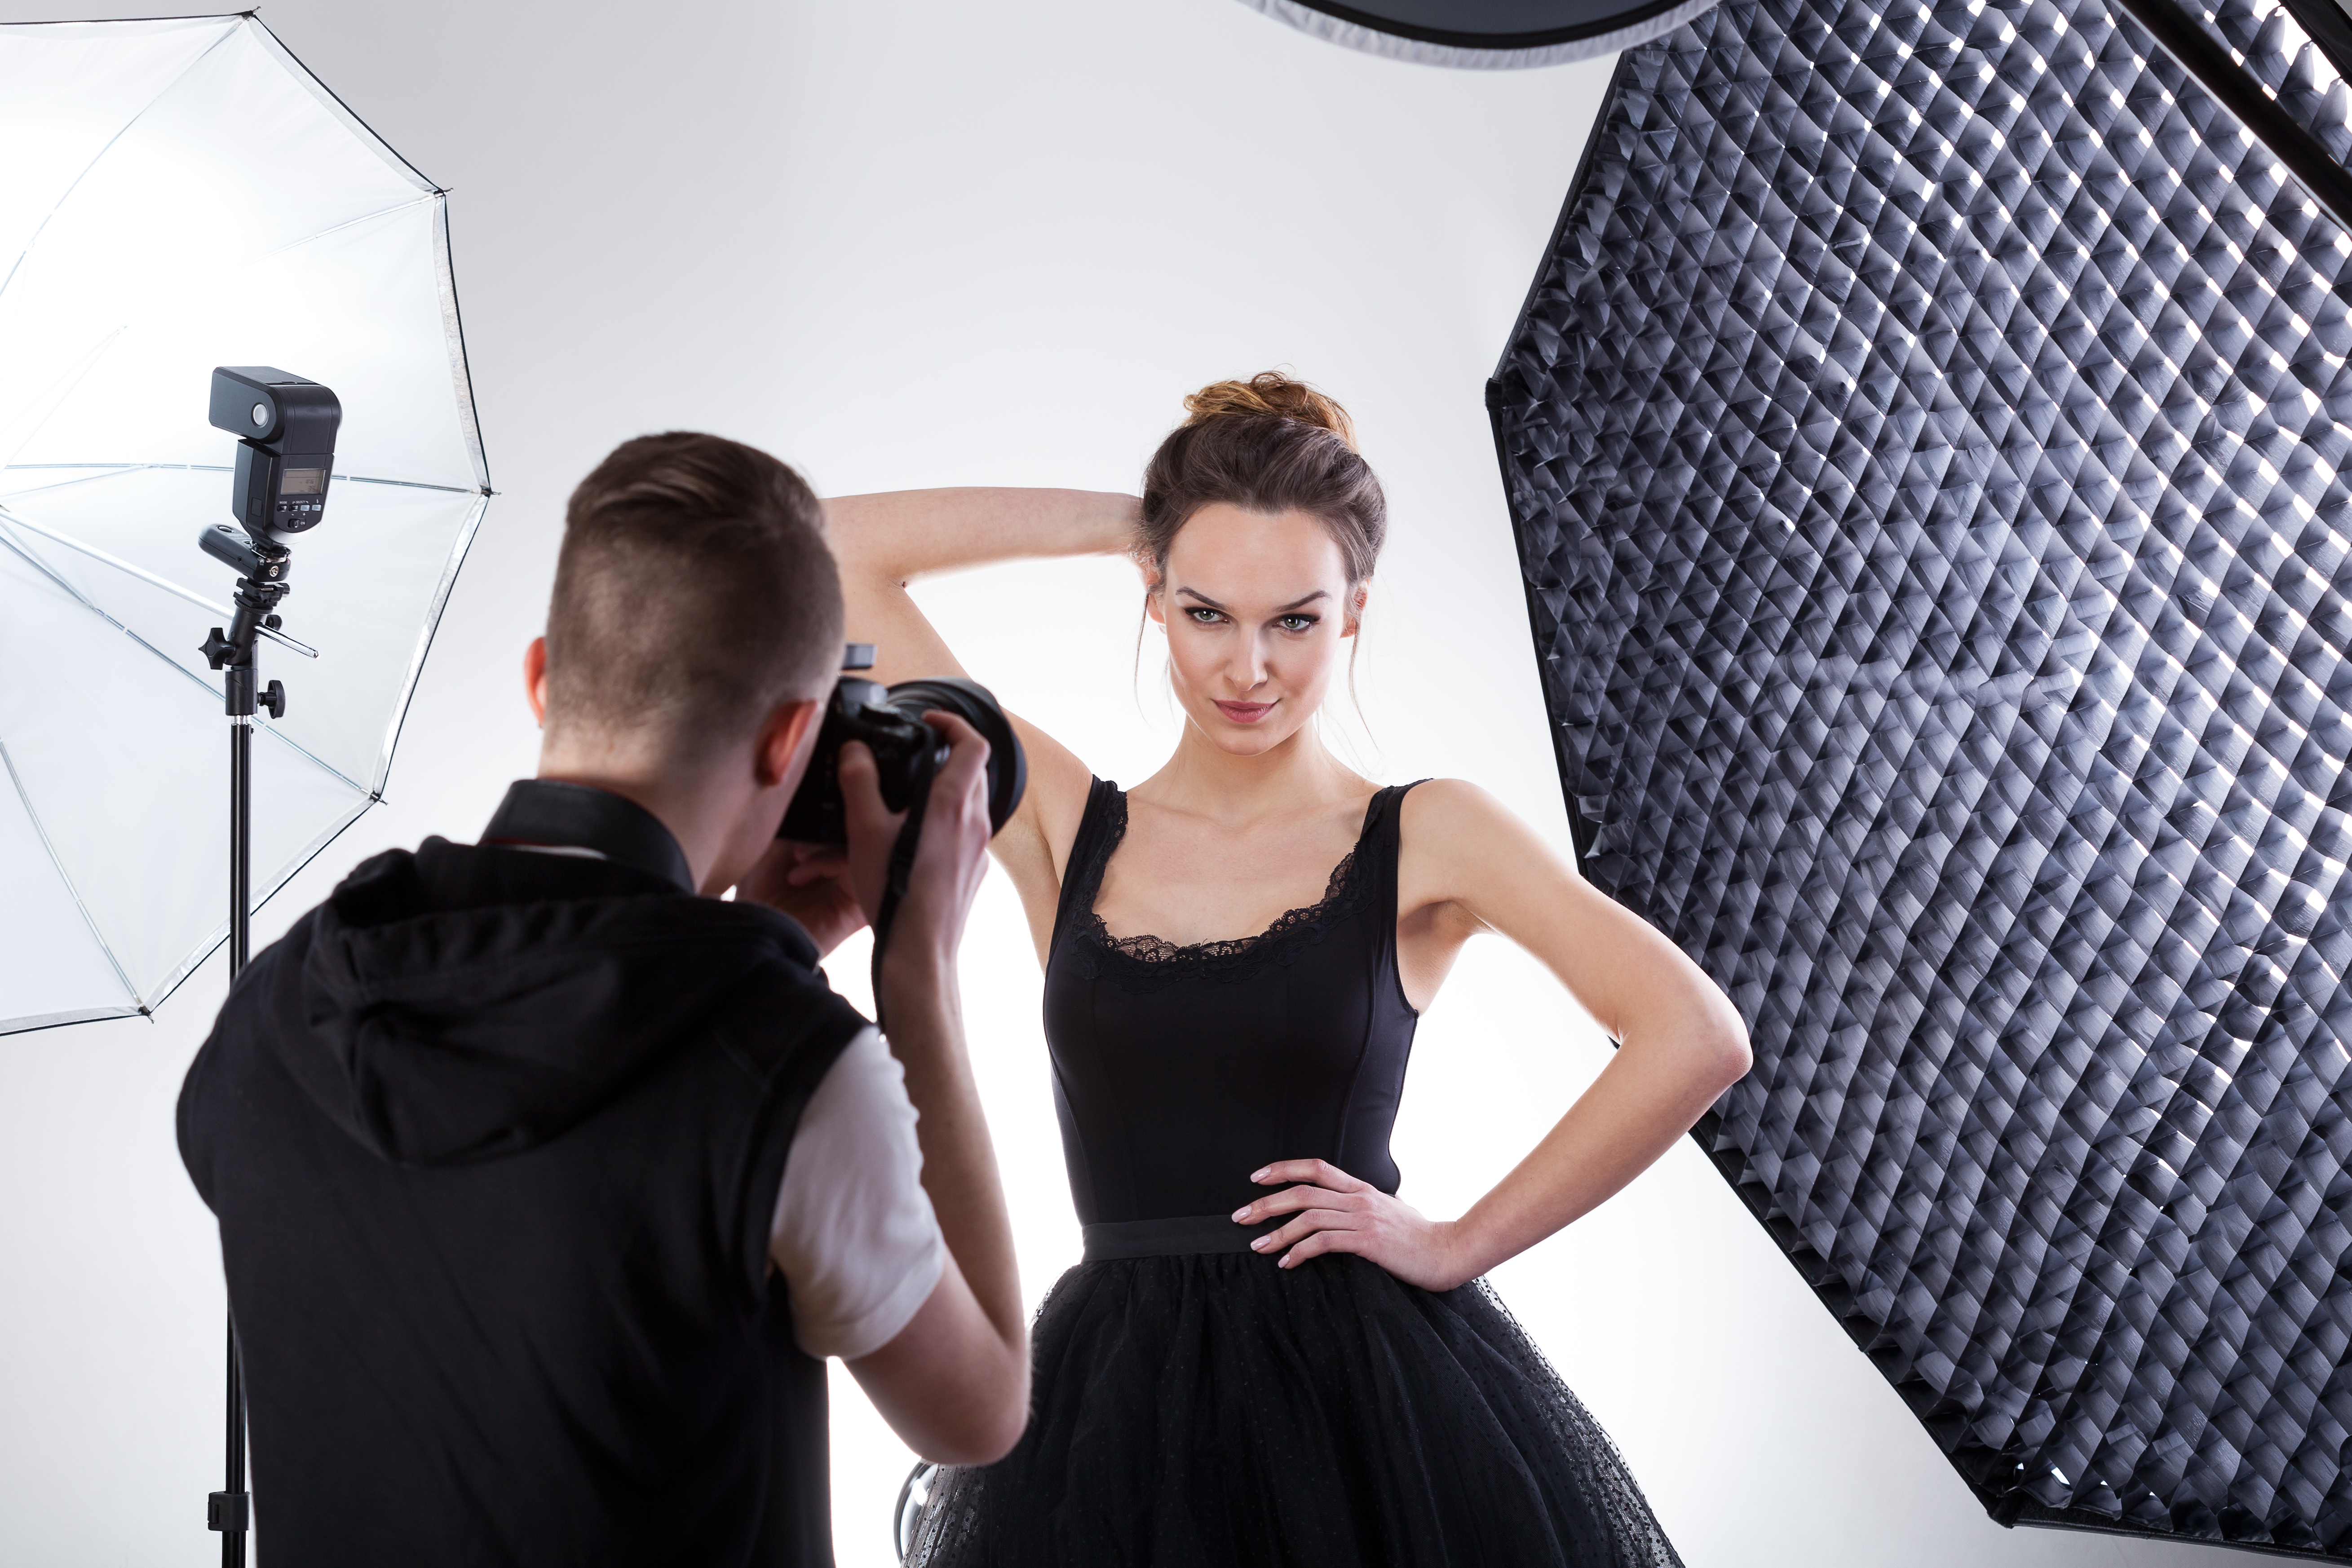
Then I set my studio lighting. If I’m shooting a headshot session, my key light is 45 degrees from the subject’s nose, positioned at their eye level. My fill is at 2:1 ratio to the key. My background light is 8 feet behind them, separated from the subject by at least 10 feet. These aren’t suggestions—they’re the recipe. This setup produces predictable, flattering light every single time.
I test with a light meter. Not your phone app—a proper incident meter. I measure the key light at the subject’s position, then the fill. The ratio becomes mathematical, not guesswork. For headshots, I meter 500-800 lux on key. For full-length, I adjust to 400-600 lux to avoid overexposure on skin.
Camera settings lock before anyone walks in. ISO 100, shutter speed 1/125th (to suppress ambient light), aperture f/5.6 for full-length (f/8 for headshots). I adjust only fill light during the session, never the key. The key is sacred.
During the Session: Execute, Don’t Explore
I pose the subject from behind the camera initially. I’m looking for the line of their shoulders, the angle of their chin, the distance of their eyes from the frame edge. I give three specific directions: shoulders angled 45 degrees away from camera, chin forward and slightly down, weight on the back foot.
I take three frames of each pose before moving. Not thirty. Three. This forces decisiveness and prevents decision paralysis later. Between poses, I walk around the subject—literally walk—to see how light falls from different angles. I don’t move lights. If the light’s wrong, the setup was wrong. I note this and adjust next time.
Most photographers fiddle with modifiers during sessions. Stop. If you’re adjusting lights mid-shoot, your preparation failed. Adjustments should be rare: maybe shifting the fill light 6 inches closer if shadows are too dark, or rotating the key light 10 degrees if cheekbone definition vanishes.
Critical Workflow Rules I Never Break
One light change = one test shot. If I adjust anything, I meter again and shoot a reference frame before continuing. This prevents lighting disasters you discover in post.
Backup files immediately. After every pose set, I offload frames to a backup drive. A corrupted card at hour 1.5 of a 2-hour session is catastrophic if you haven’t backed up.
Consistent post-processing. I shoot tethered to Capture One when possible. This lets me see skin tone and light quality on a large monitor in real-time. Bad light reveals itself immediately—before you’ve wasted 40 more frames.
The Workflow Advantage
This approach feels rigid because it is. But rigidity is freedom. When your lighting, posing, and camera settings follow a proven formula, you stop thinking about mechanics and start directing. You see when a subject’s expression lands. You notice posture shifts. You create instead of fumble.
That’s not boring photography. That’s professional photography.
Comments
Leave a Comment