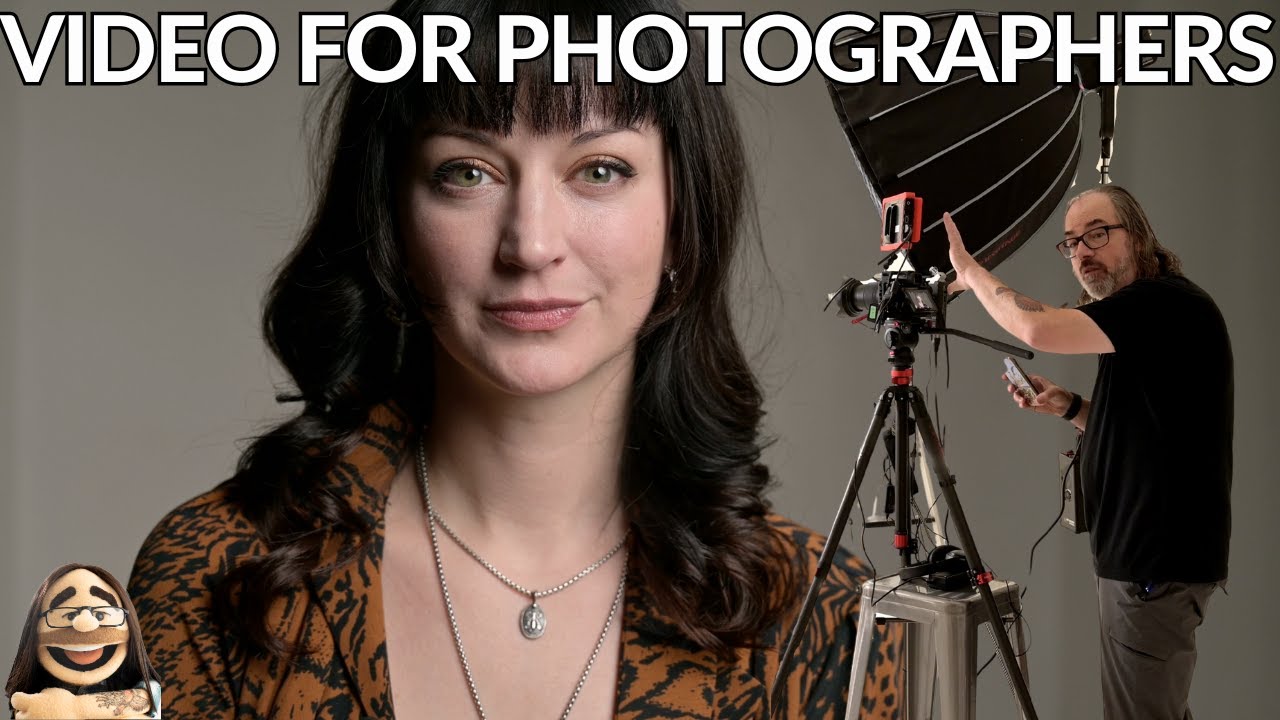
More clients are asking me to shoot talking-head videos alongside the stills. Corporate headshot day now comes with a request for a CEO intro clip. The beauty brand wants behind-the-scenes footage. And the first question every photographer asks when this happens is: do I need to learn an entirely new craft? The honest answer is no, not from scratch. In this Daniel Norton Photographer tutorial, Watch the full tutorial on YouTube, Daniel lays out a three-point interview lighting setup that will feel immediately familiar to anyone who has spent time in a portrait studio. The principles transfer almost one-for-one.
What does shift is the gear conversation. Daniel works with constant LED panels rather than strobes, which changes how you dial in exposure. No more test pops and checking a histogram after the fact. You’re reading the light in real time, which is actually closer to how I think about light when I’m sketching a setup in my lighting journal before a shoot. You see it, you adjust it, you move on. The workflow is more fluid than photographers expect, and this tutorial is a clean, practical entry point into it.
Step 1: Choose Constant LED Lights You Can Control Remotely
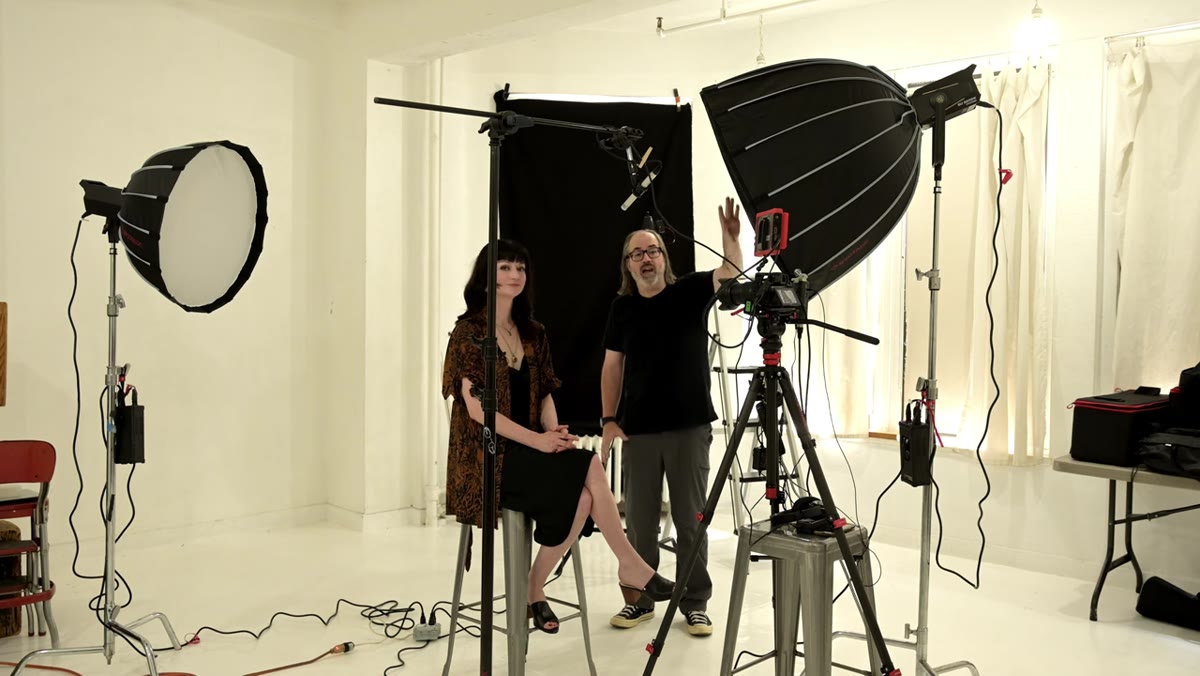 Three LED lights positioned around subject in studio
Daniel uses three LED fixtures from iFootage for this setup: a key light, a backlight for hair separation, and a color panel for the background. The specific models matter less than the category. What you want are constant-output LEDs with a companion app that lets you adjust intensity from behind the camera. When you’re working alone and your subject is already in position, walking back and forth to a light stand every time you tweak output is a real problem. App control is not a luxury on a solo shoot, it’s a workflow requirement.
Three LED lights positioned around subject in studio
Daniel uses three LED fixtures from iFootage for this setup: a key light, a backlight for hair separation, and a color panel for the background. The specific models matter less than the category. What you want are constant-output LEDs with a companion app that lets you adjust intensity from behind the camera. When you’re working alone and your subject is already in position, walking back and forth to a light stand every time you tweak output is a real problem. App control is not a luxury on a solo shoot, it’s a workflow requirement.
I have a dedicated piece of masking tape on every light in my studio with the fixture name and its default starting intensity for common setups. For interview work, I’ve added a strip that notes which app channel each light lives on. Sounds obsessive, but at 7am before a corporate shoot it saves real time.
Step 2: Position the Key Light on the Interviewer’s Side of Camera
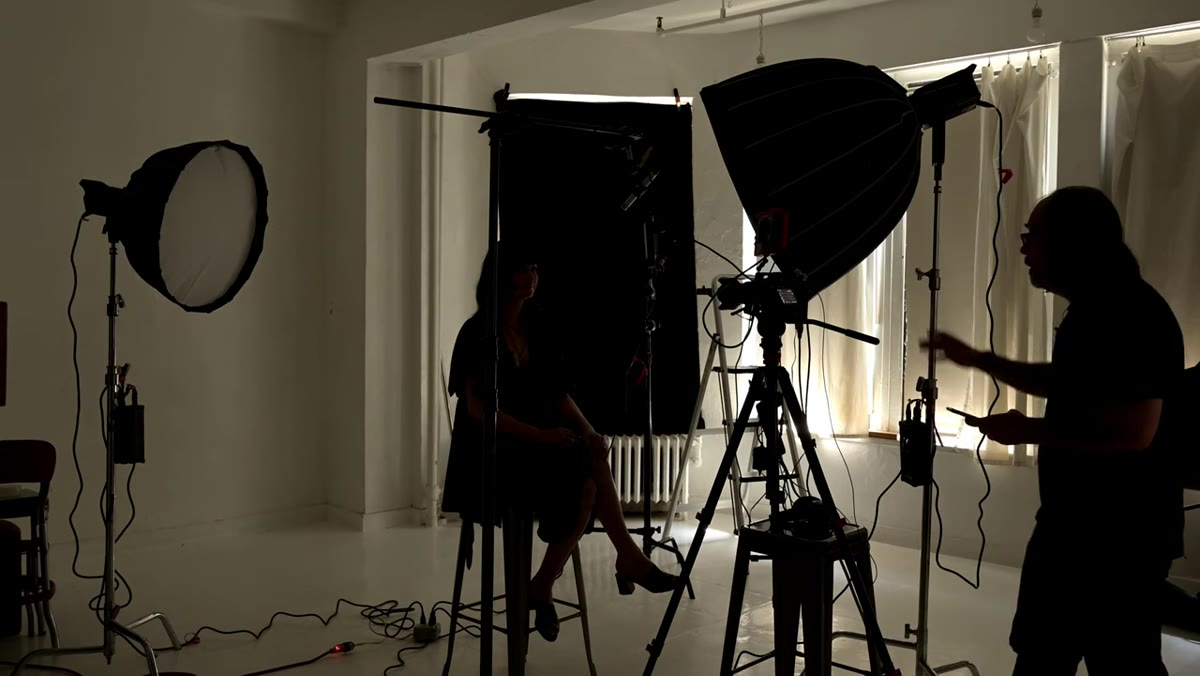 Key light placed left of camera, subject faces toward it
This is the detail that separates a flat, lifeless interview frame from one that has dimension. The key light goes on the same side of the camera as the interviewer. The reason is simple: in a real conversation, you face the person talking to you. When the subject looks toward the interviewer, they naturally turn into the light. The result is a lit face with shadow falling away from camera, which reads as three-dimensional and natural.
Key light placed left of camera, subject faces toward it
This is the detail that separates a flat, lifeless interview frame from one that has dimension. The key light goes on the same side of the camera as the interviewer. The reason is simple: in a real conversation, you face the person talking to you. When the subject looks toward the interviewer, they naturally turn into the light. The result is a lit face with shadow falling away from camera, which reads as three-dimensional and natural.
If you flip it, placing the key on the far side so the subject looks away from the light, you get a moodier, more shadowed look. Daniel references the classic newsmagazine aesthetic here. That’s a valid creative choice for certain clients, but for most corporate or editorial interviews you want the subject open, readable, and well-lit. Key light on the interviewer’s side is the default, and it’s the right one.
Step 3: Dial In Key Light Exposure Through the Camera
 Daniel adjusting light intensity via phone app while looking at monitor
Because you’re working with constant light rather than flash, exposure adjustment happens by sliding the output up or down in the app while looking through the viewfinder or at a monitor. Daniel is explicit about this: you’re eyeballing it. There’s no pocket wizard sync, no strobe meter reading. You bring the light up until the face looks correct on the sensor, then you stop.
Daniel adjusting light intensity via phone app while looking at monitor
Because you’re working with constant light rather than flash, exposure adjustment happens by sliding the output up or down in the app while looking through the viewfinder or at a monitor. Daniel is explicit about this: you’re eyeballing it. There’s no pocket wizard sync, no strobe meter reading. You bring the light up until the face looks correct on the sensor, then you stop.
For photographers used to working in stops and guide numbers, this feels loose at first. It isn’t. Your eye is calibrated from years of looking at well-exposed portraits. Trust it. The monitor or EVF gives you an accurate enough preview when your camera’s picture profile is set neutrally. If you’re grading in post, you want flat or log footage anyway, so don’t let a stylized picture mode fool your exposure read.
Step 4: Add the Hair Light for Subject Separation
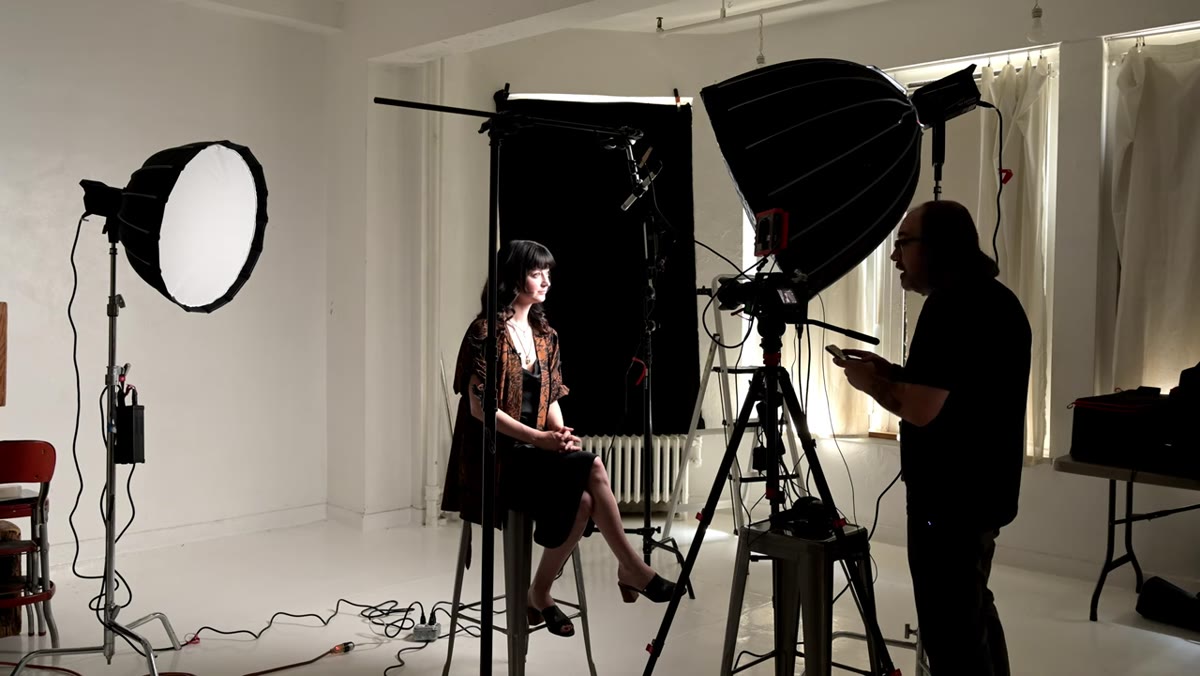 Backlight positioned behind subject, creating edge separation
The 220-series fixture goes behind and above the subject to create a rim of light along the hair and shoulders. In photography we call this a hair light or separation light, and the purpose is identical in video: it lifts the subject off the background and prevents them from visually merging with whatever is behind them. Daniel dials this one up while watching the frame, looking for just enough edge definition without blowing out the shoulder or creating a halo that reads as artificial.
Backlight positioned behind subject, creating edge separation
The 220-series fixture goes behind and above the subject to create a rim of light along the hair and shoulders. In photography we call this a hair light or separation light, and the purpose is identical in video: it lifts the subject off the background and prevents them from visually merging with whatever is behind them. Daniel dials this one up while watching the frame, looking for just enough edge definition without blowing out the shoulder or creating a halo that reads as artificial.
Intensity here should be lower than the key. I typically start the hair light at about 60 percent of whatever the key is outputting, then adjust. The goal is presence, not drama. If a viewer notices your hair light, it’s probably too hot.
Step 5: Use the Background Light to Create Depth and Context
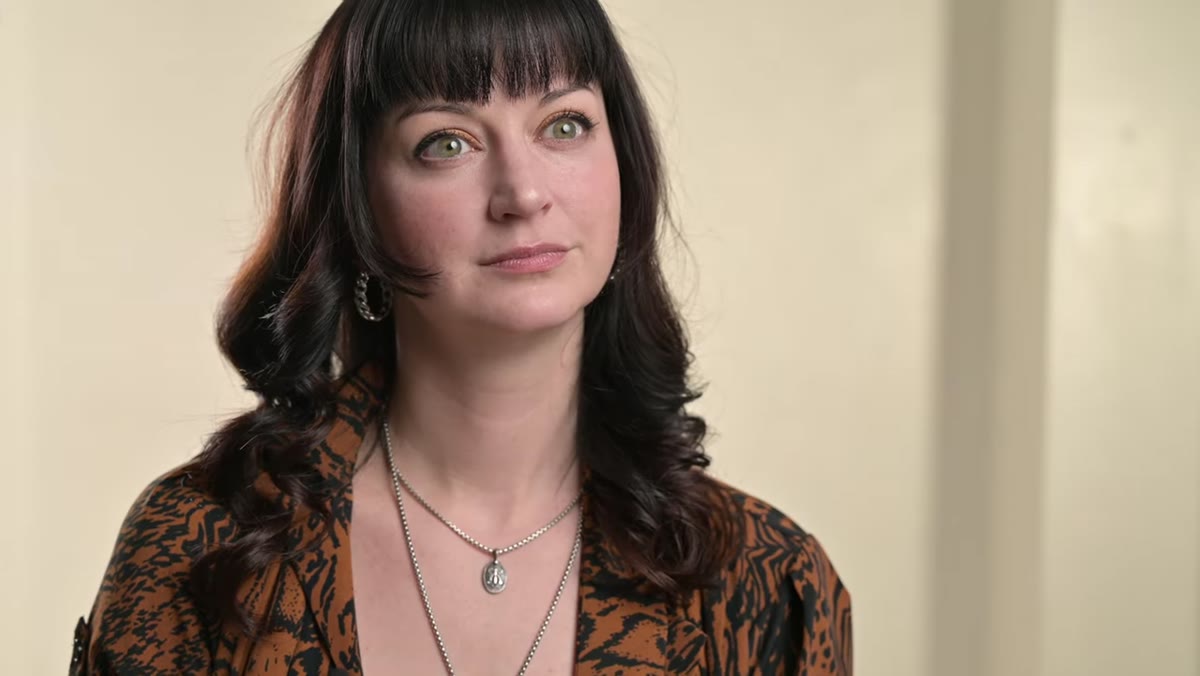 Color panel lighting background wall with warm tone
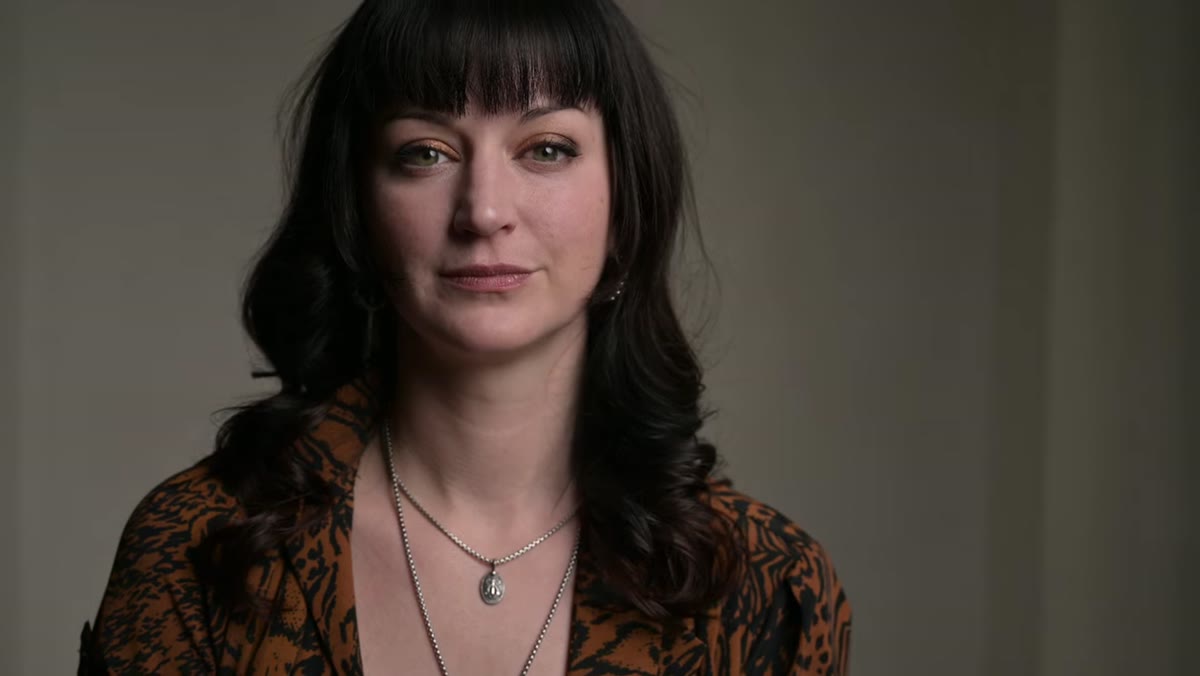
The third light is a color-capable panel aimed at the background wall. Daniel sets it to a warm tone rather than pure white, and he makes a deliberate choice to let the wall’s architectural indent create a shadow rather than blasting it flat with light. This is worth pausing on. A lot of photographers default to high-key, fully lit backgrounds because they’re used to shooting on seamless. In video, that can feel sterile. A background with some dimension, a gradient, a shadow, a color shift, reads as a real space and keeps the eye engaged.
Color panel lighting background wall with warm tone
The third light is a color-capable panel aimed at the background wall. Daniel sets it to a warm tone rather than pure white, and he makes a deliberate choice to let the wall’s architectural indent create a shadow rather than blasting it flat with light. This is worth pausing on. A lot of photographers default to high-key, fully lit backgrounds because they’re used to shooting on seamless. In video, that can feel sterile. A background with some dimension, a gradient, a shadow, a color shift, reads as a real space and keeps the eye engaged.
You don’t need an RGB panel to do this. A tungsten-balanced constant light against a daylight-balanced key will give you a warm-cool contrast on the background naturally. I’ve done this with a single practical lamp behind a subject and it works. The principle is just: give the background something visually interesting that doesn’t compete with the face.
Step 6: Position Yourself at the Monitor, Not Behind the Lens
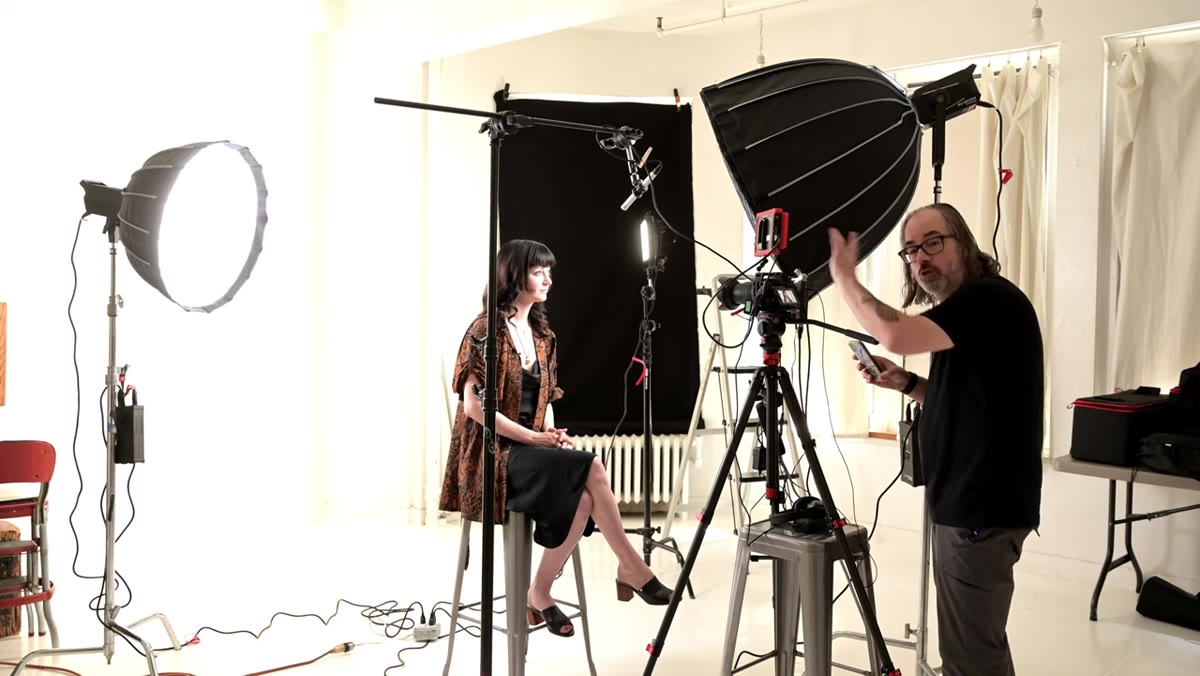 Interviewer stands at monitor beside camera, engaging subject
Once the lights are set, the interview itself requires you to stand beside the camera at the monitor and maintain eye contact with your subject. The subject looks at you, which means they’re looking just off-camera, which is the natural interview look. Daniel demonstrates a quick exchange with his subject to show how this reads on camera: conversational, natural, engaged.
Interviewer stands at monitor beside camera, engaging subject
Once the lights are set, the interview itself requires you to stand beside the camera at the monitor and maintain eye contact with your subject. The subject looks at you, which means they’re looking just off-camera, which is the natural interview look. Daniel demonstrates a quick exchange with his subject to show how this reads on camera: conversational, natural, engaged.
This is a discipline shift for photographers. We’re used to hiding behind the viewfinder. For an interview, your presence and attention are what make the subject appear relaxed on screen. Look at the monitor for technical checks, but spend most of your time actually looking at the person you’re talking to.
One Thing the Tutorial Doesn’t Cover (That I Learned the Hard Way)
Color temperature consistency across all three lights is non-negotiable. Early in my career I mixed a tungsten key with a daylight hair light on an editorial shoot and the subject’s skin shifted between warm and cool depending on which side of the face you were looking at. It looked amateurish and it was a hard fix in post. When you’re building an interview kit, make sure every fixture is rated at the same Kelvin output, or that your color-capable panels are set to match. If you’re using the app to control multiple lights, set a Kelvin value and lock it across all fixtures before you touch intensity. That step takes thirty seconds and it has saved me hours of color correction.
The single most important thing Daniel’s tutorial communicates is this: an interview is a moving portrait, and the lighting logic you already know applies directly. Three-point lighting, key on the near side, separation behind, background as depth. The only real additions are constant-output fixtures and the discipline to stay present with your subject during the conversation. Watch the full tutorial on YouTube and you’ll be ready to take the first video request that comes across your desk.
Comments
Leave a Comment