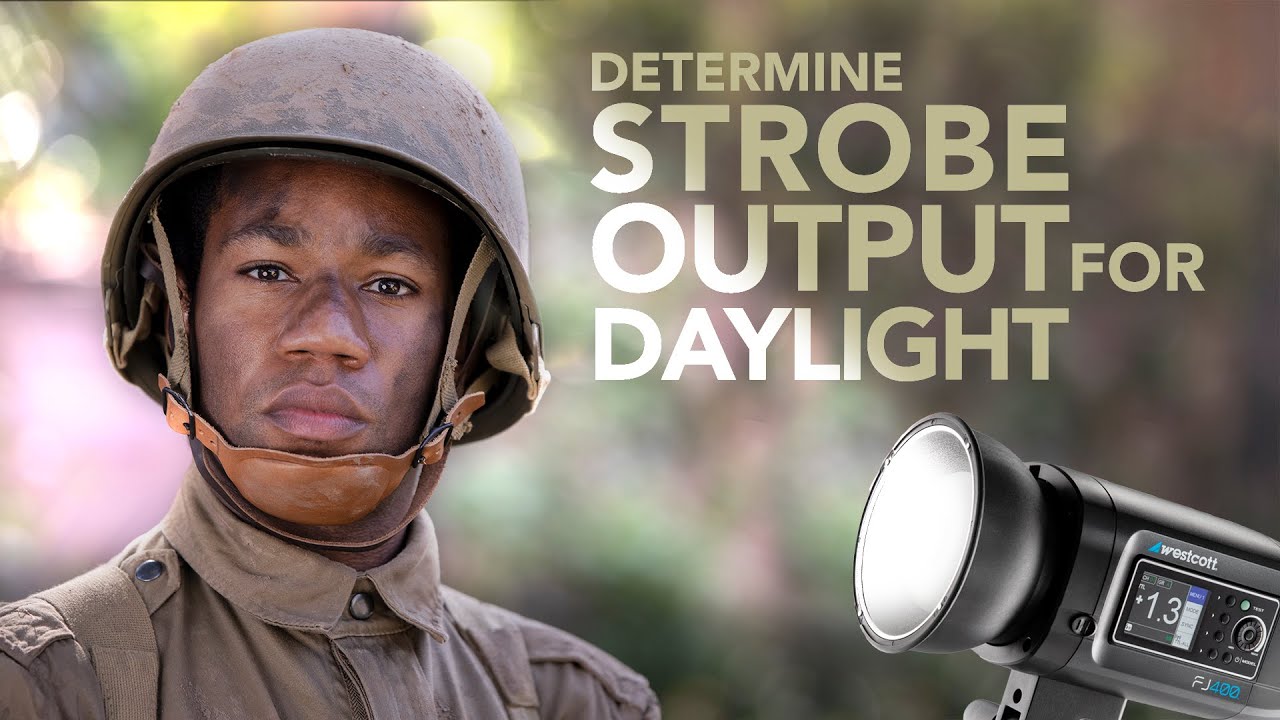
Every few months I get a call for an editorial shoot that has to happen outside, usually in harsh midday sun, usually with a client standing nearby expecting miracles. For years, the part that slowed me down was not the creative decisions. It was the mechanical one: how do I get my strobe dialed in fast enough that it looks like I know exactly what I’m doing? Too hot and the subject looks like they’re being interrogated. Too dim and the strobe might as well not be there.
I keep a lighting journal where I sketch every setup after a shoot, and I’ve filled a lot of pages trying to systematize this problem. So when I came across this The Slanted Lens tutorial by JP Morgan, I recognized immediately that he had already done the organizing work. He lays out three distinct methods for determining strobe power output when balancing artificial light against sunlight, and he presents them in a practical order that mirrors how most photographers actually develop this skill over time. Watch the full tutorial on YouTube before or after reading this, and you’ll get the full picture.
What follows is my breakdown of those three methods, with the additional context I wish someone had given me when I was still treating every outdoor strobe session like a guessing game.
Step 1: Lock In Your Camera Settings Before You Touch the Strobe
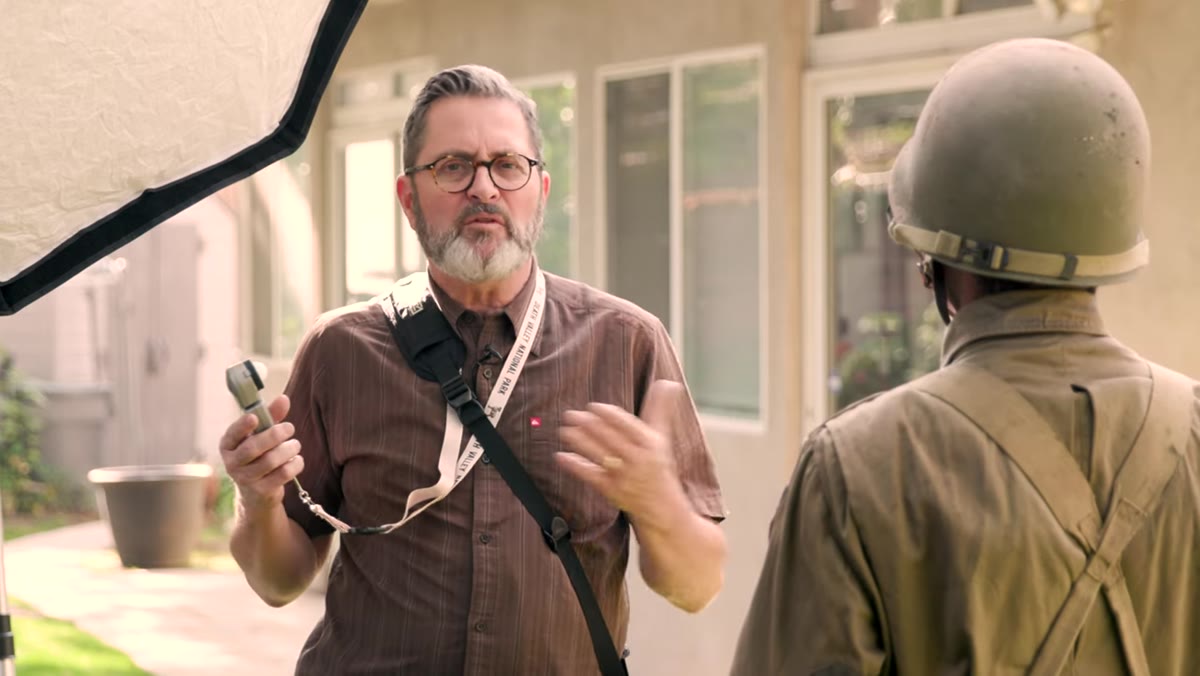 Camera settings displayed: ISO 100, f/8, 1/200th second
Before any of the three methods make sense, you need a fixed reference point. JP establishes this clearly: choose your aperture for creative reasons first. Shallow depth of field for a portrait? Shoot at f/2.8. Family group needing everyone sharp? f/8. Once that aperture is chosen, set ISO to 100 and shutter to 1/200th of a second. Your shutter handles the ambient exposure and your strobe power handles the aperture. Those are two separate dials controlling two separate things, and keeping them mentally sorted saves you from chasing your tail on location.
Camera settings displayed: ISO 100, f/8, 1/200th second
Before any of the three methods make sense, you need a fixed reference point. JP establishes this clearly: choose your aperture for creative reasons first. Shallow depth of field for a portrait? Shoot at f/2.8. Family group needing everyone sharp? f/8. Once that aperture is chosen, set ISO to 100 and shutter to 1/200th of a second. Your shutter handles the ambient exposure and your strobe power handles the aperture. Those are two separate dials controlling two separate things, and keeping them mentally sorted saves you from chasing your tail on location.
This foundation connects to a previous tutorial in JP’s series, but it holds up completely on its own. You’re not guessing at both variables simultaneously. You’ve pinned one down, now you solve for the other.
Step 2: Position the Softbox at Five to Six Feet
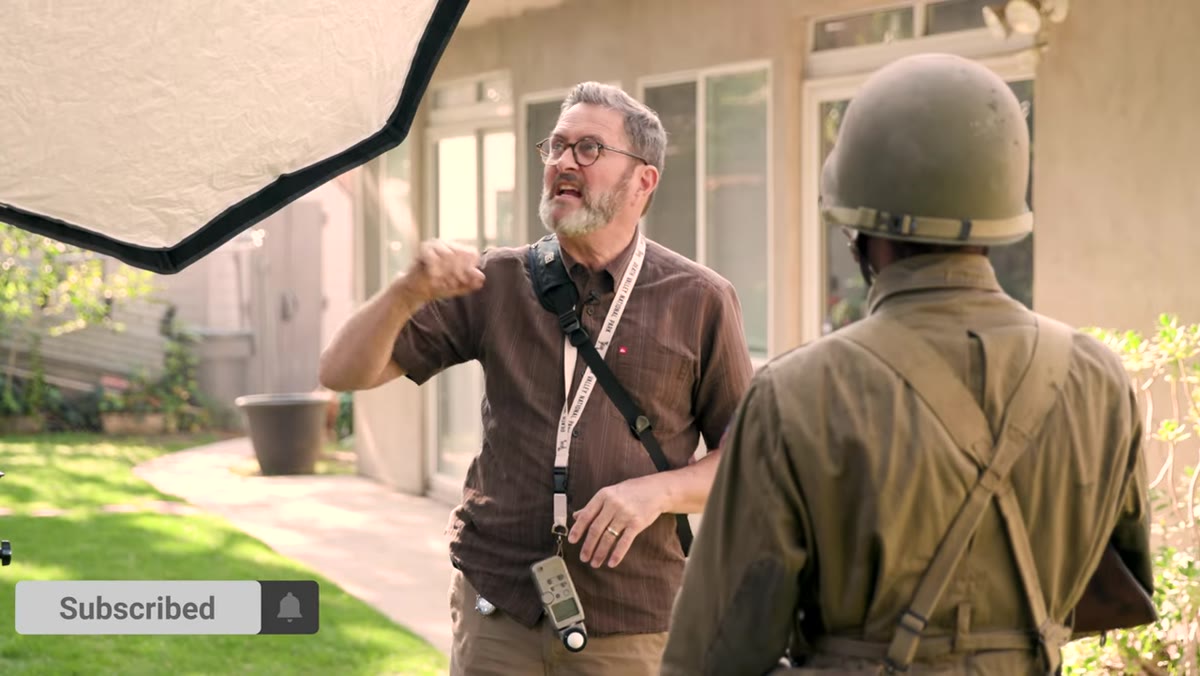 Softbox positioned approximately six feet from subject’s face
JP places the face of his softbox roughly six feet from his subject’s face, and he’s specific about why. Pull it further back, past eight or ten feet, and two things happen: the light gets harder because the source appears smaller relative to the subject, and you lose efficiency, meaning you need more power to achieve the same aperture. The sweet spot for a softbox is close in. Five to six feet keeps the light wrapping, soft, and working at a power level you can actually control with precision.
Softbox positioned approximately six feet from subject’s face
JP places the face of his softbox roughly six feet from his subject’s face, and he’s specific about why. Pull it further back, past eight or ten feet, and two things happen: the light gets harder because the source appears smaller relative to the subject, and you lose efficiency, meaning you need more power to achieve the same aperture. The sweet spot for a softbox is close in. Five to six feet keeps the light wrapping, soft, and working at a power level you can actually control with precision.
I’ve put masking tape markers on my studio floor at five and six feet from my main shooting position for exactly this reason. On location I pace it out. It sounds basic, but light-to-subject distance is the variable most photographers adjust carelessly, and it throws off every power reading that follows.
Step 3: Use a Flash Meter for the Fastest, Most Accurate Reading
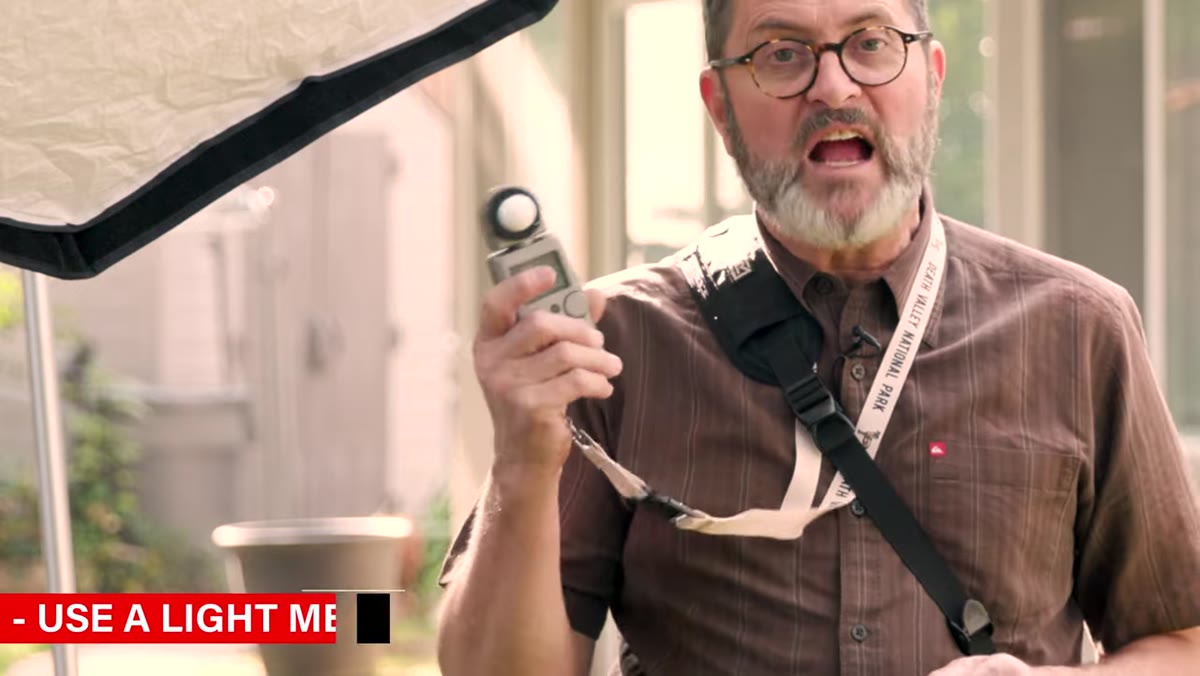 Flash meter held at subject position, dome aimed toward camera
This is Method One and it is the right answer for professional work. A flash meter with a strobe setting, dome extended, held at the subject’s position with the dome aimed back toward the camera. You or an assistant triggers the strobe, the meter reads the output, and you get an aperture number. If it reads f/11 and you want f/8, dial the strobe down one stop. Take another reading. Repeat until the meter says exactly what your camera is set to.
Flash meter held at subject position, dome aimed toward camera
This is Method One and it is the right answer for professional work. A flash meter with a strobe setting, dome extended, held at the subject’s position with the dome aimed back toward the camera. You or an assistant triggers the strobe, the meter reads the output, and you get an aperture number. If it reads f/11 and you want f/8, dial the strobe down one stop. Take another reading. Repeat until the meter says exactly what your camera is set to.
The key detail JP demonstrates here is the dome direction. Aim it at the camera, not at the light source. You are measuring the light as it falls on the subject’s face from the camera’s perspective, which is the measurement that actually matters. A lot of beginners point the dome at the strobe and get a reading that sounds right but doesn’t match what the camera sees. One misunderstanding, one blown shot.
Step 4: Build a Mental Map of Your Gear’s Output (Method Two)
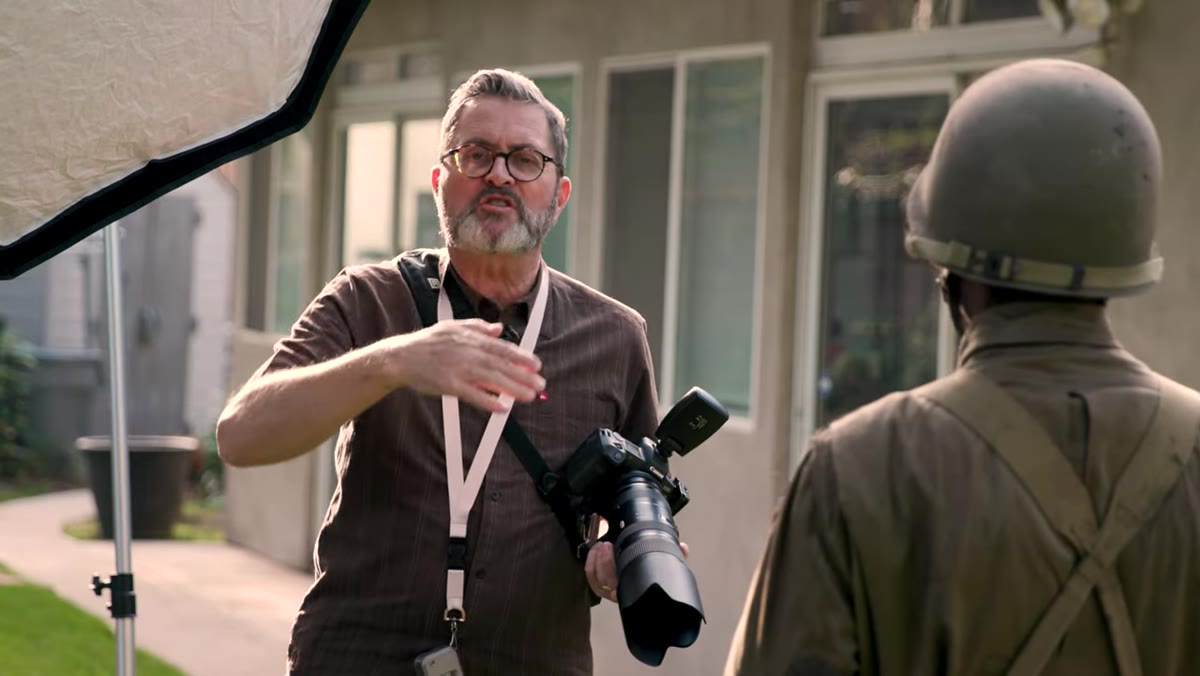
 Shooter reviewing image on camera after test shot at full power
Method Two is what JP calls a “good guess,” but that undersells what he’s actually describing. It is calibrated intuition built from deliberate testing. His benchmark: a 400 watt-second strobe with a softbox, at full power, placed five to six feet from the subject, will typically land around f/8 at ISO 100. With two internal baffles in the softbox cutting transmission, it might be slightly under f/8, but it’s close enough to start.
Shooter reviewing image on camera after test shot at full power
Method Two is what JP calls a “good guess,” but that undersells what he’s actually describing. It is calibrated intuition built from deliberate testing. His benchmark: a 400 watt-second strobe with a softbox, at full power, placed five to six feet from the subject, will typically land around f/8 at ISO 100. With two internal baffles in the softbox cutting transmission, it might be slightly under f/8, but it’s close enough to start.
The practical implication is that you can arrive on location, set your camera to f/8, fire a test frame, and be close enough to adjust from. No meter required. But this only works if you’ve done the homework beforehand. Set up your specific strobe with your specific modifier, shoot a grid of test frames across every power setting, and write down what aperture each setting produces at five feet. I have a page like this in my journal for every strobe I own. Once it’s there, I almost never need to look it up again.
Step 5: Read the Frame and Adjust by Eye (Method Three)
 Shooter chimping camera LCD to evaluate strobe exposure
The third method is the one most photographers default to whether they admit it or not: shoot a test frame, look at the back of the camera, and adjust. It works. It is slower than a meter and less systematic than a pre-tested power map, but it is a legitimate technique, especially if you’re using a trigger that lets you adjust strobe power from the camera position without walking back to the head.
Shooter chimping camera LCD to evaluate strobe exposure
The third method is the one most photographers default to whether they admit it or not: shoot a test frame, look at the back of the camera, and adjust. It works. It is slower than a meter and less systematic than a pre-tested power map, but it is a legitimate technique, especially if you’re using a trigger that lets you adjust strobe power from the camera position without walking back to the head.
JP uses the Westcott FJ400 here, which lets him dial power up or down from the trigger in his hand. That detail matters. If you have to walk to the strobe every time you adjust, method three becomes genuinely tedious on a fast-moving shoot. If you can adjust from where you’re standing, you can iterate quickly enough that this method becomes almost as efficient as the meter for moderate adjustments.
What I’d Add: Run All Three Methods Once When You Get New Gear
Every time a new strobe or modifier arrives at my studio, I spend twenty minutes running all three methods against each other. I meter it, I shoot test frames to build my power chart, and I make note of where my calibrated guess would have landed. After doing this a few times with different gear, you start to notice that your intuition transfers between similar-class strobes more than you’d expect.
The method that surprises newer photographers is Method Two. They think experience is abstract, something that just accumulates. But the kind of experience JP is describing is concrete and reproducible. It lives in test frames and written notes, not just in feel. The meter confirms it. The chart systematizes it. Eventually the good guess becomes genuinely good.
The single most important takeaway here: your aperture is a creative decision, and your strobe power is the variable you adjust to serve it, not the other way around. Set the aperture you want, then use any of these three methods to make your light match it.
Watch the full tutorial on YouTube to see JP walk through all three methods with live meter readings and test shots. It is worth watching for the meter technique alone.
Comments
Leave a Comment