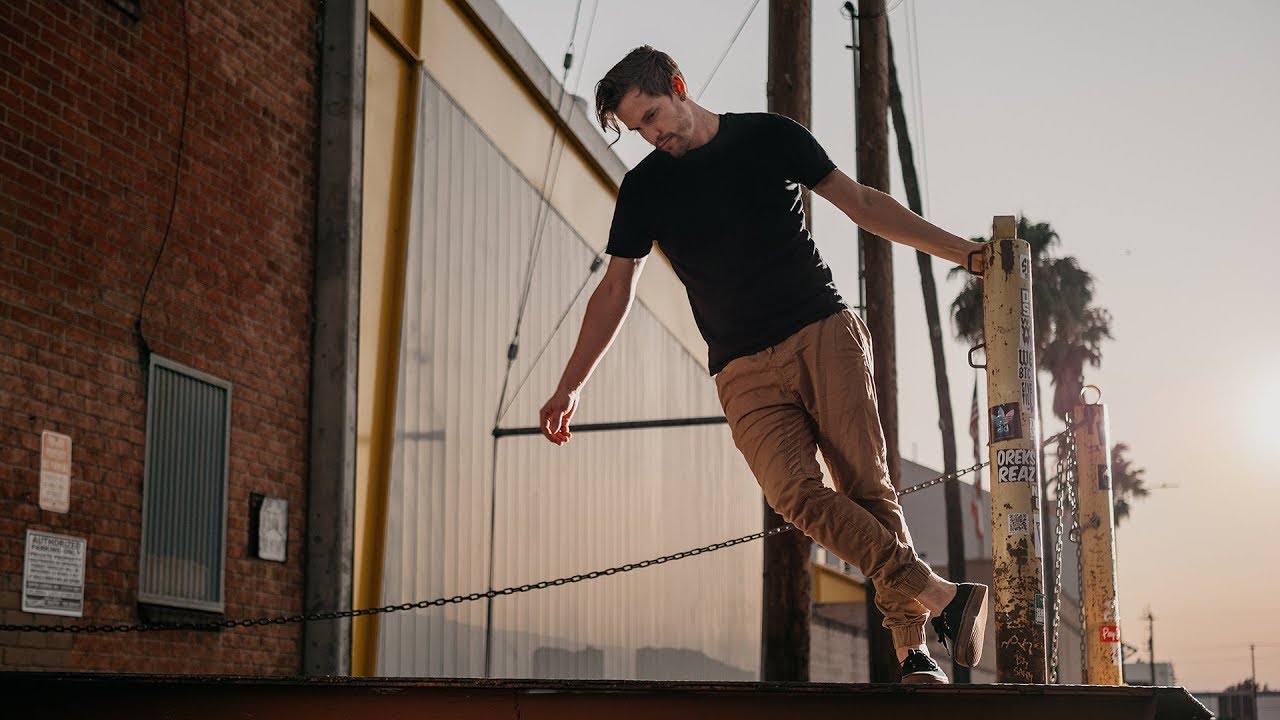
Most of my work happens indoors, where I control every variable. I know exactly what my key light is doing, I know where the shadows fall, and if something looks wrong, I can fix it in thirty seconds. Take me outside at magic hour with a strobe and a subject, and for a long time I made a mess of it. The sky would blow out the moment I exposed for my subject’s face, or I’d pull down the exposure to save the background and end up with a subject who looked like a silhouette cut from black paper. It’s a real problem, and it took deliberate study to solve it.
Watch the full tutorial on YouTube
In this Mango Street tutorial, photographer Daniel Tiarco walks through three specific outdoor lighting setups built around studio strobes. What I appreciate about his approach is that it’s not theoretical. Each technique solves a concrete, recurring problem that outdoor portrait photographers actually run into: background overexposure, missing a hair light source, and losing the golden hour a few minutes too early. I sketched all three setups into my lighting journal after watching, and I want to unpack them here in a way you can use on your next shoot without rewinding the video six times.
Step 1: Protect Your Background Exposure by Using a Strobe and Reflector as Fill
 Strobe and reflector positioned in front of subject outdoors
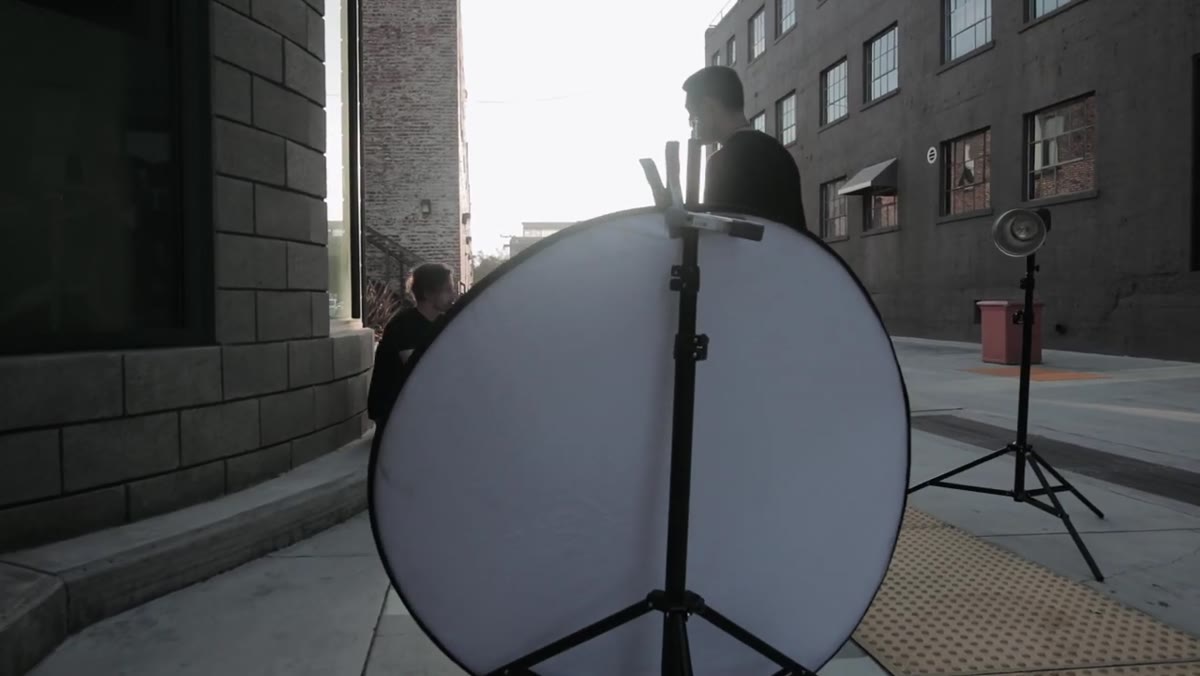
The first problem Tiarco addresses is one I ran into on almost every outdoor shoot early in my career: when you brighten a dark foreground, you risk destroying the background. If you simply push exposure up to light your subject, the sky goes white. His solution is clean and controllable. He uses a strobe as the primary light source and bounces it through a 5-in-1 reflector turned to its gold side, positioning it in front of the subject. The gold surface matches the warmer color temperature of sunset light, so the fill reads as natural rather than clinical.
Strobe and reflector positioned in front of subject outdoors
The first problem Tiarco addresses is one I ran into on almost every outdoor shoot early in my career: when you brighten a dark foreground, you risk destroying the background. If you simply push exposure up to light your subject, the sky goes white. His solution is clean and controllable. He uses a strobe as the primary light source and bounces it through a 5-in-1 reflector turned to its gold side, positioning it in front of the subject. The gold surface matches the warmer color temperature of sunset light, so the fill reads as natural rather than clinical.
The critical reason to bounce the strobe through the reflector rather than reflecting the sun itself is control. The sun has exactly one power setting. Your strobe does not. If the fill is too hot or too soft, you dial it up or down independently of the ambient. This keeps your background sky exactly where you want it while you fine-tune the foreground. Start by metering the background first, lock that exposure in, then bring the strobe up until the subject’s face reads one stop under the sky’s brightness, and adjust from there.
Step 2: Position Your Subject to Use Sunlit Buildings as a Natural Hair Light
 Daniel seated in front of building with sunset reflected in window
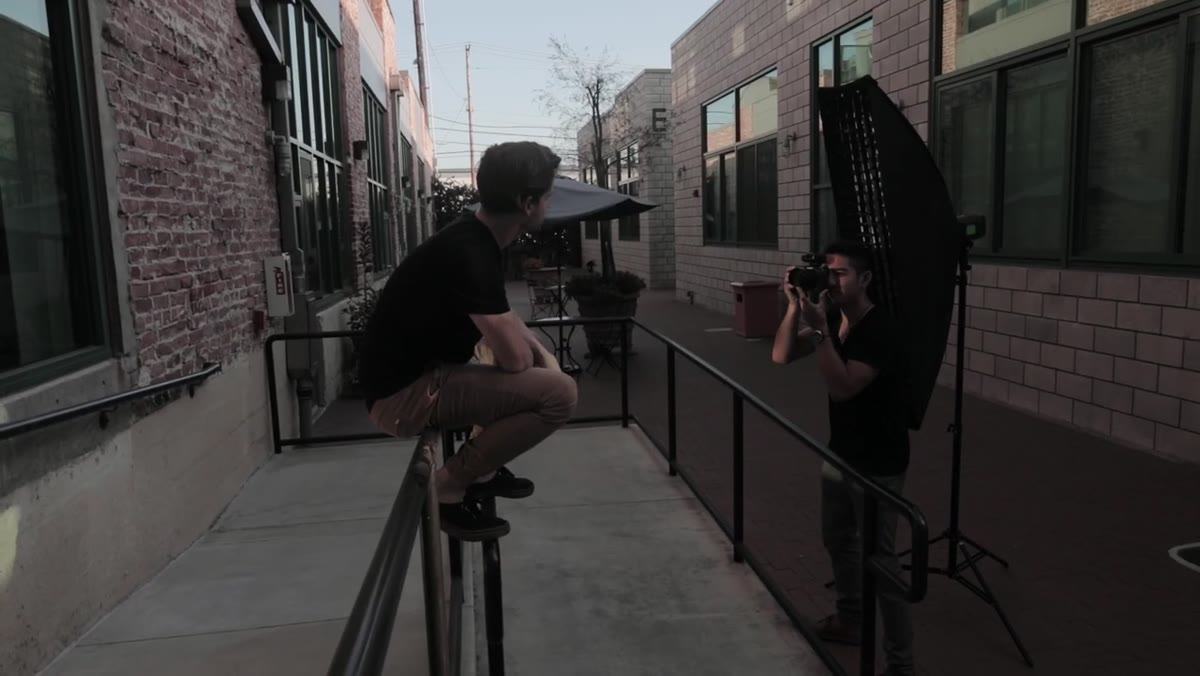
This one is genuinely smart and I wish I had thought of it myself. Tiarco positions his subject in front of a building, then angles the composition so that the reflection of the sunset appears in the windows behind the subject. That warm reflected light coming from behind functions as a hair light without requiring a second strobe, an assistant, or a C-stand placed somewhere it shouldn’t be.
Daniel seated in front of building with sunset reflected in window
This one is genuinely smart and I wish I had thought of it myself. Tiarco positions his subject in front of a building, then angles the composition so that the reflection of the sunset appears in the windows behind the subject. That warm reflected light coming from behind functions as a hair light without requiring a second strobe, an assistant, or a C-stand placed somewhere it shouldn’t be.
The geometry here matters. You need to find the angle where the window actually catches the sun, which changes quickly as the sun drops. Scout the location before your subject arrives and find that sweet spot. Once you have the background locked in, add your primary modifier in front of the subject. Tiarco uses a 5-foot strip softbox, which produces more contrast than a larger rectangular box while still wrapping the light enough to flatter the face. A strip box or a narrow octobox both work here. The window gives you the rim, the softbox gives you the fill, and the two together produce an image that looks like it required a three-person crew.
Step 3: Simulate Golden Hour Light After the Sun Has Already Set
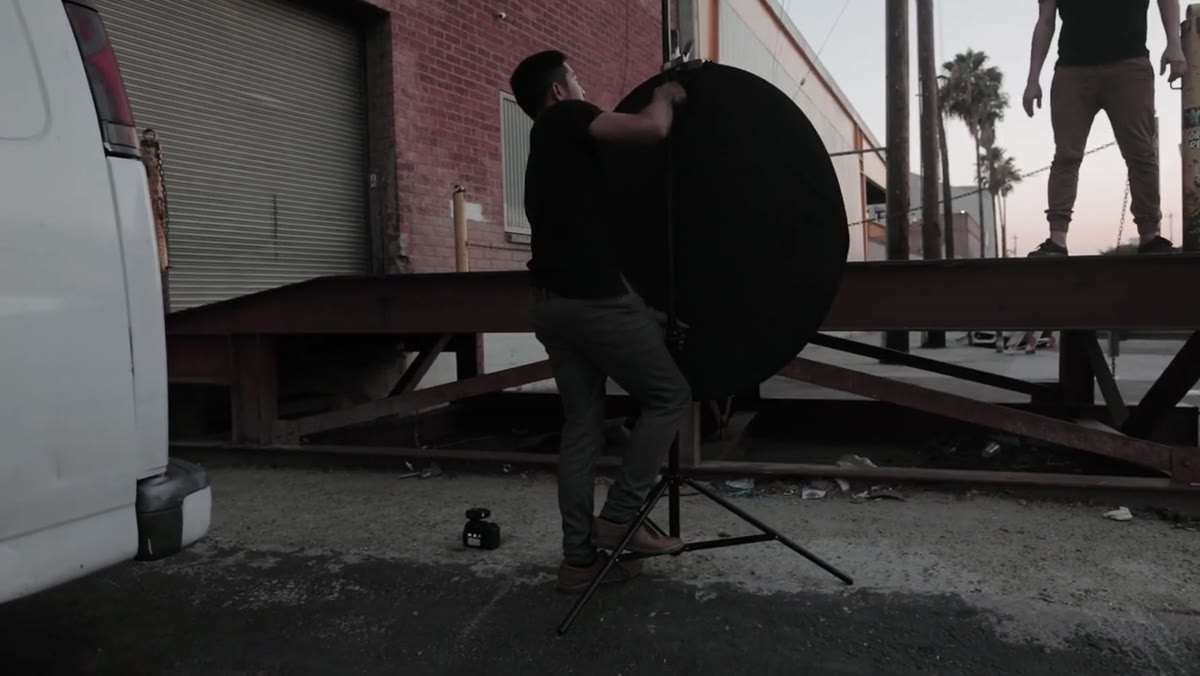
 Strobe positioned 10 to 20 feet behind subject with CTO gel
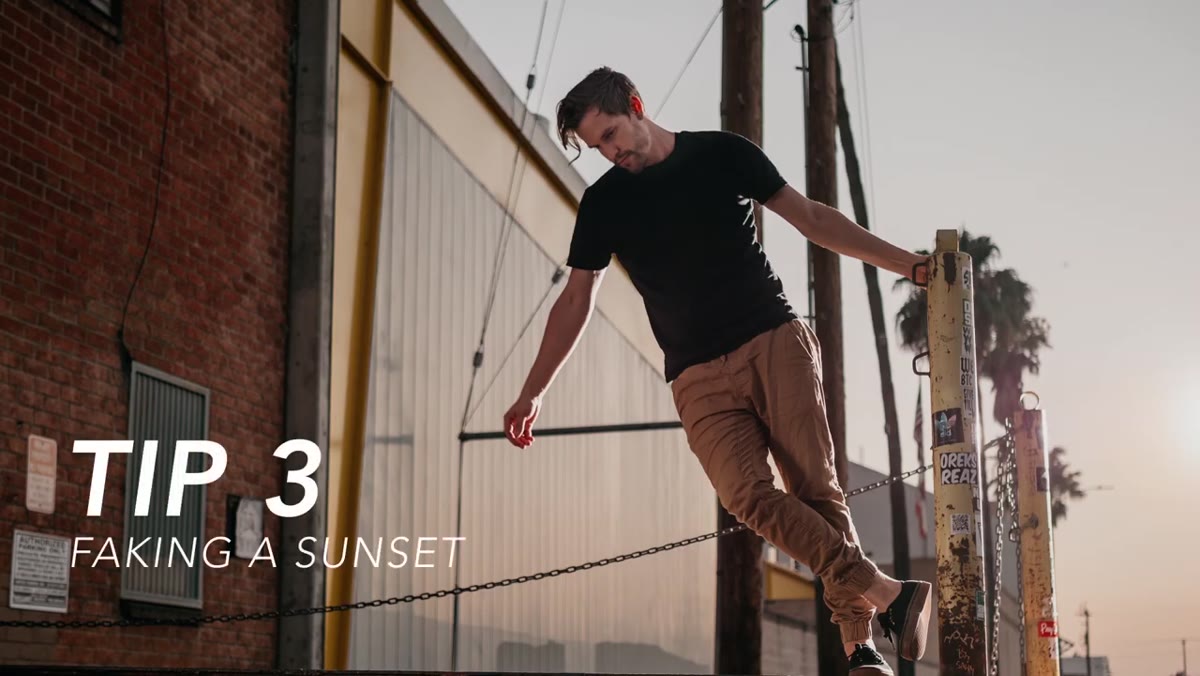
This is the technique I immediately tested the day after watching. Once the sun drops below the horizon, you have a narrow window where the sky still holds color but the light on the ground is gone. Tiarco uses a strobe positioned 10 to 20 feet behind the subject, aimed toward the camera, with a small reflector to concentrate and shape the beam, and a CTO gel to push the color temperature into the warm orange range that mimics direct sunset.
Strobe positioned 10 to 20 feet behind subject with CTO gel
This is the technique I immediately tested the day after watching. Once the sun drops below the horizon, you have a narrow window where the sky still holds color but the light on the ground is gone. Tiarco uses a strobe positioned 10 to 20 feet behind the subject, aimed toward the camera, with a small reflector to concentrate and shape the beam, and a CTO gel to push the color temperature into the warm orange range that mimics direct sunset.
The strobe acts as a substitute sun. It produces a strong rim or backlight on the subject that reads as believable golden hour light because the CTO gel brings the color into the right family. Crop so the light source itself stays outside the frame. Because you control the strobe’s output, you can dial in exactly how “golden” the light appears. The practical extension here is about 15 minutes past when you would normally pack up and leave. On an engagement shoot or a portrait session where you only have one location and one window of time, that 15 minutes can be the difference between images you show and images you keep to yourself.
Step 4: Calibrate the Gel to Your Specific Strobe and Conditions
 CTO gel applied over small reflector on strobe head
A CTO gel is not one thing. Full CTO, half CTO, and quarter CTO all shift the color by different amounts, and which one works depends on how much ambient color is still in the sky when you’re shooting. If the sky still holds deep blue or purple, a full CTO on the strobe will produce a sunset-like warmth that feels plausible. If the sky has gone neutral gray, a full CTO will look garish because there’s no ambient color to harmonize with.
CTO gel applied over small reflector on strobe head
A CTO gel is not one thing. Full CTO, half CTO, and quarter CTO all shift the color by different amounts, and which one works depends on how much ambient color is still in the sky when you’re shooting. If the sky still holds deep blue or purple, a full CTO on the strobe will produce a sunset-like warmth that feels plausible. If the sky has gone neutral gray, a full CTO will look garish because there’s no ambient color to harmonize with.
My habit is to carry all three strengths in a small folder with my grip kit, test a frame with each one, and decide on set. I also shoot a gray card frame whenever I introduce a gel so I have a color reference in post. The gel gets you most of the way there, but a small tweak in the HSL panel keeps the skin tones honest.
What I’d Add From My Own Experience
Tiarco’s three techniques all rely on a single strobe, which is genuinely practical for outdoor work. Where I’ve extended this approach is by adding a second, much lower-powered strobe as a kicker on the opposite side from the fill. I label these lights before every outdoor shoot, same as I do in studio, so the moment I set up I know which unit is doing what. Outdoors, it’s easy to lose track of your light sources because you’re managing ambient at the same time, and a mislabeled or forgotten strobe causes the same kind of muddy, confusing light that kills an outdoor portrait.
The other thing I’d emphasize: these setups reward fast scouting. Thirty minutes before your shoot, walk the location with your phone and find where the windows catch the light, where the horizon is clean, and how far behind your subject a strobe can hide without entering your frame. Golden hour moves faster than you expect, and if you’re solving geometry problems after it arrives, you’ve already missed half of it.
The single most important idea across all three of Tiarco’s techniques is this: your strobe gives you control where the sun gives you none. Every setup here is built on using ambient light as a backdrop and the strobe as the variable you actually manage. Once that logic clicks, outdoor lighting stops being a guessing game.
Watch the full tutorial on YouTube and see Tiarco demonstrate all three setups with the actual images they produced. It’s worth watching before your next shoot that involves a sunset and a client who expects something more than a silhouette.
Comments
Leave a Comment