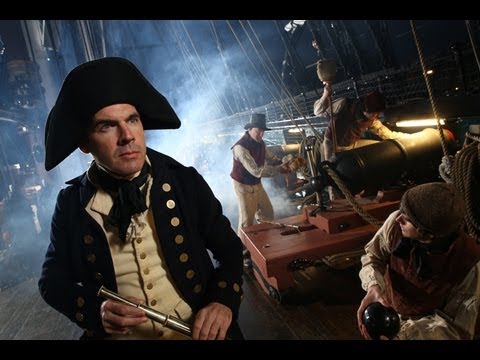
I keep a lighting journal. Every shoot gets a sketch - light positions, modifiers, power settings, distance from subject. It started as a habit and turned into about a dozen notebooks. I bring this up because the setups that fill the most pages are not the ones shot in controlled studio environments. They are the ones shot in large, dark, unpredictable spaces where ambient light is working against you and you have to manufacture every meaningful highlight yourself. That specific problem - how to make a massive dark environment feel alive and dimensional without hauling in a generator truck’s worth of equipment - is exactly what this tutorial addresses head-on.
In this The Slanted Lens tutorial, photographer Jay P. Morgan shoots a period-costumed scene on the USS Constitution - the oldest commissioned ship in the US Navy - after dark, using just two or three strobe heads. The scale of the location is genuinely intimidating. We are talking about an 18th century tall ship with full rigging, cannons, and a crew of talent dressed in authentic nautical wardrobe. And yet the lighting approach is methodical, almost surgical. That discipline is what I want to walk through here, because the principles transfer directly to any large-space night shoot, whether you are working in a warehouse, a cathedral, or an aircraft hangar.
Step 1: Shoot During Transition Light First
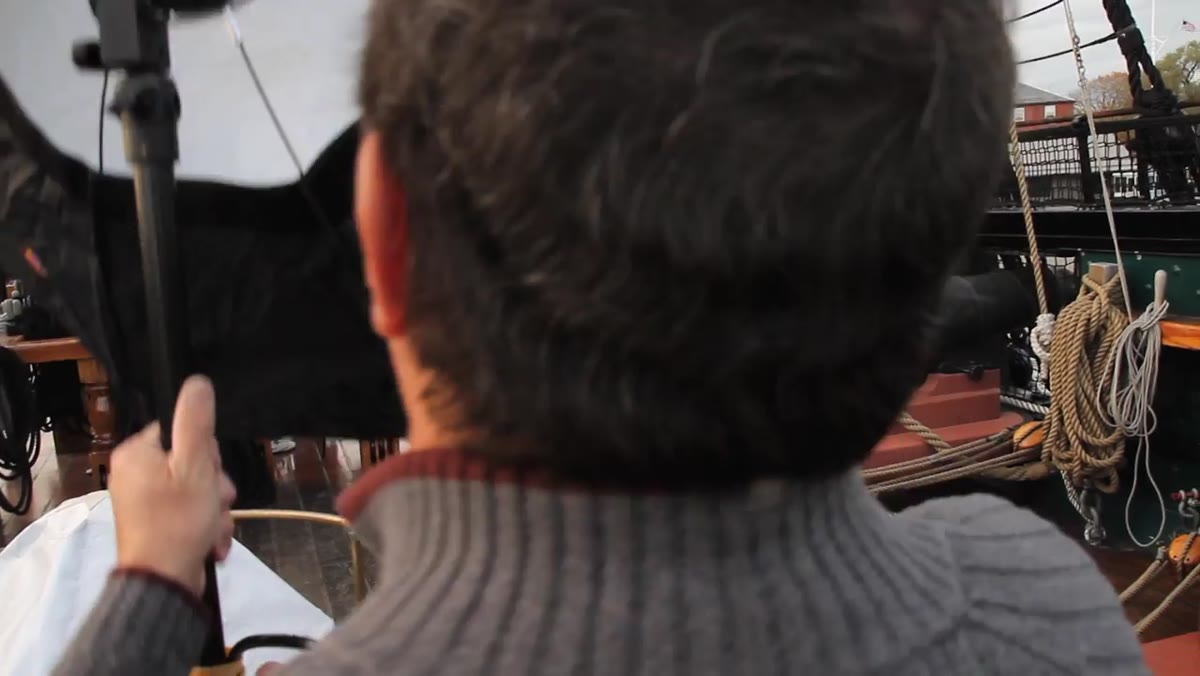 Shooting with octodome during dusk before full darkness
Before full darkness falls, shoot some frames using only an octodome and whatever natural light is left in the sky. This is not wasted time. The ambient sky creates natural contrast against the environment - in this case, the ship’s rigging and silhouetted structures read clearly because the bright sky is doing the separation work for you. These early frames also serve as a reference point. You will immediately see what you lose once the sky goes dark, which tells you exactly what your artificial lights need to reconstruct. Think of it as a diagnostic before the real surgery begins.
Shooting with octodome during dusk before full darkness
Before full darkness falls, shoot some frames using only an octodome and whatever natural light is left in the sky. This is not wasted time. The ambient sky creates natural contrast against the environment - in this case, the ship’s rigging and silhouetted structures read clearly because the bright sky is doing the separation work for you. These early frames also serve as a reference point. You will immediately see what you lose once the sky goes dark, which tells you exactly what your artificial lights need to reconstruct. Think of it as a diagnostic before the real surgery begins.
Step 2: Lock In Your Exposure Settings Early
 Camera settings discussion, f/8 at 1/4 second
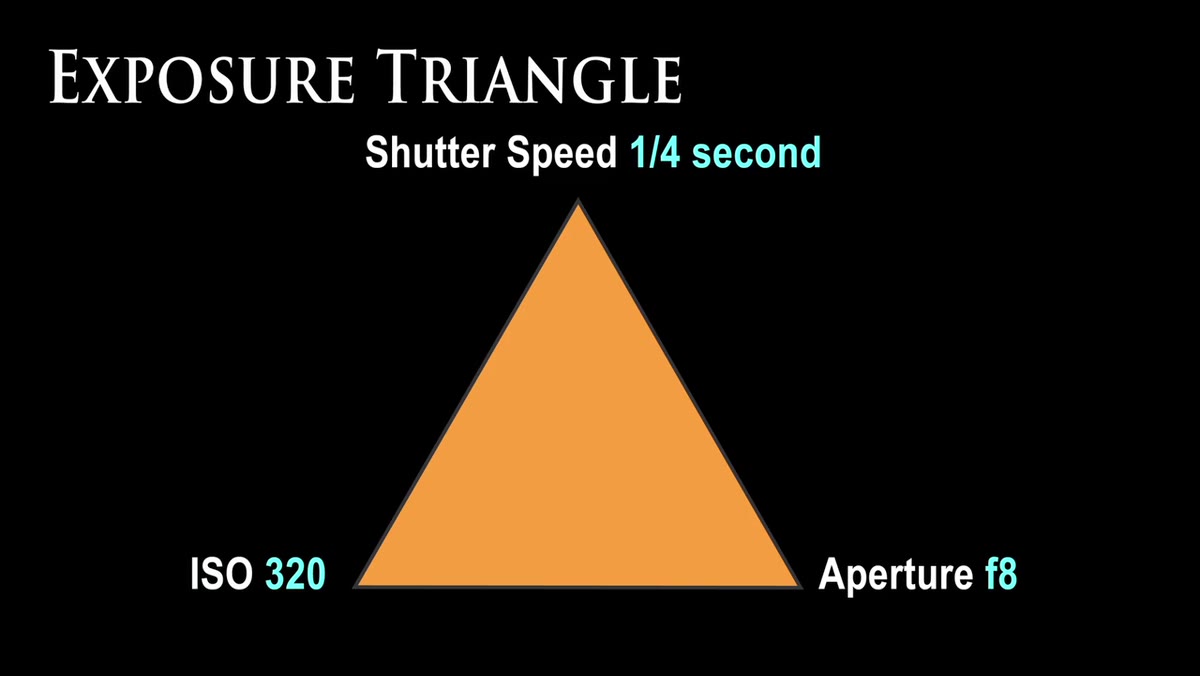
The camera here is set to f/8 at a quarter second and that combination stays fixed for the entire shoot. The reasoning is precise: at night, ambient light is not driving the exposure, so changing the shutter speed accomplishes little. The priority is depth of field and strobe sync, not sky exposure management. Shooting tethered to a clean-sensor body matters here too - a sensor that handles deep blacks without noise gives you a foundation that makes artificial lighting look intentional rather than compensatory. Set this before you build your lighting, and do not chase it once you start adding lights.
Camera settings discussion, f/8 at 1/4 second
The camera here is set to f/8 at a quarter second and that combination stays fixed for the entire shoot. The reasoning is precise: at night, ambient light is not driving the exposure, so changing the shutter speed accomplishes little. The priority is depth of field and strobe sync, not sky exposure management. Shooting tethered to a clean-sensor body matters here too - a sensor that handles deep blacks without noise gives you a foundation that makes artificial lighting look intentional rather than compensatory. Set this before you build your lighting, and do not chase it once you start adding lights.
Step 3: Establish Your Key Light on the Subject
 Small octodome with grid placed on captain’s face
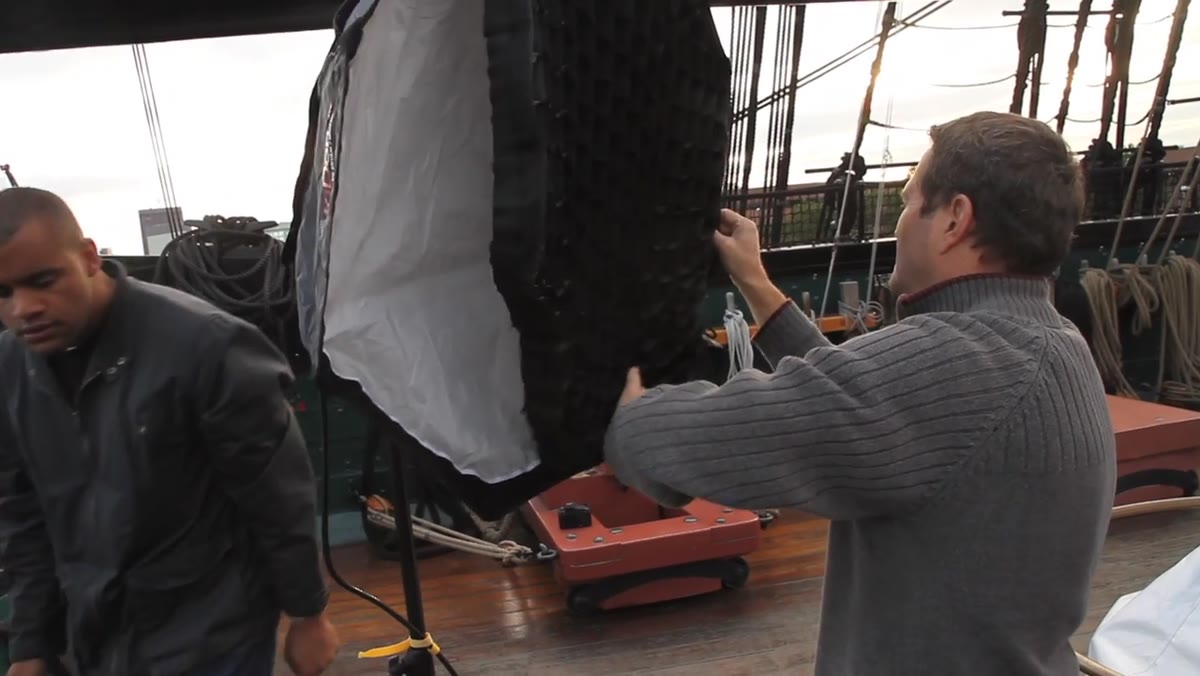
The key light here is a small octodome fitted with a grid. The grid is doing important work: it controls the spill. In a large dark space, uncontrolled spill from your key light will bleed onto surfaces you do not want it on, flattening the depth you are trying to create. Pointed at the face of the lead subject - the captain, positioned nearest the camera - this light establishes a clean, soft source that anchors the human element of the frame. Without it, the rim lights that come next would create a dramatic environment with no readable face inside it.
Small octodome with grid placed on captain’s face
The key light here is a small octodome fitted with a grid. The grid is doing important work: it controls the spill. In a large dark space, uncontrolled spill from your key light will bleed onto surfaces you do not want it on, flattening the depth you are trying to create. Pointed at the face of the lead subject - the captain, positioned nearest the camera - this light establishes a clean, soft source that anchors the human element of the frame. Without it, the rim lights that come next would create a dramatic environment with no readable face inside it.
Step 4: Add a Hard Rim Light from Camera Left
 D-lite strobe head with travel reflector, no softbox, camera left
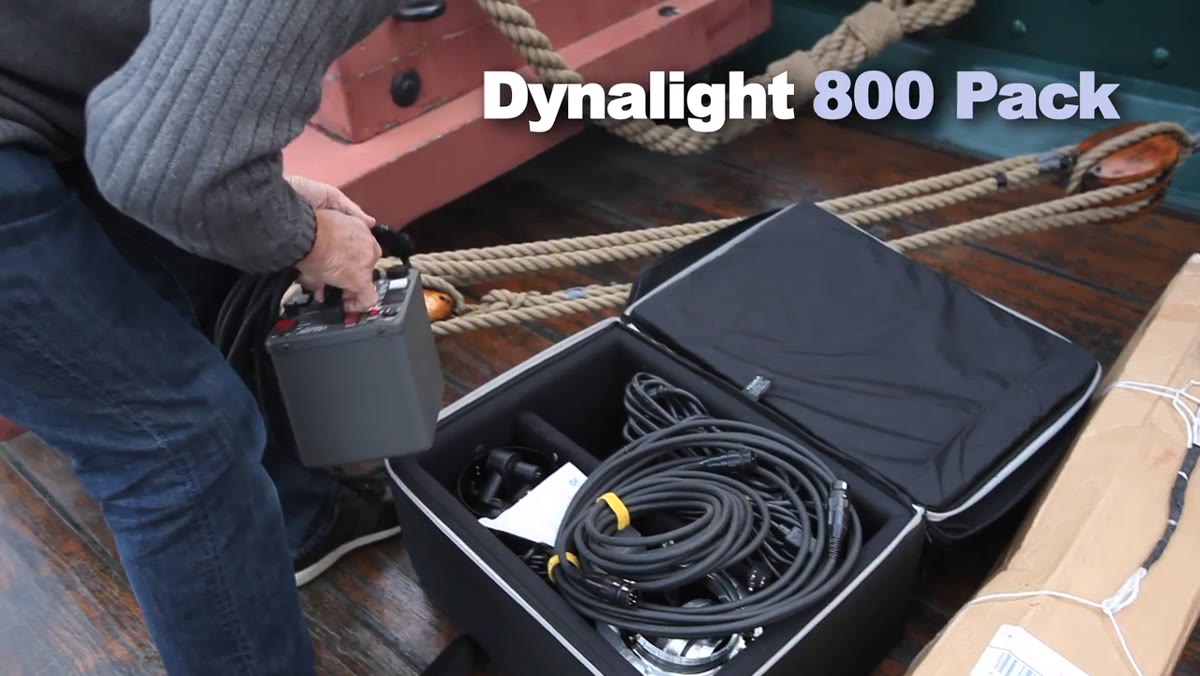
The second light is a bare strobe head - a D-lite unit with a travel reflector and no diffusion modifier at all. The decision to go hard and undiffused is intentional and worth sitting with: soft light wraps around subjects and reduces edge definition. In a large dark space, you need edges. You need the viewer’s eye to find the boundary between subject and environment. Placed camera left, this light rims the figures grouped around the cannon, separating them from the darkness behind them. It is not flattering in the beauty sense - it is structural.
D-lite strobe head with travel reflector, no softbox, camera left
The second light is a bare strobe head - a D-lite unit with a travel reflector and no diffusion modifier at all. The decision to go hard and undiffused is intentional and worth sitting with: soft light wraps around subjects and reduces edge definition. In a large dark space, you need edges. You need the viewer’s eye to find the boundary between subject and environment. Placed camera left, this light rims the figures grouped around the cannon, separating them from the darkness behind them. It is not flattering in the beauty sense - it is structural.
Step 5: Place the Background Rim Light as Deep as Possible
 Rear rim light illuminating rigging, cannons, and full set behind subjects
This is the single most important light in the entire setup - a second hard strobe head pushed as far back and as deep into the set as the location allows. Coming from behind, it rakes across the rigging, the cannons, the ropes, and the wooden deck structure, drawing highlight lines across every surface. This is what converts a black void into a recognizable environment. Without it, everything behind your subject collapses into darkness. With it, the ship looks inhabited, dimensional, and historically believable. The light does not need to be powerful - it needs to be placed correctly, far enough back that it is grazing the set rather than flooding it.
Rear rim light illuminating rigging, cannons, and full set behind subjects
This is the single most important light in the entire setup - a second hard strobe head pushed as far back and as deep into the set as the location allows. Coming from behind, it rakes across the rigging, the cannons, the ropes, and the wooden deck structure, drawing highlight lines across every surface. This is what converts a black void into a recognizable environment. Without it, everything behind your subject collapses into darkness. With it, the ship looks inhabited, dimensional, and historically believable. The light does not need to be powerful - it needs to be placed correctly, far enough back that it is grazing the set rather than flooding it.
Step 6: Evaluate Harshness and Plan Your Retouch Points
 Final three-light composite assessed as slightly too harsh
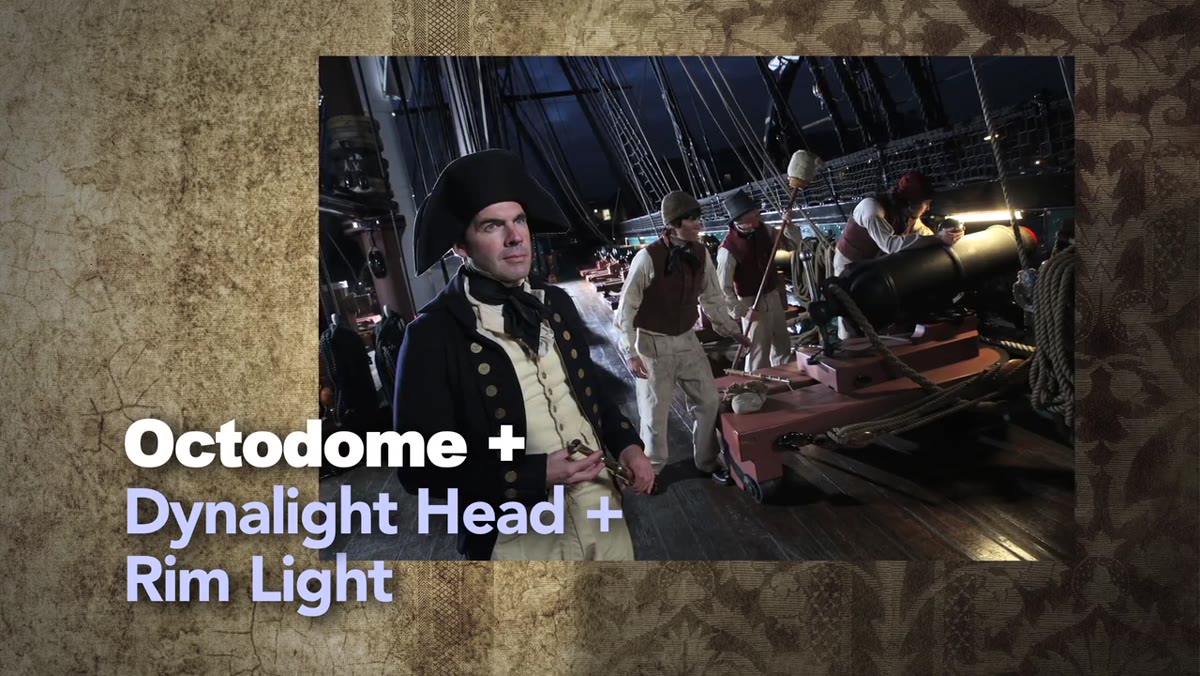
Once all three lights are in place, the image is described as slightly too harsh - not finished yet. This is a normal checkpoint, not a failure. Use this evaluation moment to identify two things: where the light is creating unflattering specularity on skin or surfaces, and where practical lights (here, a very anachronistic fluorescent fixture on one of the cannons) will need to be removed in post. Knowing your retouch agenda before the shoot ends means you can adjust or simply flag it and move on. Do not waste setup time fixing what post-production can handle cleanly.
Final three-light composite assessed as slightly too harsh
Once all three lights are in place, the image is described as slightly too harsh - not finished yet. This is a normal checkpoint, not a failure. Use this evaluation moment to identify two things: where the light is creating unflattering specularity on skin or surfaces, and where practical lights (here, a very anachronistic fluorescent fixture on one of the cannons) will need to be removed in post. Knowing your retouch agenda before the shoot ends means you can adjust or simply flag it and move on. Do not waste setup time fixing what post-production can handle cleanly.
What I Would Do Differently in a Studio Context
The rear rim light principle from this shoot is something I have adapted for large studio sets - particularly for multi-subject group shots against dark or black backgrounds. Instead of pushing a bare head into the back of the set, I use a gridded strip light at a low angle to skim across a textured background, creating the same kind of edge definition that the rigging provided here. The grid keeps it controlled. What I have learned from shoots like this one is that darkness is not the problem - flat darkness is. Give a dark background some texture and a light source to reveal that texture, and it stops being a void and starts being a stage. That shift in thinking - from lighting subjects to lighting environments - is what separates images that feel cinematic from ones that feel like headshots with a dark background.
The takeaway I keep coming back to is this: in a large dark space, your rear light is not a fill or an accent. It is the architecture of the image. Place it last, but treat it as the most consequential decision of the shoot. Without it, everything collapses. With it, two or three lights can make a 200-year-old warship look like it was lit by a Hollywood gaffer.
Watch the full tutorial on YouTube to see the before-and-after progression of each light being added - that sequence alone is worth the runtime.
Comments
Leave a Comment