
Corporate group shots are the kind of assignment that can quietly ruin your day if you haven’t thought them through. You finish individual portraits, the client is happy, and then someone says “can we get the whole team together?” You have thirty minutes, the background is whatever it is, and six or eight people are about to look at you like you know exactly what you’re doing. I’ve been in that position more times than I want to count, and my early attempts at group work were embarrassing. I lined people up like a school photo. I let the background go flat. I used a single light too close and got uneven falloff across the row.
In this The Slanted Lens tutorial, Jay P. Morgan walks through exactly how he handles this scenario on location, and the efficiency of his approach is what got my attention. Watch the full tutorial on YouTube before or after you read this. Either way, what follows is a step-by-step breakdown of his method with the specifics you need to actually replicate it on your next job.
What strikes me most watching this is how much of his thinking happens before a single person steps into the frame. Background selection, lens compression, light position, camera height. Every decision is made in service of one goal: make a group of people look like a photograph, not a lineup.
Step 1: Choose a Background With Depth, Not Just Color
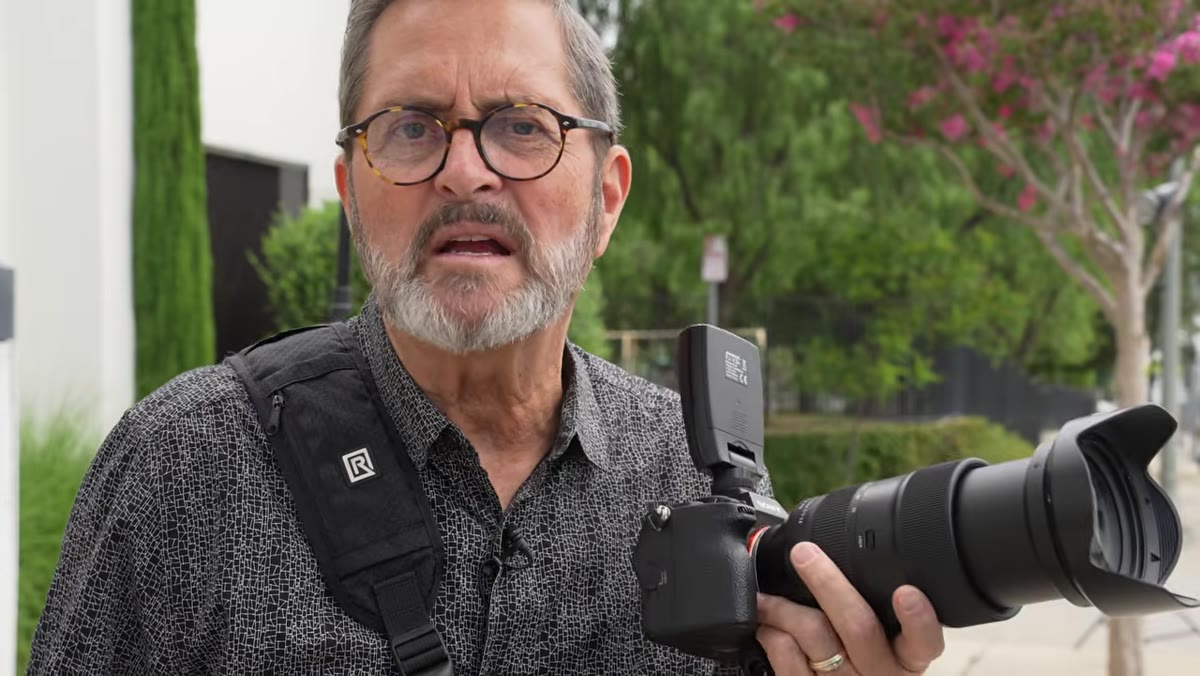 Jay scanning a sidewalk with greenery stretching into distance
Don’t just look for a clean wall or a neutral surface. Look for a background that has something going on behind it, distance that will compress and blur as you move to a longer focal length. Jay shoots along a sidewalk with trees and greenery receding into the distance. The further that background falls away from the subjects, the more it separates. Organic textures like foliage work particularly well because they break up into smooth, non-distracting blur. One caveat: scout for signage and structural clutter you’ll need to retouch. Build that time into your workflow before you start shooting.
Jay scanning a sidewalk with greenery stretching into distance
Don’t just look for a clean wall or a neutral surface. Look for a background that has something going on behind it, distance that will compress and blur as you move to a longer focal length. Jay shoots along a sidewalk with trees and greenery receding into the distance. The further that background falls away from the subjects, the more it separates. Organic textures like foliage work particularly well because they break up into smooth, non-distracting blur. One caveat: scout for signage and structural clutter you’ll need to retouch. Build that time into your workflow before you start shooting.
Step 2: Commit to a Longer Focal Length
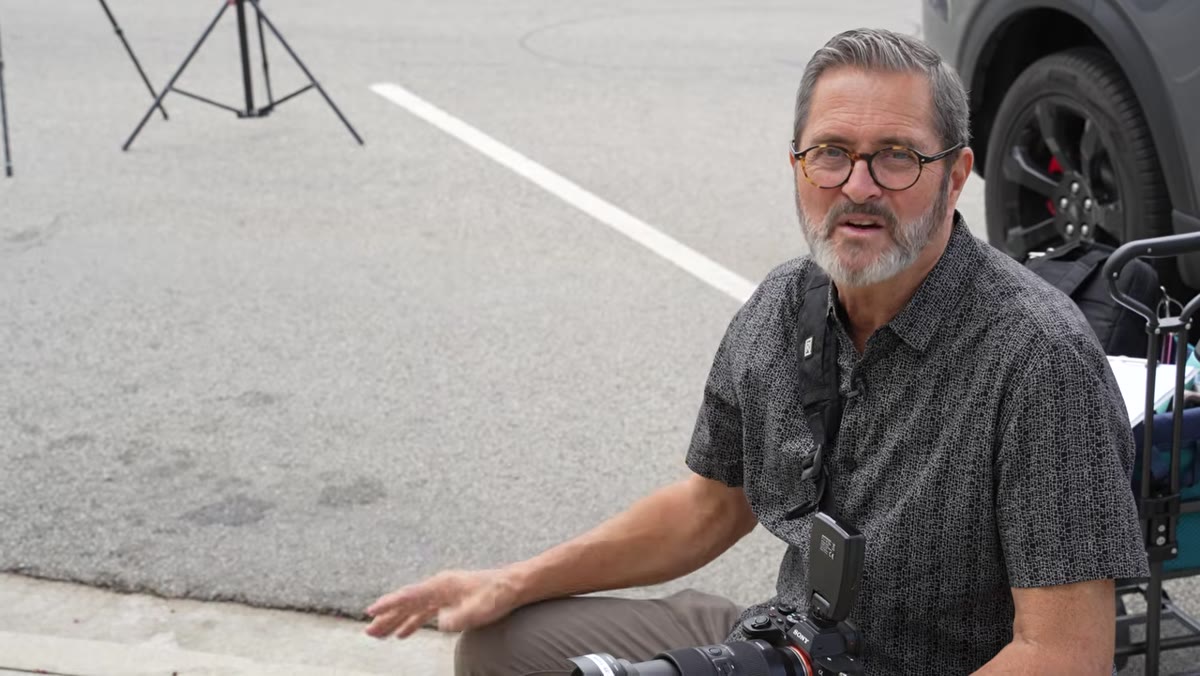
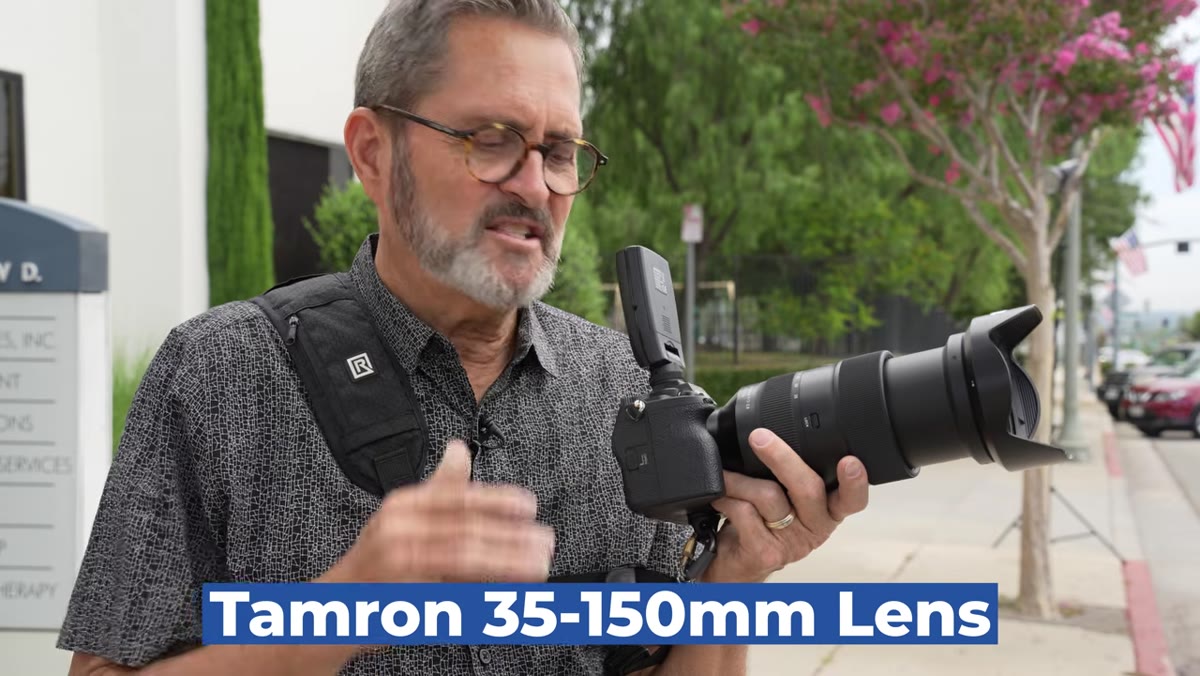 Tamron 35-150mm lens shown on Sony camera body
Jay’s choice here is the Tamron 35-150mm f/2-2.8 on a Sony body, and he uses it in the 100-135mm range for the group work. That compression is doing real work. A wide lens at close range makes the background feel flat and brings the edges of the group closer to the camera in a way that distorts proportion. Shooting longer from further back flatters the group, compresses the background into something that feels more intentional, and keeps everyone in the frame at a similar relative distance from the lens. He notes he’ll go as wide as 35mm if the space demands it, but his preference is to stay long.
Tamron 35-150mm lens shown on Sony camera body
Jay’s choice here is the Tamron 35-150mm f/2-2.8 on a Sony body, and he uses it in the 100-135mm range for the group work. That compression is doing real work. A wide lens at close range makes the background feel flat and brings the edges of the group closer to the camera in a way that distorts proportion. Shooting longer from further back flatters the group, compresses the background into something that feels more intentional, and keeps everyone in the frame at a similar relative distance from the lens. He notes he’ll go as wide as 35mm if the space demands it, but his preference is to stay long.
Step 3: Set Aperture for the Group’s Depth, Not the Background
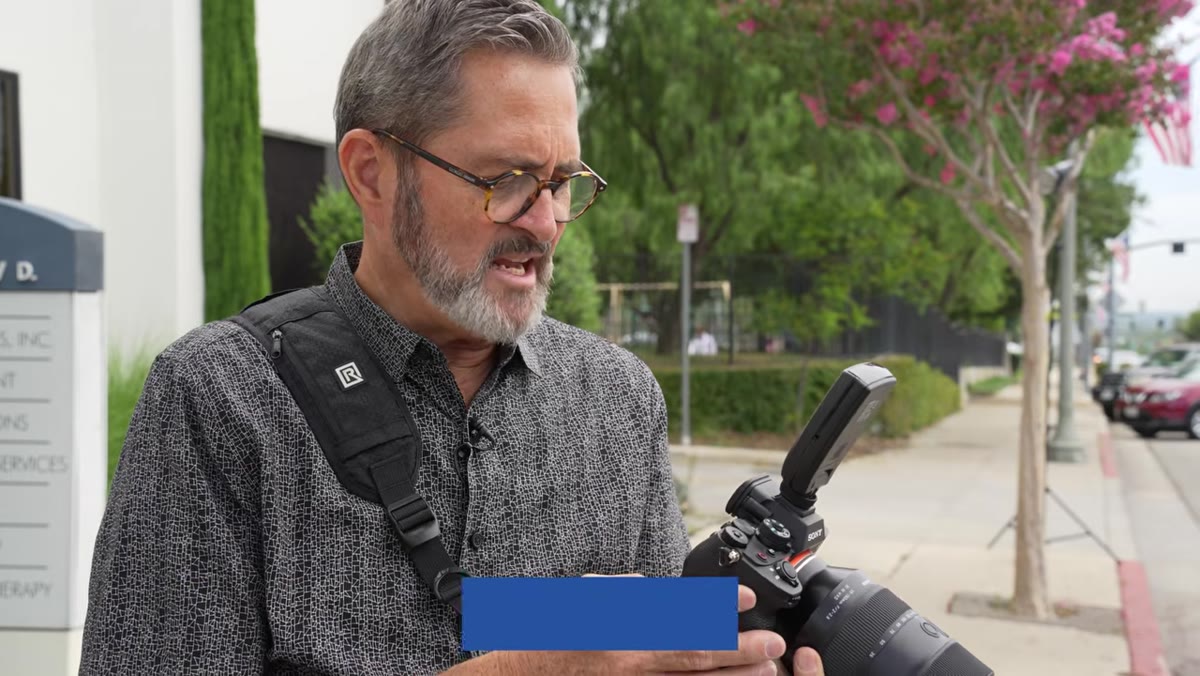 Camera settings adjustment, aperture being set around f/5.6
This is the balancing act I got wrong for years. You want background blur, so your instinct is to open up. But a group portrait is not a single subject. If you have two rows of people and you’re at f/2.8, the back row is soft and the client will notice immediately. Jay targets f/5.6 to f/6.3 for this scenario. That gives enough depth of field to hold the group sharp, even with some front-to-back staggering in the pose, while still letting the background fall out of focus at 100mm or beyond. Dial this in before the group assembles.
Camera settings adjustment, aperture being set around f/5.6
This is the balancing act I got wrong for years. You want background blur, so your instinct is to open up. But a group portrait is not a single subject. If you have two rows of people and you’re at f/2.8, the back row is soft and the client will notice immediately. Jay targets f/5.6 to f/6.3 for this scenario. That gives enough depth of field to hold the group sharp, even with some front-to-back staggering in the pose, while still letting the background fall out of focus at 100mm or beyond. Dial this in before the group assembles.
Step 4: Build a Butterfly Light Up High and Shoot Underneath It
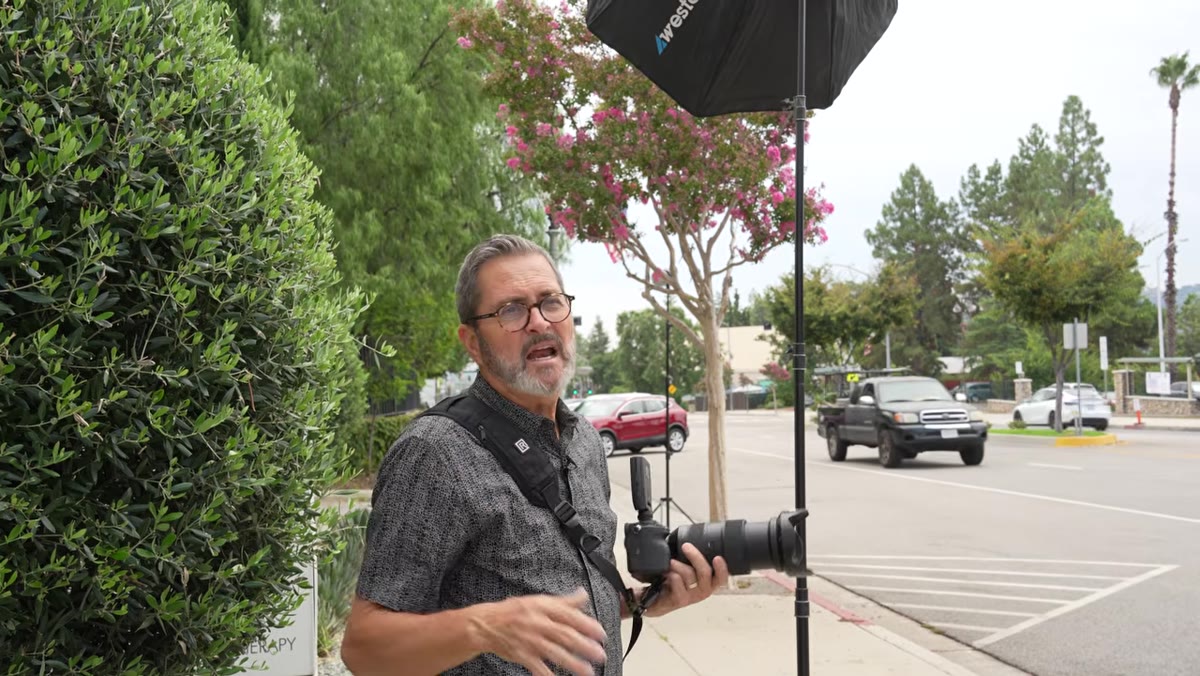
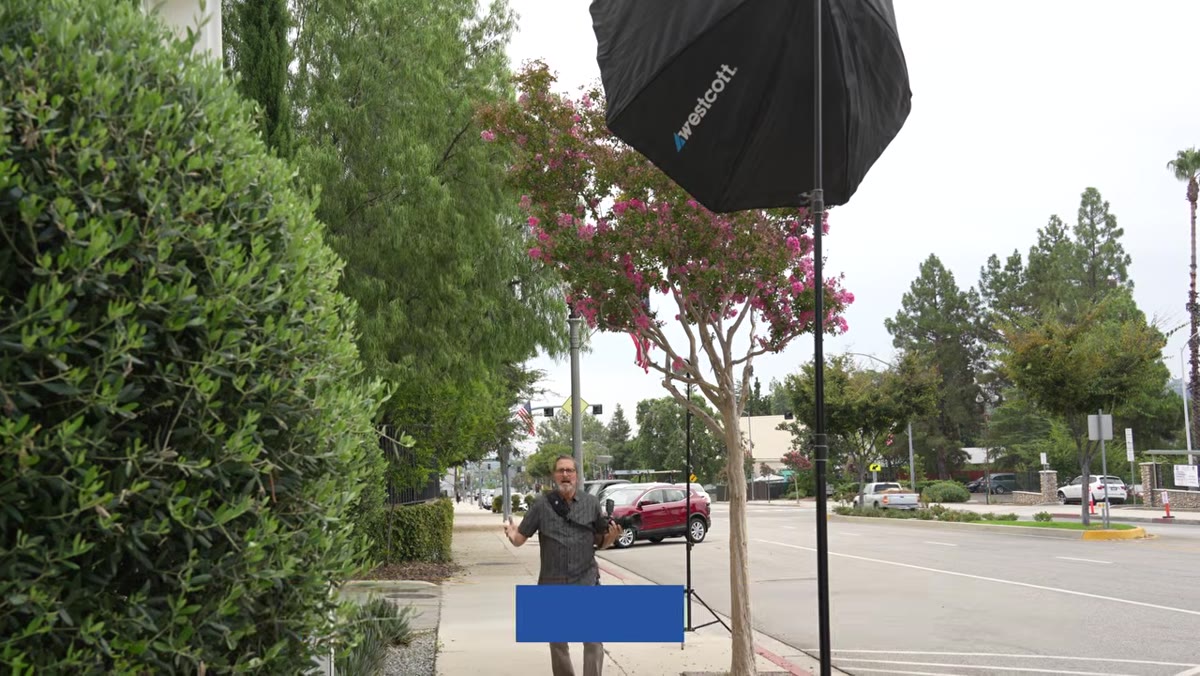 Large softbox positioned high above camera axis, aimed down at subject area
For a group of this size, Jay goes to a single butterfly setup: one large, soft source placed high, above the camera axis, angled down. This is the light pattern that opens up a group evenly. It throws light down across everyone’s faces without the dramatic side falloff you’d get from a traditional 45-degree key. He shoots directly underneath the light, getting the stand in close and high. The result is a clean, directional source that still gives the faces some dimension through the slight shadow it casts beneath the nose and chin. For groups of 15 or more, he’d split to two lights left and right, but for a smaller team this centered position holds well across the width.
Large softbox positioned high above camera axis, aimed down at subject area
For a group of this size, Jay goes to a single butterfly setup: one large, soft source placed high, above the camera axis, angled down. This is the light pattern that opens up a group evenly. It throws light down across everyone’s faces without the dramatic side falloff you’d get from a traditional 45-degree key. He shoots directly underneath the light, getting the stand in close and high. The result is a clean, directional source that still gives the faces some dimension through the slight shadow it casts beneath the nose and chin. For groups of 15 or more, he’d split to two lights left and right, but for a smaller team this centered position holds well across the width.
Step 5: Add a Rim Light From Behind to Separate the Group From the Background
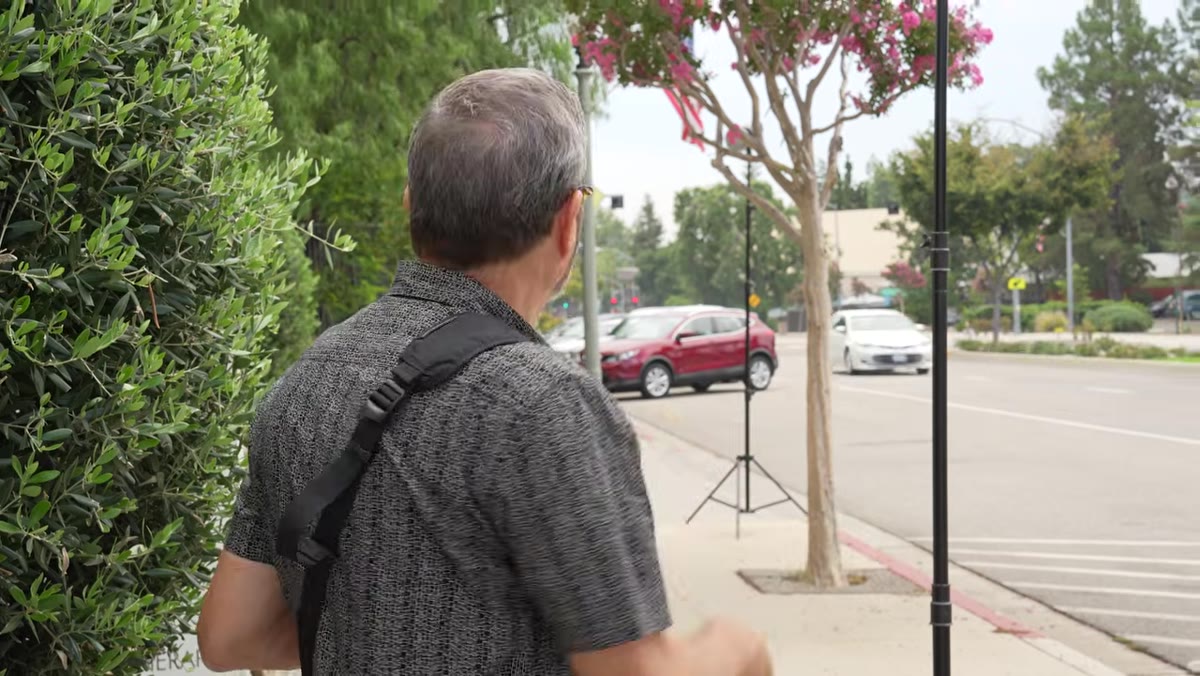 Second light positioned behind subjects aimed toward camera direction
The second light is placed in the background, behind and above the group, aimed back toward the camera. It throws a rim across the tops of heads and shoulders, creating a thin line of separation between the subjects and whatever is behind them. Without this, a group against a moderately bright background tends to merge. The rim doesn’t need to be aggressive. It’s a detail light, just enough to define the edge. Two lights, two jobs, and you’re done with the lighting plan.
Second light positioned behind subjects aimed toward camera direction
The second light is placed in the background, behind and above the group, aimed back toward the camera. It throws a rim across the tops of heads and shoulders, creating a thin line of separation between the subjects and whatever is behind them. Without this, a group against a moderately bright background tends to merge. The rim doesn’t need to be aggressive. It’s a detail light, just enough to define the edge. Two lights, two jobs, and you’re done with the lighting plan.
Step 6: Control Ambient Light With Shutter Speed
 Jay adjusting shutter speed to reduce ambient exposure
Jay shortens the shutter speed to bring down the ambient exposure, which increases the ratio between his strobe output and the environmental light. This gives the faces more defined modeling and prevents the flat, overlit look you get when ambient and strobe are fighting each other at similar levels. This is standard location flash discipline, but it’s worth naming clearly: your aperture controls depth of field and flash exposure, your shutter controls ambient. Use that relationship deliberately.
Jay adjusting shutter speed to reduce ambient exposure
Jay shortens the shutter speed to bring down the ambient exposure, which increases the ratio between his strobe output and the environmental light. This gives the faces more defined modeling and prevents the flat, overlit look you get when ambient and strobe are fighting each other at similar levels. This is standard location flash discipline, but it’s worth naming clearly: your aperture controls depth of field and flash exposure, your shutter controls ambient. Use that relationship deliberately.
Step 7: Get Low and Stagger the Pose
 Jay positioning group members in staggered formation, some forward some back
Camera height matters more than most people realize in group work. Jay shoots from a low stool to bring the background greenery up into the upper portion of the frame. This decision alone makes the background feel richer and fuller. For the pose itself, he avoids the shoulder-to-shoulder lineup. Instead, he staggers people forward and back in an alternating pattern, which creates visual rhythm and makes the image feel less like a document and more like a portrait. The front row needs to stay close enough to the back row that your depth of field covers both.
Jay positioning group members in staggered formation, some forward some back
Camera height matters more than most people realize in group work. Jay shoots from a low stool to bring the background greenery up into the upper portion of the frame. This decision alone makes the background feel richer and fuller. For the pose itself, he avoids the shoulder-to-shoulder lineup. Instead, he staggers people forward and back in an alternating pattern, which creates visual rhythm and makes the image feel less like a document and more like a portrait. The front row needs to stay close enough to the back row that your depth of field covers both.
What I’d Add From My Own Work
The one thing I’d layer onto Jay’s method is to test your rim light output ratio before the group walks in. I usually shoot a stand-in, often an assistant or a jacket on a C-stand, to confirm the rim isn’t blowing out lighter hair or creating a hot spot on a bald subject. I keep a masking tape label on my rim light stand with the output range I’ve found works for outdoor groups so I have a starting point for the next job. That kind of shooting note saves you the first five minutes of the session from being calibration time in front of a client.
The core lesson from Jay’s approach is that speed and quality don’t have to compete. A clear system, a specific lens range, two lights with defined roles, and a posing logic that works every time. That’s what thirty minutes looks like when you’ve done the thinking in advance.
Watch the full tutorial on YouTube to see the full session come together, including the final images from the group shoot.
Comments (1)
Never thought of approaching it this way. Really creative.
Leave a Comment