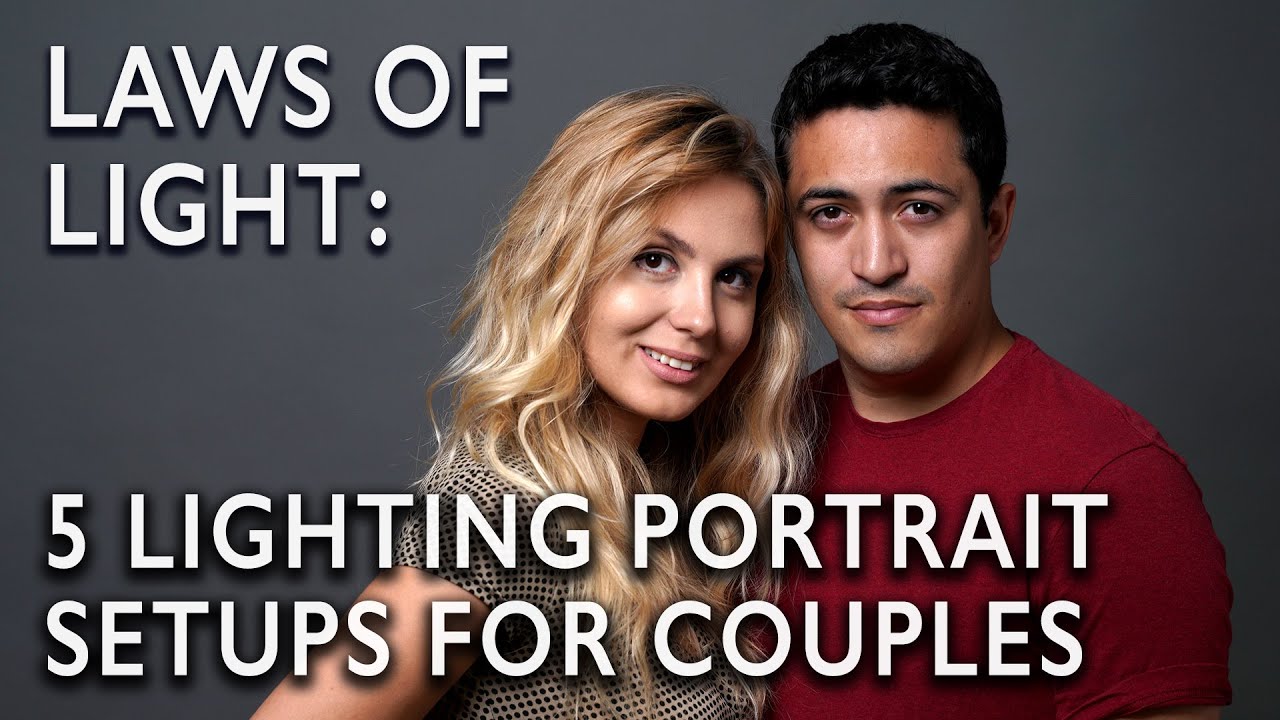
Lighting two people in the same frame is, in my experience, one of the most deceptively difficult things you can do in a studio. Singles are straightforward. Groups of three or five give you natural triangular composition to lean on. Two people sit right in the awkward middle: they fight for visual dominance, their heads rotate independently, and the same key light that sculpts one face beautifully can flatten or blow out the other. I’ve filled more than a few pages in my lighting journal trying to work out setups that serve both subjects equally, and I still find myself second-guessing the approach before every couples shoot.
Watch the full tutorial on YouTube
In this The Slanted Lens tutorial, Jay P. Morgan works through all five classical portrait lighting positions applied specifically to two subjects. What makes it useful isn’t just the lighting theory. It’s the insight that posing and lighting are not two separate decisions. The direction each person’s head faces determines which lighting pattern lands on their face. Get the pose right first, and the light follows.
Step 1: Treat Both Subjects as a Single Element
 Two subjects facing camera, key light producing butterfly on both faces
Before you even think about where to aim a modifier, your first job is to eliminate the visual gap between your two subjects. When two people stand parallel, facing the camera with space between them, your eye reads them as two separate objects. You need one shape, not two.
Two subjects facing camera, key light producing butterfly on both faces
Before you even think about where to aim a modifier, your first job is to eliminate the visual gap between your two subjects. When two people stand parallel, facing the camera with space between them, your eye reads them as two separate objects. You need one shape, not two.
The fix is physical closeness combined with turned-in body angles. Have the shorter or smaller subject lean into the taller one, with the leaning subject’s head tilted slightly toward the other person and angled down just a touch. That slight downward tilt does more compositional work than most photographers expect. It removes the stiffness, softens the relationship between the two subjects, and visually anchors them together. Once they read as a unit, your key light has a single mass to work with rather than two competing focal points.
Step 2: Apply “Same Direction, Same Light” as Your Baseline
 Both subjects turning toward light source, producing matching butterfly patterns
The simplest and most reliable starting point for couples lighting is what Jay calls same direction, same light. Both subjects face the same direction relative to the camera, and your single key light works on both faces simultaneously. When both subjects are angled the same way and your light is positioned correctly above and in front of them, you can land a clean butterfly pattern on both faces at once.
Both subjects turning toward light source, producing matching butterfly patterns
The simplest and most reliable starting point for couples lighting is what Jay calls same direction, same light. Both subjects face the same direction relative to the camera, and your single key light works on both faces simultaneously. When both subjects are angled the same way and your light is positioned correctly above and in front of them, you can land a clean butterfly pattern on both faces at once.
This only works if their heads are truly aligned in relation to the light source. If one person turns even slightly more or less than the other, one face slips into a different pattern entirely. I usually confirm this by checking the shadow under each subject’s nose independently before I shoot a single frame. Matching nose shadows tell me both faces are receiving the same angle of light.
Step 3: Use a V-Flat to Recover Shadow Detail Without Moving the Key
 V-flat being slid into position opposite the key light
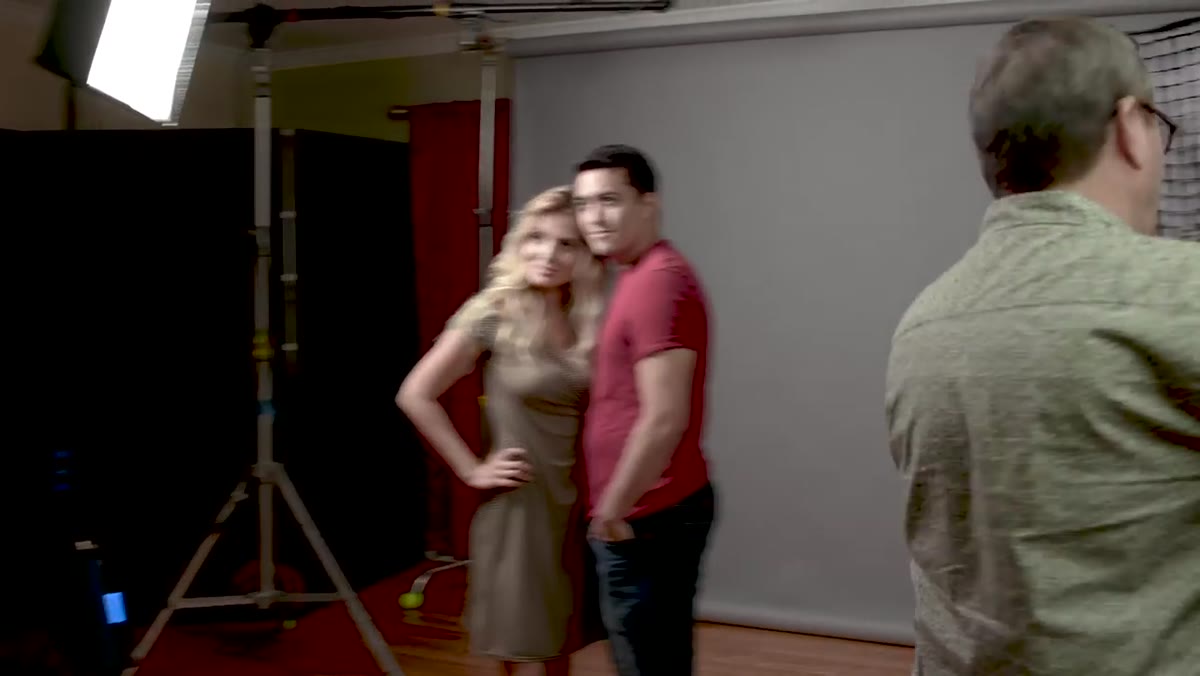
Once you have your key light locked in and both subjects are reading cleanly, you will almost certainly have a shadow side that goes too dark, especially on the face that is turned slightly away from the light. Rather than adding a second strobe and creating a whole new set of exposure math, a V-flat positioned opposite the key is the cleaner solution.
V-flat being slid into position opposite the key light
Once you have your key light locked in and both subjects are reading cleanly, you will almost certainly have a shadow side that goes too dark, especially on the face that is turned slightly away from the light. Rather than adding a second strobe and creating a whole new set of exposure math, a V-flat positioned opposite the key is the cleaner solution.
I label the face of every V-flat in my studio with the modifier it pairs well with, using masking tape. It sounds obsessive, but it saves time when you are shooting fast. Slide the V-flat in gradually and watch how the shadow side of both faces opens up. The goal is fill, not elimination. You still want to see dimensionality, just with enough detail that you are not losing half a face to pure black.
Step 4: Experiment with Different Head Directions to Create Two Distinct Lighting Patterns
 One subject turning slightly toward camera producing Rembrandt, other turning away producing butterfly
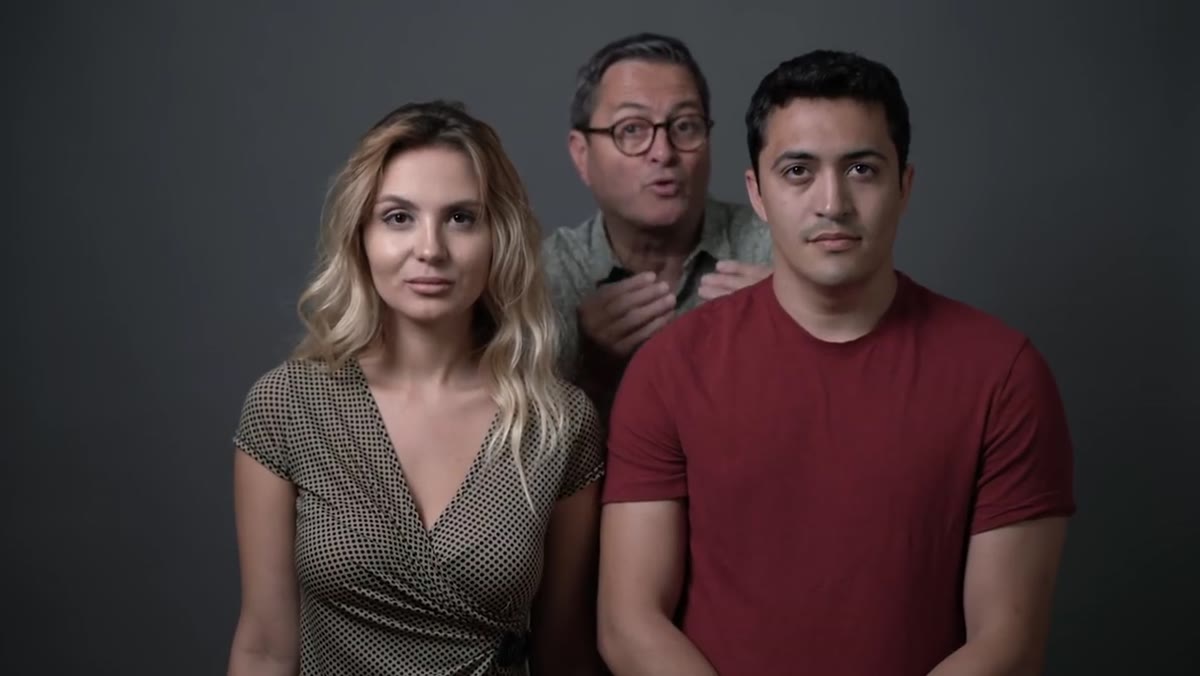
Here is where the tutorial gets genuinely useful for anyone doing portrait or couples work at a professional level. Jay demonstrates that you do not have to keep both subjects in the same lighting pattern. By having one subject turn slightly toward the light while the other turns slightly away from it, you can simultaneously produce a Rembrandt on one face and a butterfly on the other, using the same key light and the same position.
One subject turning slightly toward camera producing Rembrandt, other turning away producing butterfly
Here is where the tutorial gets genuinely useful for anyone doing portrait or couples work at a professional level. Jay demonstrates that you do not have to keep both subjects in the same lighting pattern. By having one subject turn slightly toward the light while the other turns slightly away from it, you can simultaneously produce a Rembrandt on one face and a butterfly on the other, using the same key light and the same position.
This is the technique I reach for most often when I want a couples shot to feel dynamic rather than static. The slight divergence in head direction creates visual variety without requiring you to set up additional lights or change your exposure. The critical thing is that both patterns still need to be intentional. A Rembrandt that happens by accident because someone moved their head is not the same as one you placed deliberately. Know which pattern is landing on which face, and direct accordingly.
Step 5: Move the Light Around the Subjects to Shift All Patterns Together
 Key light moving from front position to more lateral position, transitioning Rembrandt to profile lighting
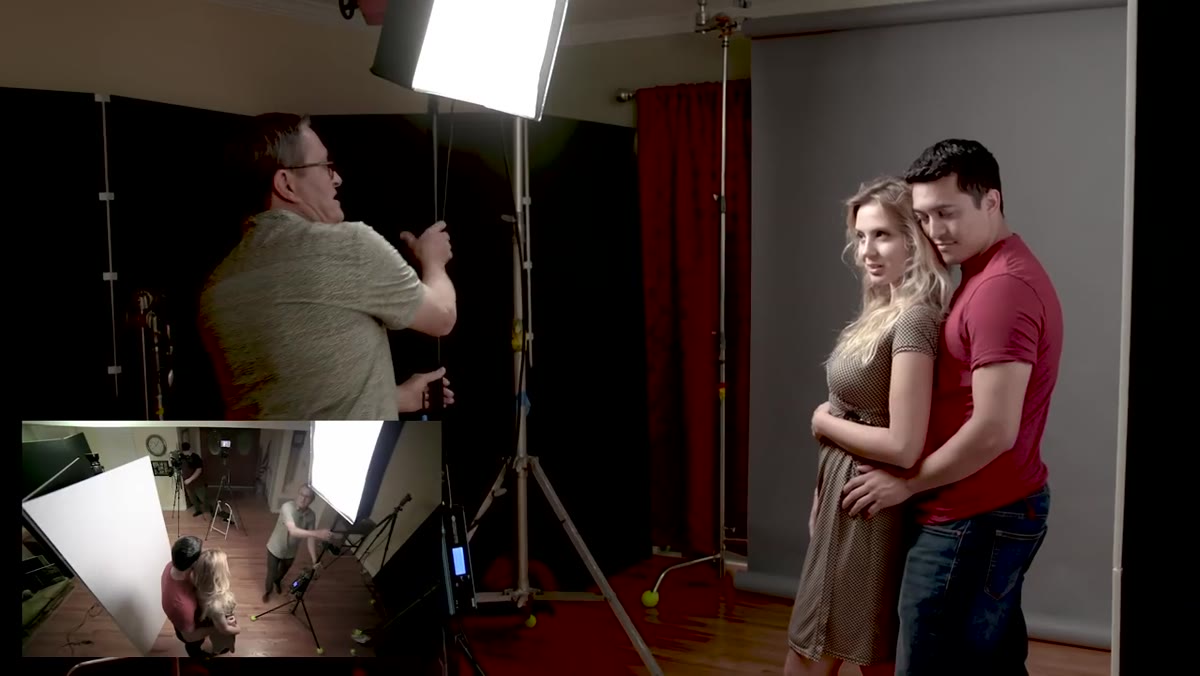
Once your subjects are posed and locked in relative to each other, you can make significant lighting changes simply by orbiting the key light around them rather than asking them to repose. Moving the light from a front position toward a more lateral one shifts a butterfly toward Rembrandt, and then toward a split or profile pattern, all while the subjects hold still.
Key light moving from front position to more lateral position, transitioning Rembrandt to profile lighting
Once your subjects are posed and locked in relative to each other, you can make significant lighting changes simply by orbiting the key light around them rather than asking them to repose. Moving the light from a front position toward a more lateral one shifts a butterfly toward Rembrandt, and then toward a split or profile pattern, all while the subjects hold still.
This is especially useful during a live shoot when you want to offer the client variety without burning time on resets. I typically mark three positions on the studio floor with tape before a couples session: front quarter, side, and rear quarter. I know roughly what pattern each position produces for my standard subject distance and modifier size, so I can move quickly and confidently.
Step 6: Use Profile Positioning for a Graphic, Editorial Look
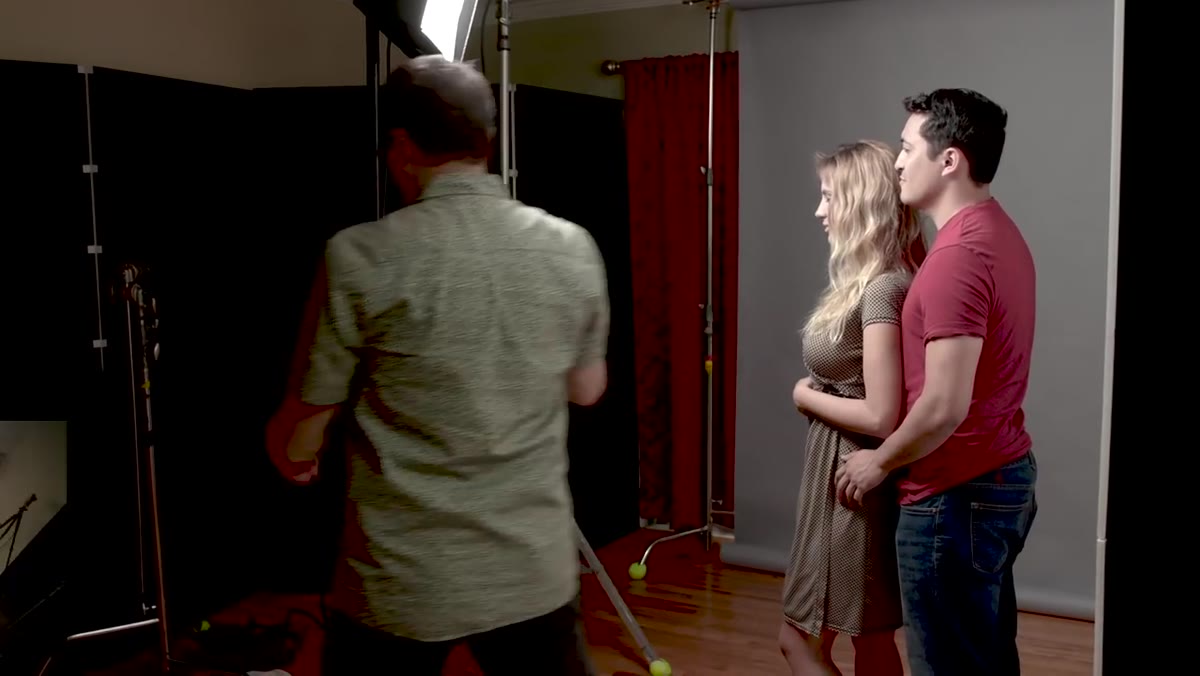 Both subjects in full profile, light coming from behind creating rim separation
When both subjects are turned fully to one side and your key light comes from behind them at roughly a 45-degree angle, you get a rim-lit profile that reads completely differently from anything you produce with a front-facing setup. It is graphic, it is editorial, and it tends to work well when your subjects have strong facial structure.
Both subjects in full profile, light coming from behind creating rim separation
When both subjects are turned fully to one side and your key light comes from behind them at roughly a 45-degree angle, you get a rim-lit profile that reads completely differently from anything you produce with a front-facing setup. It is graphic, it is editorial, and it tends to work well when your subjects have strong facial structure.
Jay uses this as a closing move in the same-direction setup, and it is worth noting that it doubles as an elegant way to solve the height difference problem in many couples pairings. When you are shooting pure profile, relative heights matter less because the stagger in the composition reads as depth rather than disproportion.
What I Would Add: Calibrate Your V-Flat Distance by Skintone
One thing the tutorial does not address explicitly is that V-flat fill distance is not universal. Darker skintones reflect less light back onto the face, so you need to move the V-flat significantly closer to see the same fill effect you would get on a lighter complexion. When I shoot couples with different skintones, I sometimes angle the V-flat slightly so it biases toward whichever face needs more fill. It is a small adjustment, but it prevents you from either blowing out one face or losing the other to shadow while chasing a single “correct” V-flat position.
The single most useful idea in this tutorial is that posing is a lighting decision. The direction your subjects face determines which pattern lands on each face. Solve the pose first, and the light follows naturally. Get that relationship backwards, and you will spend the entire shoot fighting your own setup.
Watch the full tutorial on YouTube and pay particular attention to the moments where Jay makes small head-direction adjustments and calls out which pattern appears as a result. That cause-and-effect thinking is what separates photographers who understand light from photographers who just set it and hope.
Comments (3)
This is the kind of content that keeps me coming back.
Quality content like this is rare. Keep it up.
Great article! I actually covered something related on my site — the retouching angle is really complementary to this.
Leave a Comment