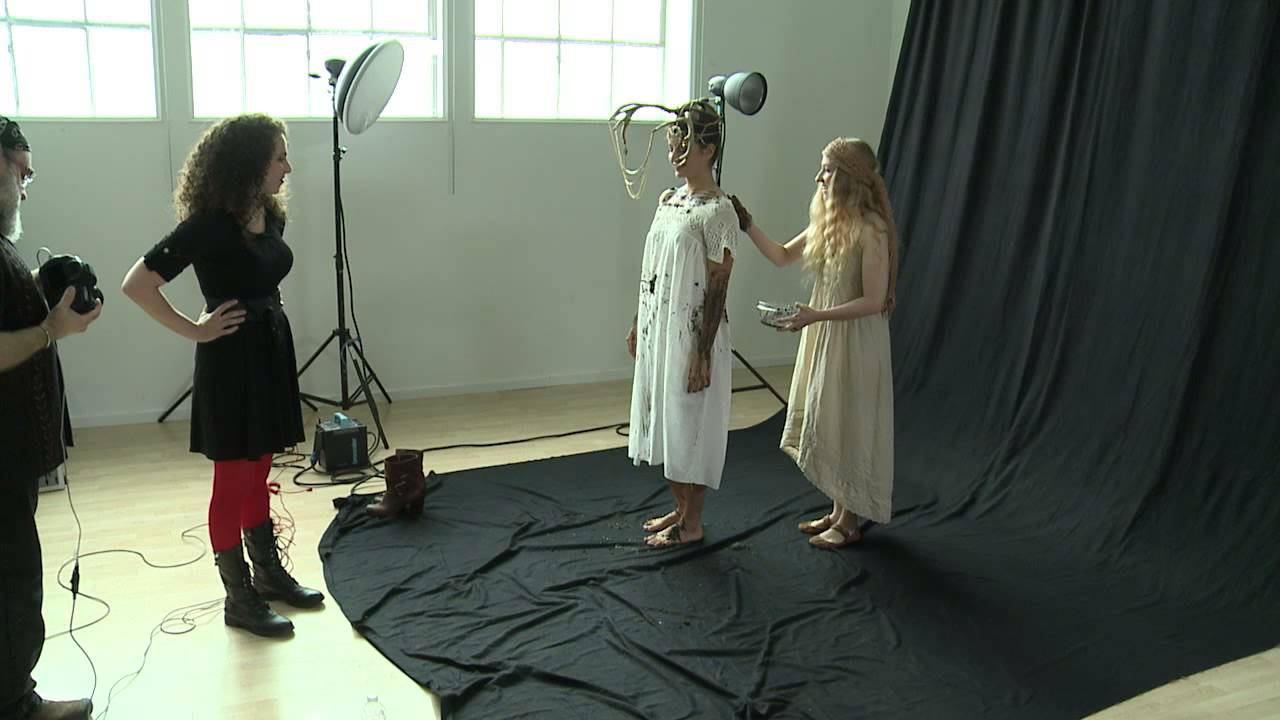
Most posing disagreements I see in studio work come down to one unresolved question: are you photographing a person or a feeling? Fashion posing optimizes the subject. Fine art posing subordinates the subject to a concept. Both are legitimate answers, but mixing them up mid-shoot is where things go sideways. I’ve watched it happen to assistants on my own sets, and I’ve done it myself early on, trying to make a model look great when the brief called for something more unsettling and symbolic.
In this CreativeLive tutorial, Lindsay Adler and Brooke Shaden each photograph the same model wearing the same ornate headpiece, and they make completely opposite decisions about nearly everything. Watch the full tutorial on YouTube before or after reading this breakdown. The contrast between their approaches is where the real lesson lives.
What struck me most was how quickly each photographer identified her own visual language and started filtering every decision through it. Neither one deliberated much. Their processes were automatic because their aesthetics are settled. That kind of clarity is something you build deliberately over years, and watching two people with it operate side by side is genuinely instructive.
Step 1: Establish Your Structural Priorities Before You Touch the Camera
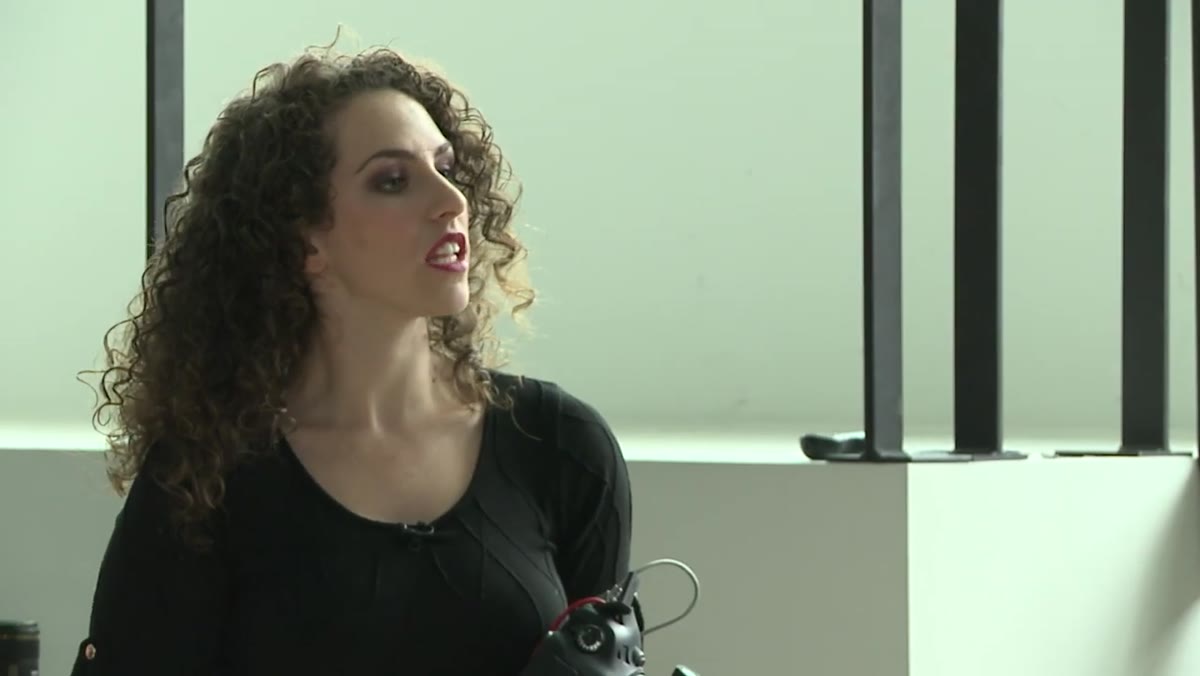 Photographer directing model to sit up straight and lean forward
Lindsay’s first instructions to the model are posture-driven and precise. Sit up straight, lean forward slightly, elongate the neck, chin down a fraction. These aren’t suggestions, they’re engineering decisions. She knows that the headpiece creates vertical mass at the top of the frame, so she needs the neck long and the shoulders controlled to keep the geometry balanced. If you’re shooting editorial with a statement accessory, your first move should always be to identify where the visual weight sits and build the pose around counterbalancing it. In this case, a long neck and a slight forward lean pull the viewer’s eye downward enough to create tension rather than top-heaviness.
Photographer directing model to sit up straight and lean forward
Lindsay’s first instructions to the model are posture-driven and precise. Sit up straight, lean forward slightly, elongate the neck, chin down a fraction. These aren’t suggestions, they’re engineering decisions. She knows that the headpiece creates vertical mass at the top of the frame, so she needs the neck long and the shoulders controlled to keep the geometry balanced. If you’re shooting editorial with a statement accessory, your first move should always be to identify where the visual weight sits and build the pose around counterbalancing it. In this case, a long neck and a slight forward lean pull the viewer’s eye downward enough to create tension rather than top-heaviness.
Step 2: Use Eye Direction to Control Mood and Depth
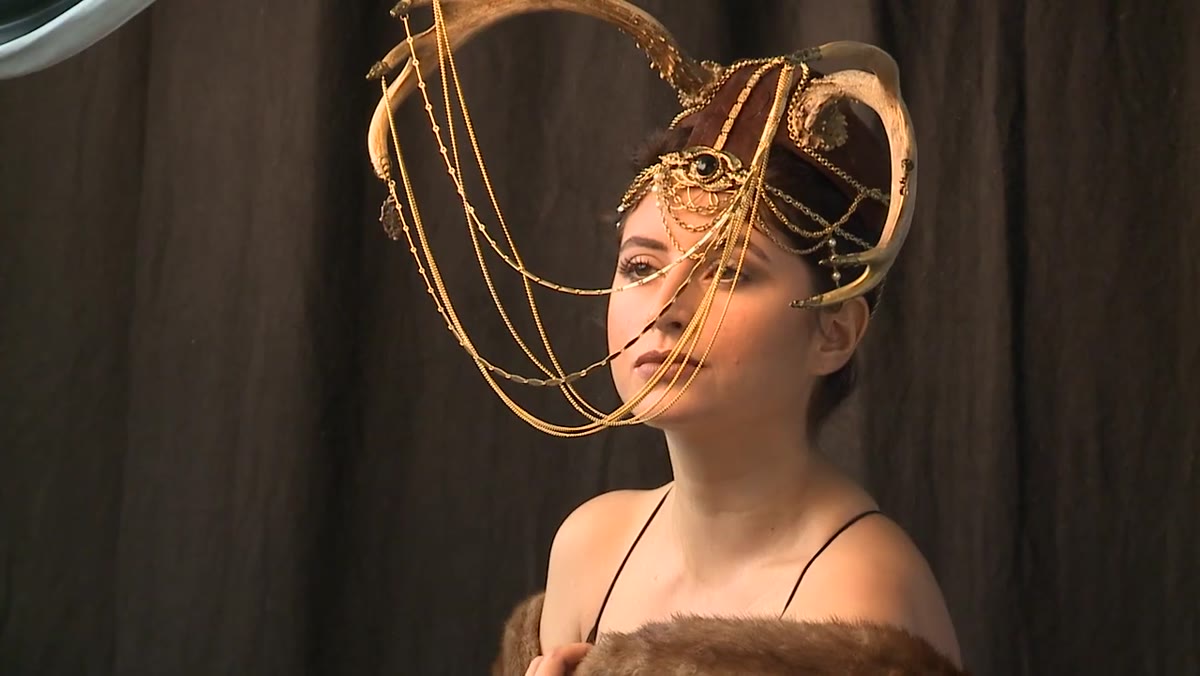 Model’s eyes directed upward while photographer shoots from low angle
Lindsay shoots from a low position and asks the model to look upward. This is a combination you see constantly in high-fashion work because it lengthens the face, creates space between the jaw and the collarbone, and gives the subject an elevated, almost imperious quality that reads well with dramatic accessories. She also asks for eye movement, shifting from upward to direct camera contact, and she’s explicit about wanting both eyes visible in frame. That second point is easy to overlook when you’re excited about a strong profile, but losing one eye in a portrait typically collapses the emotional connection unless the occlusion is deliberate and serves the concept. For fashion, clear eye contact is almost always the safer call.
Model’s eyes directed upward while photographer shoots from low angle
Lindsay shoots from a low position and asks the model to look upward. This is a combination you see constantly in high-fashion work because it lengthens the face, creates space between the jaw and the collarbone, and gives the subject an elevated, almost imperious quality that reads well with dramatic accessories. She also asks for eye movement, shifting from upward to direct camera contact, and she’s explicit about wanting both eyes visible in frame. That second point is easy to overlook when you’re excited about a strong profile, but losing one eye in a portrait typically collapses the emotional connection unless the occlusion is deliberate and serves the concept. For fashion, clear eye contact is almost always the safer call.
Step 3: Switch to Ambient Light and Adjust Exposure Accordingly
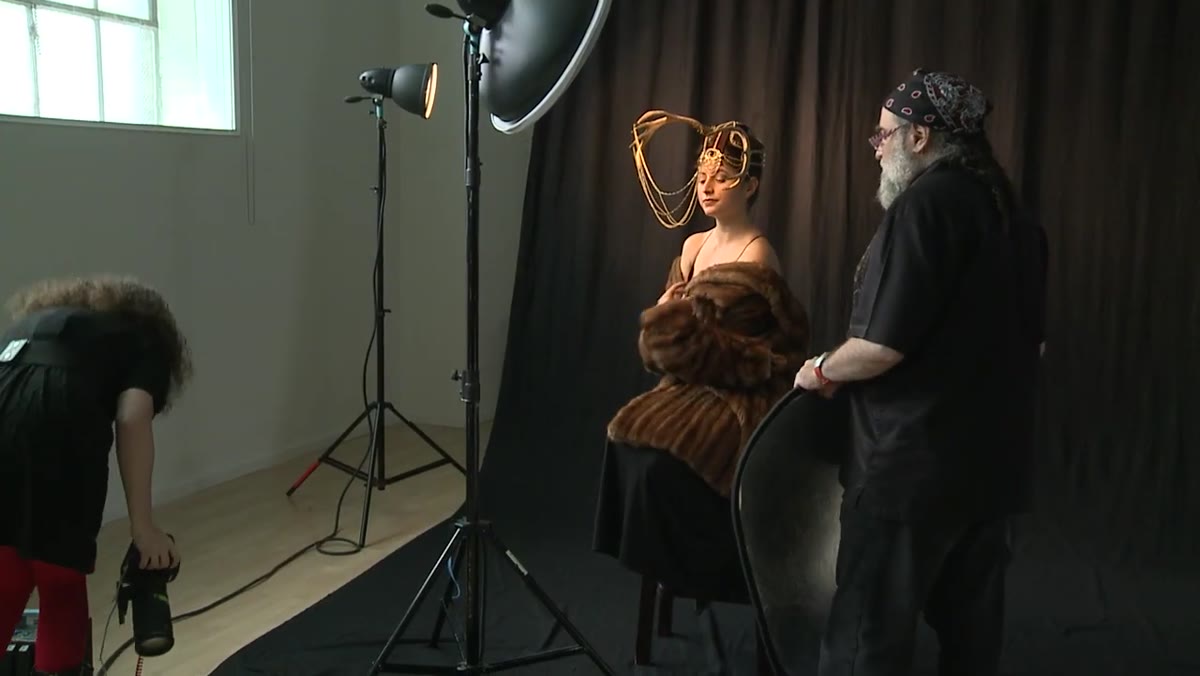 Photographer turning off strobes to shoot with available light
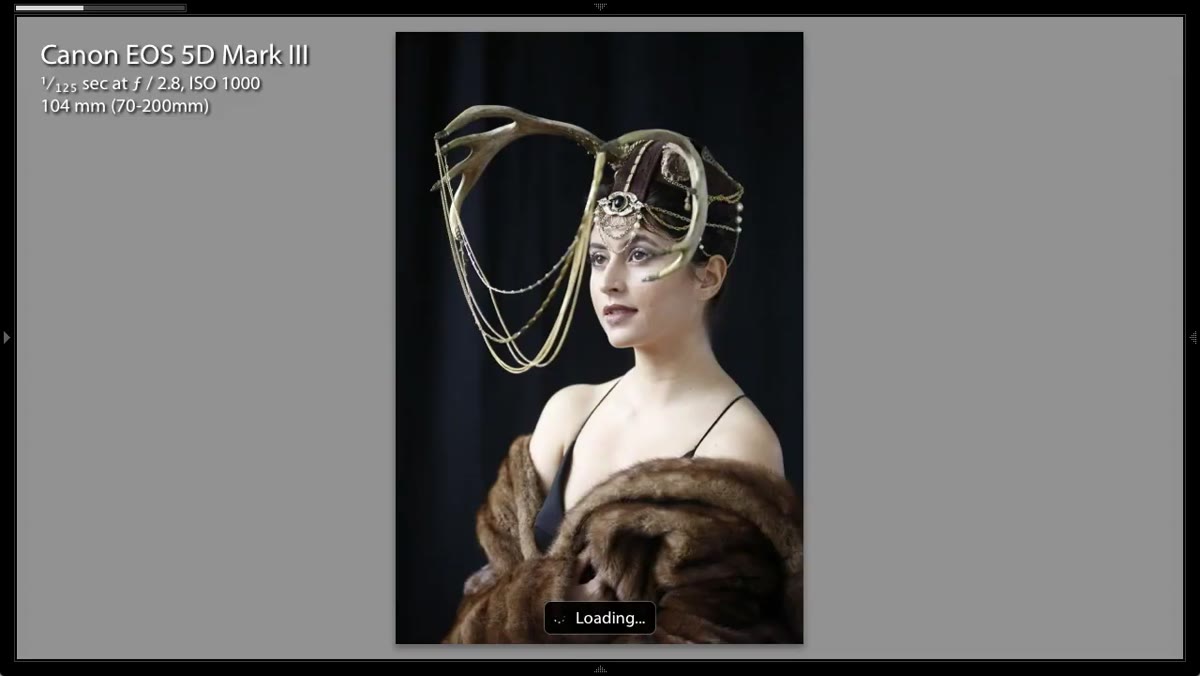
After capturing the strobe-lit frames, Lindsay switches off her strobes and shoots the same pose under ambient light at f/2.8 and ISO 1000. This is a good habit I’ve built into my own workflow on any shoot where the location has interesting natural light. Strobes give you control; ambient light gives you atmosphere. Having both versions in the same session costs you maybe four minutes and regularly gives you options in the edit that you didn’t anticipate on set. The exposure values she lands on, wide aperture and elevated ISO, are appropriate for an interior with moderate natural light. If you’re working in a space with stronger ambient sources, you’d close the aperture or drop the ISO to keep the image from going flat.
Photographer turning off strobes to shoot with available light
After capturing the strobe-lit frames, Lindsay switches off her strobes and shoots the same pose under ambient light at f/2.8 and ISO 1000. This is a good habit I’ve built into my own workflow on any shoot where the location has interesting natural light. Strobes give you control; ambient light gives you atmosphere. Having both versions in the same session costs you maybe four minutes and regularly gives you options in the edit that you didn’t anticipate on set. The exposure values she lands on, wide aperture and elevated ISO, are appropriate for an interior with moderate natural light. If you’re working in a space with stronger ambient sources, you’d close the aperture or drop the ISO to keep the image from going flat.
Step 4: Identify What You Won’t Shoot and Build the Concept Around It
 Brooke Shaden explaining her reaction to the headpiece and her planned approach
When Brooke steps in, her first move is essentially a rejection. She sees the headpiece as a fashion object, which conflicts with her visual language, and rather than trying to make fashion-forward work with a prop she doesn’t connect with, she pivots. She keeps the headpiece but redesigns the entire context around it. This is a more advanced creative decision than it might look. Instead of fighting the prop or ignoring her instincts, she asks what would make this object feel strange and out of place, and she builds toward that. The result is a narrative where the headpiece becomes a symbol of something lost rather than something aspirational. If you’re ever handed a brief element you find visually awkward, this is a more productive question than “how do I make this look good.”
Brooke Shaden explaining her reaction to the headpiece and her planned approach
When Brooke steps in, her first move is essentially a rejection. She sees the headpiece as a fashion object, which conflicts with her visual language, and rather than trying to make fashion-forward work with a prop she doesn’t connect with, she pivots. She keeps the headpiece but redesigns the entire context around it. This is a more advanced creative decision than it might look. Instead of fighting the prop or ignoring her instincts, she asks what would make this object feel strange and out of place, and she builds toward that. The result is a narrative where the headpiece becomes a symbol of something lost rather than something aspirational. If you’re ever handed a brief element you find visually awkward, this is a more productive question than “how do I make this look good.”
Step 5: Use Wardrobe and Texture to Redirect Visual Emphasis
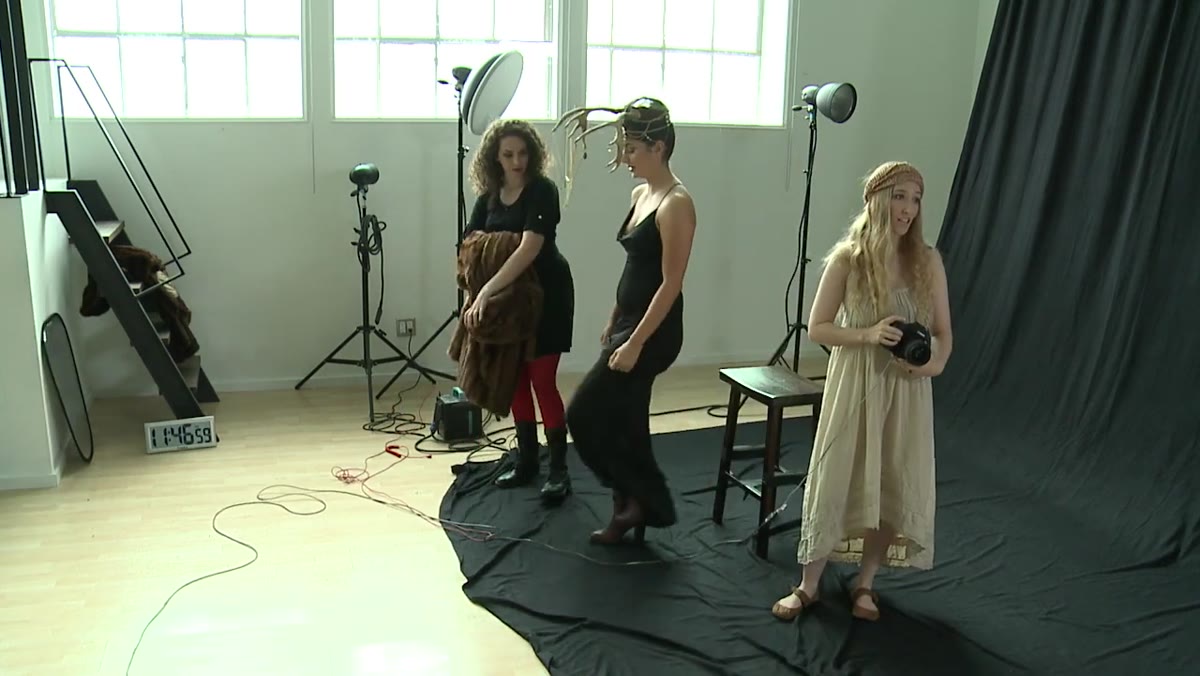 Simple white cotton dress described as replacement for fashion garment
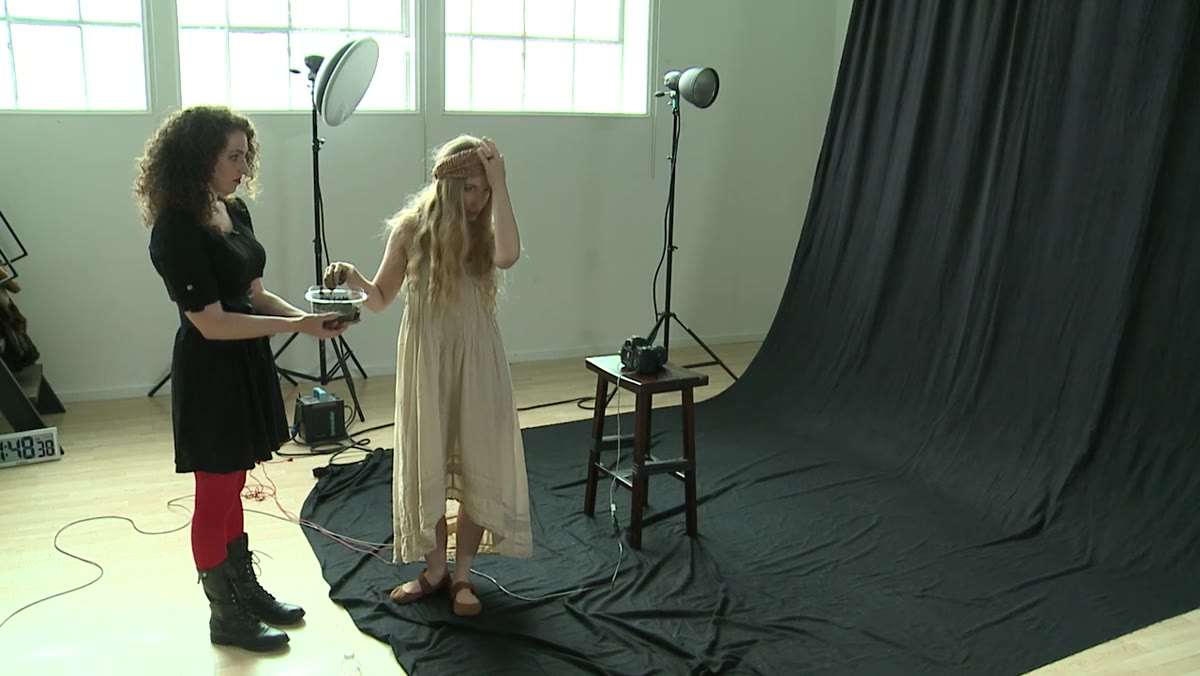
Brooke replaces the fashion garment with a plain white cotton dress and introduces mud as a texture element. Both decisions serve the same goal: pulling emphasis away from the headpiece’s glamour and toward something more elemental and raw. The white dress creates tonal contrast that will separate the subject from a darker environment. The mud adds organic texture that breaks the cleanliness of the silhouette and gives the image a sense of duration, something happened before this moment. In studio and composite work, texture is one of the fastest ways to shift an image from decorative to narrative. It implies time, weather, experience. A clean subject in a clean environment is fashion. A distressed subject in a distressed environment is story.
Simple white cotton dress described as replacement for fashion garment
Brooke replaces the fashion garment with a plain white cotton dress and introduces mud as a texture element. Both decisions serve the same goal: pulling emphasis away from the headpiece’s glamour and toward something more elemental and raw. The white dress creates tonal contrast that will separate the subject from a darker environment. The mud adds organic texture that breaks the cleanliness of the silhouette and gives the image a sense of duration, something happened before this moment. In studio and composite work, texture is one of the fastest ways to shift an image from decorative to narrative. It implies time, weather, experience. A clean subject in a clean environment is fashion. A distressed subject in a distressed environment is story.
Step 6: Design the Pose for the Composite, Not the Studio
 Model directed into a curled, forlorn position on the ground
Brooke plans to photograph the model curled on the ground, hands raised toward the headpiece, body low and compressed. She also mentions that she intends to drop this image into a forest environment in post, the same technique she described in an earlier segment. This is composite thinking applied to posing, and it matters. The position she’s asking for only makes sense in context. A figure curled on bare studio floor looks arbitrary. The same figure placed in undergrowth reads as grief, exhaustion, displacement. If you’re shooting for composite work, pose for the final frame, not the literal one in front of you.
Model directed into a curled, forlorn position on the ground
Brooke plans to photograph the model curled on the ground, hands raised toward the headpiece, body low and compressed. She also mentions that she intends to drop this image into a forest environment in post, the same technique she described in an earlier segment. This is composite thinking applied to posing, and it matters. The position she’s asking for only makes sense in context. A figure curled on bare studio floor looks arbitrary. The same figure placed in undergrowth reads as grief, exhaustion, displacement. If you’re shooting for composite work, pose for the final frame, not the literal one in front of you.
What I’d Add From My Own Studio Practice
The thing neither photographer addresses directly, because they’re both operating instinctively, is the value of writing the concept down before you start directing. I keep a lighting journal where I sketch setups and note the emotional intent of each shoot. On fine art work especially, having even one sentence of concept written out before the model steps in front of the camera changes how you give direction. “She is a deer princess, forlorn and muddied” sounds almost silly, but it gives the model something to inhabit and gives you a clear filter for every posing choice. Does this position serve that sentence? If not, adjust. It’s faster than improvising your way toward a mood.
The clearest takeaway here is that posing decisions are concept decisions first and technique decisions second. Lindsay knows she’s making a fashion image, so she optimizes for elegance, proportion, and eye contact. Brooke knows she’s making a fine art image, so she optimizes for narrative, texture, and emotion. They’re not using different skills so much as different filters. Once your own aesthetic is settled, your posing instincts follow.
Watch the full tutorial on YouTube to see both photographers work through the full sequence in real time. Watching the contrast unfold side by side is worth more than reading about it.
Comments (2)
I keep coming back to this article. It's that useful.
Applied this to my portfolio shots and the improvement is noticeable.
Leave a Comment