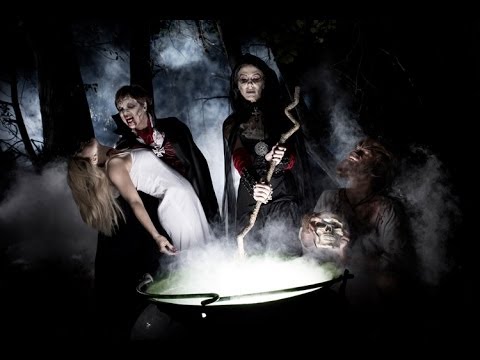
Halloween shoots are not my usual territory. My week typically involves a beauty brand’s new serum, a corporate headshot marathon, or a fashion editorial where the biggest drama is a wardrobe change. But atmospheric night lighting outdoors, with practical effects and monstrous characters? That’s a completely different problem set, and one I have embarrassingly little experience solving. When I stumbled across JP Morgan’s advanced night lighting tutorial from The Slanted Lens, I watched it three times, then opened my lighting journal and started sketching.
Watch the full tutorial on YouTube
What grabbed me wasn’t the Halloween theme. It was the underlying technique: using a powerful backlight to illuminate smoke as a primary scene-setter, then layering practical and strobe lights onto subjects within that atmosphere. That’s a framework I can translate directly to moody editorial work, theatrical portraits, even high-end product shoots where I want depth and dimensionality in the background. The specific problem this tutorial solves is one I’ve felt on location before: how do you light an environment, not just a subject? JP Morgan answers that question in a woods ravine at night with three horror-makeup characters, and the answer is instructive regardless of what you’re shooting.
The shoot was genuinely difficult. Poison oak, remote location, generator haul, and a makeup artist working on three complex characters simultaneously. JP is transparent about what went wrong and why. That honesty is where the real teaching lives.
Step 1: Establish Your Backlight First
 Dite 1600W pack positioned far back, lighting smoke
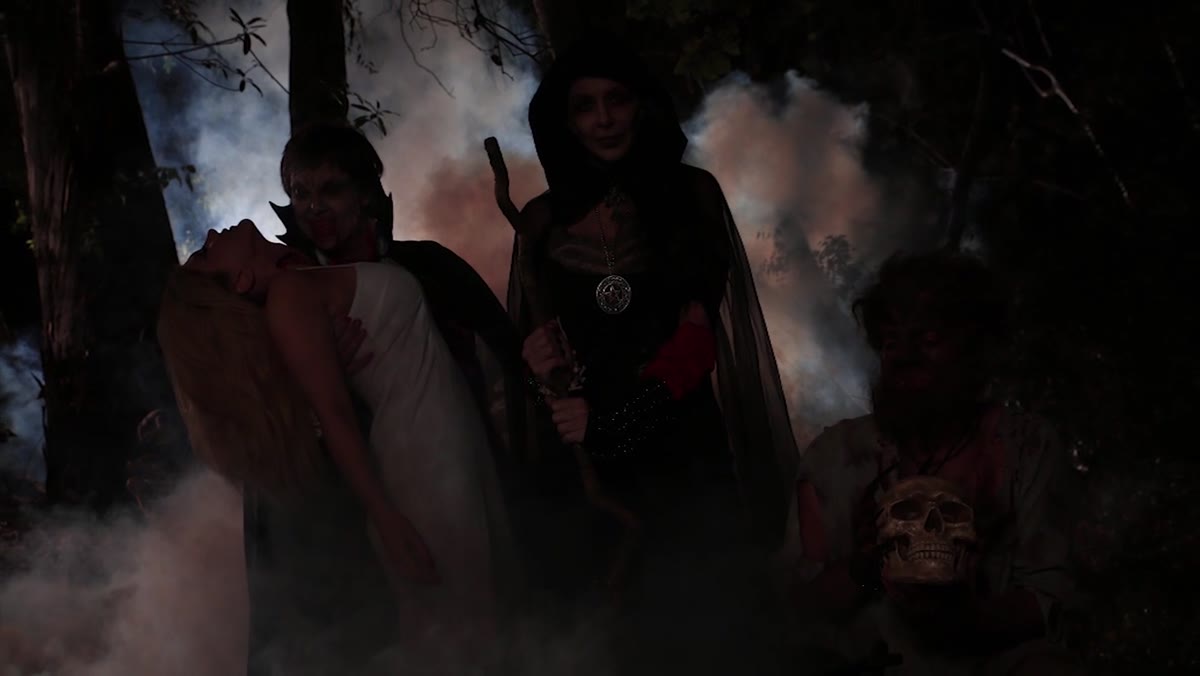
The first light placed on this shoot was not aimed at the subjects. It was aimed at the scene itself. JP used a Dite 1600W pack with a single travel head, positioned well back from the set and pointed toward the action. A travel head doesn’t require an additional reflector, which matters when you’re hauling gear through a ravine. The purpose of this light is to illuminate the smoke from behind, creating a luminous, layered background that reads as depth on camera.
Dite 1600W pack positioned far back, lighting smoke
The first light placed on this shoot was not aimed at the subjects. It was aimed at the scene itself. JP used a Dite 1600W pack with a single travel head, positioned well back from the set and pointed toward the action. A travel head doesn’t require an additional reflector, which matters when you’re hauling gear through a ravine. The purpose of this light is to illuminate the smoke from behind, creating a luminous, layered background that reads as depth on camera.
The lesson here is sequencing. Before you touch your subject lighting, you need a canvas. In studio work, I think of this as the difference between painting a subject on black versus painting them on a textured background. The backlight defines the world your subjects exist in. Get it right before anything else moves forward.
Step 2: Add Practical Light from Inside the Scene
 Light placed inside the cauldron, glowing upward
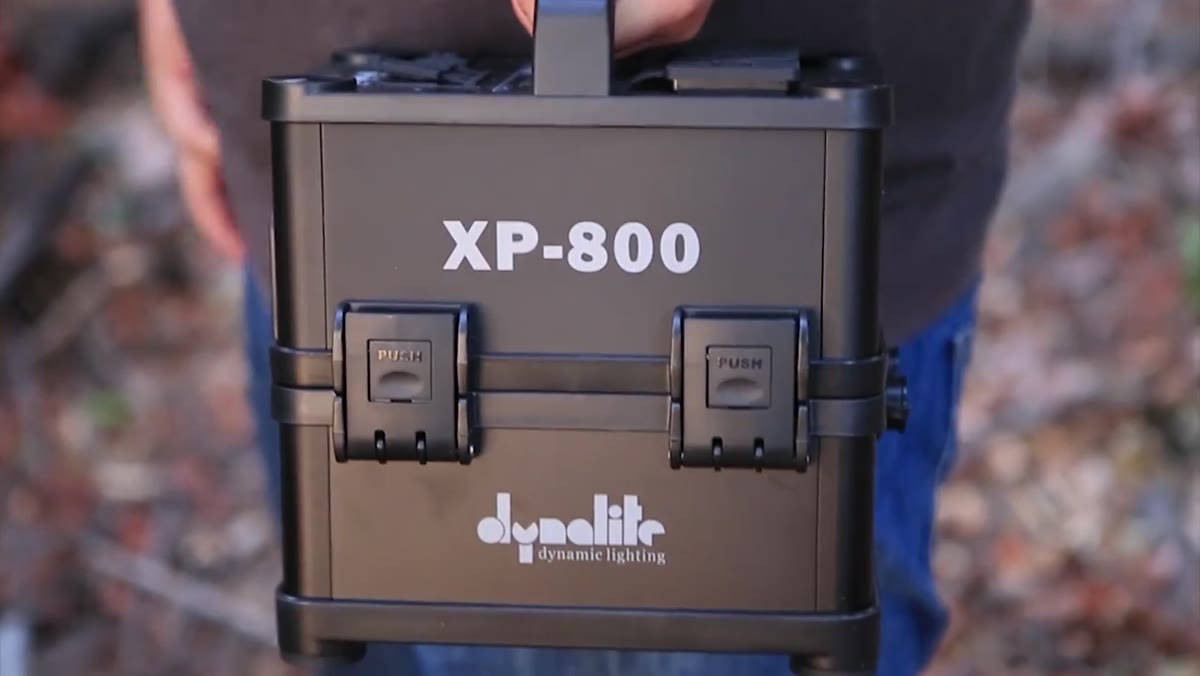
Once the backlight was established, a light was added inside the cauldron that the characters surround. This is a practical motivation light, meaning it mimics a light source that exists within the story of the image. The cauldron glows, so the light inside it gives that glow photographic credibility and actually illuminates the subjects from below.
Light placed inside the cauldron, glowing upward
Once the backlight was established, a light was added inside the cauldron that the characters surround. This is a practical motivation light, meaning it mimics a light source that exists within the story of the image. The cauldron glows, so the light inside it gives that glow photographic credibility and actually illuminates the subjects from below.
This is where underlighting earns its name. Light coming from below a face does something deeply unsettling to human features, which is exactly what you want for horror. In a studio context, I use this same technique for dramatic fashion work, placing a small light at low angle to carve shadows upward. The difference in night exterior work is that the practical source gives you a reason for the light to exist. That justification matters compositionally.
Step 3: Manage Smoke as a Lighting Element, Not Just a Prop
 Thick smoke filling the ravine, obscuring the scene
Smoke is not decoration. It is a light-scattering medium, and how you position it relative to your backlight determines whether your image looks like a moody horror film or a confused grey mess. JP’s hard lesson here is about airflow. He positioned his smoke machine at the top of the ravine, which sent smoke directly toward the camera. What you actually want is thick smoke in the background fading to a lighter haze as it approaches the lens.
Thick smoke filling the ravine, obscuring the scene
Smoke is not decoration. It is a light-scattering medium, and how you position it relative to your backlight determines whether your image looks like a moody horror film or a confused grey mess. JP’s hard lesson here is about airflow. He positioned his smoke machine at the top of the ravine, which sent smoke directly toward the camera. What you actually want is thick smoke in the background fading to a lighter haze as it approaches the lens.
The correct approach, which he identifies after the struggle, is to place the smoke source as far upwind and upstage as possible, letting it drift into the scene gradually. You want the light to catch the smoke from behind, not illuminate a wall of grey fog between your lens and your subjects. In a controlled studio environment with a smoke machine, I always diffuse it into the back third of the set first, then fan it gently forward. Outside, you are at the mercy of wind, which is why location scouting needs to include a serious look at airflow, not just visual composition.
Step 4: Use the Right Smoke for the Context
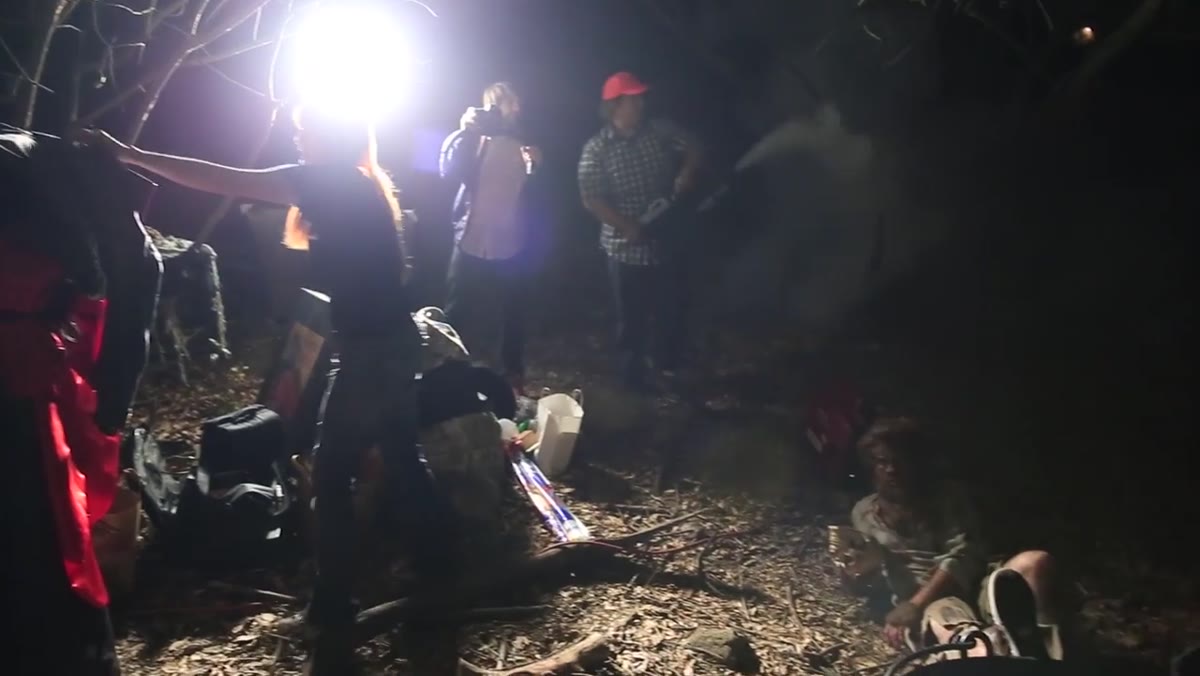 Switching to stage and studio smoke machine
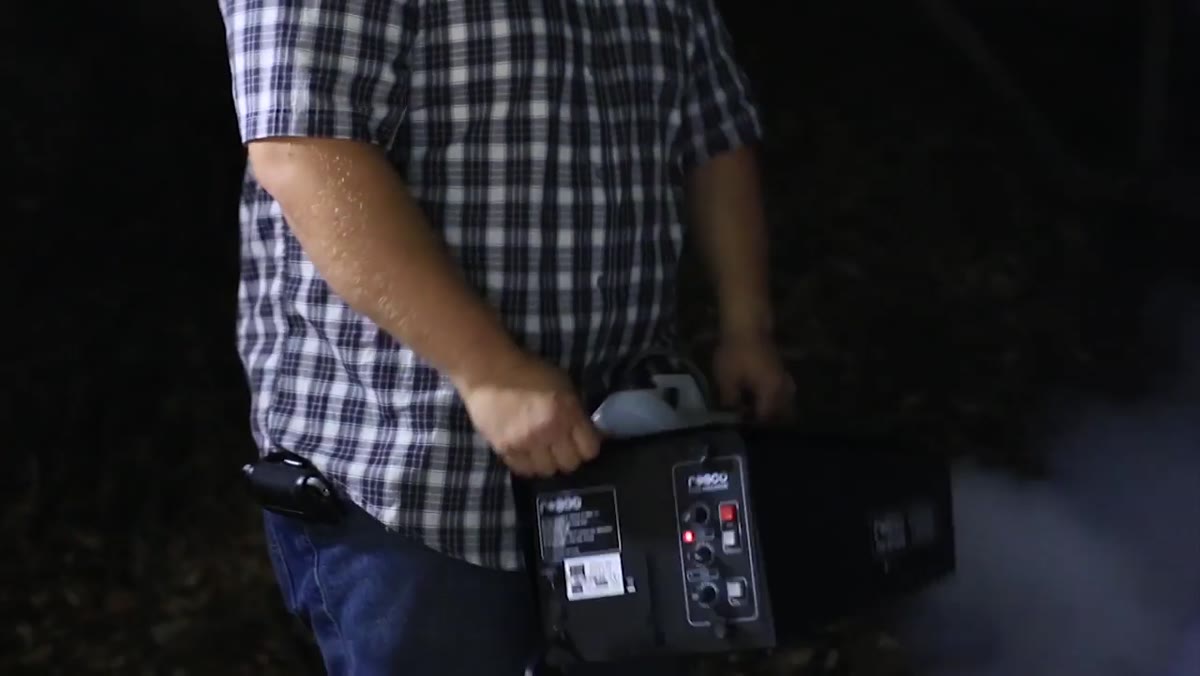
When the original smoke machine started pushing fog into a neighbor’s yard, the production switched to a stage and studio smoke formula. This type of smoke dissipates significantly faster than standard fog fluid. It hangs briefly, gives you your atmospheric look, then clears without drifting far from the source.
Switching to stage and studio smoke machine
When the original smoke machine started pushing fog into a neighbor’s yard, the production switched to a stage and studio smoke formula. This type of smoke dissipates significantly faster than standard fog fluid. It hangs briefly, gives you your atmospheric look, then clears without drifting far from the source.
For location work, this is the responsible and practical choice. Standard fog can travel 50 feet or more depending on wind. Studio smoke stays closer to where you deploy it and gives you more control over density. I keep a note in my kit list now: for any exterior shoot requiring atmosphere, bring the fast-dissipating formula and budget extra time for multiple smoke passes rather than trying to maintain a constant cloud.
Step 5: Pose Characters for Depth and Silhouette Readability
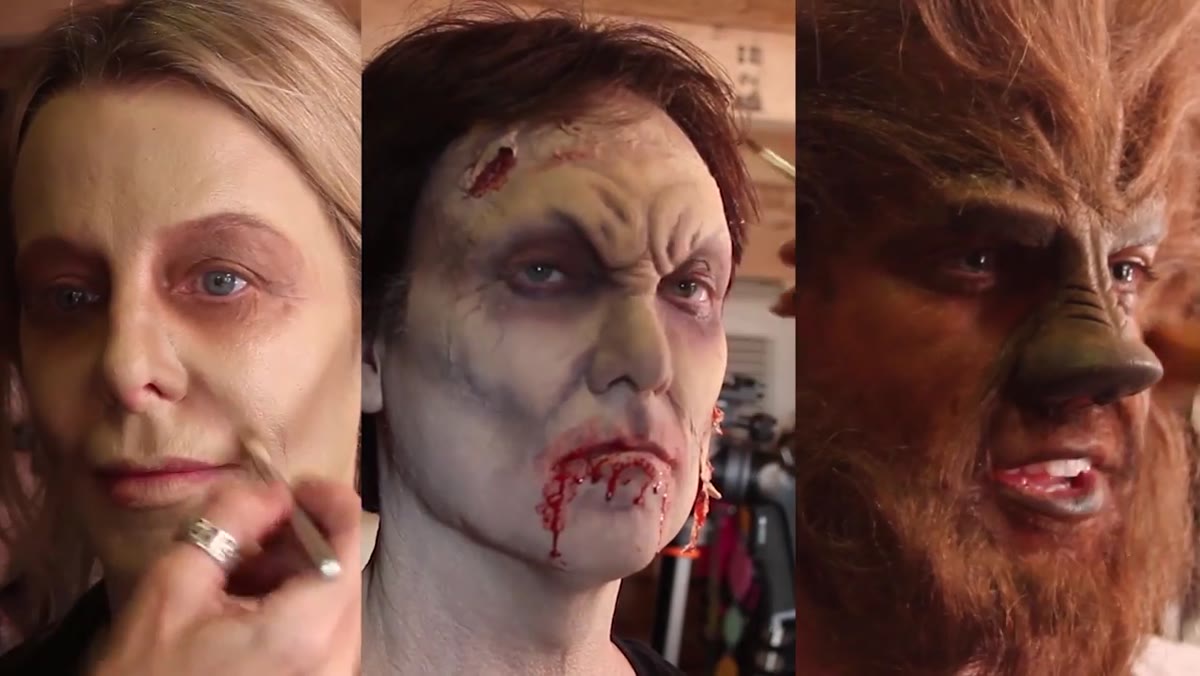 Three characters positioned in the ravine, makeup complete
With the backlight establishing the environment and the cauldron light providing underlighting, the character placement had to serve both light sources simultaneously. JP positioned the three subjects around the cauldron so the underlight hit all three faces from below, while the backlight rimmed their figures against the smoky background. The result reads as a single coherent scene rather than three separately lit subjects.
Three characters positioned in the ravine, makeup complete
With the backlight establishing the environment and the cauldron light providing underlighting, the character placement had to serve both light sources simultaneously. JP positioned the three subjects around the cauldron so the underlight hit all three faces from below, while the backlight rimmed their figures against the smoky background. The result reads as a single coherent scene rather than three separately lit subjects.
For posing within atmospheric lighting like this, silhouette clarity is everything. Each figure needs to be readable as a separate shape against the background. Overlapping figures flatten the image and kill the depth the backlight is working hard to create. I think of it as blocking for theatre: every character needs their light, and no one should swallow anyone else’s outline.
What I’d Do Differently in a Studio Version
Taking this setup into a controlled studio environment removes the smoke and wind variables, but it introduces a new problem: artificial atmosphere needs motivation. In my studio, I would use a large seamless or textured backdrop, hit it with a gridded strobe from behind a semi-transparent scrim at distance, and use a hazer set to low output on a timer for intermittent atmosphere passes. The cauldron light translates directly, or I’d substitute a small RGB LED panel set to a deep orange or green depending on the character.
The one thing I consistently add that JP doesn’t discuss here is a subtle edge light from above at roughly 45 degrees off-axis. In outdoor conditions, the tree canopy and environmental bounce handle this naturally. In studio you lose that ambient fill entirely, so faces can go too dark on the side opposite the underlight. A dimmed kicker from above solves this without destroying the underlighting effect.
The single most important idea in this entire tutorial is deceptively simple: light the environment before you light the subject. Everything else, the smoke management, the underlighting, the practical source motivation, is built on that foundation. Get your canvas first.
Watch the full tutorial on YouTube to see JP Morgan work through the full shoot in real time, including how they adapted when conditions kept changing. The behind-the-scenes honesty alone is worth the watch.
Comments (1)
I've watched a dozen tutorials on this and yours is the clearest by far.
Leave a Comment