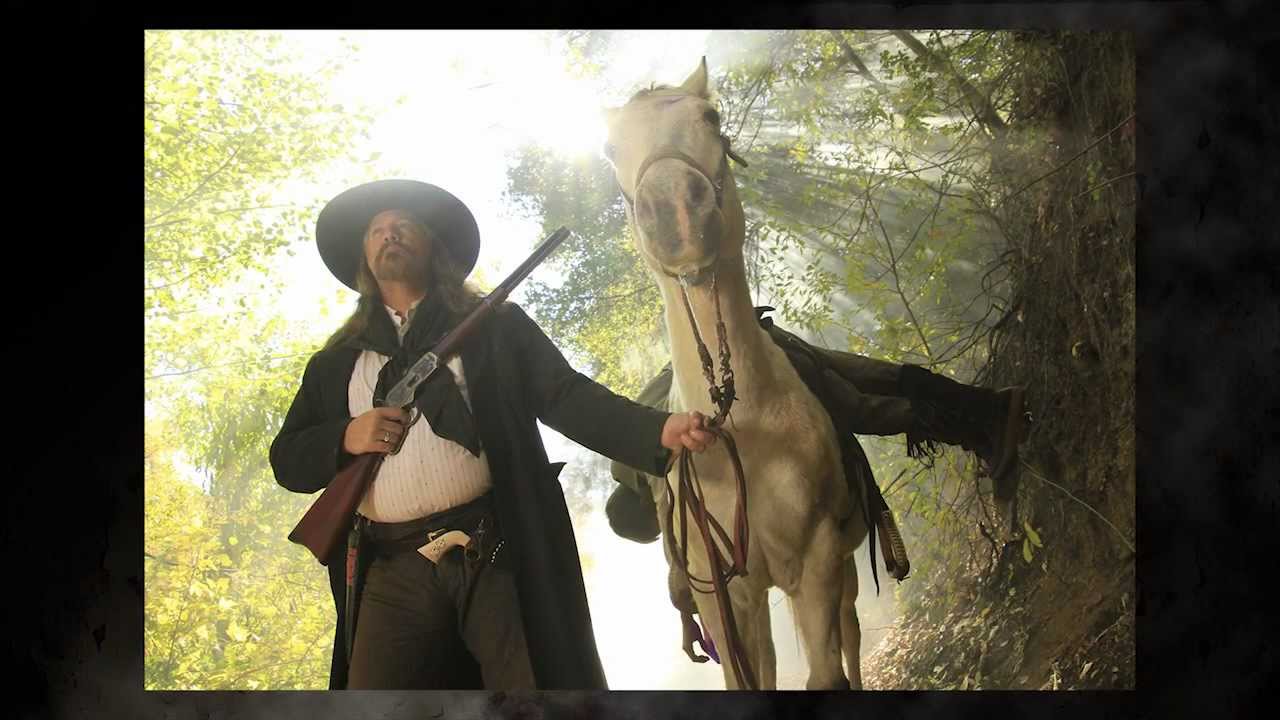
Smoke is one of those tools I kept seeing in other photographers’ work and assuming required either a massive production budget or a lucky day with natural fog. Neither is true. What it actually requires is a fog machine, a little DIY ducting, and a clear understanding of where your light needs to be relative to the smoke. I’ve sketched more than a few smoke setups in my lighting journal over the years, but I never felt like I had a reliable, repeatable system until I watched JP Morgan work through the problem on camera.
In this The Slanted Lens tutorial, Watch the full tutorial on YouTube, JP tackles smoke from two angles: using it as a background simplifier that lets a subject silhouette cleanly against a wall of diffused light, and using it as a medium that makes sunbeams visible as a rider moves through a tree-lined trail. Both applications solve a real problem I run into on location shoots, which is an environment that’s too busy, too flat, or both. Smoke fixes both at once if you control it properly.
The part of this tutorial that changed how I think about smoke is the ducting system. Most of us just point the fog machine at the set and hope. JP’s approach gives you actual control over where the smoke lands, how much comes out, and how far away the machine sits from your talent. That last point matters more than it sounds.
Step 1: Build the Ducting System Before You Shoot
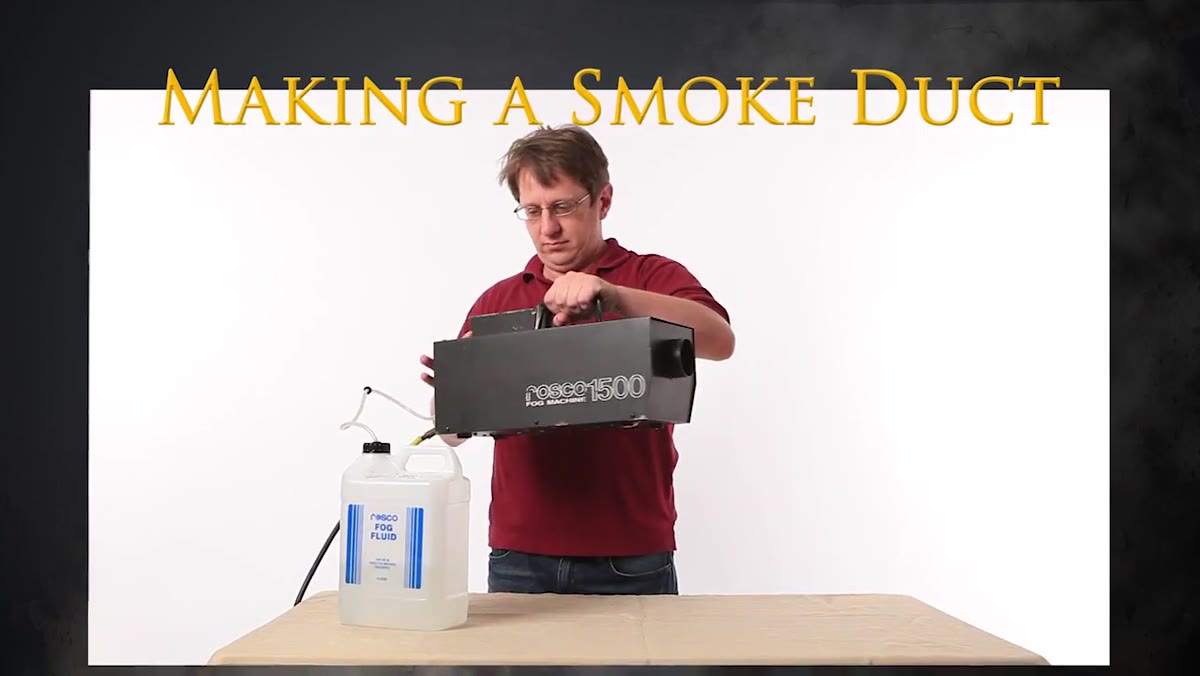 Assembling the PVC adapter and dryer hose components
The core of this whole approach is a custom ducting rig that routes smoke from the machine to wherever you actually need it on set. The materials are not exotic: a squirrel cage fan, a 24-inch flexible dryer hose, a small piece of quarter-inch wire screen, hose clamps in two sizes (4-inch and 3-inch), a PVC 4-inch plumbing adapter, metal duct tape, and a 4-inch 45-degree drain pipe elbow. The only tools you need are a screwdriver and pliers or metal snips.
Assembling the PVC adapter and dryer hose components
The core of this whole approach is a custom ducting rig that routes smoke from the machine to wherever you actually need it on set. The materials are not exotic: a squirrel cage fan, a 24-inch flexible dryer hose, a small piece of quarter-inch wire screen, hose clamps in two sizes (4-inch and 3-inch), a PVC 4-inch plumbing adapter, metal duct tape, and a 4-inch 45-degree drain pipe elbow. The only tools you need are a screwdriver and pliers or metal snips.
The fan is the one item worth spending real money on. JP is specific about this: you want something with an adjustable output, not a fixed-speed unit. A fan running at 70 cubic feet per minute will push smoke back up the pipe in both directions, which defeats the whole purpose. Something closer to 10 cubic feet per minute, or ideally a variable-speed unit you can dial in, gives you the flow control that makes the technique work.
Step 2: Assemble the Screen Collar at the Smoke Machine Nozzle
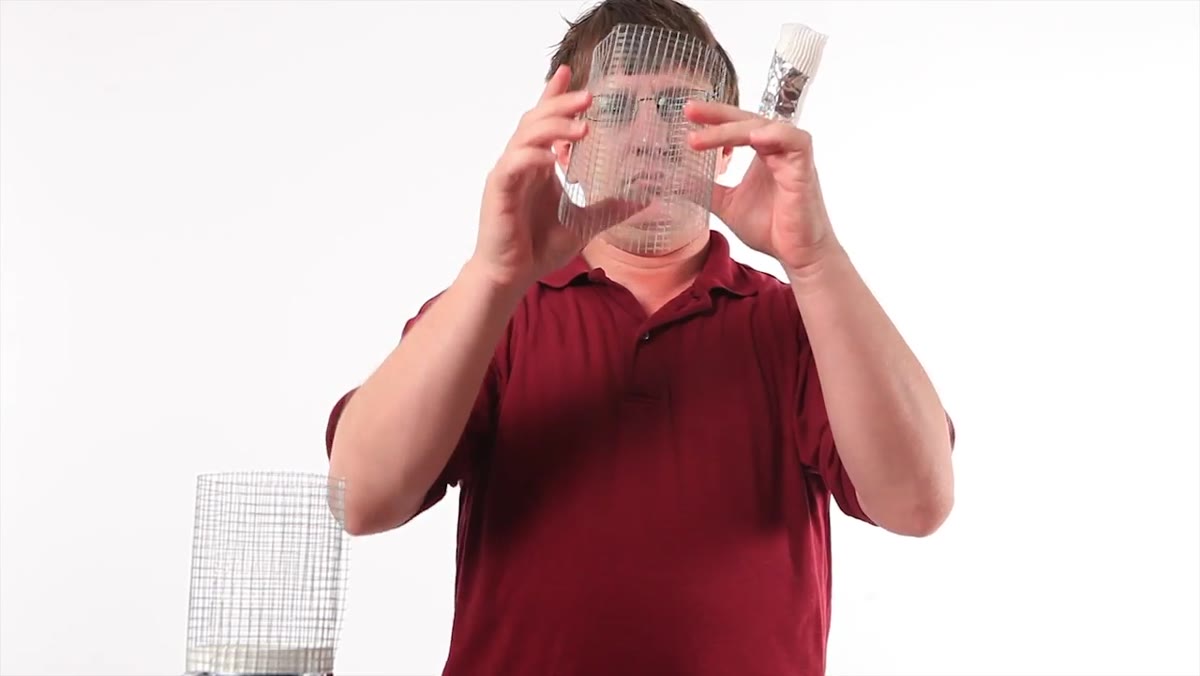 Rolling wire screen into a tube around the PVC adapter nose
Cut a piece of the wire screen into a rectangle roughly 6 by 18 inches, then roll it into a tube that slides over the 4-inch end of the PVC adapter. This collar attaches to the smoke machine nozzle with the smaller hose clamp. Cut three small slits into the end of the screen tube so it can compress down and grip nozzles of slightly different diameters.
Rolling wire screen into a tube around the PVC adapter nose
Cut a piece of the wire screen into a rectangle roughly 6 by 18 inches, then roll it into a tube that slides over the 4-inch end of the PVC adapter. This collar attaches to the smoke machine nozzle with the smaller hose clamp. Cut three small slits into the end of the screen tube so it can compress down and grip nozzles of slightly different diameters.
The reason this gap matters: if you connect the dryer hose directly to the smoke machine with no air gap, the smoke condenses back into liquid inside the pipe and you end up with a mess and very little actual smoke output. The screen collar lets ambient air mix with the smoke as it enters the hose, keeping it in vapor form all the way to the set. This is one of those small engineering details that makes the difference between a rig that works and one that wastes your fluid.
Step 3: Connect the Hose, Fan, and 45-Degree Elbow
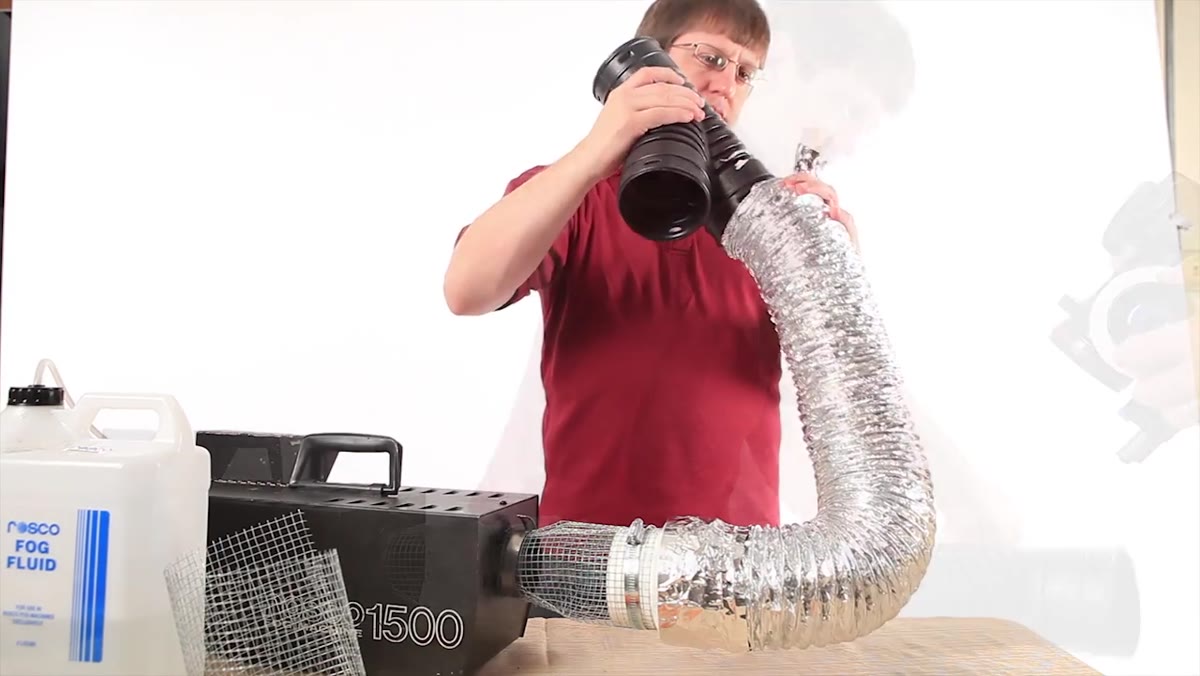 Attaching dryer hose to PVC adapter with aluminum duct tape
Cut the dryer hose to about 4 feet for the section between the smoke machine and the 45-degree elbow, then tape it to the PVC adapter with aluminum duct tape. Tape the 45-degree drain pipe to the other end of that hose section. The fan attaches to the side outlet of the elbow, pointed in the direction you want smoke to travel. The long run of dryer hose - which you can extend to whatever length the set requires - connects to the final opening of the elbow.
Attaching dryer hose to PVC adapter with aluminum duct tape
Cut the dryer hose to about 4 feet for the section between the smoke machine and the 45-degree elbow, then tape it to the PVC adapter with aluminum duct tape. Tape the 45-degree drain pipe to the other end of that hose section. The fan attaches to the side outlet of the elbow, pointed in the direction you want smoke to travel. The long run of dryer hose - which you can extend to whatever length the set requires - connects to the final opening of the elbow.
Once everything is sealed with duct tape, you can route that long hose anywhere on the set without dragging the machine with you. This is what makes the system genuinely useful on a real shoot. You’re not repositioning a bulky fog machine every time the camera angle changes.
Step 4: Position the Smoke as a Background Wall for Silhouettes
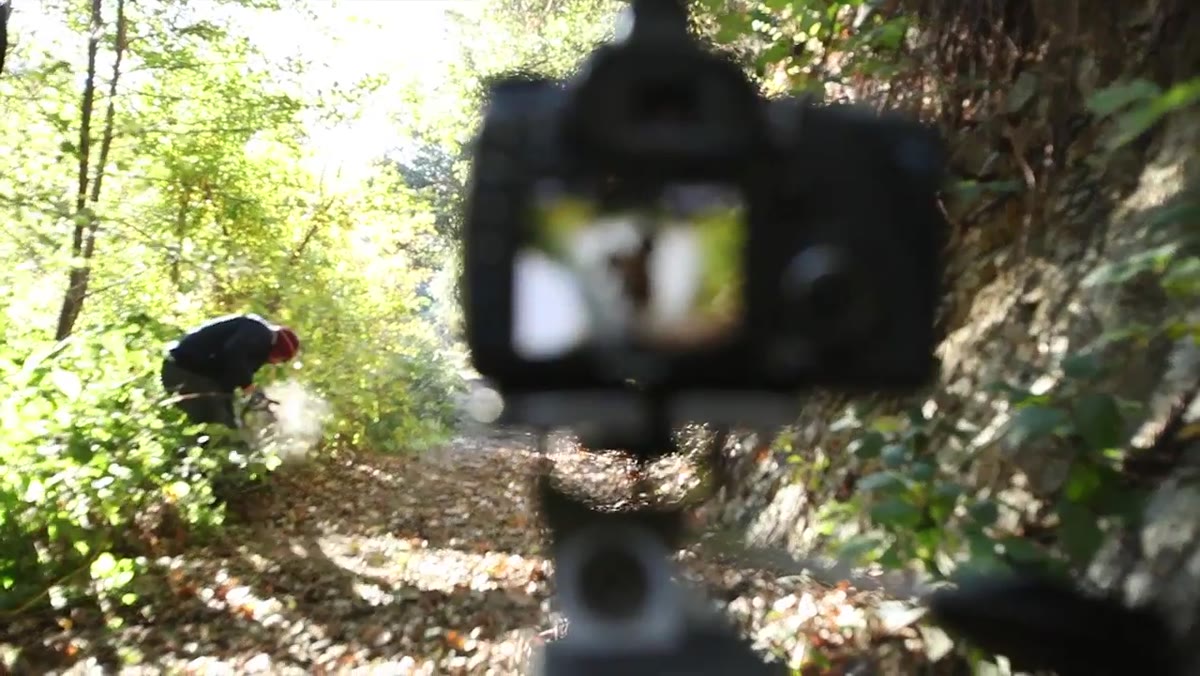 Smoke filling trail background behind mounted rider
The first lighting application is the one I’d reach for most often: use the smoke to create a simplified, luminous background that makes your subject read as a clean silhouette. JP places the smoke down the trail ahead of the rider and uses a 2,400 watt-second strobe head positioned behind the smoke wall, pointing back toward camera. That backlight illuminates the smoke itself, turning it into a soft, glowing plane.
Smoke filling trail background behind mounted rider
The first lighting application is the one I’d reach for most often: use the smoke to create a simplified, luminous background that makes your subject read as a clean silhouette. JP places the smoke down the trail ahead of the rider and uses a 2,400 watt-second strobe head positioned behind the smoke wall, pointing back toward camera. That backlight illuminates the smoke itself, turning it into a soft, glowing plane.
The key technical note here is that the strobe is only doing the work during the early part of the shoot. Once the sun climbs and its intensity increases, the strobe gets switched off and the sun takes over as the backlight source. You need to know at what point in the morning that crossover happens at your specific location. On location jobs I always shoot a test exposure at the start of each session so I know exactly how fast ambient light is building.
Step 5: Add a Beauty Dish to Separate the Subject From the Smoke
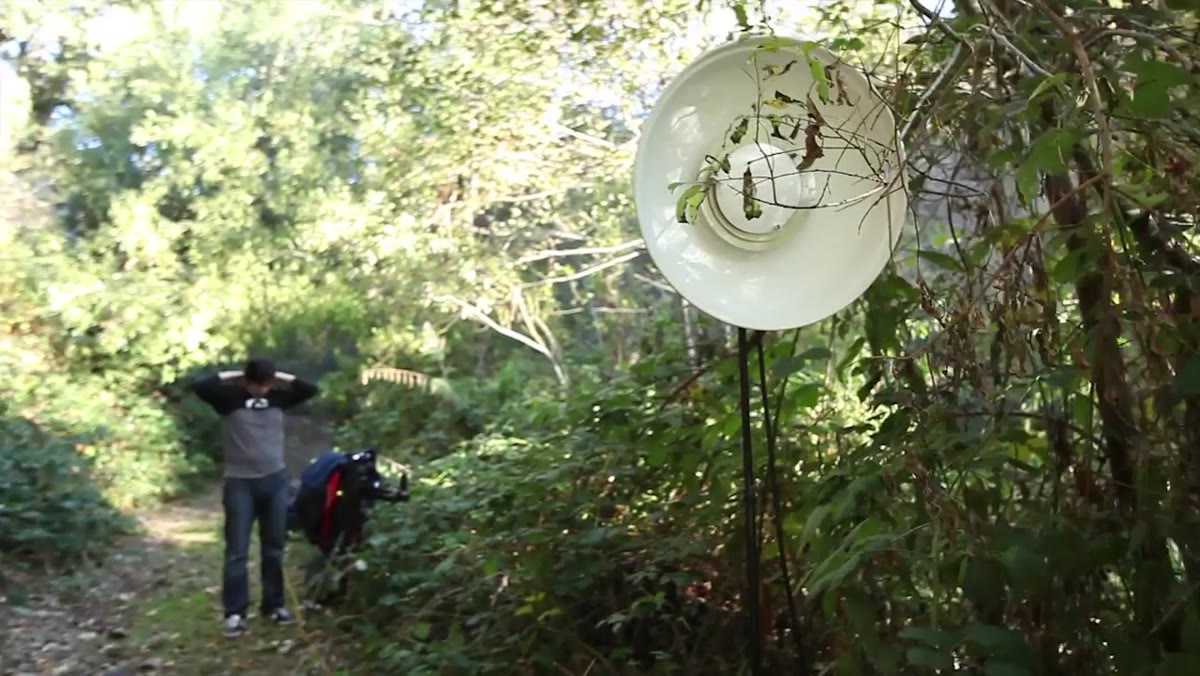 Assistant following rider with gridded beauty dish on face
Once JP switches from pure silhouette mode to a more lit portrait approach, he adds a beauty dish with a grid. An assistant tracks the rider with it, keeping the light on the subject’s face as he moves through the frame. The grid is doing important work here: it prevents the beauty dish from spilling onto the smoke behind the subject, which would flatten the whole image.
Assistant following rider with gridded beauty dish on face
Once JP switches from pure silhouette mode to a more lit portrait approach, he adds a beauty dish with a grid. An assistant tracks the rider with it, keeping the light on the subject’s face as he moves through the frame. The grid is doing important work here: it prevents the beauty dish from spilling onto the smoke behind the subject, which would flatten the whole image.
Without the grid, the beauty dish illuminates the smoke evenly around the rider’s head and you lose the sense of depth that makes these images feel dimensional. The grid keeps the light column tight and directional, so the face pops forward against the darker, more neutral smoke behind it.
Step 6: Use Direct Sun as a Backlight for Visible Sun Rays
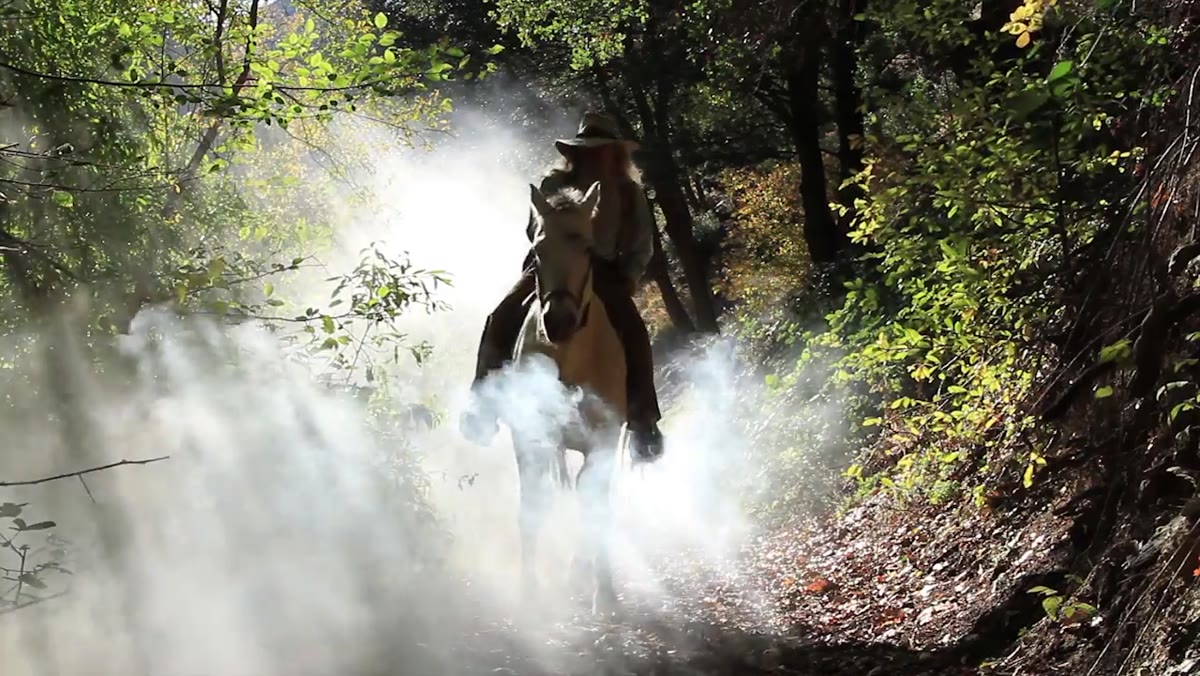 Sun positioned behind trees, rays visible through smoke
The final setup is the one that looks most cinematic and is actually the most technically simple. Once the sun reaches a backlight position, meaning it’s behind the subject and angled into the camera, the smoke becomes a medium that makes the light rays themselves visible. There is no artificial light at all in this setup. The sun is the only source.
Sun positioned behind trees, rays visible through smoke
The final setup is the one that looks most cinematic and is actually the most technically simple. Once the sun reaches a backlight position, meaning it’s behind the subject and angled into the camera, the smoke becomes a medium that makes the light rays themselves visible. There is no artificial light at all in this setup. The sun is the only source.
The physics here are worth understanding clearly: you cannot see a beam of light unless it strikes something and scatters back toward your eye. Smoke gives the photons something to bounce off. The denser the smoke, the more visible the rays, but also the more you obscure the subject. The balance point is a matter of timing the smoke output and watching through the viewfinder until the rays are strong without the subject disappearing into haze.
What I’d Add From My Own Experience
The ducting system JP builds is designed for outdoor work, but I’ve adapted the same principle for interior studio work when I want smoke to enter the frame from a specific point without the machine being in the shot. The one thing I’d add to his rig is a simple dimmer on the fan circuit. A hardware store light-switch dimmer wired inline gives you stepless control without needing to buy a variable-speed fan from the start. I’ve also found that shooting smoke in a studio with air conditioning running kills the effect in about 30 seconds. If you’re working indoors, turn off the HVAC and seal the vents in the immediate area before you start.
Smoke gives you something almost no modifier can: it makes light itself visible and gives your background a physical presence that feels real in a photograph. The ducting system is the part most people skip, and it’s exactly the part that makes the difference between smoke you’re fighting and smoke you’re directing.
Watch the full tutorial on YouTube to see JP’s setups and the resulting images in motion.
Comments
Leave a Comment