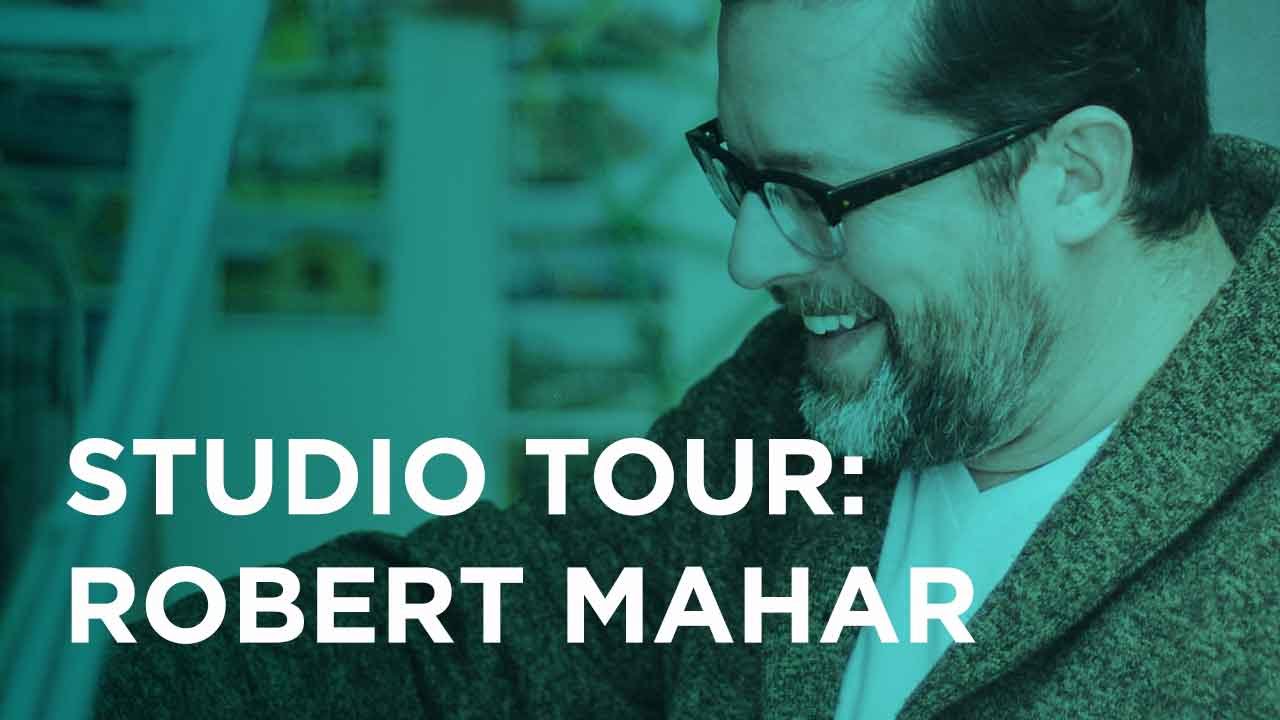
There’s a version of “studio envy” that I think quietly poisons a lot of photographers’ thinking. We tell ourselves we’ll finally get organized once we have more space, better gear, a dedicated room. I’ve caught myself doing it. Then I watched this CreativeLive tour of designer and maker Robert Mahar’s workspace in downtown Los Angeles and felt genuinely embarrassed by that excuse. Watch the full tutorial on YouTube
Mahar runs a real creative practice out of under 325 square feet, shared with another artist, inside a century-old converted bank building. And the thing is, the space works. Not despite its constraints, but because he’s made deliberate decisions about every inch of it. For those of us who shoot in studios, that deliberateness is worth dissecting. The principles he applies to a craft studio translate almost directly to how I think about organizing a shooting space, a lighting kit, or even a mood board for a client brief.
What follows is a walkthrough of the key systems Mahar demonstrates, reframed for the working photographer who wants to build a studio practice that actually sustains creative output.
Step 1: Anchor the Space with One Dedicated Inspiration Surface
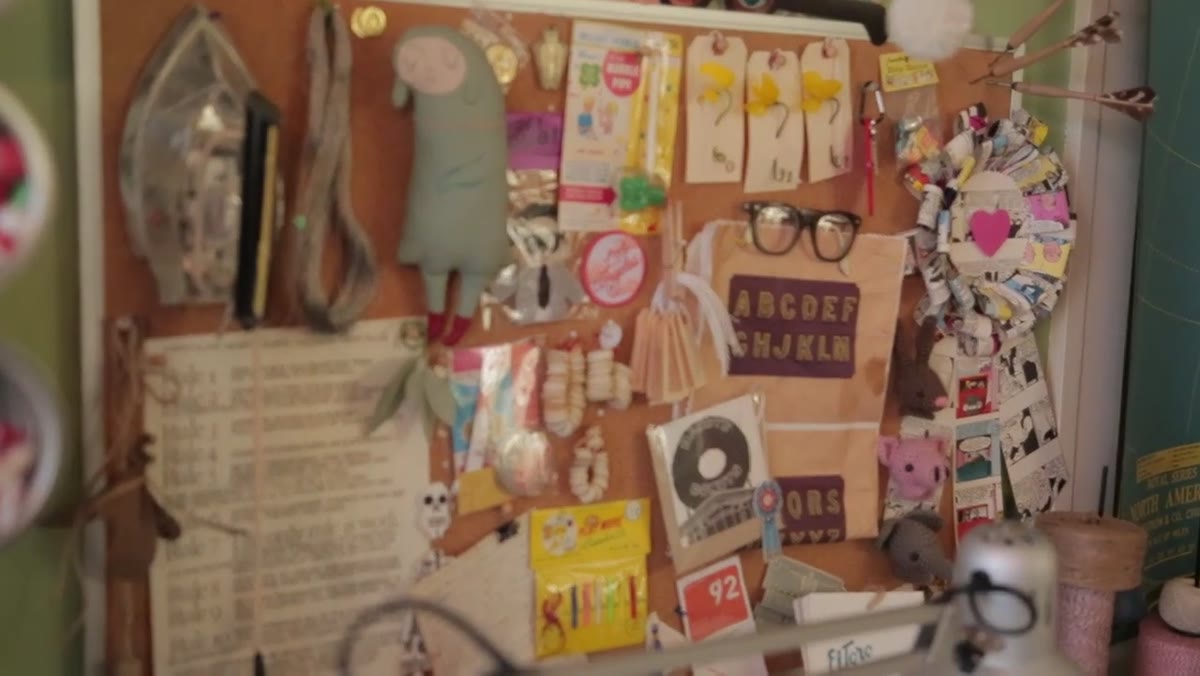 Bulletin board covered with projects, images, and vintage references above desk
Mahar’s single favorite element in the entire studio is a bulletin board mounted directly above his desk. Not a monitor, not a light table. A physical board. He uses it to hold active projects, works in progress, vintage reference images, and work by artists he admires. When he’s stuck, he stares at it. The visual noise resolves into a direction.
Bulletin board covered with projects, images, and vintage references above desk
Mahar’s single favorite element in the entire studio is a bulletin board mounted directly above his desk. Not a monitor, not a light table. A physical board. He uses it to hold active projects, works in progress, vintage reference images, and work by artists he admires. When he’s stuck, he stares at it. The visual noise resolves into a direction.
I do something similar with what I call my lighting journal. Every setup from every shoot gets a quick sketch, sometimes a Polaroid test shot, sometimes a notes page. The journal lives open on my desk during shoots. The bulletin board Mahar describes functions the same way: it’s an externalized version of your visual memory, curated by you, always in peripheral view. If you’re setting up a studio space, designate one surface exclusively for this function before you do anything else.
Step 2: Build a Physical Reference Library, Not Just a Digital Folder
 Vintage activity books and illustrated craft books arranged on shelves
Mahar draws heavily from a collection of vintage activity and DIY books, primarily from the 1920s through the 1960s. He’s not using them as nostalgia objects. He mines them for project ideas and aesthetic directions, then figures out how to modernize the concept. The books are tools.
Vintage activity books and illustrated craft books arranged on shelves
Mahar draws heavily from a collection of vintage activity and DIY books, primarily from the 1920s through the 1960s. He’s not using them as nostalgia objects. He mines them for project ideas and aesthetic directions, then figures out how to modernize the concept. The books are tools.
Photographers tend to save everything to Pinterest boards or camera roll folders. Those are fine, but there’s something about a physical book that forces slower looking. I keep a shelf of magazine tearouts, old annuals, and printed lighting diagrams. When I replicated an Annie Leibovitz setup from a magazine tearout years ago, I was shocked at how well it translated to my strobe configuration. The physical artifact forced me to study it more carefully than I ever would have on a screen. Build the physical shelf. Use it.
Step 3: Source Materials That Are Harder to Find, Not Just Cheaper
 Vintage Chenille, crepe paper, and specialty craft materials on studio shelves
One of the cleaner insights in Mahar’s tour is his preference for materials that aren’t commonly available anymore. Crepe paper, Chenille, spun cotton. He gravitates toward them partly for their aesthetic qualities and partly because working with them produces results that are harder to replicate cheaply. The scarcity becomes a differentiator.
Vintage Chenille, crepe paper, and specialty craft materials on studio shelves
One of the cleaner insights in Mahar’s tour is his preference for materials that aren’t commonly available anymore. Crepe paper, Chenille, spun cotton. He gravitates toward them partly for their aesthetic qualities and partly because working with them produces results that are harder to replicate cheaply. The scarcity becomes a differentiator.
The lighting equivalent of this is modifiers. It would be easy to default to a single large softbox for everything. But spending time with harder-to-source modifiers, an older Fresnel, a parabolic umbrella with a specific depth ratio, a grid that produces a very specific falloff, gives your work a look that’s genuinely harder to copy. I test every new modifier the day it arrives. I label it with masking tape, note the distance and power settings that produce the result I want, and log it. That reference library of tested modifiers is worth more than any gear upgrade.
Step 4: Curate Found Objects as Active Creative Prompts, Not Decoration
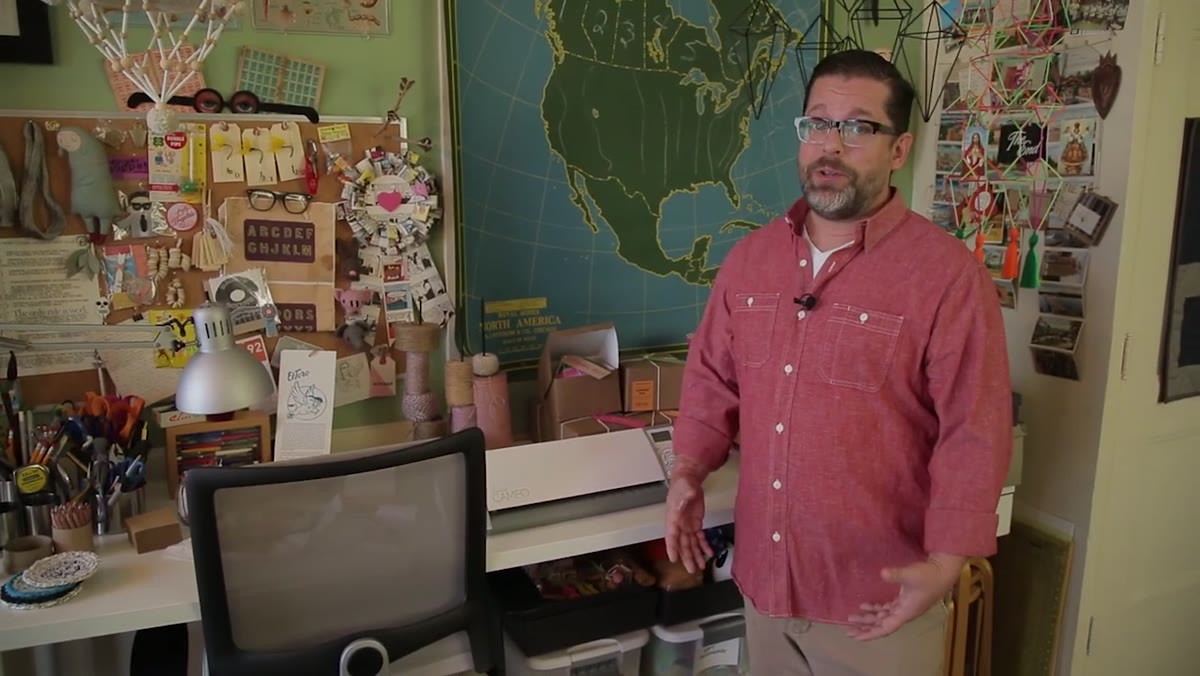 Vintage schoolhouse maps, teaching charts, and pull-down reference materials on walls
Mahar hunts flea markets and swap meets specifically for vintage schoolhouse ephemera: pull-down maps, teaching charts, items from the 1930s through 1950s. He’s drawn to the color palettes and the graphic style of the period. Crucially, these aren’t decorative. They’re prompts. They sit in his visual field and inform the choices he makes on active projects.
Vintage schoolhouse maps, teaching charts, and pull-down reference materials on walls
Mahar hunts flea markets and swap meets specifically for vintage schoolhouse ephemera: pull-down maps, teaching charts, items from the 1930s through 1950s. He’s drawn to the color palettes and the graphic style of the period. Crucially, these aren’t decorative. They’re prompts. They sit in his visual field and inform the choices he makes on active projects.
For photographers, the equivalent might be printed color grading references, Pantone swatches from a client’s brand kit, or even printed frames from photographers whose palette you want to study. My wife has a sharper instinct for color harmony than I do, and she taught me to look at how light falls differently on warm-toned skin versus cool-toned skin. That knowledge lives in my head now, but early on I kept printed reference shots taped inside my lighting cabinet. Objects and images in your physical space shape your intuitive decisions.
Step 5: Separate Work Space from Living Space, Even Imperfectly
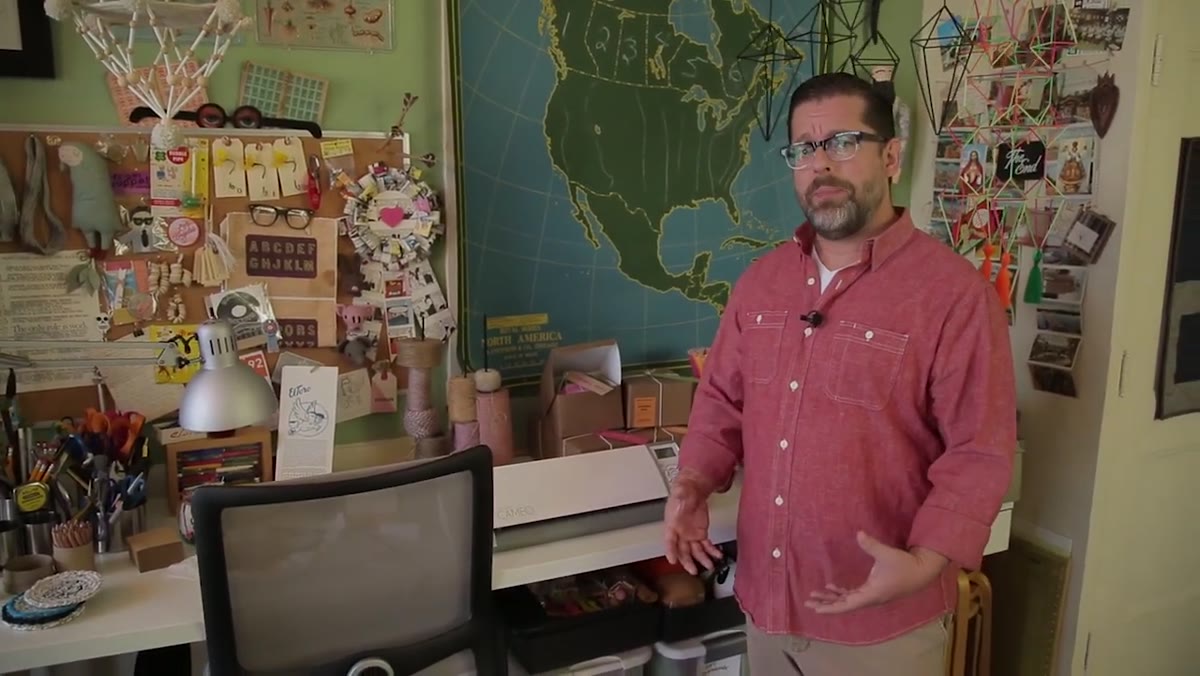
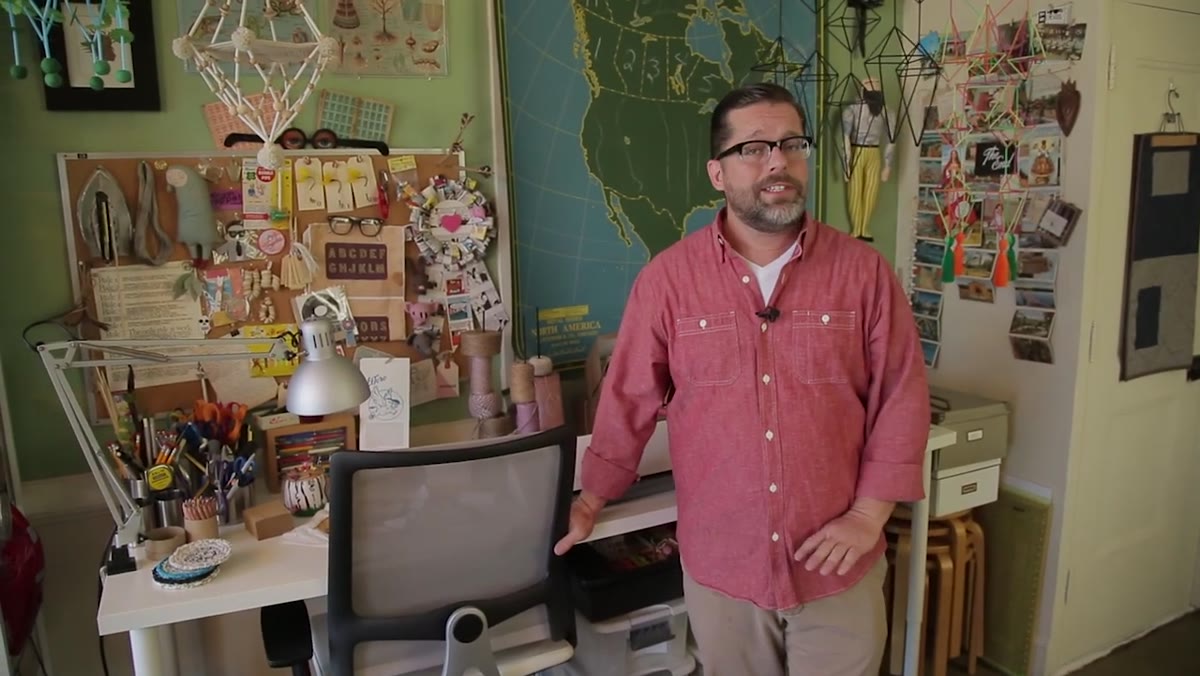 Overview of the compact shared studio with organized work surfaces
Mahar is clear that a dedicated studio is a luxury, not a requirement. He worked out of his bedroom for years before moving into a shared space. But he’s also honest about what the separation gives him: the ability to shut a door, concentrate, and leave work behind when he leaves.
Overview of the compact shared studio with organized work surfaces
Mahar is clear that a dedicated studio is a luxury, not a requirement. He worked out of his bedroom for years before moving into a shared space. But he’s also honest about what the separation gives him: the ability to shut a door, concentrate, and leave work behind when he leaves.
The takeaway isn’t “rent a studio.” The takeaway is that the physical and psychological separation matters, and you can manufacture it even inside a home. A dedicated corner with consistent lighting, a specific chair, materials that don’t migrate to other rooms. The ritual of going to a defined space activates a different mental mode. If you’re shooting at home, designate a zone and defend its boundaries. Even 80 square feet with clear edges beats 500 square feet of ambiguous creative spread.
What I’d Add from My Own Studio Practice
Mahar’s approach to his inspiration board is almost exactly how I treat lighting diagrams. My phone has a custom app I built for logging setups: modifier type, distance, power ratio, the result I was going for, whether I got it. But the physical version matters too. I print the setups that worked and pin them near the shooting area. Not every shoot needs a reference board, but editorial work with a specific brief always gets one. The discipline of committing your intentions to paper before the shoot is the same whether you’re planning a paper-craft project or a three-light portrait setup.
The deeper point Mahar makes, without quite stating it directly, is that creative output is a function of the systems you build around yourself. Inspiration doesn’t visit a disorganized space. It rewards the person who has made it easy for the right reference to surface at the right moment. That’s as true for lighting work as it is for paper art.
If you’re building or refining a studio practice, this tour will reset your priorities fast. Watch the full tutorial on YouTube and pay attention to how little square footage it takes to run a serious creative operation.
Comments
Leave a Comment