For years I defaulted to grids when I needed a controlled pool of light on a background. They’re cheap, they’re fast, and they live in a pouch that fits in my kit bag. But every time I pulled up a reference image I was trying to match — something from a fashion editorial, usually — the background light had a quality I couldn’t quite get. A smooth, perfectly graduated circle that faded out evenly in every direction. My gridded spots always looked a little rough at the edges, a little manufactured. It wasn’t until I started working seriously with Fresnel lenses that I understood what I was missing.
Watch the full tutorial on YouTube
In this Visual Education tutorial, Kyle Taylor from visualeducation.com walks through the Fresnel lens from first principles — its history, its physics, and its practical flexibility for both photographers and cinematographers. It’s one of the clearest explanations of why this modifier behaves the way it does, and it corrected at least one assumption I’d been carrying around for too long. Here’s how the technique breaks down, step by step.
Step 1: Understand What a Fresnel Lens Actually Is
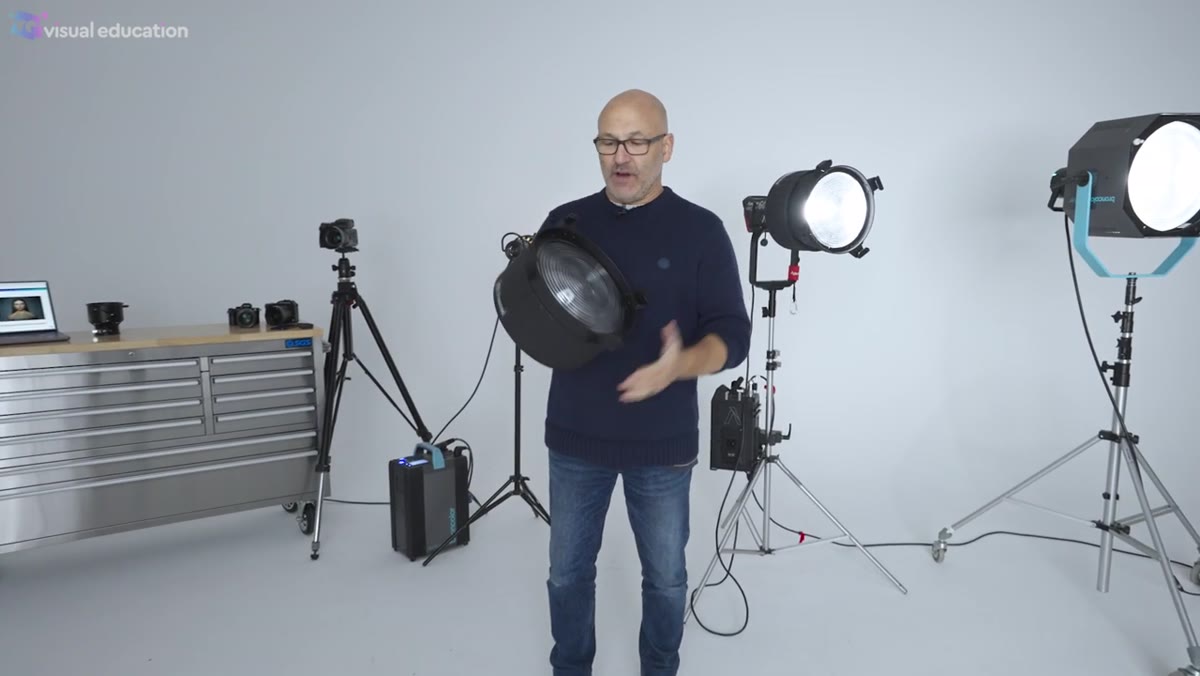 Fresnel lens unit shown against studio background
Before you can use this modifier intelligently, you need to understand its structure. A Fresnel lens is a simplified version of a convex lens, but instead of using a full curved glass block, it uses a flat piece of glass carved into a staircase-like concentric ring pattern. The result is a lens that replicates the light-directing properties of a convex lens at a fraction of the weight. Augustin Fresnel refined this design around 1820, originally for lighthouse applications, where the goal was to throw a powerful beam of light across enormous distances.
Fresnel lens unit shown against studio background
Before you can use this modifier intelligently, you need to understand its structure. A Fresnel lens is a simplified version of a convex lens, but instead of using a full curved glass block, it uses a flat piece of glass carved into a staircase-like concentric ring pattern. The result is a lens that replicates the light-directing properties of a convex lens at a fraction of the weight. Augustin Fresnel refined this design around 1820, originally for lighthouse applications, where the goal was to throw a powerful beam of light across enormous distances.
That lineage matters practically. The lens is engineered to collimate light, meaning it takes diverging rays from a source and pushes them forward in a coherent, directional beam. That’s not what a softbox does, and it’s not what a grid does. It’s a fundamentally different optical action, and it’s why the output looks so distinctive.
Step 2: Identify the Fresnel Units Available to You
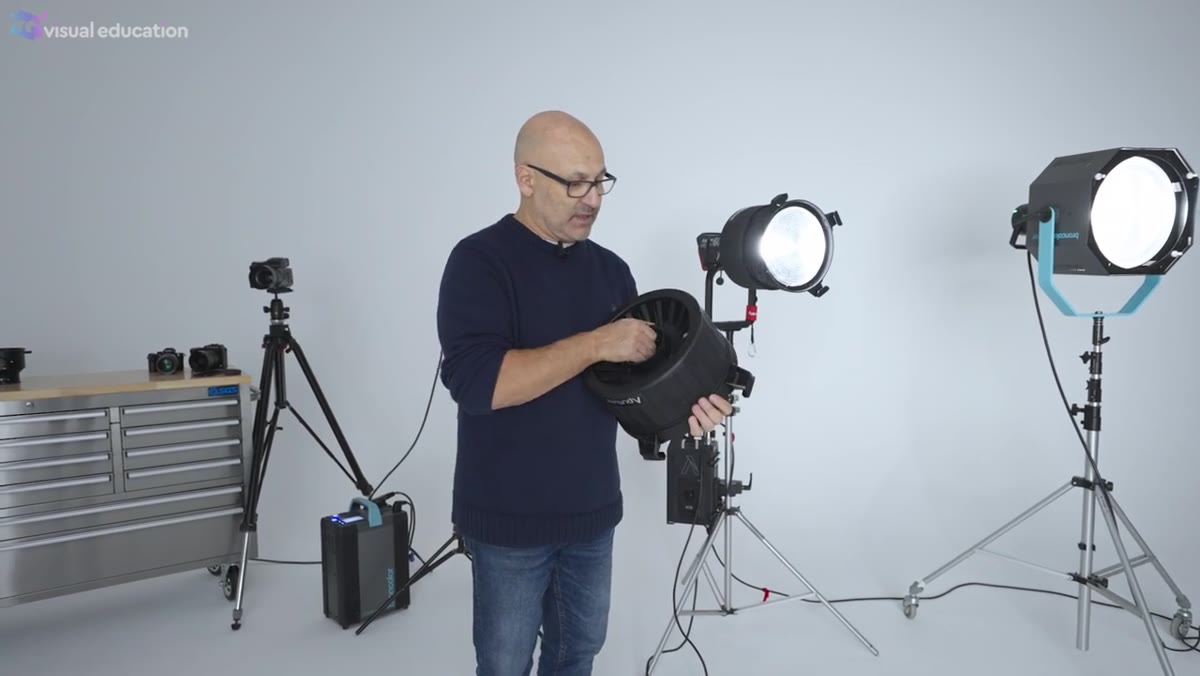 Three Fresnel units of different sizes shown together
Fresnel lenses come in multiple sizes and mount configurations. In the tutorial, Kyle shows three distinct units: the F10 Fresnel fitted for the Bowens mount, designed for use with Aperture continuous LED lights; a compact Fresnel attached to a small product photography light; and the Broncolor Flooter, a large-format Fresnel for high-output work. The takeaway here is that this modifier scales. You’re not locked into one application or one price point.
Three Fresnel units of different sizes shown together
Fresnel lenses come in multiple sizes and mount configurations. In the tutorial, Kyle shows three distinct units: the F10 Fresnel fitted for the Bowens mount, designed for use with Aperture continuous LED lights; a compact Fresnel attached to a small product photography light; and the Broncolor Flooter, a large-format Fresnel for high-output work. The takeaway here is that this modifier scales. You’re not locked into one application or one price point.
In my own studio I run a mid-size Fresnel on a Bowens-compatible strobe for fashion work, and a smaller unit permanently mounted on an LED for background duty. When a new Fresnel arrives I have it on a stand and firing within the hour. Knowing which unit fits your existing mounts before you buy saves a frustrating afternoon.
Step 3: Project the Beam and Observe the Gradation
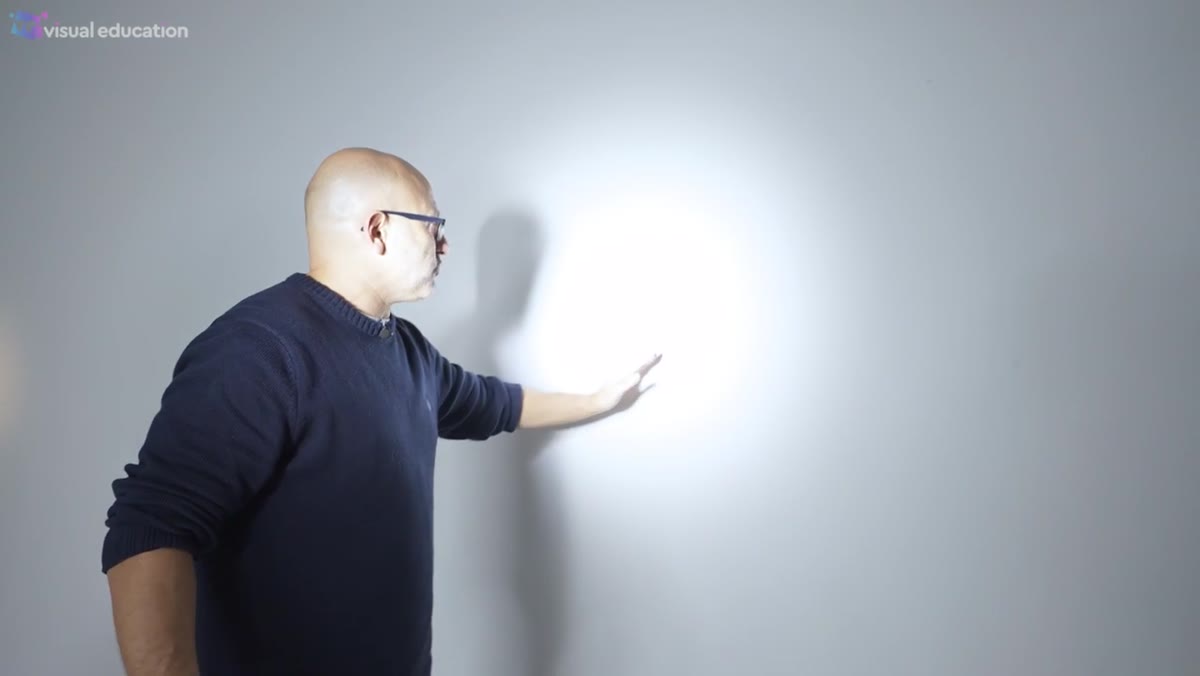 Perfect circular light circle projected on studio wall
Point your Fresnel at a plain wall and look at what it produces. What you’ll see is a circle of light with a clean, smooth falloff from center to edge. This is the quality that separates the Fresnel from a gridded modifier. A grid restricts light directionally but doesn’t shape the beam’s internal gradation. The edges are clipped rather than feathered. A Fresnel produces that natural center-hot, edge-soft rolloff that looks expensive because it is optically precise, not mechanically restricted.
Perfect circular light circle projected on studio wall
Point your Fresnel at a plain wall and look at what it produces. What you’ll see is a circle of light with a clean, smooth falloff from center to edge. This is the quality that separates the Fresnel from a gridded modifier. A grid restricts light directionally but doesn’t shape the beam’s internal gradation. The edges are clipped rather than feathered. A Fresnel produces that natural center-hot, edge-soft rolloff that looks expensive because it is optically precise, not mechanically restricted.
This wall test is the first thing I do with any Fresnel I’m evaluating. I sketch the projected circle in my lighting journal, note the distance and power setting, and use that as a reference baseline. It takes three minutes and it tells you everything about how that unit will behave on a background.
Step 4: Use the Crank or Focus Mechanism to Adjust Beam Width
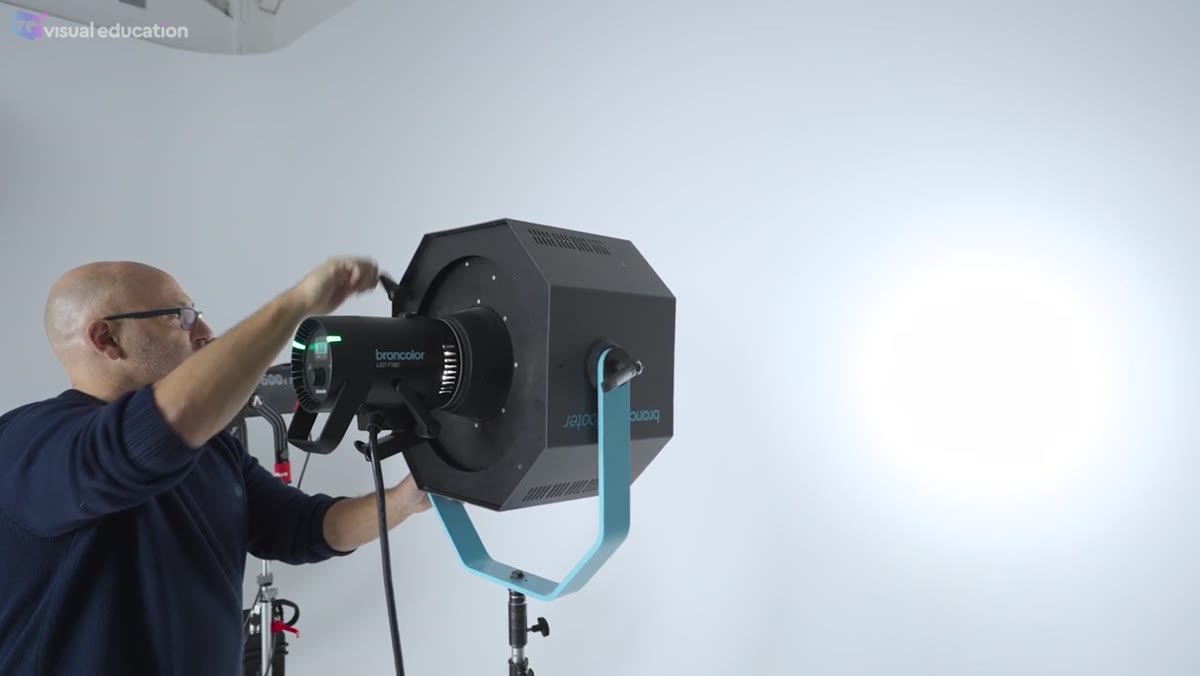 Hand turning crank handle to widen beam on wall
The defining mechanical feature of a Fresnel is the ability to move the light source relative to the lens, or the lens relative to the source, while keeping everything inside one sealed unit. On the unit Kyle demonstrates, a crank handle controls this movement. Turning it one direction spreads the beam into a wide, large circle. Turning it the other way tightens the beam into a concentrated spot.
Hand turning crank handle to widen beam on wall
The defining mechanical feature of a Fresnel is the ability to move the light source relative to the lens, or the lens relative to the source, while keeping everything inside one sealed unit. On the unit Kyle demonstrates, a crank handle controls this movement. Turning it one direction spreads the beam into a wide, large circle. Turning it the other way tightens the beam into a concentrated spot.
Critically, the smooth gradation is preserved across the entire range of adjustment. You’re not choosing between “spotlight” and “wash” as two fixed modes. You’re dialing a continuous control. For background work I typically set mine to fill roughly one-third of the background width when shooting three-quarter length portraits. For direct fashion lighting on the subject I pull it tighter and position it higher, flagging the spill off the background.
Step 5: Don’t Let the Beam Width Fool You About Shadow Hardness
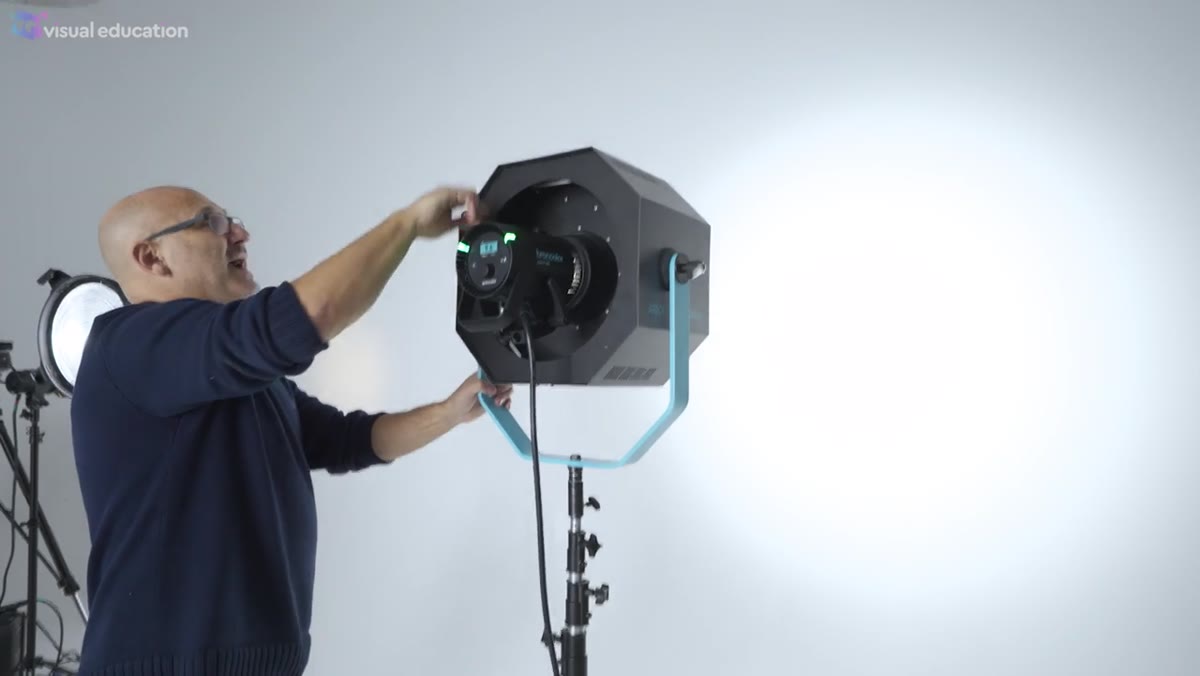 Comparison of wide vs narrow beam shadow quality
This is the part of Kyle’s tutorial that I’d call genuinely counterintuitive, and I say that as someone who has been doing this for a long time. When you widen the beam on a Fresnel, your instinct says: bigger light source, softer shadows. That’s the rule we all learn early. But with a Fresnel in wide-beam mode, shadows actually get harder and crisper.
Comparison of wide vs narrow beam shadow quality
This is the part of Kyle’s tutorial that I’d call genuinely counterintuitive, and I say that as someone who has been doing this for a long time. When you widen the beam on a Fresnel, your instinct says: bigger light source, softer shadows. That’s the rule we all learn early. But with a Fresnel in wide-beam mode, shadows actually get harder and crisper.
The reason is in how the beam is structured. When the Fresnel is set to wide, the central concentration of energy is still dominant, and the outer spread is relatively dim. The effective light source casting the shadow is still that central hot zone, not the full width of the projected circle. Narrow the beam down to a tight spot and the opposite happens. The light becomes more uniform across a smaller area and the shadows soften. Keep this written somewhere until it becomes instinct, because it will bite you on set if you assume Fresnel behaves like a softbox.
Step 6: Match Your Fresnel to the Right Source Type
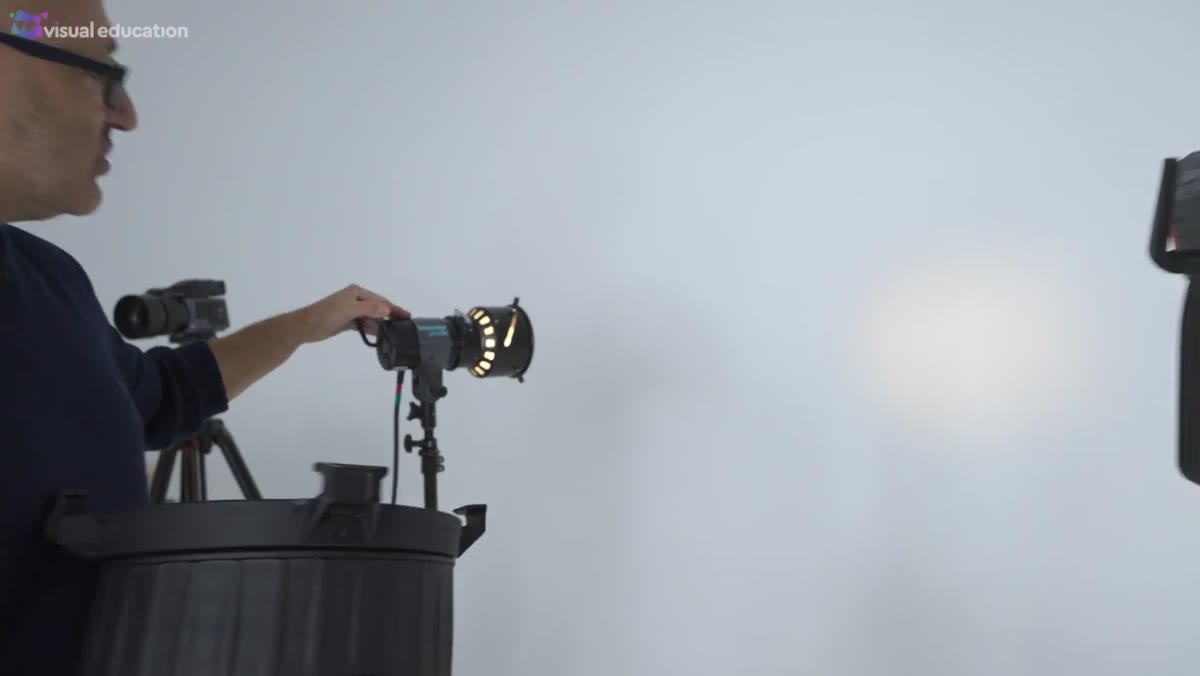 Small Fresnel mounted on continuous LED product light
Fresnels work with both continuous LED sources and studio flash. Kyle notes he most commonly uses his with studio flash for fashion lighting directly on models and for background spotlighting. Continuous LED Fresnels are excellent for product work and video, where you need to see the effect in real time. Flash-based Fresnels give you more raw power, which matters when you’re fighting ambient light or need to stop down for deep depth of field.
Small Fresnel mounted on continuous LED product light
Fresnels work with both continuous LED sources and studio flash. Kyle notes he most commonly uses his with studio flash for fashion lighting directly on models and for background spotlighting. Continuous LED Fresnels are excellent for product work and video, where you need to see the effect in real time. Flash-based Fresnels give you more raw power, which matters when you’re fighting ambient light or need to stop down for deep depth of field.
The modifier’s output character doesn’t change significantly between source types, as long as color temperature is properly matched. I keep a small piece of masking tape on the back of each Fresnel unit with the source it’s calibrated to. It’s a small habit, but walking onto a shoot and grabbing the wrong unit has consequences.
What I’d Add From My Own Shooting
One thing the tutorial doesn’t cover, and that took me time to learn, is using the Fresnel as a hair or rim light rather than a key or background light. Positioned behind and above the subject at a tight beam setting, a Fresnel produces a rim separation that looks completely different from a strip box. The light has a crispness with a natural falloff that reads as more cinematic than photographic. I started doing this after noticing it in a reference tearout I’d been studying and was surprised how accurately a single Fresnel at the right angle reproduced the effect.
The other habit worth building: always recheck your beam width after moving the unit. The crank position that worked at eight feet reads completely differently at twelve. Distance changes everything with a focused beam, and a quick wall check takes seconds.
The single most important thing this tutorial teaches is that beam width and shadow quality do not have a simple direct relationship inside a Fresnel unit. Wider does not mean softer. Once that’s in your bones, you’ll start using this modifier with real precision instead of guessing. Kyle’s breakdown is thorough and well-demonstrated, and if you work in any studio context it’s worth your full attention.
Watch the full tutorial on YouTube
Comments (4)
I keep coming back to this article. It's that useful.
Bookmarked. Coming back to this one for sure.
Finally someone explains this in a way that actually makes sense.
Really solid breakdown. This pairs perfectly with the business work I've been writing about.
Leave a Comment