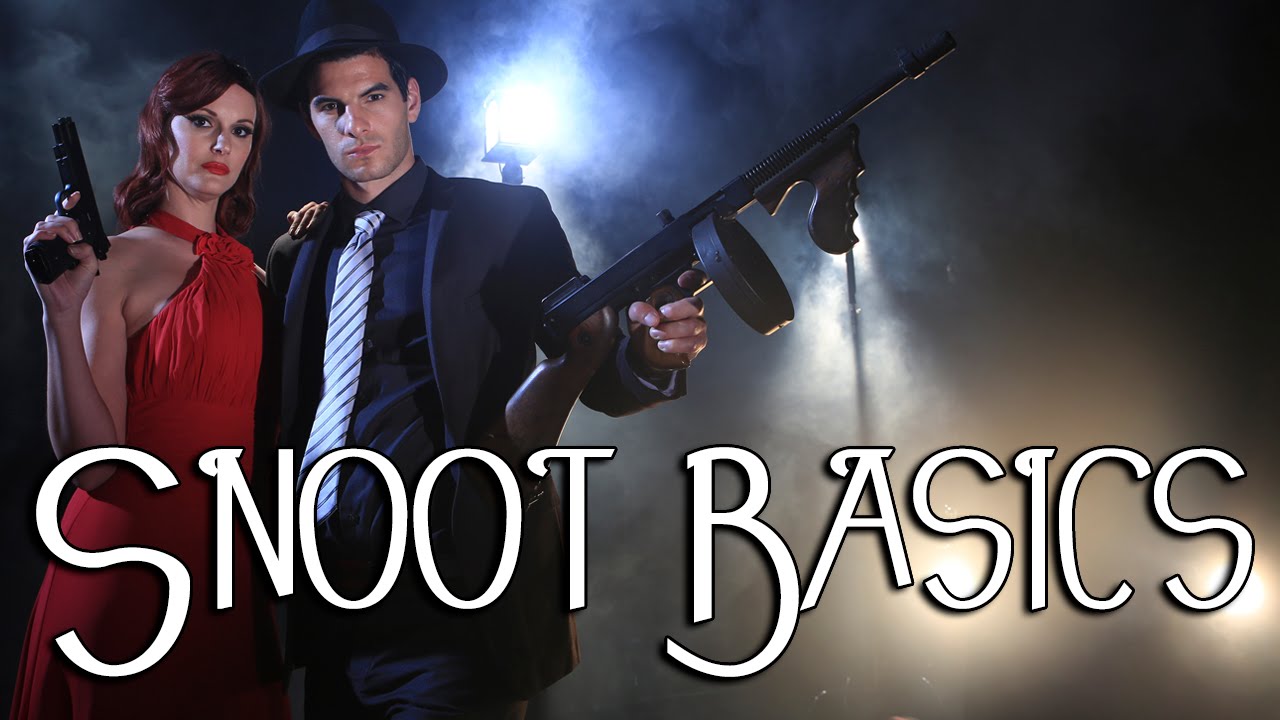
There’s a modifier sitting in most photographers’ gear bags that gets used either constantly or almost never, with very little middle ground. The snoot is one of those tools that sounds simple until you actually try to control it on a real set, and then the questions start piling up fast. How narrow is the coverage, really? How does it compare to a grid? Why does my shadow side look muddier than I expected? I’ve worked through most of those questions myself over the years, and when I came across this tutorial from JP Morgan at The Slanted Lens, I found a breakdown that matches how I actually think about snoots in practice. Watch the full tutorial on YouTube before or after reading this walkthrough.
What I appreciate about JP’s approach is that he doesn’t just define the tool and move on. He puts it next to something we already understand, compares the results side by side, and then builds a full shot from scratch using nothing but snoots. That’s the right way to learn a modifier. Definitions are easy. Understanding what the light actually does to a face, or to a set, takes repetition and honest comparison.
Step 1: Understand What a Snoot Is and What Problem It Solves
 JP holding and describing a snoot modifier on camera
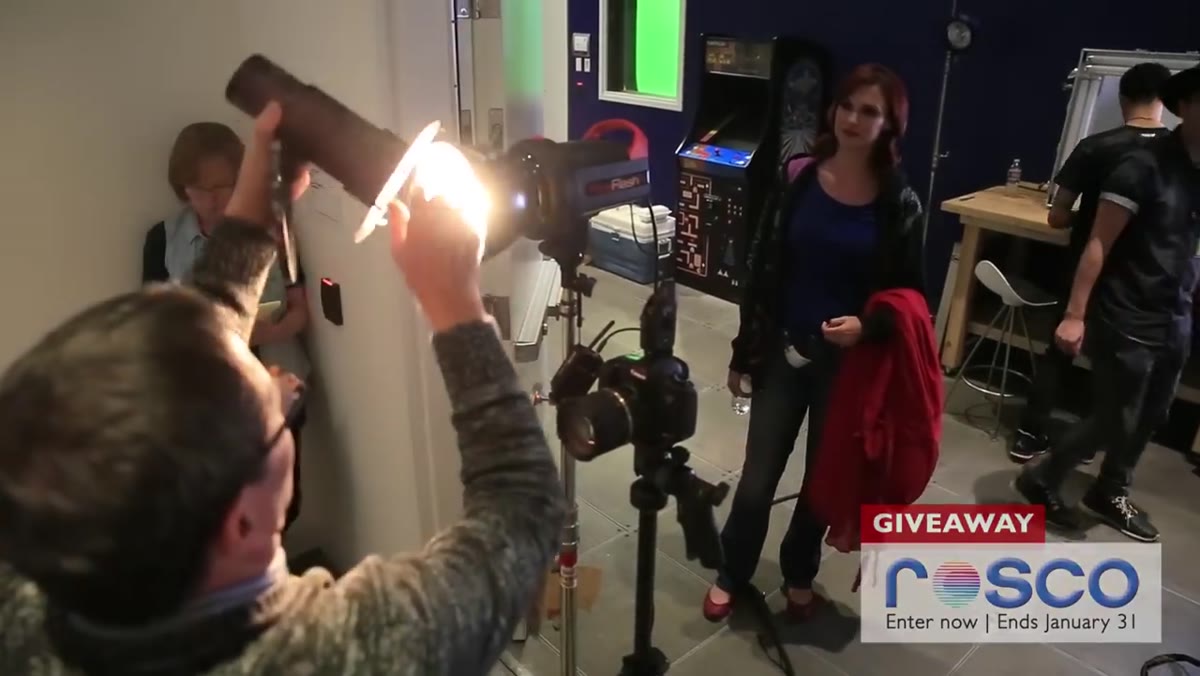
A snoot is a tube or cone-shaped modifier that fits over a studio strobe or portable flash head. Its entire purpose is to restrict where the light goes. You’re trading spread for control. In film production, crews will often improvise a snoot using black wrap, which is essentially a heavy-duty black aluminum foil that you shape into a funnel around the light source. Commercial photographers working in permanent studio setups usually use a manufactured snoot that mounts directly to the light. Either way, the goal is the same: stop the light from spilling everywhere and send it only where you need it.
JP holding and describing a snoot modifier on camera
A snoot is a tube or cone-shaped modifier that fits over a studio strobe or portable flash head. Its entire purpose is to restrict where the light goes. You’re trading spread for control. In film production, crews will often improvise a snoot using black wrap, which is essentially a heavy-duty black aluminum foil that you shape into a funnel around the light source. Commercial photographers working in permanent studio setups usually use a manufactured snoot that mounts directly to the light. Either way, the goal is the same: stop the light from spilling everywhere and send it only where you need it.
Step 2: Use a Grid as Your Baseline Before Evaluating the Snoot
 Side-by-side light pattern comparison, snoot versus grid on wall
JP uses a 10-degree grid as the reference point for this comparison, which is exactly how I’d approach it too. If you evaluate a snoot in isolation, you don’t have much context for what “narrow” or “hard” actually means. Set up both modifiers at the same distance from your target surface, roughly 8 feet in this demo, and shoot the resulting light patterns under identical exposure settings. The grid will give you a recognizable starting point with a hot center and a gradual falloff toward the edges.
Side-by-side light pattern comparison, snoot versus grid on wall
JP uses a 10-degree grid as the reference point for this comparison, which is exactly how I’d approach it too. If you evaluate a snoot in isolation, you don’t have much context for what “narrow” or “hard” actually means. Set up both modifiers at the same distance from your target surface, roughly 8 feet in this demo, and shoot the resulting light patterns under identical exposure settings. The grid will give you a recognizable starting point with a hot center and a gradual falloff toward the edges.
What you’ll notice immediately is that the snoot produces a much cleaner circle with sharper edges. The falloff is abrupt rather than gradual. The grid blooms outward from the center. The snoot cuts a hole in the space and lights only what’s inside that hole.
Step 3: Recognize That the Snoot Produces a Harder Quality of Light Than a Grid
 Close-up of snoot mounted on reflector showing depth of modifier
This is the part that surprised me the first time I tested my own snoot carefully. The light quality is harder than a grid, not just narrower. Here’s the physics behind it: a standard silver reflector is bouncing light off its interior walls in addition to sending light straight through the front. When you put a grid over that reflector, you get some of that sidewall bounce coming through alongside the direct light, which softens the output slightly. The snoot sits far enough in front of the reflector that it physically blocks the sidewall bounce. Only the light traveling straight down the center of the tube makes it out.
Close-up of snoot mounted on reflector showing depth of modifier
This is the part that surprised me the first time I tested my own snoot carefully. The light quality is harder than a grid, not just narrower. Here’s the physics behind it: a standard silver reflector is bouncing light off its interior walls in addition to sending light straight through the front. When you put a grid over that reflector, you get some of that sidewall bounce coming through alongside the direct light, which softens the output slightly. The snoot sits far enough in front of the reflector that it physically blocks the sidewall bounce. Only the light traveling straight down the center of the tube makes it out.
The result is a more contrasty output, deeper shadows, and less fill in the dark areas of your frame. If your snoot is properly sealed to the reflector, you should see almost no ambient wrap in the shadow side of your subject. Any fill you do see is a sign the snoot isn’t mounting flush against the modifier.
Step 4: Build Your Set With Purpose and Lay Down the Background Exposure First
 Full set overview showing street lights, smoke, water on black ground
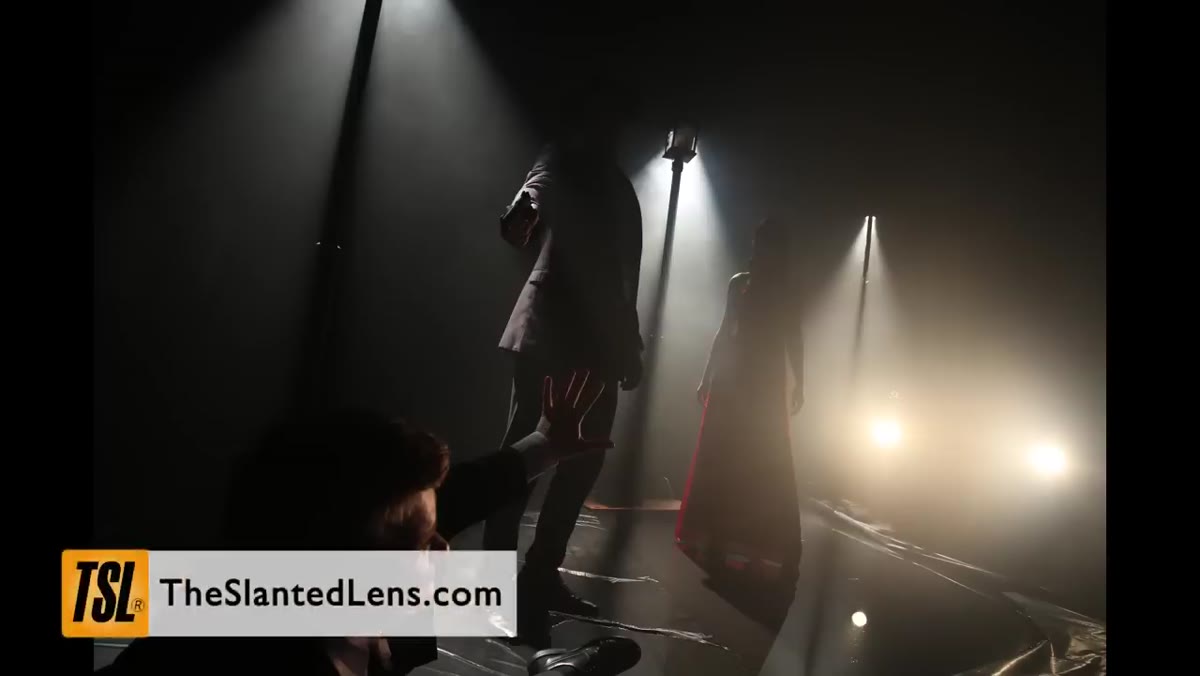
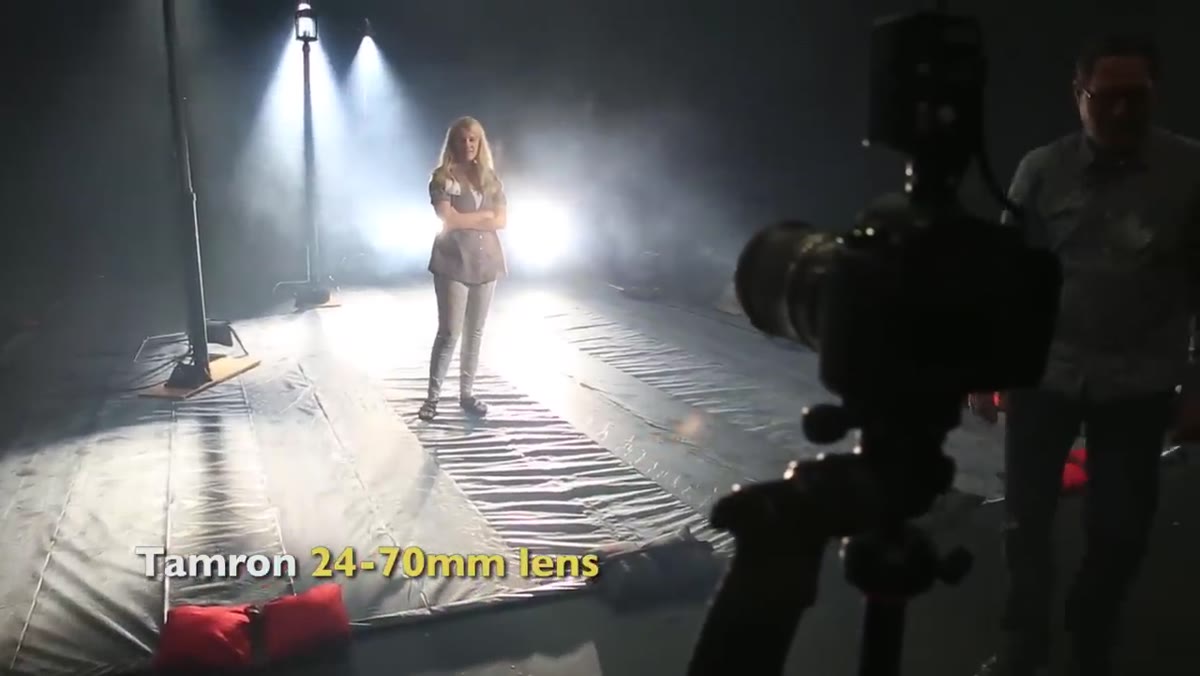
The demo set JP builds for this tutorial is a film noir scene: fabricated street lights made from ABS pipe with Source Four ellipsoidal fixtures creating shafts of light through atmospheric haze, a simulated wet street made from black plastic sheeting with standing water held in by 1x4 lumber dams, and a car body lit by two 650-watt tungsten fixtures clamped overhead. It’s a purpose-built environment, not a simple headshot setup. That’s intentional. Snoots shine in scenarios where you need a precise pool of light that doesn’t contaminate surrounding elements.
Full set overview showing street lights, smoke, water on black ground
The demo set JP builds for this tutorial is a film noir scene: fabricated street lights made from ABS pipe with Source Four ellipsoidal fixtures creating shafts of light through atmospheric haze, a simulated wet street made from black plastic sheeting with standing water held in by 1x4 lumber dams, and a car body lit by two 650-watt tungsten fixtures clamped overhead. It’s a purpose-built environment, not a simple headshot setup. That’s intentional. Snoots shine in scenarios where you need a precise pool of light that doesn’t contaminate surrounding elements.
Get your background exposure dialed in first and lock it down. The tungsten practical lights on this set create the foundational atmosphere. Everything you add with the snoots should layer on top of that base, not fight against it. This is how I approach any complex multi-light setup. Background first, subject last.
Step 5: Place and Aim the Snoots as Accent and Subject Lights
 Camera settings display and lens focal length on Canon Mark III
JP shoots this scene on a Canon Mark III with a Tamron 24-70mm lens pushed to 24mm to take in the full environmental context. Your settings will vary by setup, but the principle matters: a wider focal length lets the set breathe and gives the snoot-lit subject room to exist within the environment rather than getting isolated against a void. For a scene like this, you want the pools of light to feel motivated by the set’s own practical sources.
Camera settings display and lens focal length on Canon Mark III
JP shoots this scene on a Canon Mark III with a Tamron 24-70mm lens pushed to 24mm to take in the full environmental context. Your settings will vary by setup, but the principle matters: a wider focal length lets the set breathe and gives the snoot-lit subject room to exist within the environment rather than getting isolated against a void. For a scene like this, you want the pools of light to feel motivated by the set’s own practical sources.
Position your snoots so their coverage circles land exactly on your subject without blowing out to the street lights or the wet ground around the frame. Since the falloff is sharp, small adjustments in distance and angle make a significant difference. I label every light in my studio and keep a lighting journal with sketches of each setup, and setups like this are the reason. There’s no improvising your way back to a great shot once you’re tearing down a wet-ground set.
My Take: The Sealing Problem Is Real and Worth Solving First
Before you shoot anything creative with a snoot, spend twenty minutes confirming it mounts cleanly to your specific reflector. JP mentions noticing unexpected fill in the shadow areas during the demo, and he correctly identifies the cause: the snoot wasn’t fully sealed to the 7-inch reflector. That gap lets light leak around the base of the tube and creates a soft ambient wrap that undermines the whole point of using the modifier. Black wrap or gaffer tape around the joint solves this completely. I’ve tested every snoot I own this way before the first real shoot, firing it against a white wall in a dark room and looking for any glow around the base. If you see it, tape it before it ruins a shot you can’t reshoot.
The single most important thing to take from this tutorial is the comparison framework. Don’t evaluate any modifier by itself. Put it next to something you already understand, shoot the same scene with both, and let the difference teach you. The snoot isn’t better or worse than a grid. It’s a harder, narrower, less forgiving tool that earns its place on the right set. For high-contrast, dramatically lit work, it’s irreplaceable.
Watch the full tutorial on YouTube to see the complete film noir build and the final snoot-lit image JP produces from this setup.
Comments
Leave a Comment