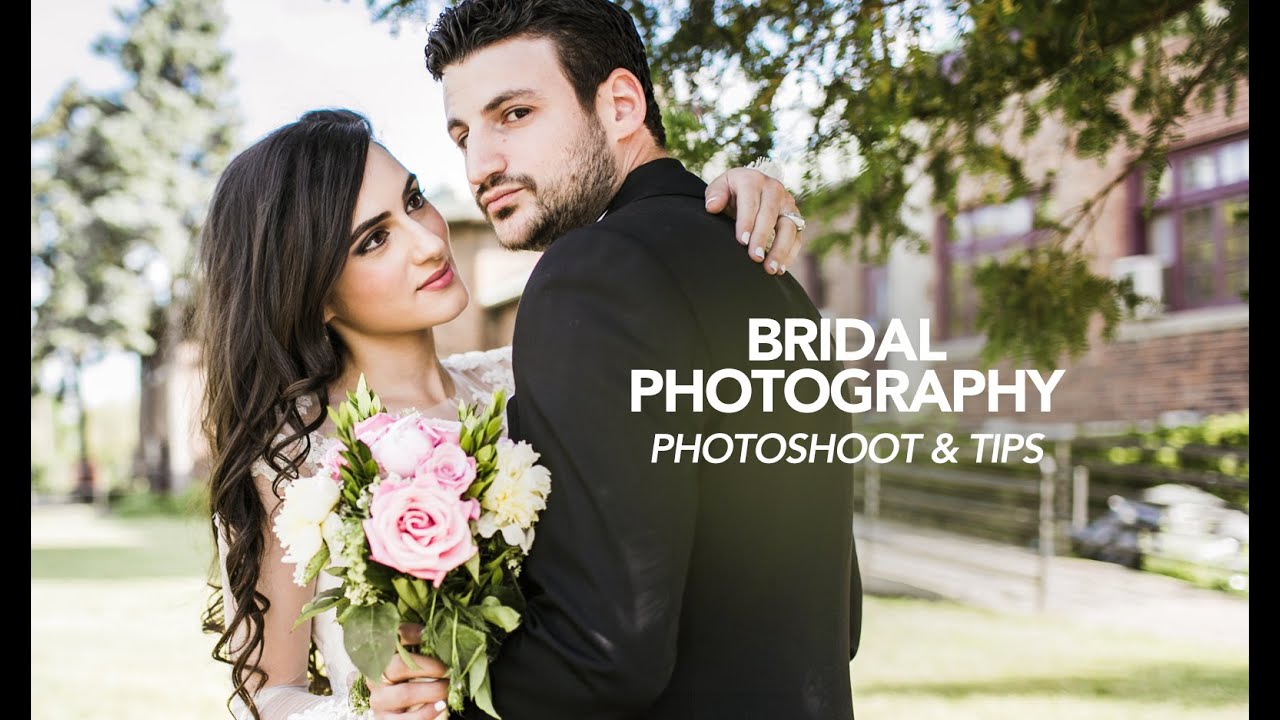
Most of my working life happens under controlled light. I know where every joule is going. I have a strip of masking tape on every modifier in my studio with the light’s name, its distance from the last shoot, and whether the modeling lamp is running hot. So when I watch a photographer work in full natural light, with wind, changing clouds, and a nervous groom cracking jokes, I pay close attention. There’s a level of adaptability in that work that keeps me honest about my own habits.
Watch the full tutorial on YouTube
In this Jessica Kobeissi tutorial, she shoots a mock bridal session with a real couple she’d previously photographed at their wedding. That context matters. The comfort in the frame, the way she moves through poses without stopping the shoot’s momentum, the way she talks to them while she’s shooting rather than between shots. These are not beginner-level skills dressed up as tips. This is a working method being demonstrated in real time, and there’s a lot to extract from it even if you never shoot a wedding in your life.
What follows is a step-by-step breakdown of her process, written for photographers who want to understand the reasoning behind each decision, not just the poses themselves.
Step 1: Read the Sun Before You Place Anyone
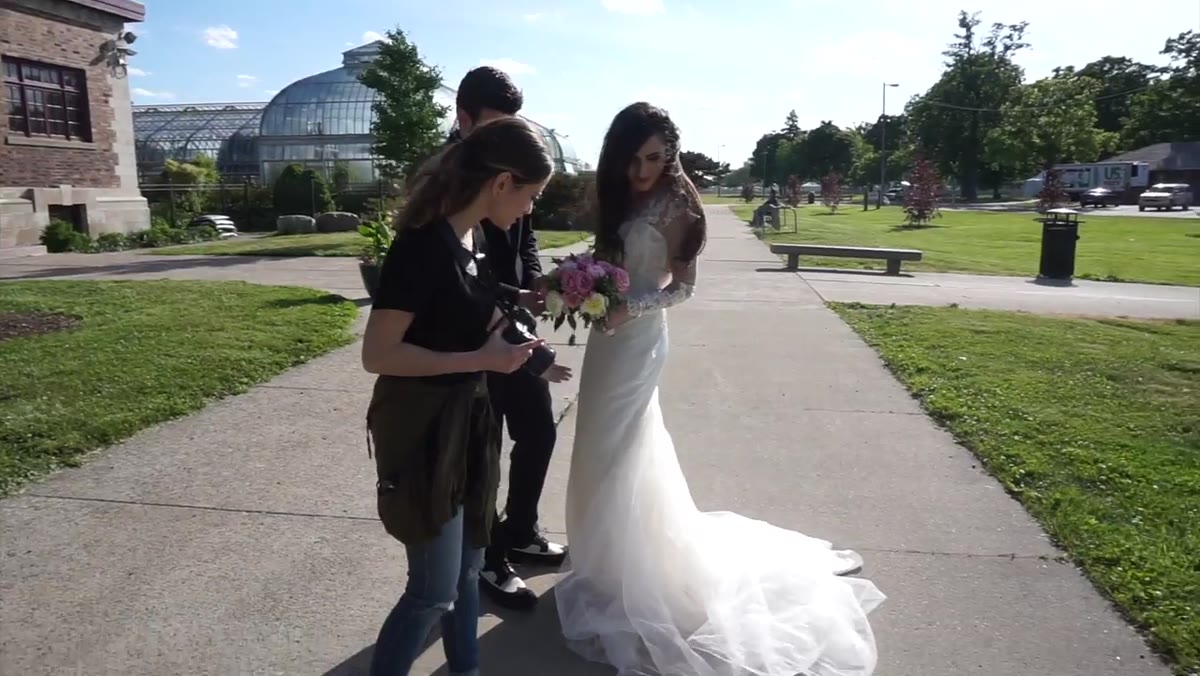 Jessica scanning the scene, positioning couple relative to sun
The first thing Kobeissi does before touching the couple is locate the sun. She positions the bride and groom so the sun is behind them rather than blasting into their faces. This does two things: it eliminates squinting, and it creates a natural rim or backlight effect that separates the subjects from the background.
For outdoor portrait work, this is your equivalent of turning on your key light. If you don’t know where your light source is, you’re guessing. When you place subjects with the sun behind them, you’ll typically need to compensate with exposure since your meter will want to expose for the bright background. Either dial in positive exposure compensation or meter directly off the skin.
Step 2: Check the Bride’s Details Before the First Frame
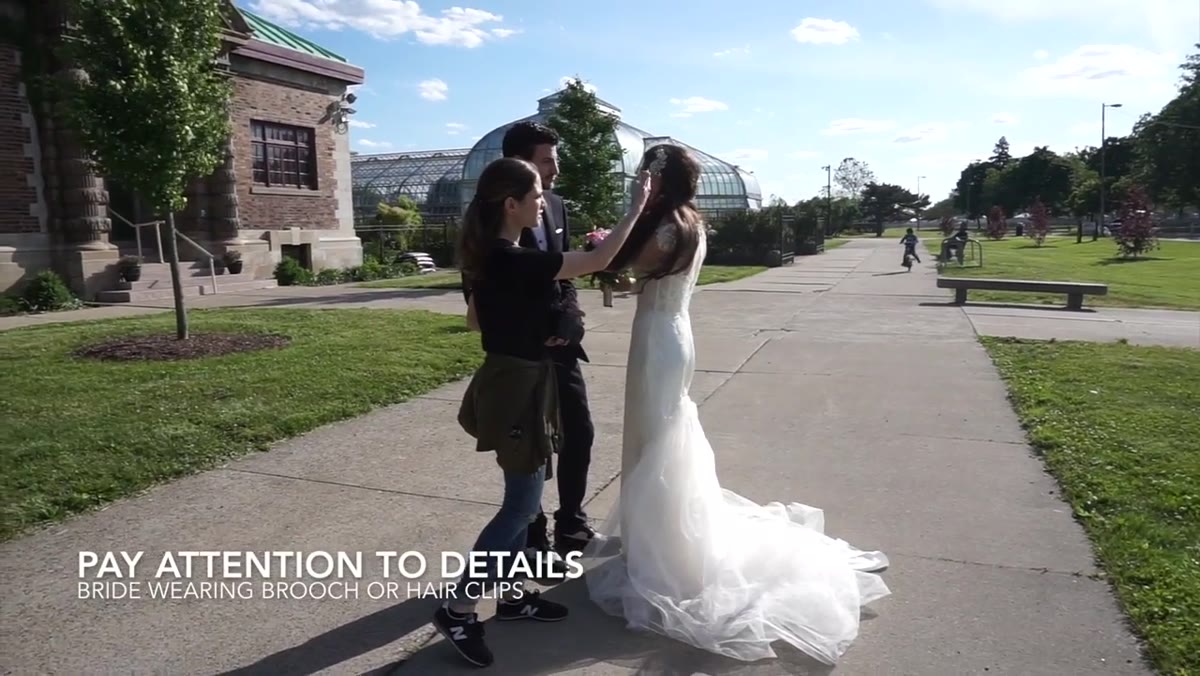 Close-up of bride’s hair accessory and positioning for visibility
Kobeissi flags something specific here that’s easy to miss if you’re not thinking like a client: the bride’s accessories. A brooch, a hairpiece, a custom veil clip, these are items the bride chose deliberately and spent money on. If your composition or angle hides them, you’ve missed something the client considers important.
Before firing a single frame, she adjusts the couple’s positioning to ensure those details are visible in the shot. Studio photographers know this instinctively when shooting product or fashion because the client briefs you on hero details. Apply that same thinking to portrait and wedding work. Before you start, ask yourself what three things does this person most want documented? Then make sure none of your framing buries them.
Step 3: Build the Foundation Pose First
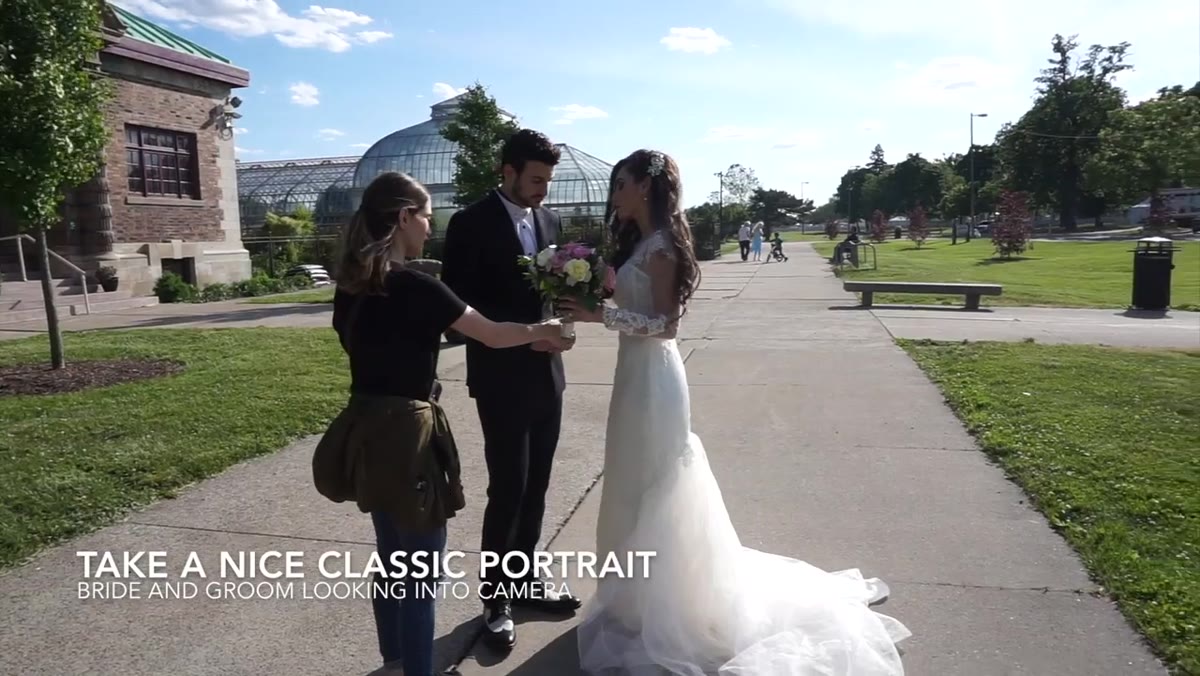 Groom’s hand placed at bride’s waist, basic portrait stance
Her starting pose is deliberately simple: groom’s hand at the bride’s waist, bodies angled slightly toward each other, both looking at the camera. She calls this the basic portrait and acknowledges that every couple wants this shot. There’s no shame in the fundamental.
What she’s doing structurally is establishing a neutral starting position that she can modify from. In studio work, I think of this as the zero position on a modifier: a flat starting point you adjust from rather than a finished result. Once the couple is in a comfortable and natural base, you can ask for small changes, lean in, turn your chin, eyes here, without making them feel like they’re being moved around a chess board.
Step 4: Work the Angles Without Moving the Couple
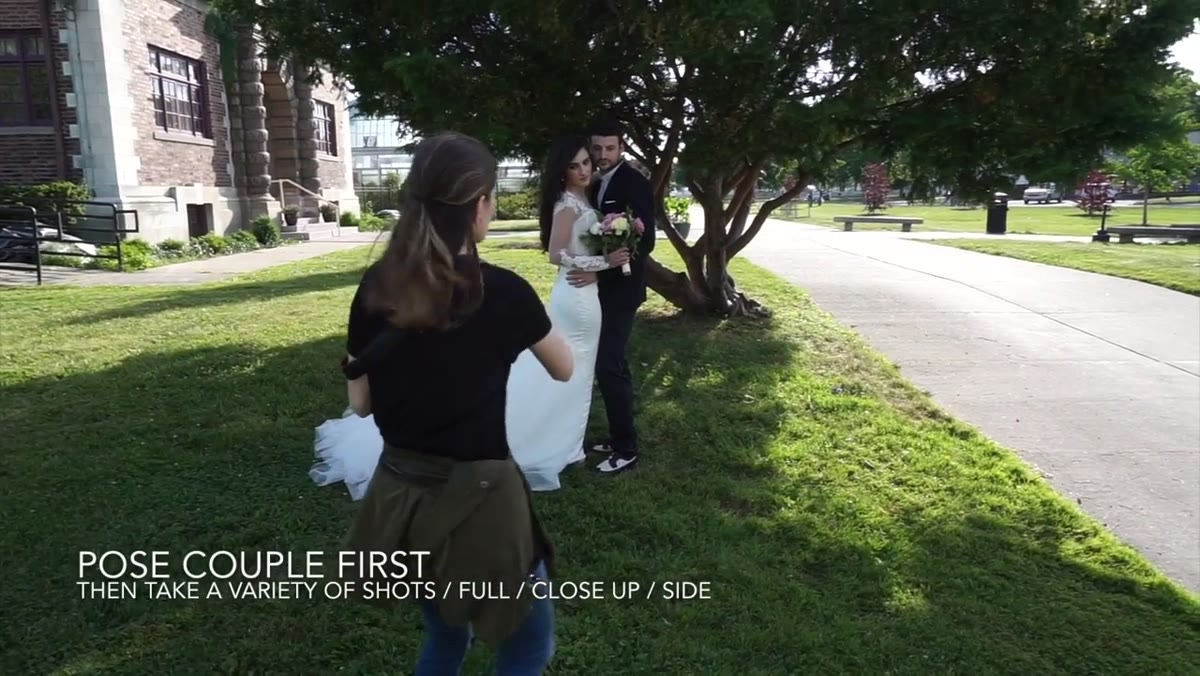 Jessica repositioning herself while couple holds their pose
This is one of the more practical efficiency tips in the video. Rather than constantly repositioning her subjects, Kobeissi moves herself around them. Same pose, same light, but she steps to the left, she steps to the right, she moves in close, she steps back. Each movement yields a different composition.
In the studio, I do something similar when testing a new modifier. I keep the light fixed and walk the subject’s position around it to understand how the modifier behaves at different angles. The principle is the same here: one configuration, multiple results. If you’re shooting under deadline or in a limited window of good light, this approach lets you build a varied gallery without the lag of constant repositioning.
Step 5: Use Shaded Areas for Even, Controlled Light
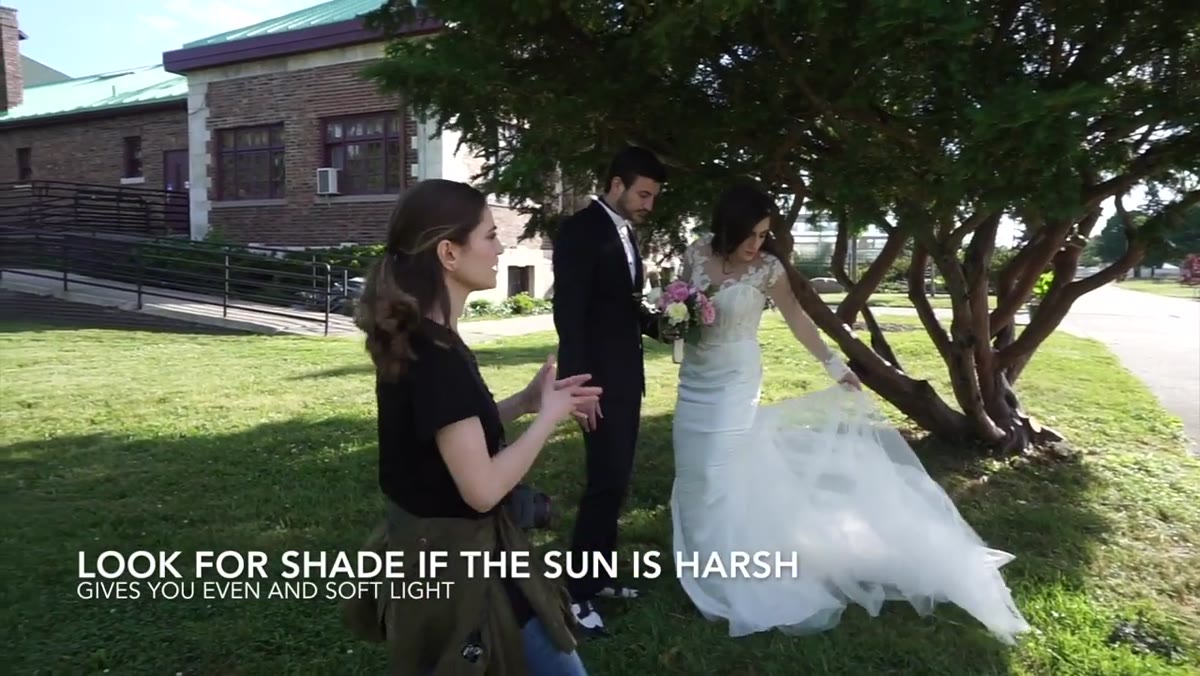 Couple standing in open shade, dress detail visible
When Kobeissi moves the couple into a shaded area, she explains that the appeal is even lighting. No harsh shadows splitting faces. No specular highlights burning out the dress. For anyone coming from a studio background, open shade is essentially a very large softbox with a slightly cooler color temperature.
She also makes a point about the dress: if it has significant detail in the back, she fans it out and makes sure it’s visible. The same logic applies to any subject with a garment or accessory as a key element. The quality of light you choose should match the texture you’re trying to show. Soft, diffused light reads texture clearly. Hard directional light can flatten or overpower fine detail depending on the angle.
Step 6: Capture Detail Shots After the Couple Shots
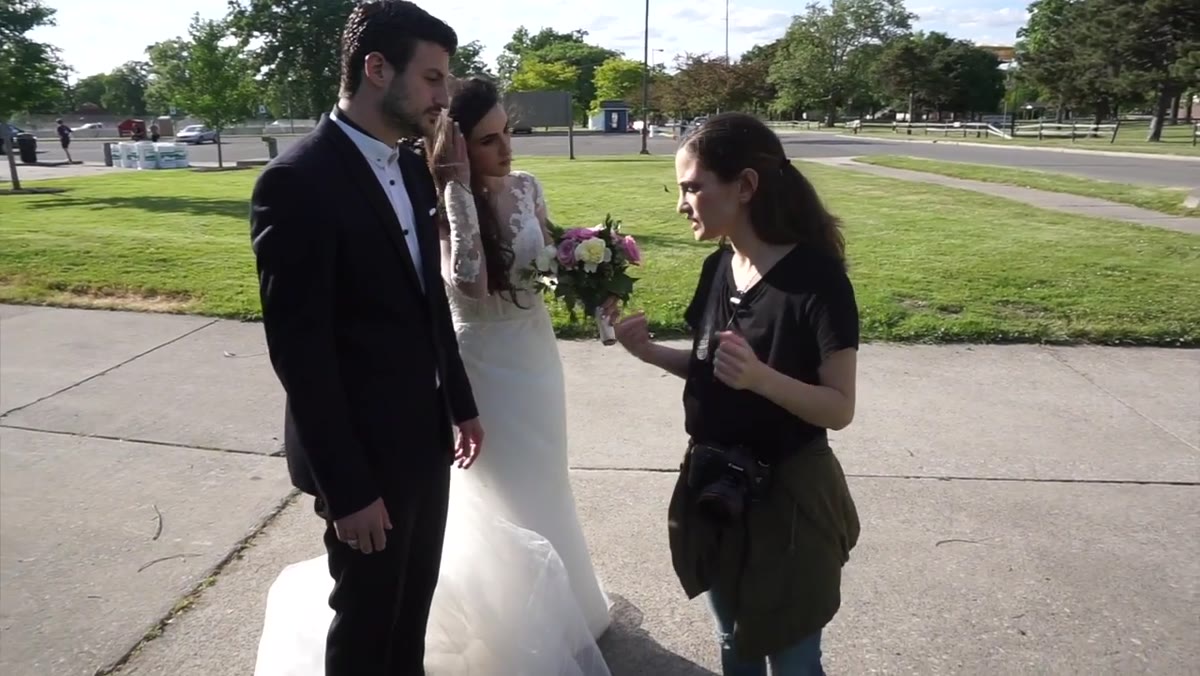 Close-up of rings and groom’s tie pin being photographed
Kobeissi is deliberate about sequencing. Couple shots first, detail shots second. Her reasoning is direct: couple shots are more important, so you prioritize them while everyone has the most energy and the light is at its best. Detail shots of rings, bouquets, watches, and accessories come after.
For these detail shots, she asks the couple to stand straight toward her and checks that the hands holding the bouquet are level and consistent. This is the same discipline I apply when photographing small products: symmetry and consistent placement before you fire. Sloppy hand position in a ring shot will bother a bride for the rest of her life. Treat it with the same care you’d give a watch on a velvet pad for a catalog page.
What I’d Add: Know Your Fallback When the Light Changes
One thing this tutorial doesn’t cover, because it’s specific to outdoor work in variable conditions, is having a fallback plan when the light shifts mid-shoot. Clouds move. The sun drops. Wind redirects your subject’s hair and changes the look of everything. I keep a small, foldable reflector on location shoots specifically for this, a 42-inch silver/white reversible. It’s the closest thing to a portable fill card I’ve found that doesn’t require a stand in wind.
If the sun disappears behind heavy cloud, the silver side gives you enough pop to restore some dimensionality to the light. If the sun comes back hard, flip to white and use it to soften the shadow side instead. It’s one piece of gear with two behaviors, which is the kind of versatility that makes outdoor shooting less reactive and more intentional.
The single most transferable idea from Kobeissi’s approach is this: pose the couple once, then move yourself to create variety. It’s efficient, it keeps your subjects relaxed, and it forces you to think about your own position as a compositional variable rather than a fixed point. That’s useful whether you’re shooting a wedding in the wind or a model in a controlled studio environment.
Watch the full tutorial on YouTube
Comments
Leave a Comment