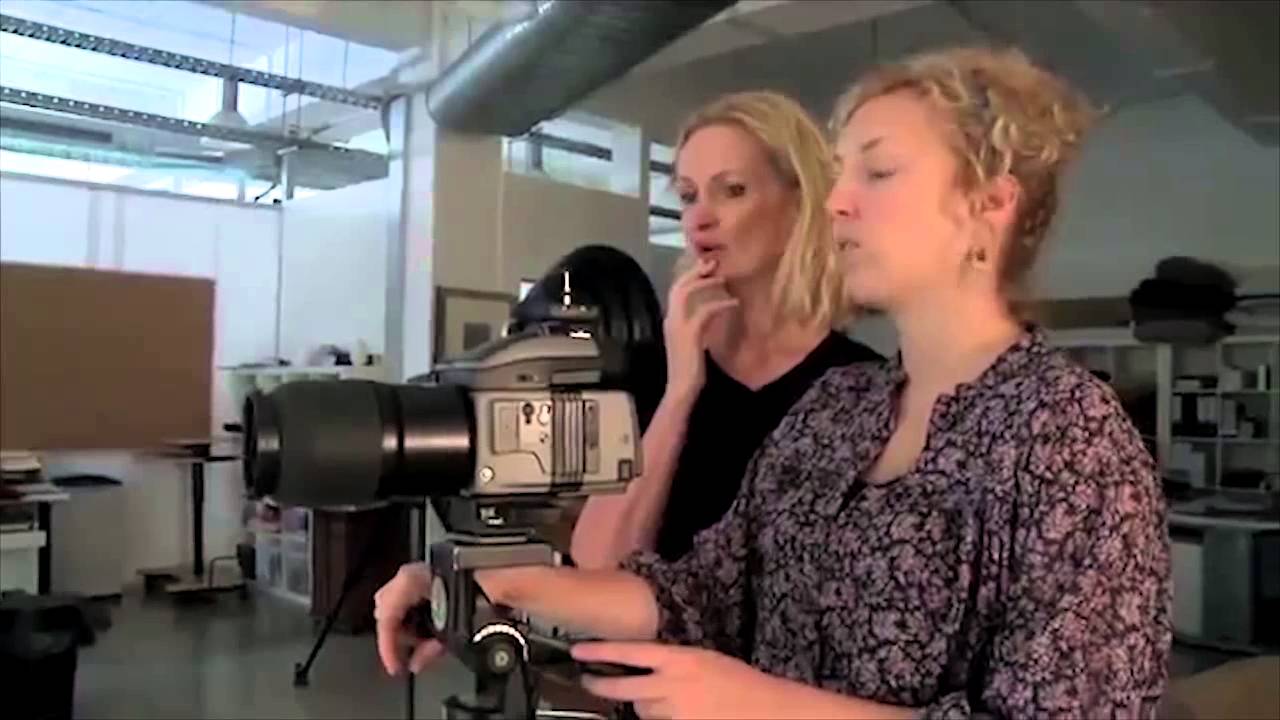
There’s a particular kind of photographer I pay close attention to: the ones who built their entire visual language from scratch, without a formal framework to lean on. Anne Geddes is exactly that. Self-taught, starting at 25, working out of a converted bedroom in Australia before she ever had a proper studio, she developed one of the most recognizable bodies of work in photography history. When CreativeLive gave her a platform to open her studio doors, I watched the resulting tutorial more than once. Watch the full tutorial on YouTube
The reason this tutorial stuck with me isn’t nostalgia for her iconic images. It’s that she articulates something most photographers feel but can’t verbalize: that a studio is not a controlled environment in the way we pretend it is. It’s a negotiation. And when your subject is a three-week-old newborn or a six-month-old infant, the negotiation is entirely on their terms. I shoot fashion and beauty, where the subject can take direction. Watching Geddes explain how she works without that safety net recalibrated how I think about preparation, environment, and patience.
What follows is a breakdown of the core principles she covers, translated into actionable steps for photographers who want to understand her process well enough to apply it.
Step 1: Accept That You Don’t Control the Session - You Prepare for It
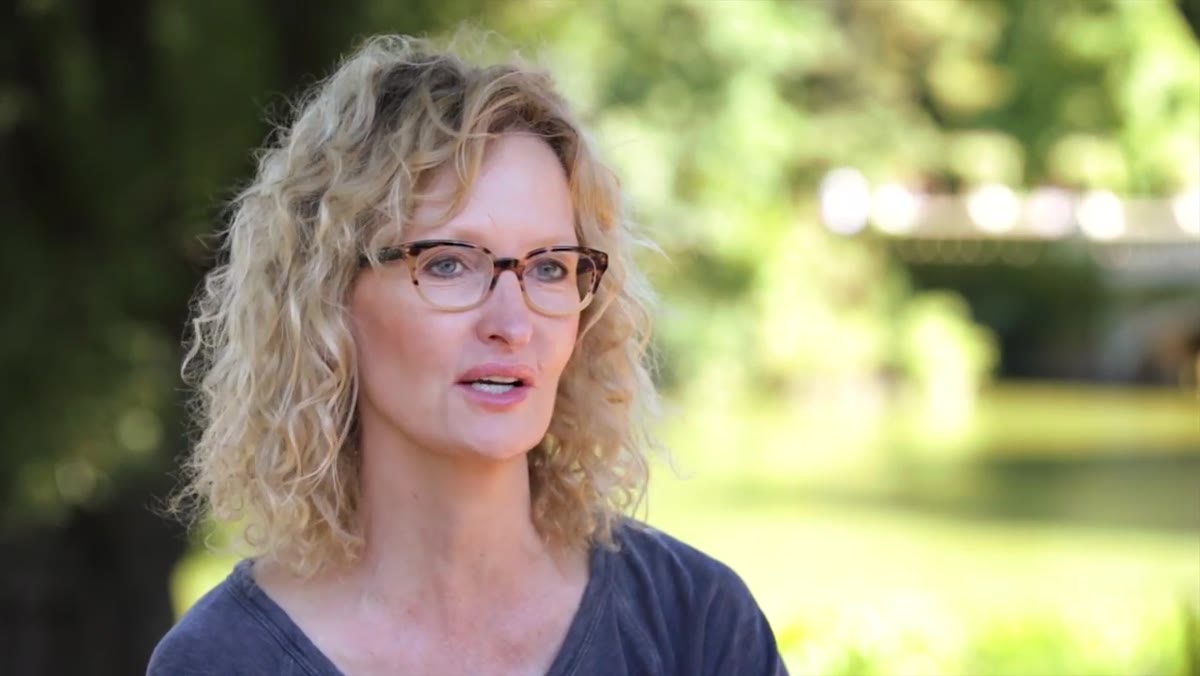 Anne Geddes describing the unpredictable nature of shooting babies
Geddes is direct about this from the start: every time she enters the studio, she genuinely does not know what will happen. That’s not a disclaimer, it’s a design philosophy. She structures her sessions around flexibility rather than rigid shot lists. The practical application for any photographer is to build your call sheet around time buffers, not around a fixed sequence of setups.
Anne Geddes describing the unpredictable nature of shooting babies
Geddes is direct about this from the start: every time she enters the studio, she genuinely does not know what will happen. That’s not a disclaimer, it’s a design philosophy. She structures her sessions around flexibility rather than rigid shot lists. The practical application for any photographer is to build your call sheet around time buffers, not around a fixed sequence of setups.
If you’re shooting newborns or young infants, plan for at least twice the time you think you need per setup. Your lighting rig should be pre-tested, white balance locked, and your exposure dialed in before the subject ever enters the room. The session itself should require zero technical problem-solving from you.
Step 2: Treat the Studio Environment as Part of the Posing Tool Kit
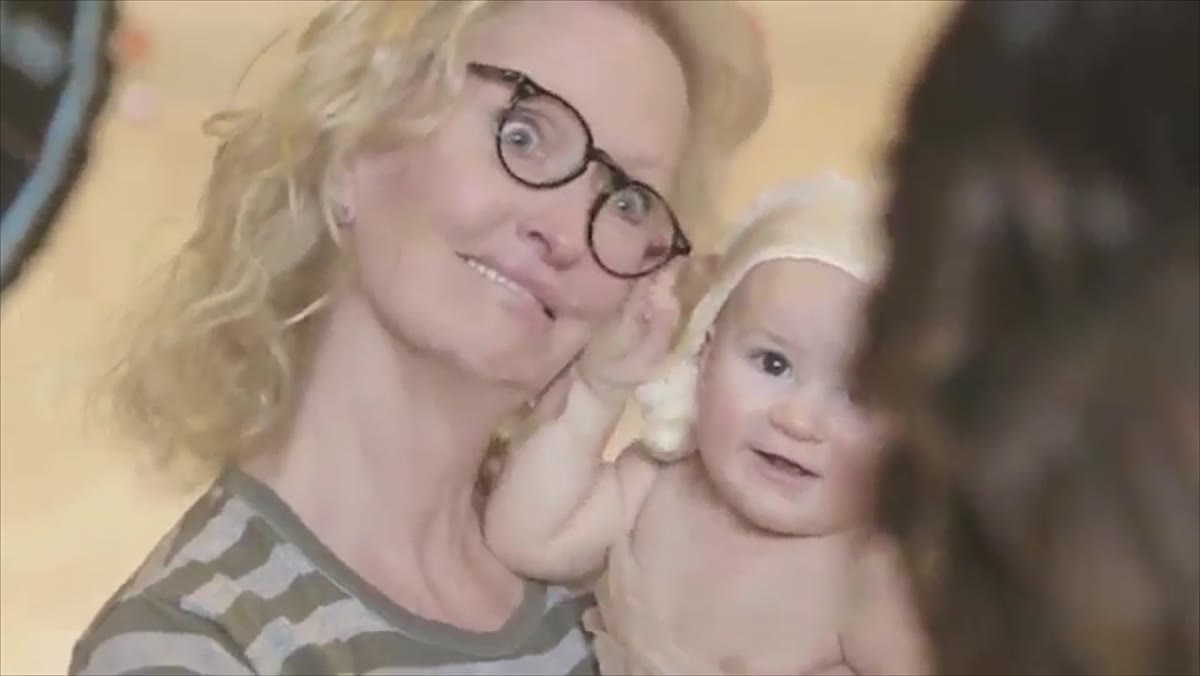 Geddes discussing the studio as a magical and intentional environment
The studio environment, in Geddes’s framing, is not a neutral backdrop. It’s an active ingredient. She describes her studio as an incredible environment, and the word choice is deliberate - it’s something she has built to serve specific outcomes. Temperature, sound, and light quality all contribute to whether an infant stays calm and eventually sleeps.
Geddes discussing the studio as a magical and intentional environment
The studio environment, in Geddes’s framing, is not a neutral backdrop. It’s an active ingredient. She describes her studio as an incredible environment, and the word choice is deliberate - it’s something she has built to serve specific outcomes. Temperature, sound, and light quality all contribute to whether an infant stays calm and eventually sleeps.
For photographers setting up infant-friendly studios, this means treating your environment specs the same way you treat your lighting specs. Room temperature should sit around 80-85 degrees Fahrenheit for newborns. Ambient sound should be controlled, whether that’s silence or low white noise. Harsh overhead fluorescents should be eliminated entirely. Every variable you stabilize before the session is one fewer variable disrupting your shoot.
Step 3: Differentiate Your Approach by Age Group
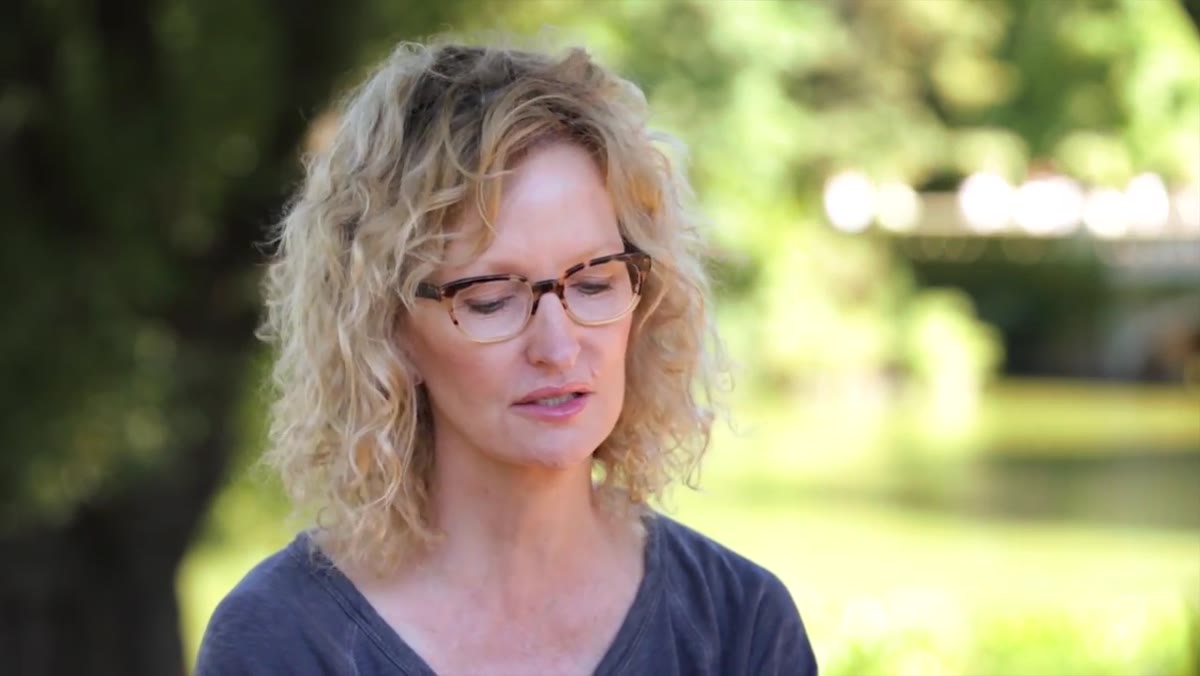 Geddes outlining the two age groups: newborns under 3 weeks and 6-7 month babies
Geddes draws a clear line between two subjects: newborns under three weeks old and infants around six to seven months. These are not just different sizes - they require fundamentally different approaches. Newborns under three weeks still carry sleep patterns from the womb and can often be guided into deep sleep for posed images. Six to seven month infants are alert, opinionated, and mobile.
Geddes outlining the two age groups: newborns under 3 weeks and 6-7 month babies
Geddes draws a clear line between two subjects: newborns under three weeks old and infants around six to seven months. These are not just different sizes - they require fundamentally different approaches. Newborns under three weeks still carry sleep patterns from the womb and can often be guided into deep sleep for posed images. Six to seven month infants are alert, opinionated, and mobile.
Treat these as two separate genres of photography. Your posing props, your lighting angles, and your patience budget all need to be calibrated per age group. For newborns, everything is about warmth and stillness - slow movements, hushed voices, no sudden changes in light intensity. For older infants, you’re essentially directing a moving target. Wide apertures help, but so does a fast shutter speed and a second person in the room to capture attention.
Step 4: Build Confidence Through Small, Finished Work First
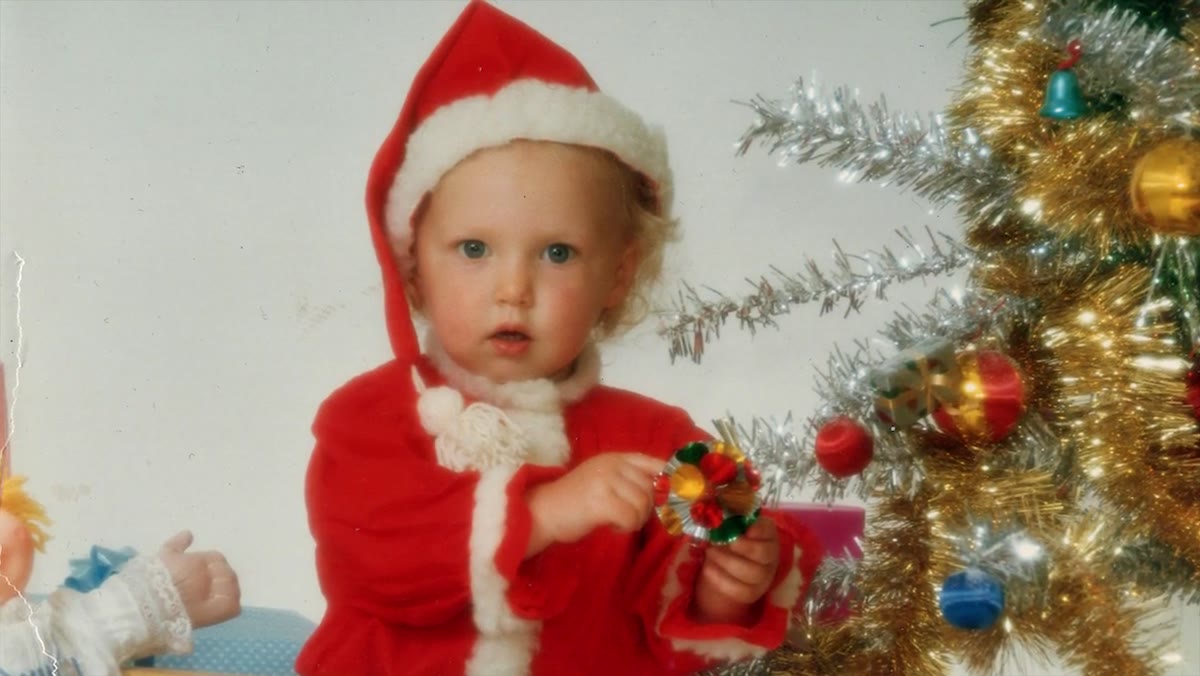 Geddes recounting her first holiday card made at home with basic equipment
One of the more underrated pieces of advice in this tutorial comes from Geddes describing her first greeting card project - a simple holiday image of her daughter, shot in a bedroom, hand-embossed and mailed to friends. The image itself was basic. The point was finishing something, getting it into the world, and seeing how it landed.
Geddes recounting her first holiday card made at home with basic equipment
One of the more underrated pieces of advice in this tutorial comes from Geddes describing her first greeting card project - a simple holiday image of her daughter, shot in a bedroom, hand-embossed and mailed to friends. The image itself was basic. The point was finishing something, getting it into the world, and seeing how it landed.
This is a legitimate workflow principle, not just a feel-good origin story. When I was starting out in commercial work, I kept waiting until setups were perfect before committing to a final image. The photographers who improved fastest were the ones who completed projects at whatever scale they could manage and then analyzed the results. Build one complete image, fully realized, and you learn more than you do from a hundred half-finished experiments.
Step 5: Let the Subject’s Presence Define the Session’s Tone
 Geddes explaining her organic, subject-driven creative process
Geddes describes her creative approach as organic rather than mechanical. She doesn’t impose a rigid concept onto the subject - she responds to what the subject brings into the room. For photographers used to concept-first commercial work, this sounds abstract. In practice, it means arriving with a range of options rather than a single plan.
Geddes explaining her organic, subject-driven creative process
Geddes describes her creative approach as organic rather than mechanical. She doesn’t impose a rigid concept onto the subject - she responds to what the subject brings into the room. For photographers used to concept-first commercial work, this sounds abstract. In practice, it means arriving with a range of options rather than a single plan.
Prepare three or four possible setups in advance: different props, different light configurations, different positions in the space. Then let the infant’s behavior in the first ten minutes tell you which direction makes sense. A drowsy newborn might cooperate with a tightly posed shot in a container prop. An alert, fussy one might only work in an open, supported recline with parent contact visible. Having the flexibility to pivot without re-rigging saves the session.
What I’d Add From My Own Work
I keep a lighting journal - a physical notebook where I sketch every setup from every shoot, with notes on what worked and what I’d change. What Geddes’s tutorial reinforced for me is that this kind of documentation matters even more when your subject is unpredictable. When I shoot a setup that produces a strong result under chaotic conditions, I want a record of exactly what that light configuration was, not a vague memory.
The other thing I’d add: if you haven’t shot in a studio with environmental controls (temperature, sound, light), borrow or rent one before you attempt newborn work. I once watched a photographer try to shoot a four-week-old in a converted loft space in the middle of summer. The baby was uncomfortable, the photographer was frustrated, and nothing was salvageable. The studio isn’t just a backdrop. It’s infrastructure.
The single most transferable idea in this tutorial is also the simplest: preparation is what makes spontaneity possible. Geddes can respond fluidly to whatever an infant does in the studio because everything outside of that infant’s behavior is already locked down. Get your environment right. Get your light right. Get your exposure right. Then put the camera down and just watch your subject for a few minutes before you start shooting.
Watch the full tutorial on YouTube to see Geddes walk through her studio philosophy in her own words.
Comments
Leave a Comment