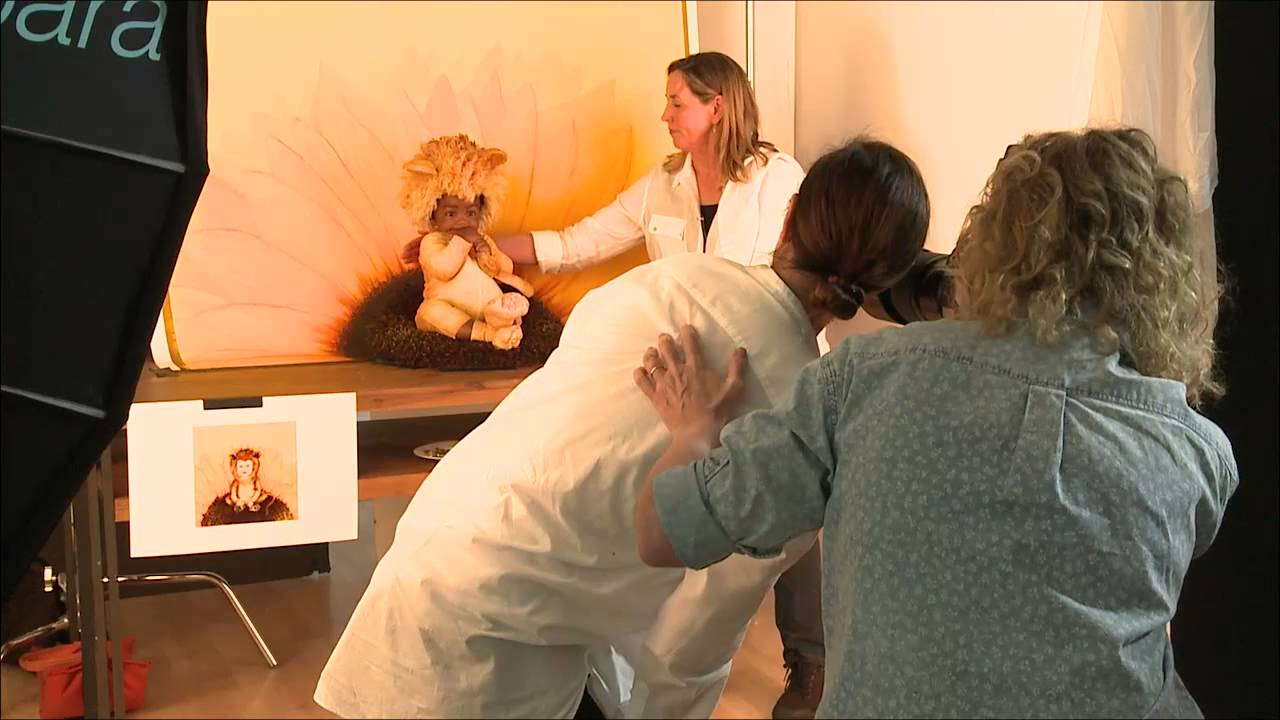
There’s a question I get at workshops almost every time: “How do you handle unpredictable subjects?” Usually the person asking is talking about a difficult client or a fidgety model. But the hardest version of that problem is photographing infants, where you have zero verbal communication, a narrow window of cooperation, and something genuinely precious at stake. I’ve shot enough commercial work to know that the gap between a controlled adult portrait session and a session with a six-month-old is not a gap, it’s a canyon.
That’s why I keep coming back to this CreativeLive tutorial featuring Anne Geddes shooting inside her actual working studio. Watch the full tutorial on YouTube. Geddes is in the middle of producing her next zodiac calendar and you’re watching a real shoot, not a demo. She’s photographing the Leo sign with a live infant, a full crew, and actual calendar deadlines. What she reveals about her process is more useful than most lighting masterclasses I’ve sat through, because it’s grounded in 30 years of doing this for real.
What struck me most is that this isn’t primarily a video about camera settings or modifier choice. It’s about the system that makes the technical stuff possible. If you photograph children, newborns, or any subject who can’t take direction, this breakdown will change how you structure your shoots.
Step 1: Answer the Questions Your Client Is Already Asking
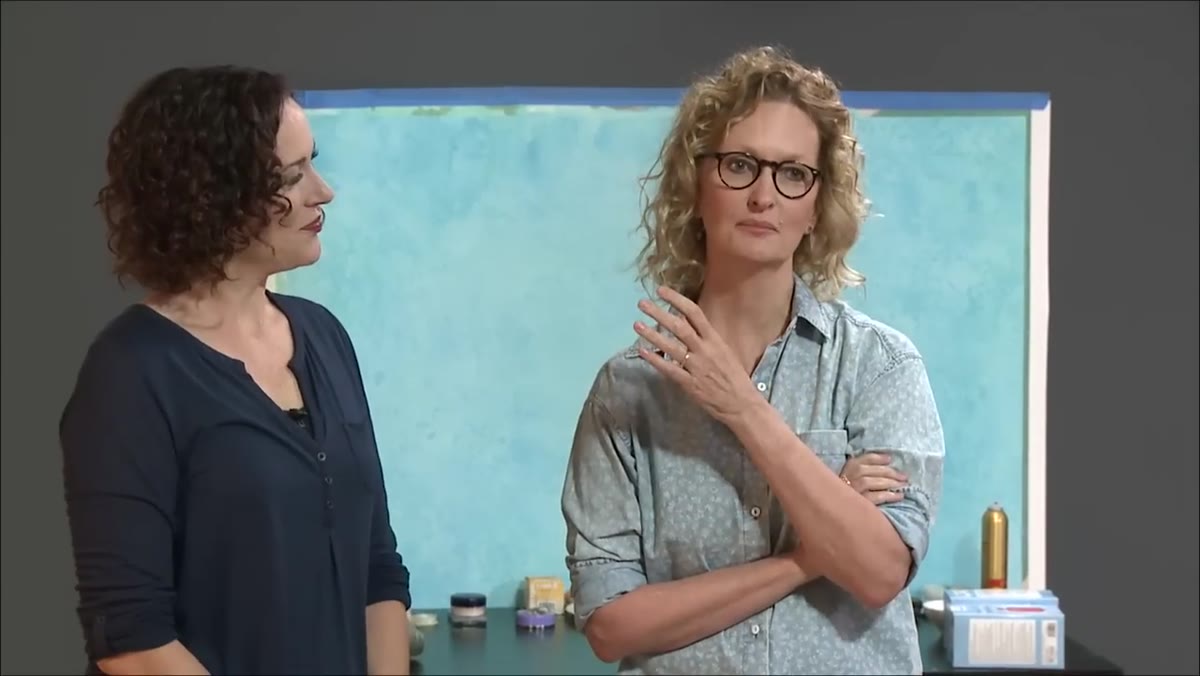 Anne Geddes speaking to camera in studio setting
Before Geddes fires a single frame, she addresses something most photographers skip entirely: transparency about process. She explains that fans and clients have been asking her the same questions for years, things like how she finds her subjects, how she prepares them, how her costumes are made. Her answer is to open the studio doors and show the actual workflow.
Anne Geddes speaking to camera in studio setting
Before Geddes fires a single frame, she addresses something most photographers skip entirely: transparency about process. She explains that fans and clients have been asking her the same questions for years, things like how she finds her subjects, how she prepares them, how her costumes are made. Her answer is to open the studio doors and show the actual workflow.
For working photographers, this is a practical business lesson dressed up as an intro. When clients understand your process before they arrive, the session runs faster and trust is higher. I keep a one-page studio brief that I send ahead of every shoot explaining exactly what will happen and in what order. It cuts down on mid-session surprises and keeps parents calm, which directly affects how settled their babies are.
Step 2: Build a Consistent, Long-Term Team
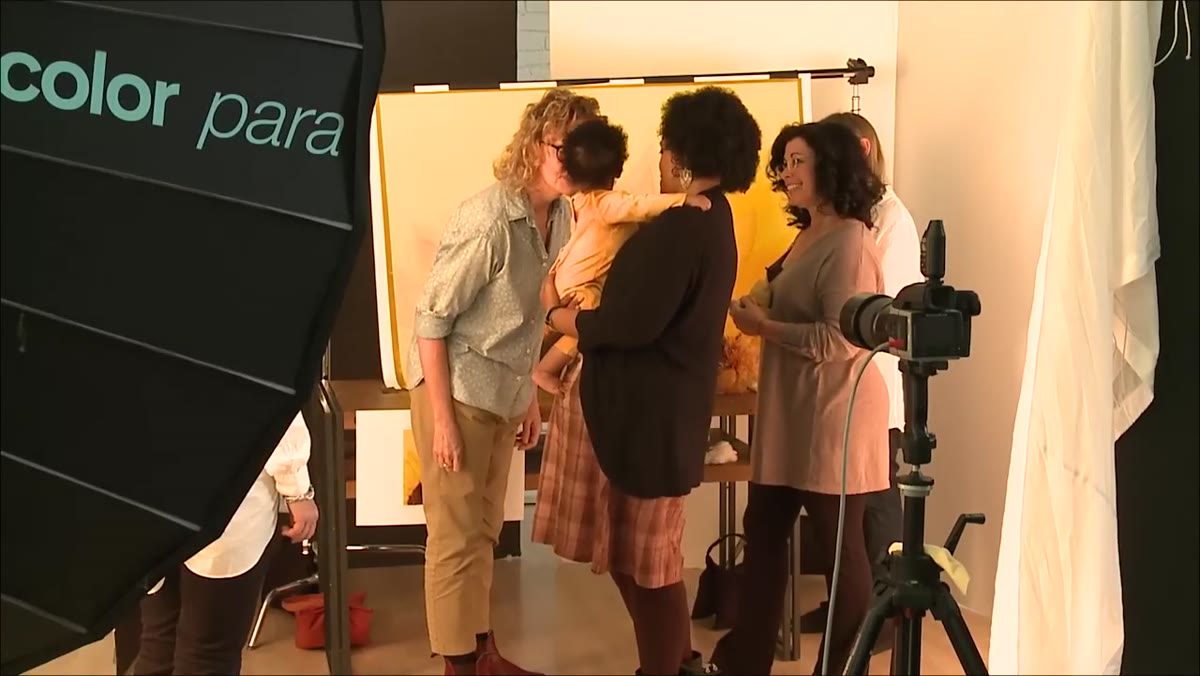 Wide shot of studio crew working around the set
Geddes is explicit about this: she works with the same professionals across many years. The word she uses is trust, and she means it technically, not just emotionally. When everyone on set has worked together long enough, communication compresses. A glance replaces a five-sentence explanation. A hand gesture stops a shoot before a baby tips forward.
Wide shot of studio crew working around the set
Geddes is explicit about this: she works with the same professionals across many years. The word she uses is trust, and she means it technically, not just emotionally. When everyone on set has worked together long enough, communication compresses. A glance replaces a five-sentence explanation. A hand gesture stops a shoot before a baby tips forward.
In my own studio I’ve labeled every light position with masking tape on the floor, and my assistants know those marks as well as I do. That kind of shorthand only exists because we’ve repeated the same setups dozens of times together. If you’re still rotating through different assistants on every job, you’re rebuilding institutional knowledge from scratch each time, and that cost shows up in your frames.
Step 3: Design the Environment Around the Subject’s Needs
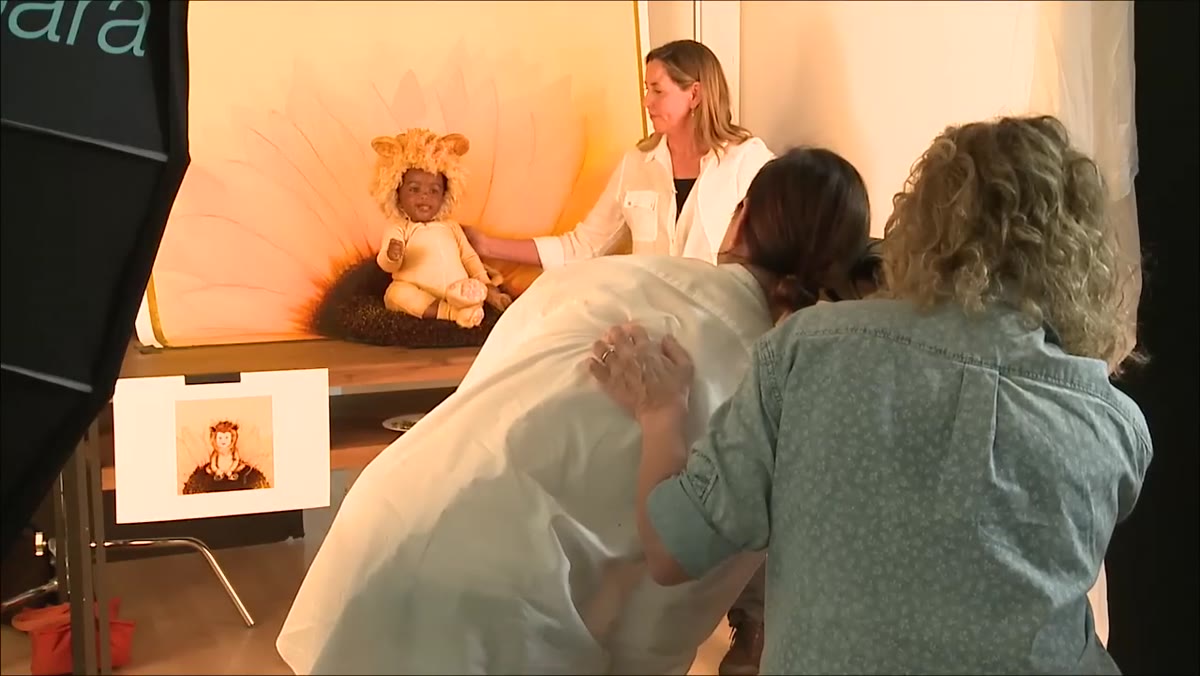 Studio set configured for infant subject with support positions visible
This is where Geddes’s approach diverges sharply from standard studio practice. The set isn’t designed primarily for the camera. It’s designed around what a six-to-seven-month-old infant needs to feel secure. A support person, identified as John, is positioned close to the baby throughout the shoot, staying just outside the frame. The lighting, the costume, the prop placement, all of it is arranged so the infant can be comfortable first, photogenic second.
Studio set configured for infant subject with support positions visible
This is where Geddes’s approach diverges sharply from standard studio practice. The set isn’t designed primarily for the camera. It’s designed around what a six-to-seven-month-old infant needs to feel secure. A support person, identified as John, is positioned close to the baby throughout the shoot, staying just outside the frame. The lighting, the costume, the prop placement, all of it is arranged so the infant can be comfortable first, photogenic second.
Most photographers work the opposite way: they lock in their lighting setup, then figure out how to get the subject to fit it. With infants, that logic fails fast. I’ve started doing lighting-first builds only when I’m shooting adults who can adjust their position on cue. With younger subjects, I build the environmental comfort first, then solve the light around that fixed position. It takes longer to set up and produces far cleaner results.
Step 4: Use Off-Camera Support to Maintain Safety Without Breaking the Frame
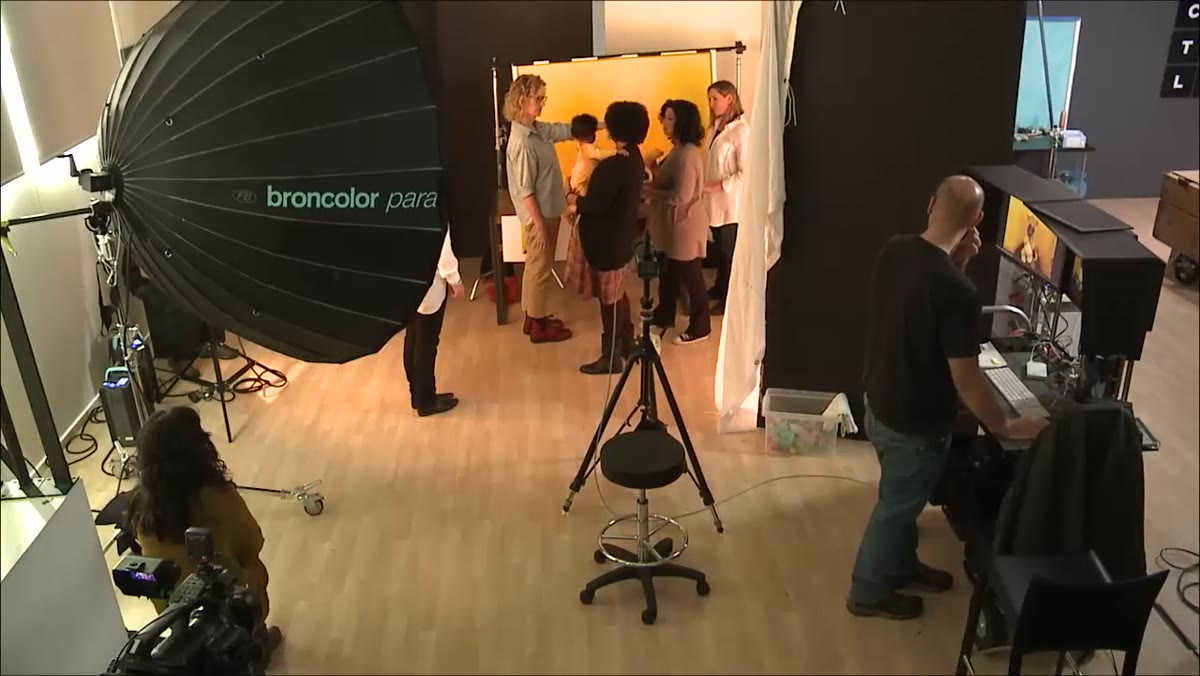 Support person positioned beside infant just outside camera frame
Geddes notes that her support team member stays positioned directly beside the infant, close enough to intervene instantly, but angled so they don’t interfere with the shot. The camera operator is moving between the live view and the capture position, and everyone on set knows the sight lines.
Support person positioned beside infant just outside camera frame
Geddes notes that her support team member stays positioned directly beside the infant, close enough to intervene instantly, but angled so they don’t interfere with the shot. The camera operator is moving between the live view and the capture position, and everyone on set knows the sight lines.
This is a specific blocking problem that photographers don’t talk about enough. If you’ve ever tried to shoot a baby propped in a set piece, you know that “just watch them carefully” is not a safety plan. The support person needs a defined position, a defined role, and a clear protocol for when to move in. I sketch this into my lighting diagrams before the shoot starts so there’s no improvisation on set.
Step 5: Recognize and Capture the Fleeting Expression Window
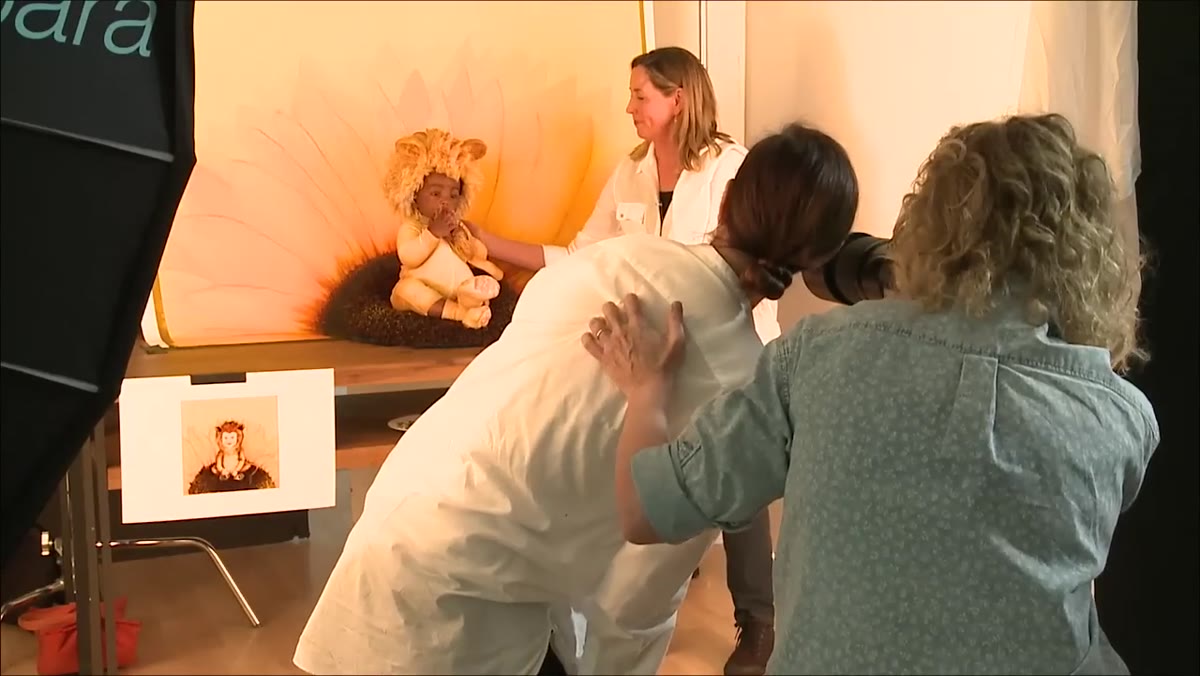 Infant on set producing a natural spontaneous expression
Geddes describes the moment when a perfect expression happens as “so fleeting,” and that compression of time is the central technical challenge of infant photography. You’re not waiting for a pose. You’re waiting for an expression that lasts maybe half a second, and you need to have your exposure, focus, and framing already locked before it arrives.
Infant on set producing a natural spontaneous expression
Geddes describes the moment when a perfect expression happens as “so fleeting,” and that compression of time is the central technical challenge of infant photography. You’re not waiting for a pose. You’re waiting for an expression that lasts maybe half a second, and you need to have your exposure, focus, and framing already locked before it arrives.
Her solution is continuous shooting during the active window, combined with a calm, quiet set so the baby isn’t startled between moments. Loud sets produce tense babies. Tense babies produce narrow expression windows. I run my studio nearly silent during infant work, which feels strange at first but produces a noticeably higher keeper rate.
Step 6: Treat the Subject’s Value as Non-Negotiable
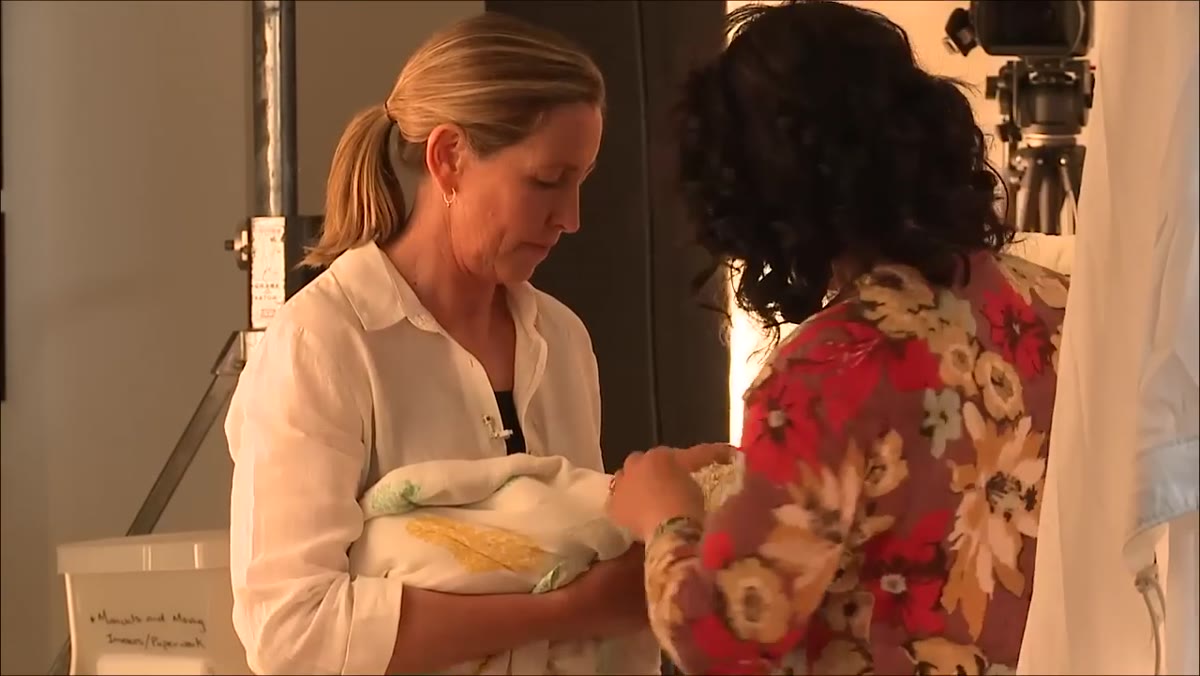 Anne Geddes speaking about responsibility to families
Geddes makes one statement that I think every photographer who works with children should write on their studio wall: these are precious beings who belong to families, and she never takes that for granted. This isn’t sentiment. It’s a professional standard that governs every decision about safety margins, session length, and how hard you push for one more shot.
Anne Geddes speaking about responsibility to families
Geddes makes one statement that I think every photographer who works with children should write on their studio wall: these are precious beings who belong to families, and she never takes that for granted. This isn’t sentiment. It’s a professional standard that governs every decision about safety margins, session length, and how hard you push for one more shot.
When I’m tempted to push through a baby’s signals that they’re done, I think about this framing. The image doesn’t matter more than the subject’s experience. Families remember how their child was treated on set long after they’ve printed the final image.
What I’d Add From My Own Experience
Geddes’s studio is purpose-built for this kind of work after three decades of refinement. Most of us are adapting general studio spaces. The single biggest adjustment I’ve made is controlling color temperature with obsessive consistency during infant shoots. Early in my career I ruined a major editorial job by mixing daylight from a practical window with tungsten modeling lights and not catching the color drift until post. Now every session starts with a gray card calibration and I flag any shot where a practical light source has changed, whether someone opened a door or a cloud moved.
For infant work specifically, warm, consistent color temperature also affects the look of skin tone in ways that are hard to correct later. Get it right at capture and you spend that saved time on expressions instead of skin correction.
The single most important thing Geddes demonstrates in this tutorial is that great infant photography is an environmental and relational achievement before it’s a technical one. The lighting is solvable. The trust, the team, and the safe set structure are what make the lighting matter.
Watch the full tutorial on YouTube and pay attention to how the crew moves, not just how the light falls.
Comments (1)
Been doing this wrong for years apparently. Thanks for the wake-up call.
Leave a Comment