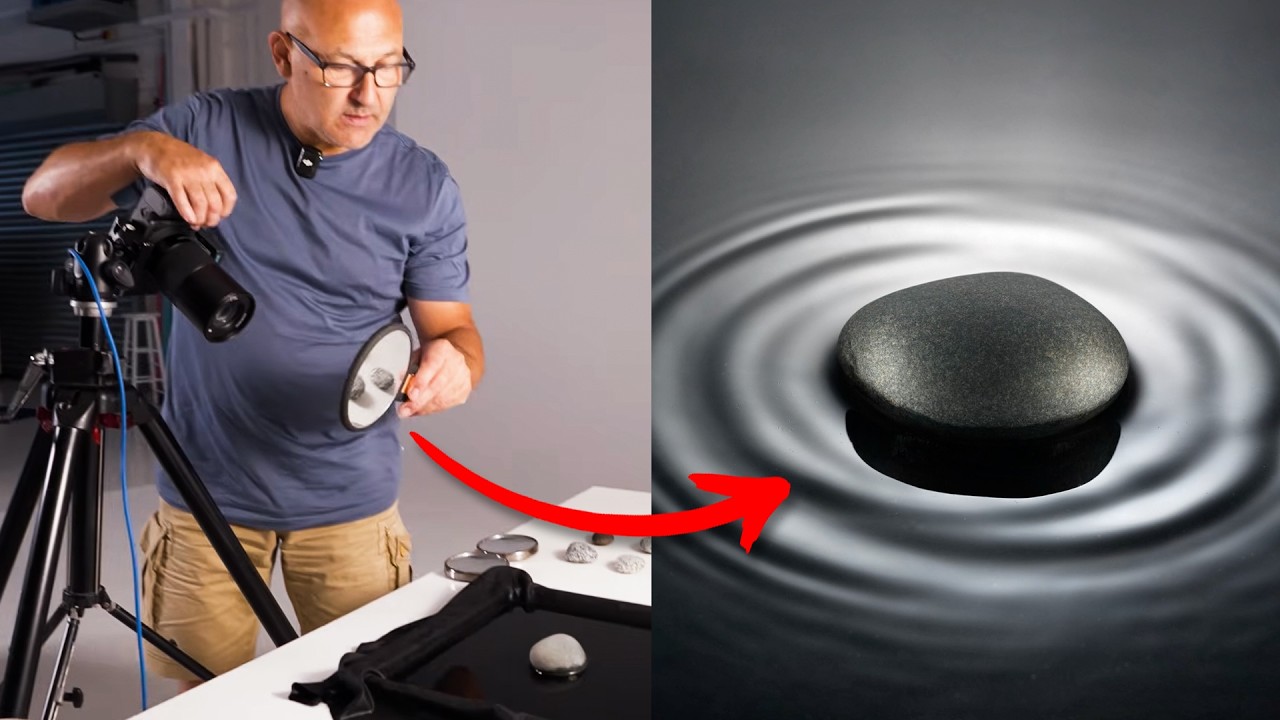
I had a client cancel a half-day studio booking last month with four hours’ notice. Instead of packing up and going home, I pulled out a subject I’d been meaning to test with a particular feathering technique and spent the afternoon just shooting. No invoice riding on it. No art director looking over my shoulder. By the time I wrapped, I’d reworked a rim light setup I’d been doing the same lazy way for three years. That afternoon reminded me of something I keep having to relearn: understanding a lighting principle in your head and actually being able to execute it under pressure are two completely separate skills. The only bridge between them is repetition with intention.
Which is exactly why the approach inside this Visual Education promotional video stopped me mid-scroll.
Watch the full tutorial on YouTube
Why Watching Demonstrations Is Only Half the Work
Karl Taylor has been shooting professionally for over thirty years. In this Visual Education video, he makes a point I want to stitch onto every photography classroom wall: watching someone else demonstrate a lighting technique does not mean you can replicate it. The knowledge sits in your eyes, not your hands. His solution, the Photography Projects program, is built entirely around closing that gap.
The structure is clean and smart. Taylor explains and demonstrates a specific photographic idea or lighting principle. Then members go and try it themselves, in their own homes, with whatever space and equipment they already have. No excuses about not owning a Profoto or not having a dedicated studio. The constraint is deliberate. When you’re forced to work with a single speedlight in a hallway, you stop relying on gear and start relying on understanding.
That philosophy lines up with how I actually learned to light. My first proper education in how light wraps across skin came from watching my wife sit near a window on a bright overcast morning. I grabbed my camera without thinking, shot a full sequence, and went back to study why those frames worked the way they did. No modifier. No power ratio. Just observation turned into a diagram in my lighting journal that night.
The Project Format Forces Specific Creative Decisions
What separates this from a standard online course is the accountability structure built around sharing. Members post their photographs alongside behind-the-scenes setup shots. That second requirement is the important one. When you have to show your setup, you can’t fake your way through an explanation. You either positioned that light deliberately or you didn’t, and the image will confirm which one is true.
Taylor focuses each project on a single principle. Not “portrait lighting” in the broad sense, but one specific idea within that territory. That kind of narrow scope forces a photographer to actually engage with the variable they’re testing rather than adjusting six things at once and crediting luck for the outcome. I do something similar when I test a new modifier. The day it arrives, I run it against my existing key light setup with nothing else changed. Same subject, same distance, same power. The only variable is the modifier. That discipline is what the project format is built on.
Home Setups Produce Surprisingly Honest Results
The footage of real member work is what gives this video its value. These aren’t shoots from photographers with dedicated studios and full equipment arsenals. You see small rooms, natural light mixed with available gear, improvised setups that still produce images worth looking at carefully. The variety is instructive because it shows what actually transfers when the fundamentals are solid.
A reflector placed at the right distance and angle in a kitchen produces the same quality of fill light as a dedicated panel in a commercial studio. The physics doesn’t negotiate. What changes is the precision you can apply and the repeatability you can achieve. Working in a constrained home environment teaches you the principle cleanly, because the constraint removes the option of throwing more equipment at a problem.
The behind-the-scenes images members share are genuinely useful study material. Seeing the distance between a light source and subject, the angle of a reflector, the relationship between the camera position and the key light, those spatial details communicate things that settings alone never will.
Where I’d Push This Further
My one addition to this approach would be the lighting journal habit, and I mean that as a written and sketched record, not just a folder of behind-the-scenes photos. I sketch every setup from every shoot, including the failed tests. The act of drawing the positions forces you to think about why you placed things where you did, not just where they ended up. After a few months, you start seeing patterns in what you reach for and patterns in what consistently doesn’t work for you. That’s data about your own eye, which is the most useful data there is.
The Photography Projects format gets you most of the way there by requiring setup documentation. Adding a few written notes about what you changed between frames and what the result was would make each project a permanent reference, not just a completed exercise.
Repetition Is the Only Shortcut
The single most transferable idea from this video is that practicing light on low-stakes subjects, in whatever space you have, with whatever equipment you own, builds the muscle memory that holds up when it actually matters. Watching a demonstration gives you a map. The projects give you the mileage.
If you want to see the real member work and understand how the project structure is set up, the full video is worth your time.
Watch the full tutorial on YouTube
Comments (2)
Clear and practical. No fluff. Appreciate that.
Simple but effective. Sometimes that's all you need.
Leave a Comment