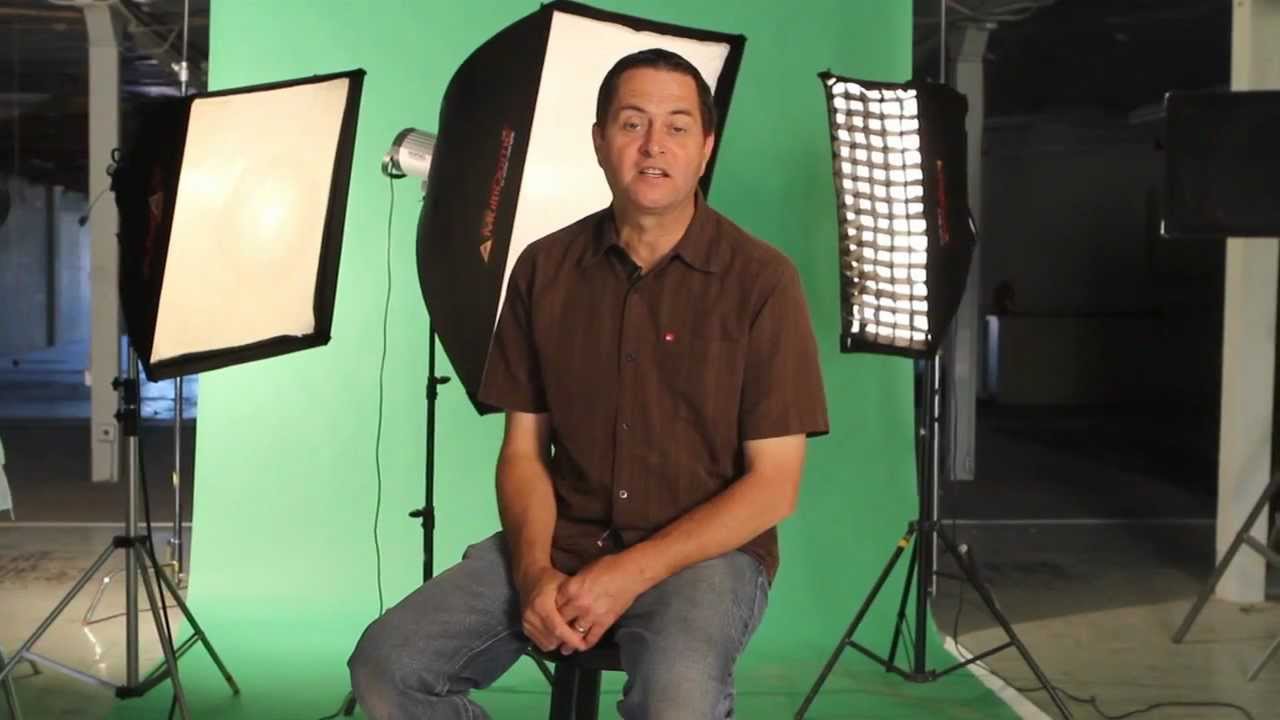
I used to buy softboxes the way a lot of photographers do: bigger shoot, bigger box. It seemed logical. More surface area, more coverage, more light reaching the subject. It wasn’t until I started diagramming my setups more carefully, sketching out every modifier position and comparing results across jobs, that I noticed something uncomfortable. My large and small softboxes weren’t behaving the way I expected them to. The coverage was similar. What was different was harder to name at the time.
JP Morgan from The Slanted Lens puts a name to it in a way that’s clean and immediately useful. In this Watch the full tutorial on YouTube tutorial on softbox fundamentals, he breaks the whole conversation into two principles: area of coverage and quality of light. Those two things sound simple. But watching him demonstrate them side by side against a measured grid is one of those moments where something you half-knew becomes something you actually understand. I’ve watched a lot of lighting tutorials. This one earns a spot in the rotation.
What follows is my walkthrough of his method, with the specifics you need to apply it on your next shoot.
Step 1: Set Up a Measured Reference Grid
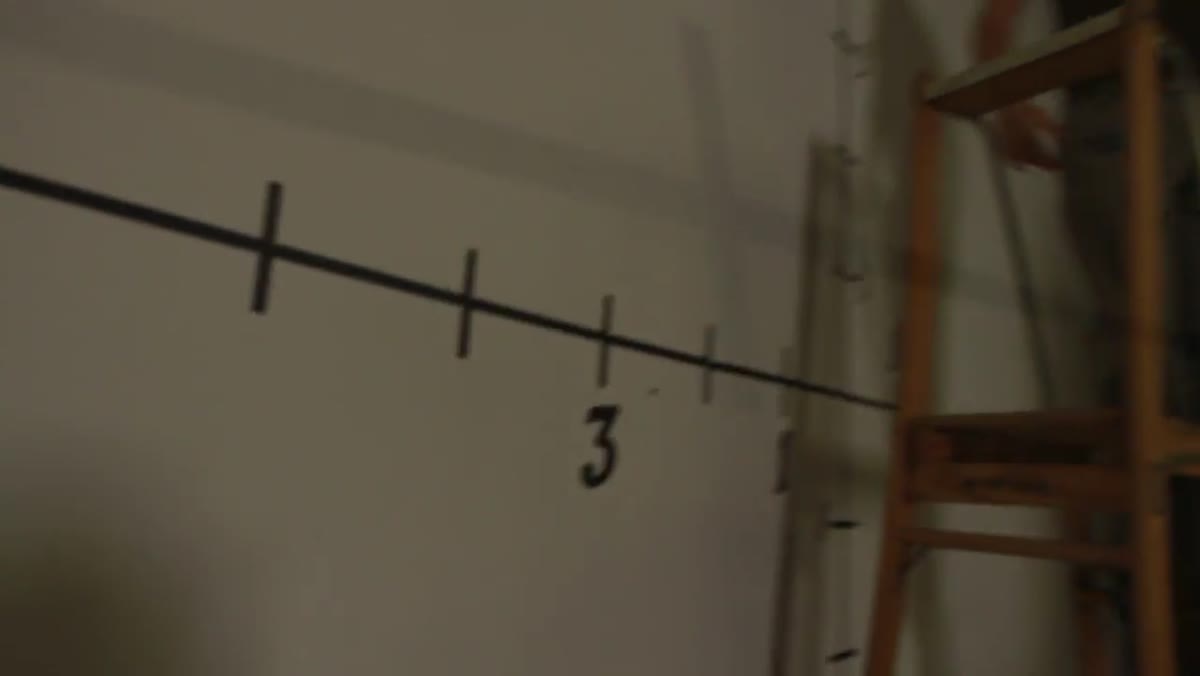 Grid taped on wall with softbox positioned six feet away
Before you compare any modifiers, you need a controlled baseline. Morgan tapes a 12-foot by 12-foot grid directly on the wall and positions each softbox exactly 6 feet from the surface. That 6-foot distance isn’t arbitrary. It represents a realistic working distance between a light source and a subject during a portrait session. Doing this on a blank wall rather than with a subject in frame is smart because it removes all the variables of skin tone, clothing, and reflectivity, and lets you read the light itself.
Grid taped on wall with softbox positioned six feet away
Before you compare any modifiers, you need a controlled baseline. Morgan tapes a 12-foot by 12-foot grid directly on the wall and positions each softbox exactly 6 feet from the surface. That 6-foot distance isn’t arbitrary. It represents a realistic working distance between a light source and a subject during a portrait session. Doing this on a blank wall rather than with a subject in frame is smart because it removes all the variables of skin tone, clothing, and reflectivity, and lets you read the light itself.
If you want to replicate this test in your own studio, use painters tape on a seamless or a flat wall. Mark your center point, then tape out the grid in 2-foot increments so you have a readable reference for where light falls off. Run this test with every new modifier you bring in. I do exactly that. The day a new piece of gear arrives, it gets mounted, measured, and documented before it goes anywhere near a paying client.
Step 2: Compare Coverage Across Softbox Sizes
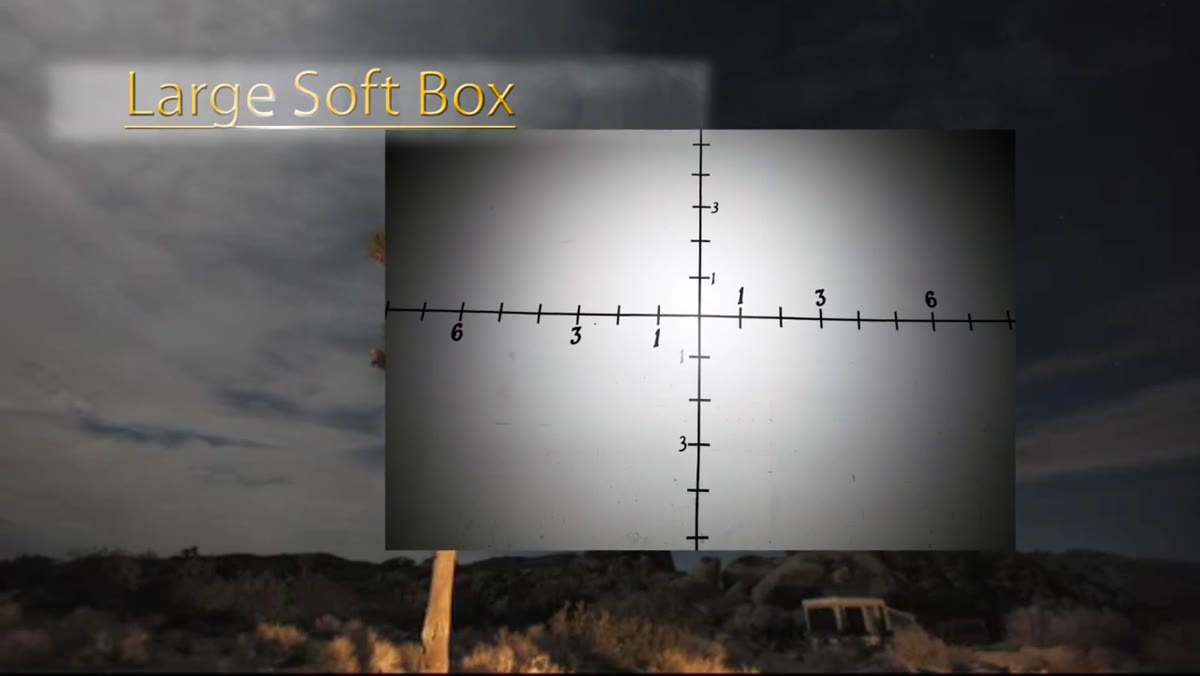 Still image showing large softbox light spread on grid wall
Here is where Morgan delivers the result that tends to surprise people: a large softbox, a medium softbox, and a small softbox all placed at the same 6-foot distance cover roughly the same 12-foot by 12-foot area. The light falloff from center to edge is also comparable, sitting around one to one-and-a-half stops across all three sizes. If you went into this test expecting the large box to flood a wider area and the small box to throw a tighter, more concentrated beam, you would walk away confused.
Still image showing large softbox light spread on grid wall
Here is where Morgan delivers the result that tends to surprise people: a large softbox, a medium softbox, and a small softbox all placed at the same 6-foot distance cover roughly the same 12-foot by 12-foot area. The light falloff from center to edge is also comparable, sitting around one to one-and-a-half stops across all three sizes. If you went into this test expecting the large box to flood a wider area and the small box to throw a tighter, more concentrated beam, you would walk away confused.
The practical implication is significant. You cannot use softbox size as a tool for controlling how wide your light spreads across a scene. At normal portrait distances, size is not a coverage knob. Knowing this saves you from the mistake of reaching for a larger box when you want to light a wider area, and from thinking a smaller box will naturally create a spotlight effect. It doesn’t work that way.
Step 3: Read the Quality Differences Between Sizes
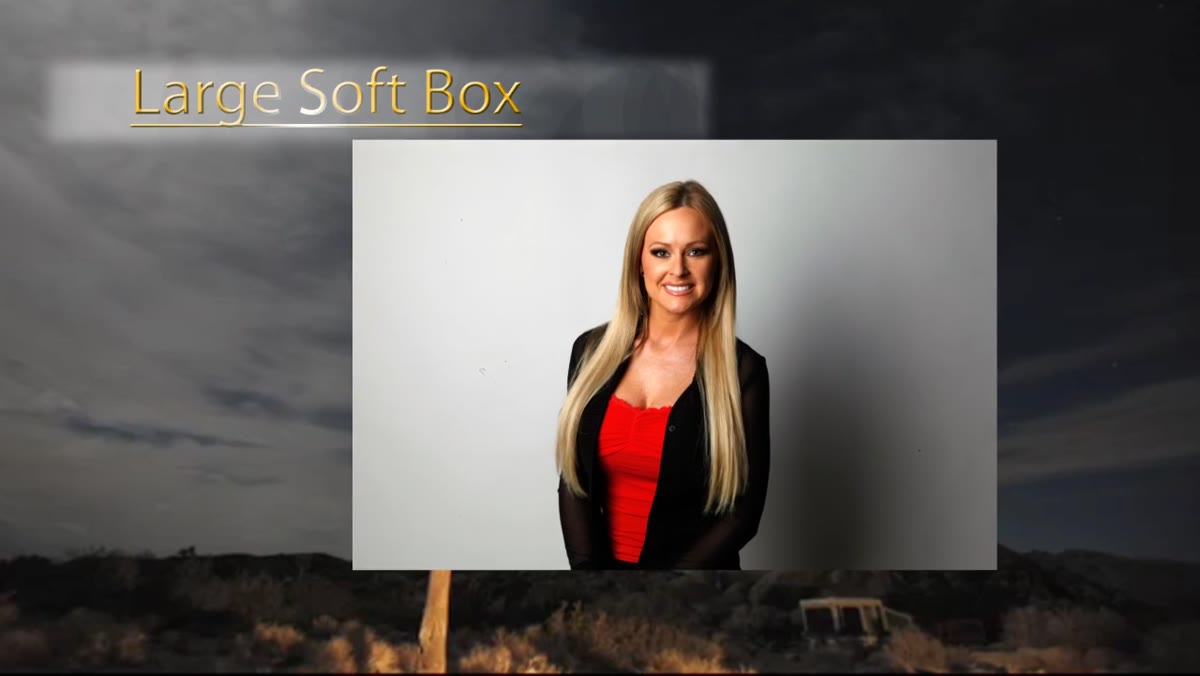
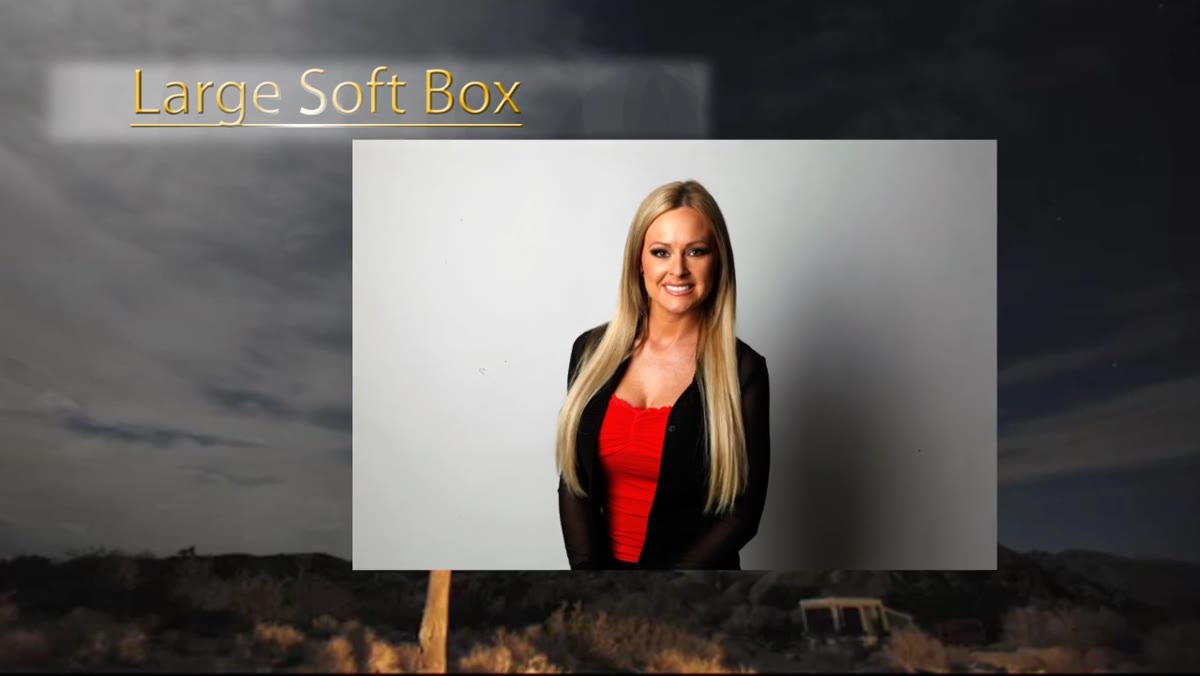 Portrait comparison showing large softbox with soft shadow on wall
This is the real lesson. While coverage stays roughly consistent, the quality of light changes substantially as box size shrinks. Morgan photographs a subject with each of the three sizes in turn, and the portraits tell the story clearly. The large softbox wraps light around the subject’s face, produces a gradual transition from highlight to shadow, and throws a soft, undefined shadow on the background. It is the most forgiving of the three.
Portrait comparison showing large softbox with soft shadow on wall
This is the real lesson. While coverage stays roughly consistent, the quality of light changes substantially as box size shrinks. Morgan photographs a subject with each of the three sizes in turn, and the portraits tell the story clearly. The large softbox wraps light around the subject’s face, produces a gradual transition from highlight to shadow, and throws a soft, undefined shadow on the background. It is the most forgiving of the three.
The medium box produces a more defined shadow, both on the face and behind the subject. You start to see the structure of the face more clearly. The small softbox pushes this further. The shadow on the shadow side of the face deepens noticeably, the background shadow becomes a crisp, readable shape, and the overall effect reads as harder and more contrasty. This is the same light source, the same distance, the same exposure. Size is controlling the apparent hardness of the light, not the area it covers. Larger source equals softer, more wrapping light. Smaller source equals harder, more directional light. That is the rule you are actually working with.
Step 4: Test a Grid Attachment on Your Softbox
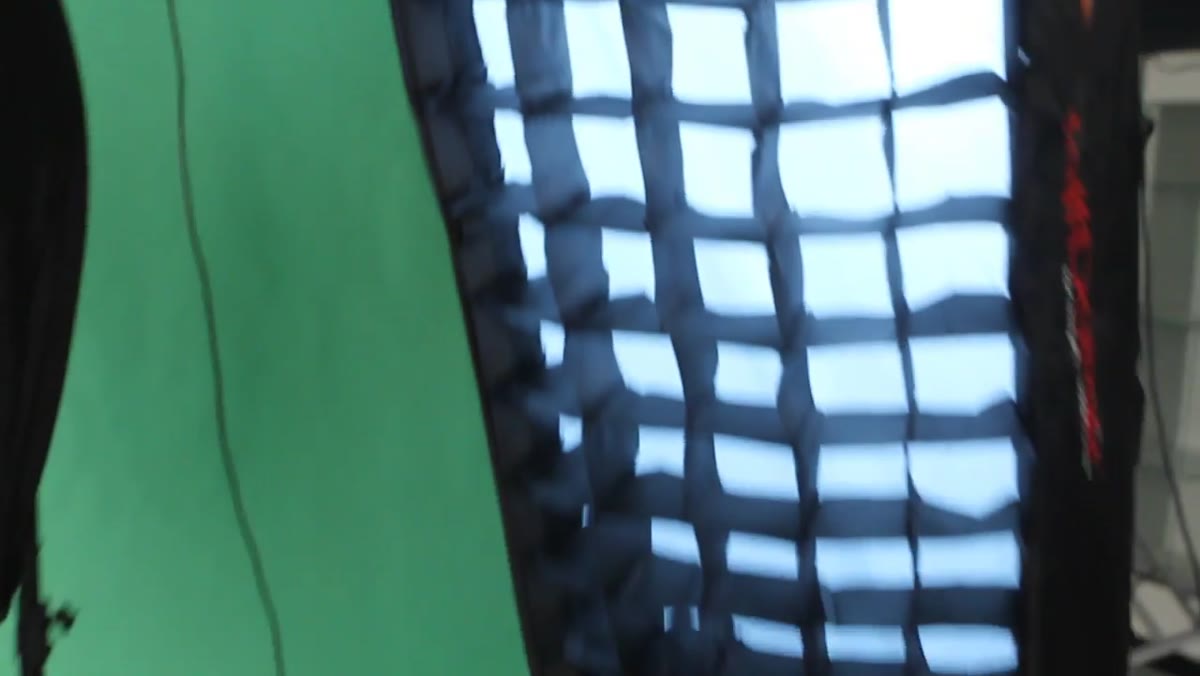 Softbox with grid showing restricted light spread on wall
Once Morgan establishes the baseline behavior of bare softboxes, he introduces grids. A grid is a honeycomb attachment that fits over the front diffusion panel of the softbox. Its effect on coverage is immediate and measurable. On the same 12-foot wall, a gridded softbox reduces coverage from 12 feet down to roughly 8 feet, about a one-third reduction in spread. On a subject, the effect reads as a visible vignette, with light falling off at the edges of the frame and the background going darker.
Softbox with grid showing restricted light spread on wall
Once Morgan establishes the baseline behavior of bare softboxes, he introduces grids. A grid is a honeycomb attachment that fits over the front diffusion panel of the softbox. Its effect on coverage is immediate and measurable. On the same 12-foot wall, a gridded softbox reduces coverage from 12 feet down to roughly 8 feet, about a one-third reduction in spread. On a subject, the effect reads as a visible vignette, with light falling off at the edges of the frame and the background going darker.
The grid does two things simultaneously. It restricts where the light travels, which gives you more control over spill onto the background and adjacent surfaces. And it makes the light appear harder on the subject, because the effective modifier is now behaving like a smaller, more confined source. If you shoot in tight spaces or need to keep your light off a background while still using a large box, a grid is the answer. I keep grids on most of my boxes by default and remove them only when I specifically want the wider, softer spread.
Step 5: Apply the Right Modifier to the Specific Portrait Need
 Subject lit with small softbox showing defined facial shadows
With these two principles established, the selection process becomes straightforward. For beauty and skincare work where you want even, flattering coverage with minimal shadow structure, a large softbox positioned close to the subject is the correct call. For editorial portraits where you want more contrast, visible shadow depth on the face, and a sense of dimension and drama, a small softbox or a gridded medium box will produce that result without requiring you to move the light further away or modify your exposure.
Subject lit with small softbox showing defined facial shadows
With these two principles established, the selection process becomes straightforward. For beauty and skincare work where you want even, flattering coverage with minimal shadow structure, a large softbox positioned close to the subject is the correct call. For editorial portraits where you want more contrast, visible shadow depth on the face, and a sense of dimension and drama, a small softbox or a gridded medium box will produce that result without requiring you to move the light further away or modify your exposure.
The distance you place the softbox from your subject also shifts the effective hardness of the light. Moving a large box closer makes the light even softer because the apparent size of the source relative to the subject increases. Moving any box further away makes the light harder for the same reason. Size and distance work together, and understanding that relationship gives you real control over the final image.
My Addition: The Variable Morgan Doesn’t Cover
One thing I’d add from my own work is the effect of the inner silver or white lining inside the softbox itself. Not all softboxes are built the same, and a silver-lined box will produce a slightly snappier, more specular output than a white-lined box of identical dimensions. When I’m matching a look across a multi-light setup, I check the lining material before I assume two similarly sized boxes will behave identically. Label your gear, know what you own, and test before the job.
The single most important thing to take from this tutorial is that softbox size controls light quality, not coverage. Once that clicks, modifier selection stops being guesswork and starts being a deliberate creative decision. Watch the full tutorial on YouTube to see Morgan’s side-by-side comparisons in motion. The visual difference between a large and small box on a subject’s face is the kind of thing that sticks with you.
Comments (2)
This is exactly what I needed today. Been struggling with this for weeks.
Printing this out and pinning it next to my monitor. That good.
Leave a Comment