
I am not an early adopter. Every modifier that arrives at my studio gets tested the same day, yes, but software and hardware controllers? I let other people be the guinea pigs. I have a system that works, built over years of commercial and editorial shooting, and the last thing I want during a deadline crunch is to relearn muscle memory. So when I came across this Watch the full tutorial on YouTube from Daniel Norton Photographer, I almost scrolled past it. A specialty controller device? For editing? I already have a keyboard with shortcuts mapped to everything I touch regularly.
But Norton said something early in the video that stopped me. He described the same skepticism I was feeling, almost word for word, then explained how a change in his physical working environment forced him to actually commit to the device. That landed. I recently rearranged my studio desk to accommodate a larger display for tethered shooting, and suddenly my old trackpad habits felt awkward. My mouse is on the wrong side relative to where Capture One lives on screen. I have been losing small amounts of time on every single edit session and not really accounting for it. That is exactly the kind of inefficiency a device like the TourBox Elite is designed to fix.
What Norton walks through is not a product commercial disguised as a tutorial. It is a practical account of how a working video and photo editor integrated a programmable hardware controller into an actual production workflow. Here is how he breaks it down, and how I am thinking about applying it to a studio photography context.
Step 1: Understand What TourBox Actually Is (and Is Not)
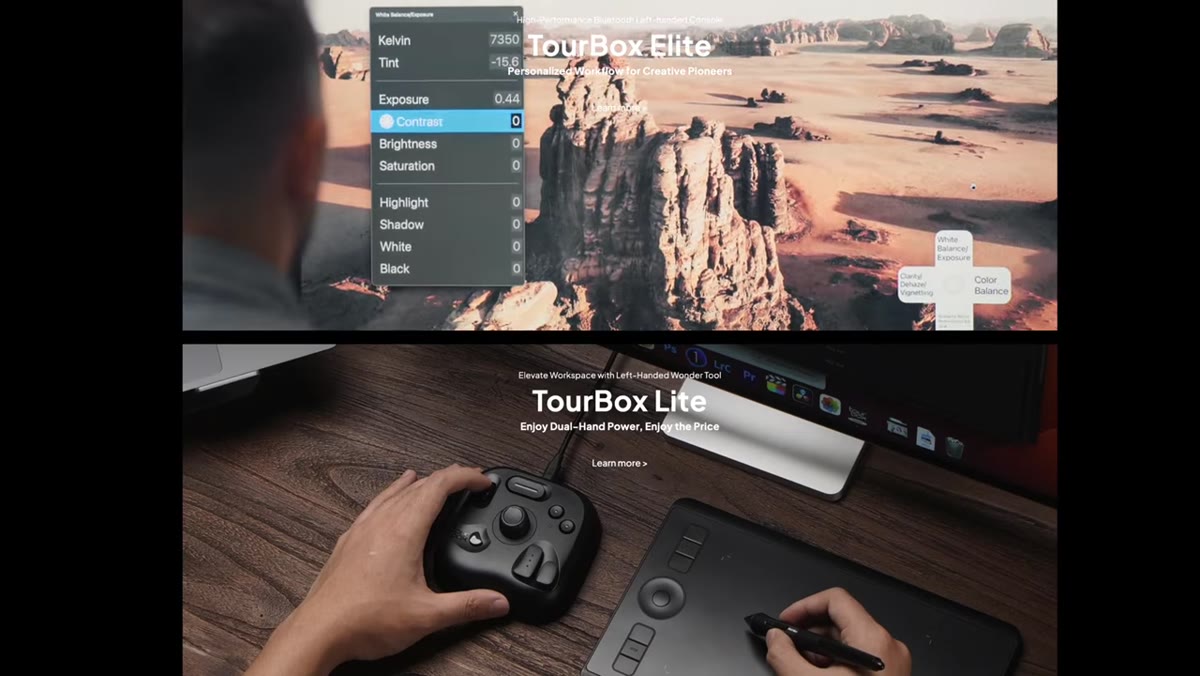 TourBox Elite device shown on desk, multiple knobs and dials visible
Before you buy anything, get the mental model right. The TourBox Elite is not a macro pad and it is not a simple keyboard shortcut device. Norton is clear about this distinction. Yes, you can assign keyboard shortcuts to its buttons. But the device also has built-in integration with specific applications, including Capture One and most Adobe products, that allows it to do things a keyboard physically cannot. Think of parameters that require continuous, analog adjustment rather than a single keystroke trigger. Scroll wheels and dials translate directly into scrubbing timelines, adjusting sliders, and navigating panels without lifting your hand or repositioning your fingers.
TourBox Elite device shown on desk, multiple knobs and dials visible
Before you buy anything, get the mental model right. The TourBox Elite is not a macro pad and it is not a simple keyboard shortcut device. Norton is clear about this distinction. Yes, you can assign keyboard shortcuts to its buttons. But the device also has built-in integration with specific applications, including Capture One and most Adobe products, that allows it to do things a keyboard physically cannot. Think of parameters that require continuous, analog adjustment rather than a single keystroke trigger. Scroll wheels and dials translate directly into scrubbing timelines, adjusting sliders, and navigating panels without lifting your hand or repositioning your fingers.
For studio photographers specifically, this matters most during culling and color work. Tapping a key to nudge exposure by a fixed increment is not the same as rolling a physical dial through a range until the image looks right.
Step 2: Recognize the Ergonomic Problem It Solves
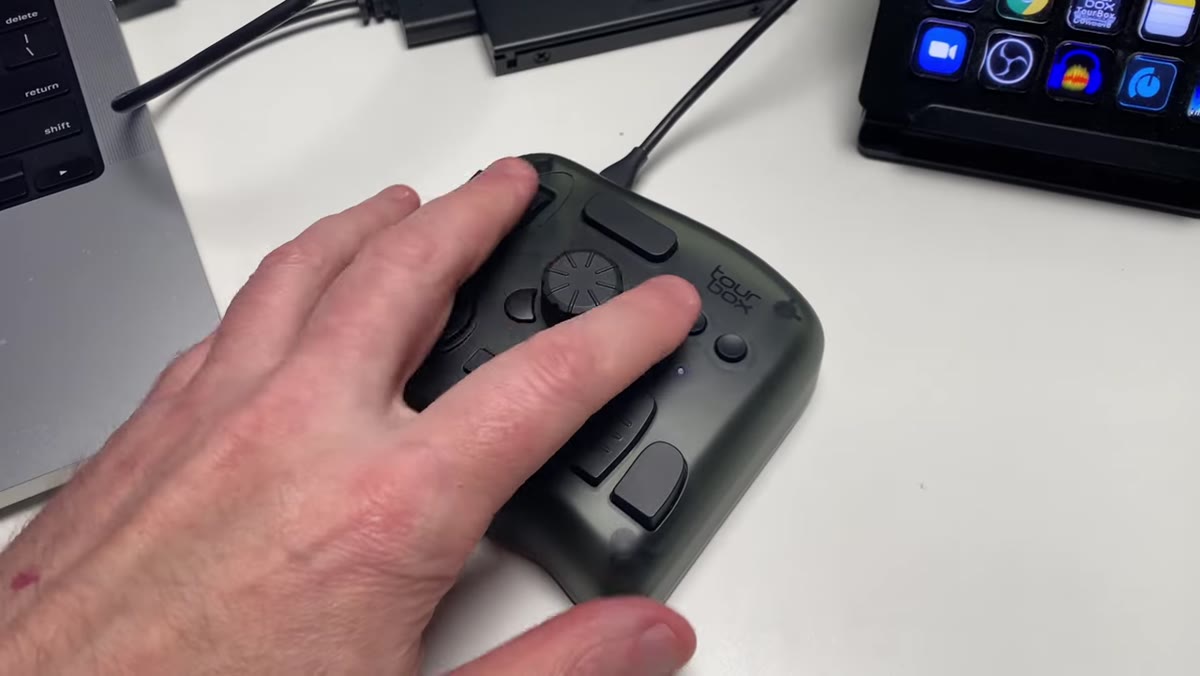 Hand resting naturally on TourBox device, buttons within thumb and finger reach
Norton spends time on something most gear reviews skip: how your hand actually sits on the device. The physical layout means your palm rests on the controller and every button, dial, and scroll wheel is reachable without relocating your hand. You are not hunting. You are not context-switching between input devices. One hand stays on the TourBox, the other moves the mouse when needed, and you jump to the keyboard only to type text.
Hand resting naturally on TourBox device, buttons within thumb and finger reach
Norton spends time on something most gear reviews skip: how your hand actually sits on the device. The physical layout means your palm rests on the controller and every button, dial, and scroll wheel is reachable without relocating your hand. You are not hunting. You are not context-switching between input devices. One hand stays on the TourBox, the other moves the mouse when needed, and you jump to the keyboard only to type text.
This is worth mapping to your own setup before you buy. If you edit tethered at a desk with your mouse and keyboard in fixed positions, think about where a third input device would actually live. Norton found his workflow clicked when he moved from a laptop-on-a-coffee-table setup to a proper desk configuration. The controller needs physical space and a stable surface to deliver the ergonomic benefit it promises.
Step 3: Set Up Custom Presets for Your Software
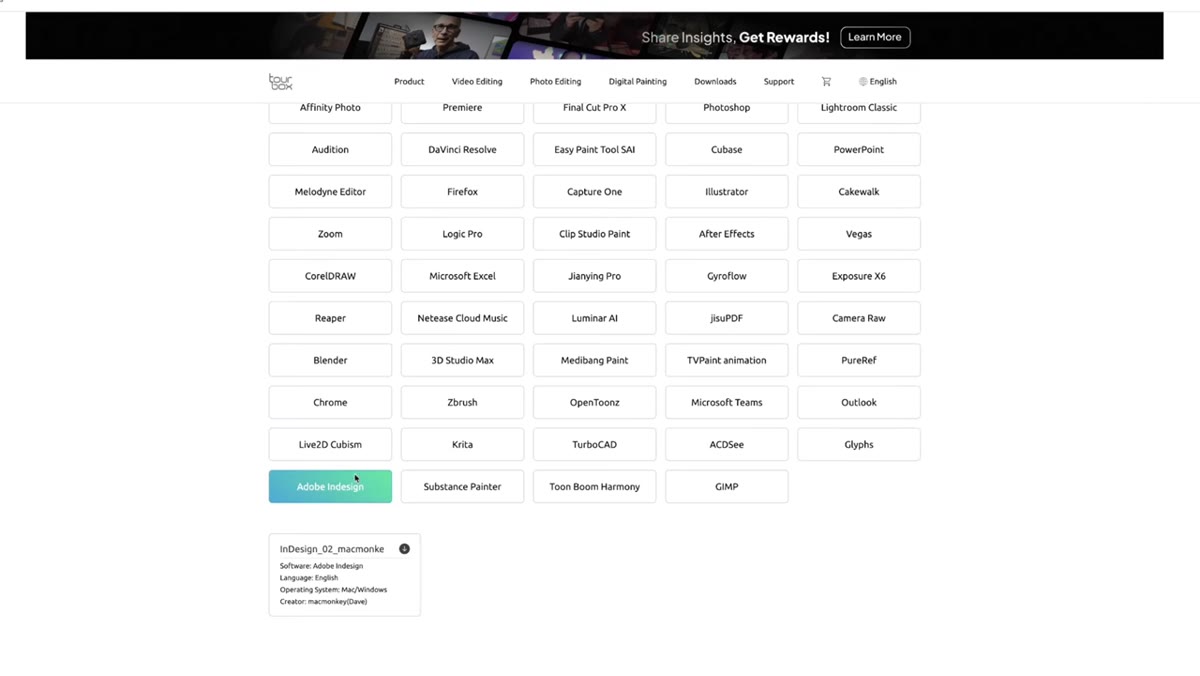 TourBox software interface showing button assignment and preset options
The TourBox ships with default mappings, but the real value is in the community presets and your own customization layer on top of them. Norton points to an active user community that has built and shared presets for different applications. If you are working in Capture One, Lightroom, or Photoshop, there is almost certainly a starting preset already available that someone else has refined through actual use.
TourBox software interface showing button assignment and preset options
The TourBox ships with default mappings, but the real value is in the community presets and your own customization layer on top of them. Norton points to an active user community that has built and shared presets for different applications. If you are working in Capture One, Lightroom, or Photoshop, there is almost certainly a starting preset already available that someone else has refined through actual use.
Download a community preset for your primary editing application, load it into the TourBox console software, then adjust the assignments that do not match your habits. Do not start from a blank slate. That is how you spend two hours programming and zero hours editing. Start with someone else’s logic, then override the three or four functions you actually use most.
Step 4: Assign Your Most-Used Sliders to the Dials
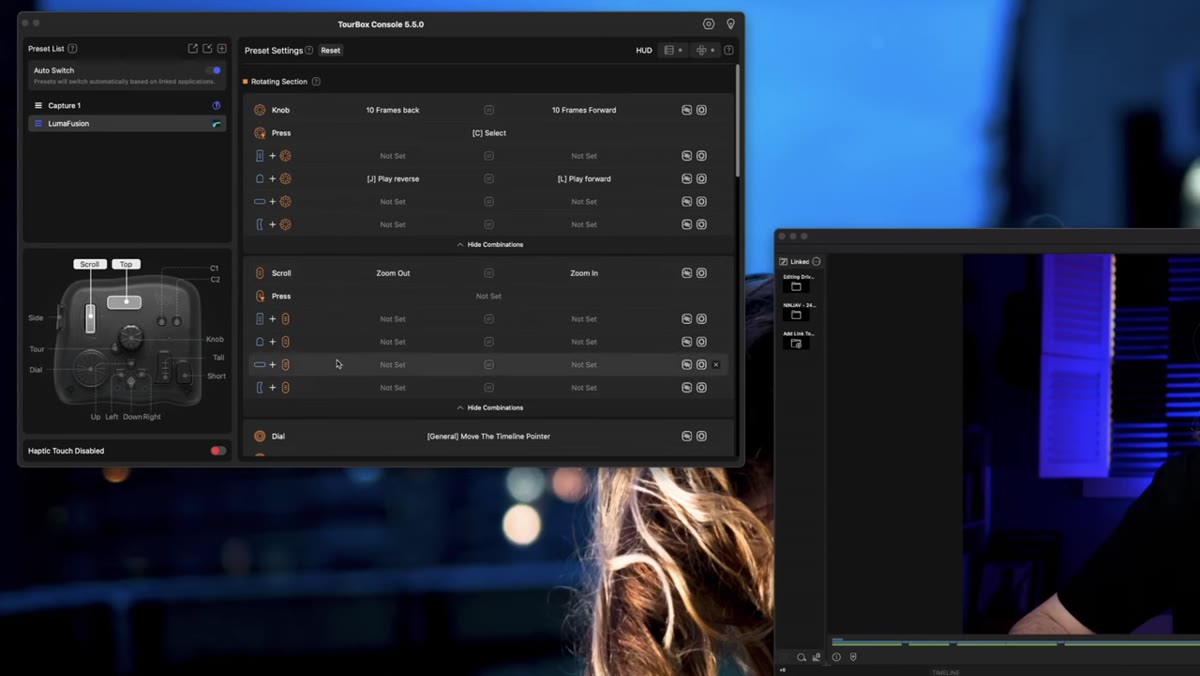 Dial being turned to scrub through video timeline in editing software
The dials and scroll wheels are where the device earns its price. Norton demonstrates using them to scrub through a video timeline, but for photo editors the application is just as compelling: map your primary tone sliders to the large scroll wheel. Exposure, contrast, texture. Parameters you reach for constantly and want to move through a range rather than type a value for.
Dial being turned to scrub through video timeline in editing software
The dials and scroll wheels are where the device earns its price. Norton demonstrates using them to scrub through a video timeline, but for photo editors the application is just as compelling: map your primary tone sliders to the large scroll wheel. Exposure, contrast, texture. Parameters you reach for constantly and want to move through a range rather than type a value for.
In Capture One, I would map the largest wheel to exposure adjustment and the smaller dial to either clarity or the highlight recovery slider, depending on whether I am doing beauty work or fashion. The key is matching the physical size and resistance of each dial to the weight of the adjustment it controls. Big changes on big dials. Fine adjustments on the smaller, more precise controls.
Step 5: Build the Habit Before You Judge the Tool
 Editor working with one hand on TourBox, other hand on mouse simultaneously
Norton is honest that his first sessions with the device felt awkward. He nearly gave up on it. The workflow improvement did not arrive until he stopped using his old setup and committed to the new one fully. That transition period is real and it is uncomfortable, and you need to budget for it.
Editor working with one hand on TourBox, other hand on mouse simultaneously
Norton is honest that his first sessions with the device felt awkward. He nearly gave up on it. The workflow improvement did not arrive until he stopped using his old setup and committed to the new one fully. That transition period is real and it is uncomfortable, and you need to budget for it.
Give yourself a minimum of five full editing sessions before you evaluate whether the tool is working. Do not test it on a deadline. Use it on a low-stakes cull or a personal project first. Your hands need time to stop thinking about where the buttons are before the speed gains show up.
What I Would Add for Studio Photographers
Norton comes at this primarily from a video editing perspective, so there is a gap worth filling. For still photographers doing high-volume studio work, tethered shooting sessions are where I think the TourBox pays off fastest. Culling a 400-frame beauty shoot with one hand on a dial for star ratings and another controlling the image advance is meaningfully faster than keyboard-only navigation. I also keep a lighting diagram app on my phone and sketch every setup after each shoot. The time I save on post can go back into that documentation habit rather than being absorbed by inefficiency. That is the compounding value of a streamlined editing workflow. It is not just speed. It is what you do with the recovered time.
The single most important thing Norton demonstrates is that hardware controllers are not about replacing your keyboard. They are about reducing the number of times you have to leave one physical zone to do something in another. Every time you hunt for a key or reach across your desk, you break concentration. The TourBox keeps your hands closer to the work.
Watch the full tutorial on YouTube to see Norton walk through the device hands-on and demonstrate the actual feel of working with it in a real editing session.
Comments (4)
Wow, I had no idea you could do this. Mind blown.
Just used this on a wedding shoot edit. Client was thrilled.
This saved me so much time on my last edit. Wish I'd found this sooner.
Solid advice. Especially the part about taking your time with it.
Leave a Comment