
Every so often a client asks me to shoot something with hard sunlight streaming through a window and a strobe balancing the shadows. Clean concept. The problem is that the moment you try to overpower natural light with flash, you want a faster shutter speed to control the ambient exposure — and that is exactly where sync speed becomes your ceiling. I’ve watched assistants accidentally clip the frame with a dark band on their first studio job, blame the camera, and spend twenty minutes troubleshooting the wrong thing. The culprit is almost always the same misunderstanding about how the shutter and the flash interact.
In this Visual Education tutorial, Karl Taylor walks through flash sync speeds using a combination of hands-on shutter demonstration and clear analogy. Watch the full tutorial on YouTube — but if you want a working breakdown you can follow step by step, keep reading. Taylor strips the concept down to its mechanical reality, and once you see it, you cannot unsee it.
Step 1: Identify the Type of Shutter in Your Camera
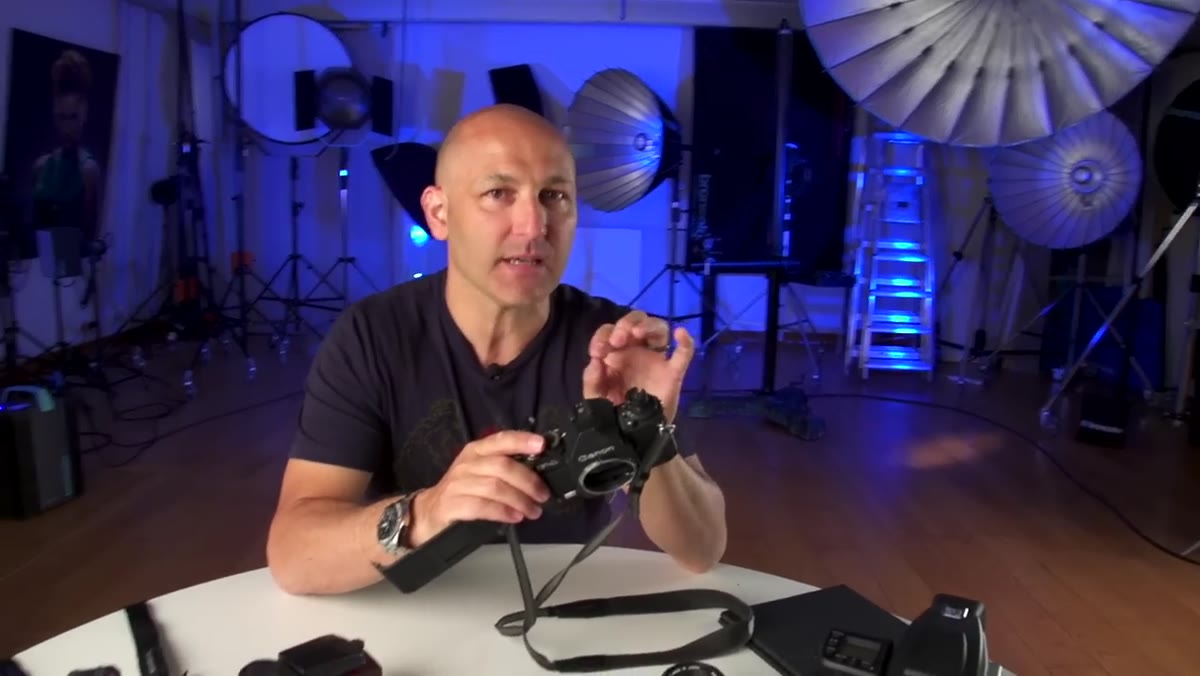
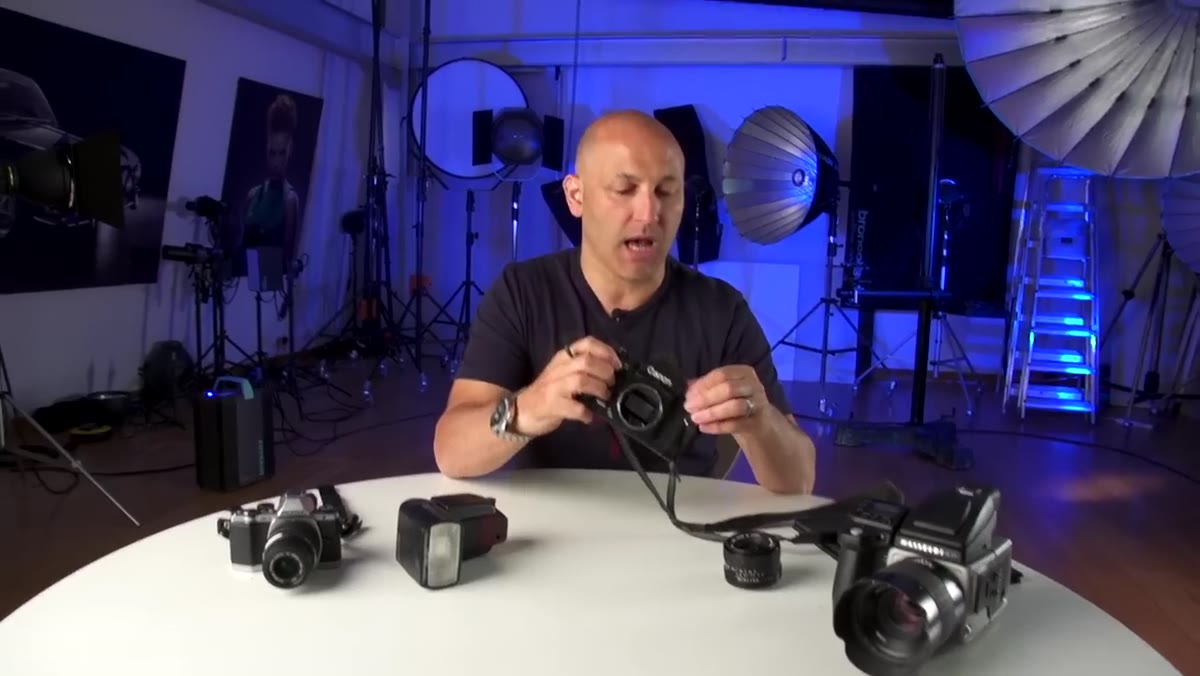 Karl holding open-back Canon F1 film camera toward lens
The first thing Taylor does is reach for a decades-old Canon F1 film camera and open the back so you can see the shutter mechanism directly. This is not nostalgia. It is the clearest way to understand what is physically happening every time you press the shutter button. The shutter type that matters here is called a focal plane shutter, and it is what virtually every DSLR and mirrorless camera uses today. If you shoot medium format with a leaf shutter lens, the rules change significantly — but for most of us working in studio or on location with a standard body, focal plane shutter mechanics govern everything.
Karl holding open-back Canon F1 film camera toward lens
The first thing Taylor does is reach for a decades-old Canon F1 film camera and open the back so you can see the shutter mechanism directly. This is not nostalgia. It is the clearest way to understand what is physically happening every time you press the shutter button. The shutter type that matters here is called a focal plane shutter, and it is what virtually every DSLR and mirrorless camera uses today. If you shoot medium format with a leaf shutter lens, the rules change significantly — but for most of us working in studio or on location with a standard body, focal plane shutter mechanics govern everything.
Step 2: Watch How the Shutter Opens and Closes at Slow Speeds
 Shutter visibly opening and closing at one-second exposure
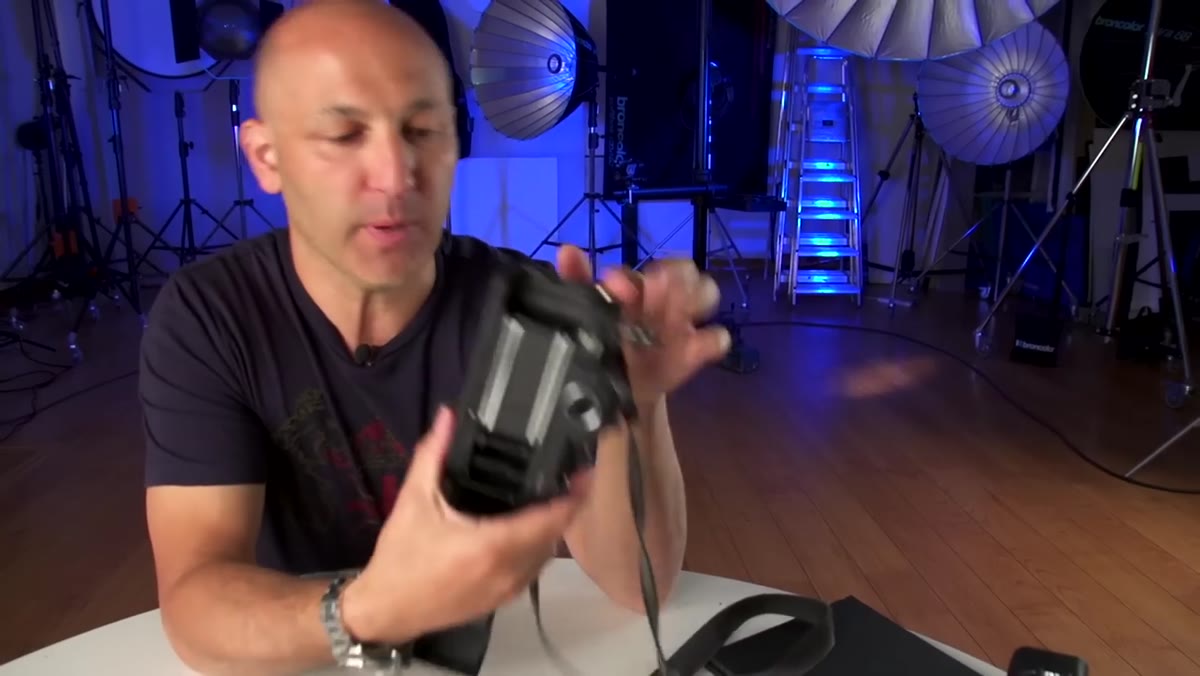
With the camera back open, Taylor fires the shutter at a one-second exposure. You can see both curtains operate in sequence: the first curtain opens to expose the sensor, then the second curtain closes to end the exposure. At slow shutter speeds like 1/15 or 1/30, this happens smoothly and completely. The entire sensor surface is uncovered and exposed at one time. That window of full exposure is exactly when a flash can light the whole frame evenly — because the burst hits every part of the sensor while it is all open simultaneously.
Shutter visibly opening and closing at one-second exposure
With the camera back open, Taylor fires the shutter at a one-second exposure. You can see both curtains operate in sequence: the first curtain opens to expose the sensor, then the second curtain closes to end the exposure. At slow shutter speeds like 1/15 or 1/30, this happens smoothly and completely. The entire sensor surface is uncovered and exposed at one time. That window of full exposure is exactly when a flash can light the whole frame evenly — because the burst hits every part of the sensor while it is all open simultaneously.
Step 3: Understand What Changes at High Shutter Speeds
 Two card pieces simulating shutter curtains with narrow slit between them
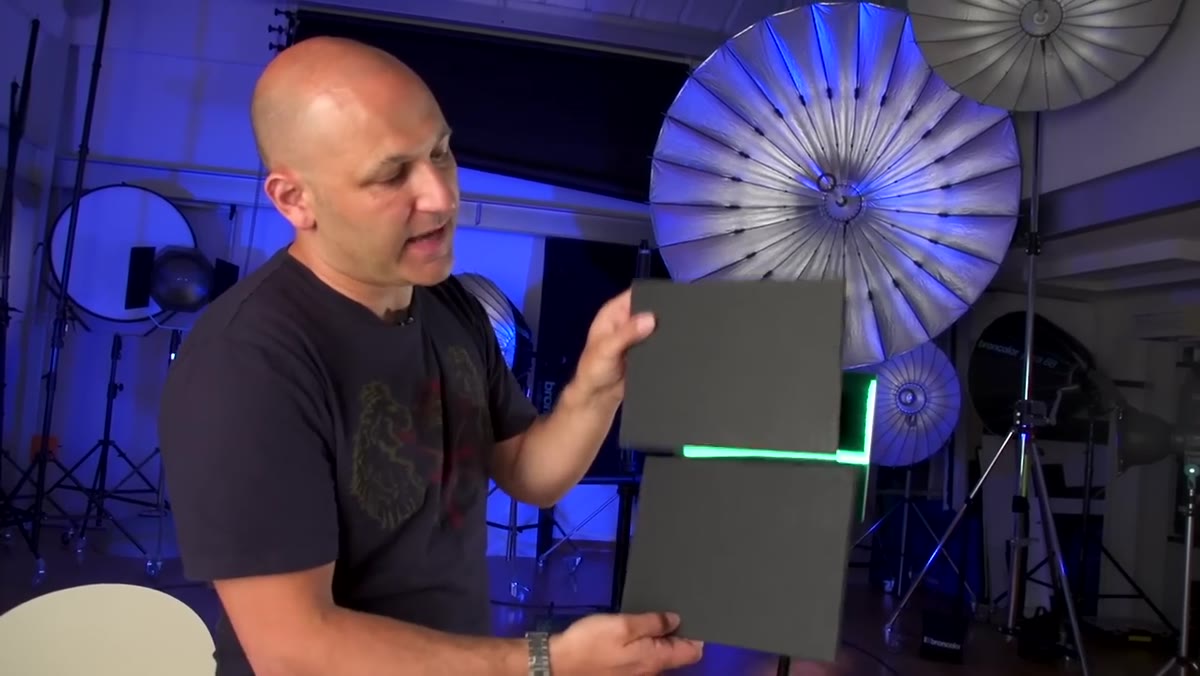
Here is where most photographers lose the thread. Taylor uses two pieces of card to simulate the shutter curtains, and this demonstration is worth pausing on. At speeds above the camera’s maximum sync speed, the shutter does not simply open and close faster. The mechanics do not allow for that. Instead, the second curtain starts closing before the first curtain has finished opening. The result is a narrow slit that travels across the sensor rather than a full open-and-close cycle. At 1/1000 or 1/2000, the sensor is never fully uncovered at any single instant. A thin strip of it is exposed as the slit travels across the frame.
Two card pieces simulating shutter curtains with narrow slit between them
Here is where most photographers lose the thread. Taylor uses two pieces of card to simulate the shutter curtains, and this demonstration is worth pausing on. At speeds above the camera’s maximum sync speed, the shutter does not simply open and close faster. The mechanics do not allow for that. Instead, the second curtain starts closing before the first curtain has finished opening. The result is a narrow slit that travels across the sensor rather than a full open-and-close cycle. At 1/1000 or 1/2000, the sensor is never fully uncovered at any single instant. A thin strip of it is exposed as the slit travels across the frame.
This is the core of the whole issue, and it took me embarrassingly long to truly internalize it early in my career. The camera is not exposing the whole image at once at high speeds. It is scanning across it.
Step 4: See Why Flash Cannot Cover the Frame at Those Speeds
 Demonstration of flash firing while only a sliver of sensor is exposed
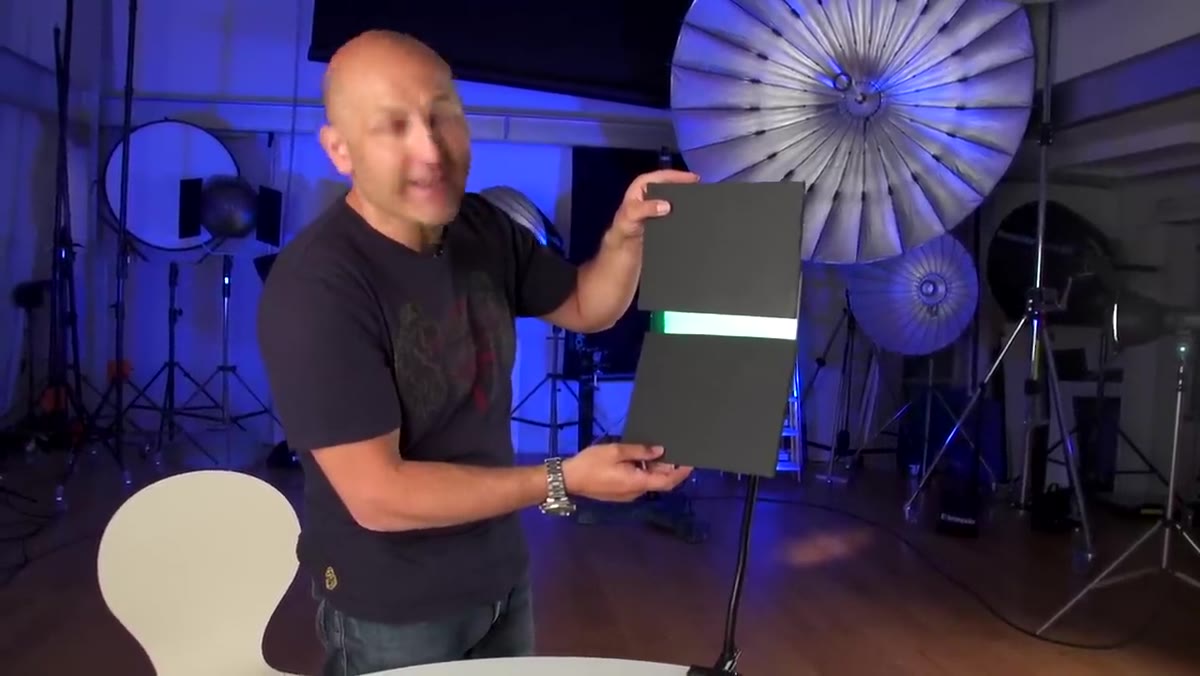
A studio strobe or a speedlight fires a single burst. At full power that burst might last around 1/1000 of a second. At low power it can be as fast as 1/20,000 of a second. Either way, it is a discrete pop of light, not a sustained beam. When that pop fires while the slit is traveling across the sensor, the flash illuminates only the portion of the sensor that is exposed at that exact moment. The rest of the frame gets no flash at all. That is the dark band you see at the top or bottom of the frame when someone overshoots their sync speed. The band is not a camera malfunction. It is the second curtain blocking the flash from reaching that part of the sensor.
Demonstration of flash firing while only a sliver of sensor is exposed
A studio strobe or a speedlight fires a single burst. At full power that burst might last around 1/1000 of a second. At low power it can be as fast as 1/20,000 of a second. Either way, it is a discrete pop of light, not a sustained beam. When that pop fires while the slit is traveling across the sensor, the flash illuminates only the portion of the sensor that is exposed at that exact moment. The rest of the frame gets no flash at all. That is the dark band you see at the top or bottom of the frame when someone overshoots their sync speed. The band is not a camera malfunction. It is the second curtain blocking the flash from reaching that part of the sensor.
Taylor makes the point clearly: at 1/60, the flash fires and the entire sensor gets it. At 1/1000, the flash fires and maybe a quarter of the sensor sees it. The rest is covered by one curtain or the other.
Step 5: Know Your Camera’s Maximum Sync Speed
 Shutter speed dial on Canon F1 showing 1/125 sync speed marking
Most cameras mark the maximum sync speed on the shutter dial — sometimes in a different color, sometimes with a lightning bolt icon. On older cameras like the Canon F1, it tends to be 1/125. Many modern DSLRs push it to 1/200 or 1/250. Some Fujifilm bodies with electronic shutters or certain medium format systems handle it differently, but for a Canon R or Nikon Z shooting with a studio strobe, 1/200 is typically your hard ceiling for standard sync. Shoot a test frame at your sync speed and one stop above it before every location shoot. The black band shows up immediately and you will know the body’s actual limit before the client is standing in front of you.
Shutter speed dial on Canon F1 showing 1/125 sync speed marking
Most cameras mark the maximum sync speed on the shutter dial — sometimes in a different color, sometimes with a lightning bolt icon. On older cameras like the Canon F1, it tends to be 1/125. Many modern DSLRs push it to 1/200 or 1/250. Some Fujifilm bodies with electronic shutters or certain medium format systems handle it differently, but for a Canon R or Nikon Z shooting with a studio strobe, 1/200 is typically your hard ceiling for standard sync. Shoot a test frame at your sync speed and one stop above it before every location shoot. The black band shows up immediately and you will know the body’s actual limit before the client is standing in front of you.
What This Means When You Are Shooting on Location
Studio work is forgiving on this front because I am controlling the entire light environment. I set the strobe, pull down the ambient with a darker aperture or ISO, and stay well below my sync speed. But the scenario that trips people up is mixed-light location shooting where they want to drag the ambient down and still use flash. The temptation is to crank the shutter speed. The physics say no.
High-speed sync (HSS) is the manufacturer’s workaround. In HSS mode, the strobe fires a rapid series of pulses rather than one burst, effectively turning it into a sustained light source that illuminates the sensor as the slit travels. The tradeoff is significant power loss, sometimes two to three stops depending on the system and the sync speed you are targeting. I use HSS when I have to, but I always prefer to solve the problem with neutral density filters on the lens first. You keep full flash power, and you keep the physics simple.
The single most important thing to take away from Karl Taylor’s tutorial is this: the sync speed limit is a mechanical reality, not a firmware setting or a creative choice. Understanding why the limit exists means you stop fighting it and start working with it. Once you see those two shutter curtains traveling across the frame, the whole system makes sense.
Watch the full tutorial on YouTube — Taylor’s live demonstration with the open-back camera is genuinely one of the clearest explanations of this concept I have seen.
Comments
Leave a Comment