The Number on the Dial Is Not the Light on Your Subject
I’ve been taping labels on every light in my studio since about 2009. Each piece of gaffer tape has the unit’s actual measured output at full power, the modifier currently mounted, and the distance I most commonly park it from my subject. It looks obsessive, I know. But the reason I started doing it is simple: I got tired of the number on the back of the strobe lying to me.
A 500Ws monolight at full power through a 7-inch reflector and a 500Ws monolight at full power through a 4x6 softbox are not the same light. Not even close. The softbox will cost you somewhere between 1.5 and 2.5 stops depending on the depth of the box, the fabric density of the diffusion panel, and whether there’s a grid attached. If you’re setting your power by reading the dial and not by reading the meter, you’re guessing. In commercial work, guessing has consequences.
What Flash Meters Are Actually Measuring (And Why Aperture Is Your Real Variable)
Flash exposure operates differently from ambient exposure in one critical way: shutter speed is almost irrelevant. Once you’re at or below your camera’s sync speed, typically 1/200s or 1/250s on most bodies, changing the shutter doesn’t affect how much flash hits your sensor. What controls flash exposure is aperture, ISO, and the power output of the strobe itself.
A flash meter measures incident light, meaning the light falling on your subject, not the light reflected back to the camera. You hold it at the subject’s position, point it toward the camera or the main light source depending on what you’re measuring, trigger the strobe, and read the result in f-stops. I shoot most of my fashion and beauty work at ISO 100 and f/8 to f/11, which gives me enough depth to work within on a full-body frame while keeping the aperture in the sharpest part of most lenses. Once I dial in f/8 at ISO 100 as my target, every modifier I add, every distance I adjust, every flag I place, gets evaluated against that number with a Sekonic L-308X, which retails around $220 and has never let me down.
Building a Two-Light Setup That Actually Holds Up to Testing
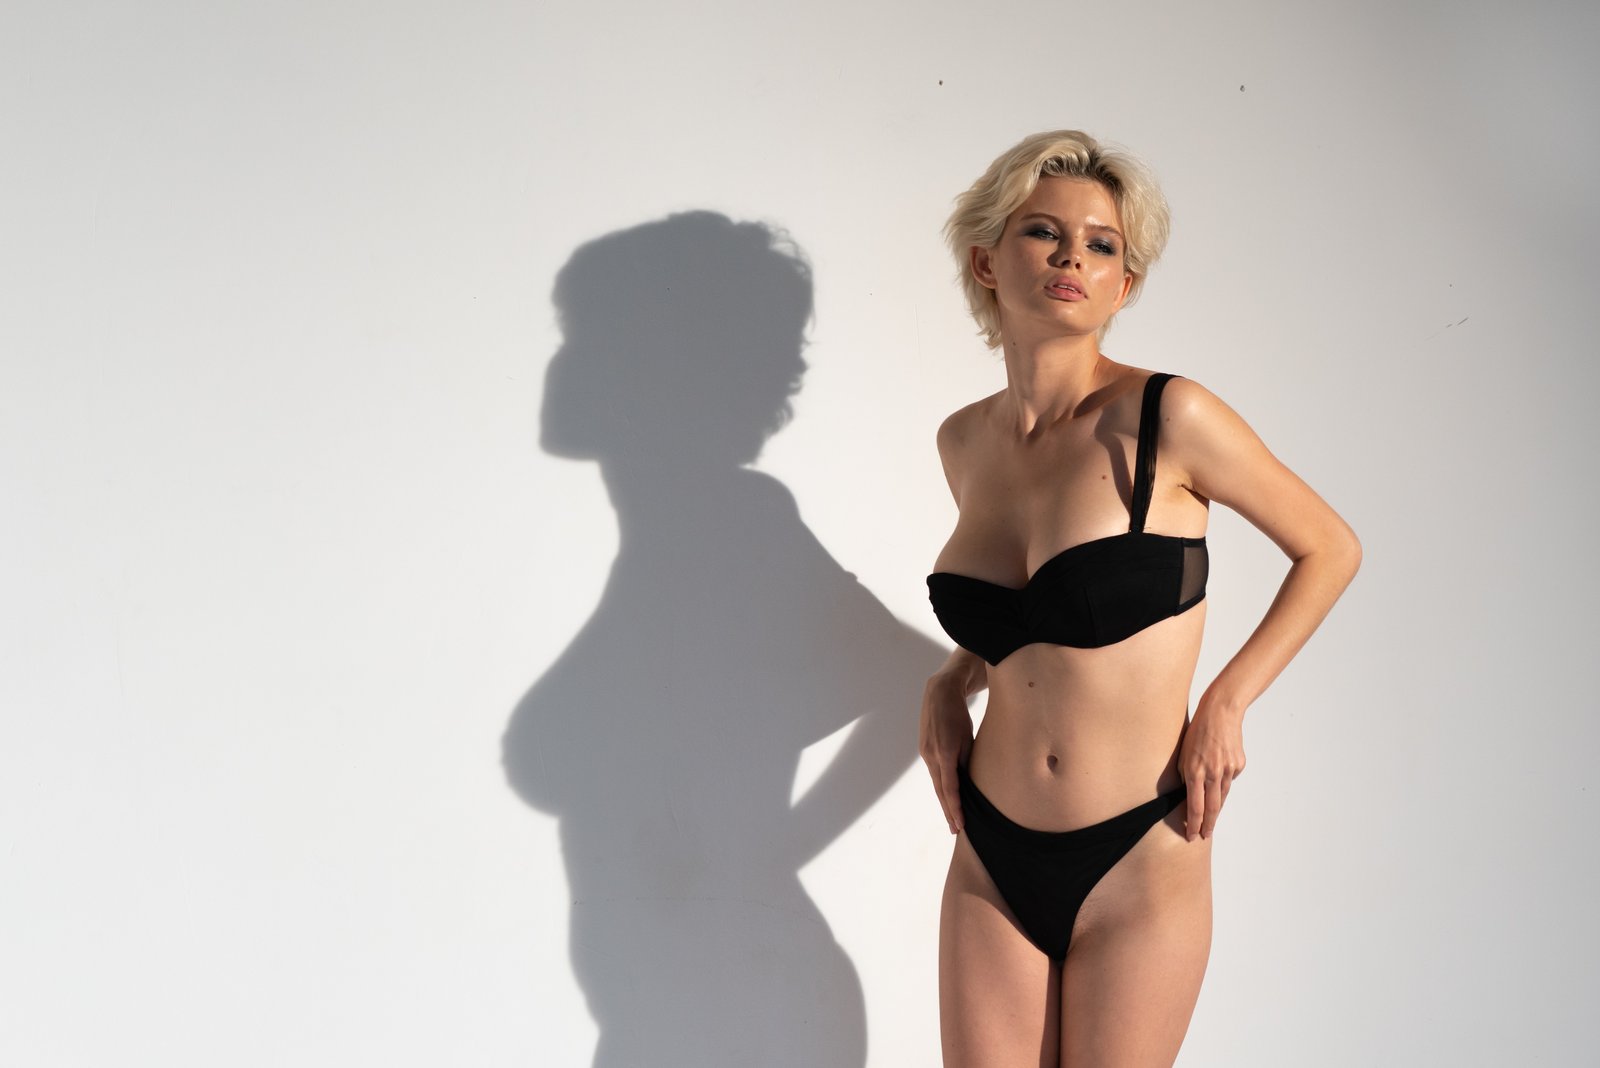
Here is how I set a basic beauty setup from scratch, the same way every time. Key light first: a 24-inch Elinchrom Rotalux softbox, feathered slightly forward of the subject, positioned at roughly 45 degrees and about four feet out. I meter and adjust power until I’m reading f/8 at ISO 100. Full stop, nothing else running. I look at the shadow on the face, I adjust height or distance if needed, and I meter again. Only when that light is locked do I introduce the fill.
Fill comes from a large white V-flat camera left, no strobe, just bounce from the key. That passive fill typically opens the shadow side by about one stop, bringing me to roughly a 2:1 ratio. For beauty work, that’s usually where I want to be. For fashion editorially, I’ll sometimes push the ratio to 3:1 or 4:1 by moving the V-flat further back or swapping it for a smaller reflector. The ratio is not an aesthetic preference made in post. It is a decision made at the time of capture, measurable and repeatable.
If I add a hair light or a rim light, I meter those independently and deliberately set them below the key, usually half to one full stop under, so they’re shaping without competing.
The Calibration Mistake I Made on a Real Deadline
Early in my career, I was hired to shoot an editorial spread for a regional fashion publication. My first real assignment with a stylist, a model, and a client representative on set. I had spent two days building a lighting setup I was proud of. What I hadn’t done was check the color temperature of my strobes against the ambient window light bleeding in from one side of the studio.
The RAW files came back with a warm-cool split across the frame on every image. The strobe side was rendering around 5600K and the window side was pushing 6800K on overcast daylight. The mixed color cast was visible in skin tones and completely inconsistent from frame to frame as clouds moved outside. I delivered late, after hours of corrective grading, and the color still wasn’t perfect. I have shot with blackout curtains or a corrected gel on every ambient light source since that day.
The lesson wasn’t just “check your color temperature.” It was that flash and ambient light do not automatically cooperate, and the only way to know what’s happening is to measure it and control it, not assume it.
How to Read a Setup Before You Meter It
Before I pick up the flash meter, I do a walk-around. I stand at my subject’s position and look at every light source in the room, intended or not. Practical lamps, windows, reflected light from a white floor, a silver equipment case sitting in the wrong spot. I have a notes app on my phone where I sketch the layout before I commit to anything, and that sketch forces me to think about what’s contributing light versus what’s just present in the room.
Most flash problems are not power problems or modifier problems. They are geometry problems. The light is in the wrong place relative to the subject, or there are competing sources that haven’t been accounted for. The meter tells you what’s happening at that one point in space. Your eyes and your diagram tell you why.
Control what you can measure, measure what you can’t yet see, and never trust a dial more than you trust a meter.
Comments (2)
Just subscribed. If the rest of your content is this good, I'm in.
This is going in my reference folder. Incredibly useful.
Leave a Comment