The Shot That Almost Ended My Career Before It Started
I was twenty-six, second year shooting professionally, and I had just landed my first real editorial assignment. A fashion spread for a regional magazine, nothing massive, but it mattered. I showed up, set my lights, shot the whole day feeling confident. The images came back from the lab with a color cast so green it looked like the model was standing inside a fish tank. I had mixed a tungsten continuous hair light with my strobes and never bothered to check how they’d render together on film. The client was patient. I was humiliated. I went home, bought a color meter I couldn’t afford, and never walked into a shoot again without knowing exactly what temperature every light source in the room was outputting.
That incident taught me something that no workshop had: flash photography isn’t about having powerful gear. It’s about understanding each variable well enough to control it before you press the shutter.
What Flash Actually Does to Your Exposure
Most photographers treat their camera and their flash as two separate systems. They aren’t. They’re in constant negotiation, and if you don’t understand who’s in charge of what, you’ll be fighting your own equipment all day.
Here’s the breakdown. Your shutter speed controls ambient light. Your aperture controls flash exposure. Your ISO amplifies both. This is the foundation, and it’s not a metaphor. If you’re shooting at 1/200s, f/8, ISO 100 in a controlled studio with no windows, almost zero ambient light is making it into that frame. The strobe is doing all the work, and the aperture is the dial that governs how much of that strobe hits the sensor.
Sync speed is where people get tangled. Most cameras sync with a strobe at 1/200s or 1/250s. Go faster and you’ll get a black bar across the bottom of your frame, because the second shutter curtain has already started moving before the first one fully opens. High-Speed Sync solves this but costs you roughly 1.5 to 2 stops of flash power, which matters if you’re shooting outdoors with a small portable unit. On my Profoto B10, I budget for that loss. I’m not fighting physics.
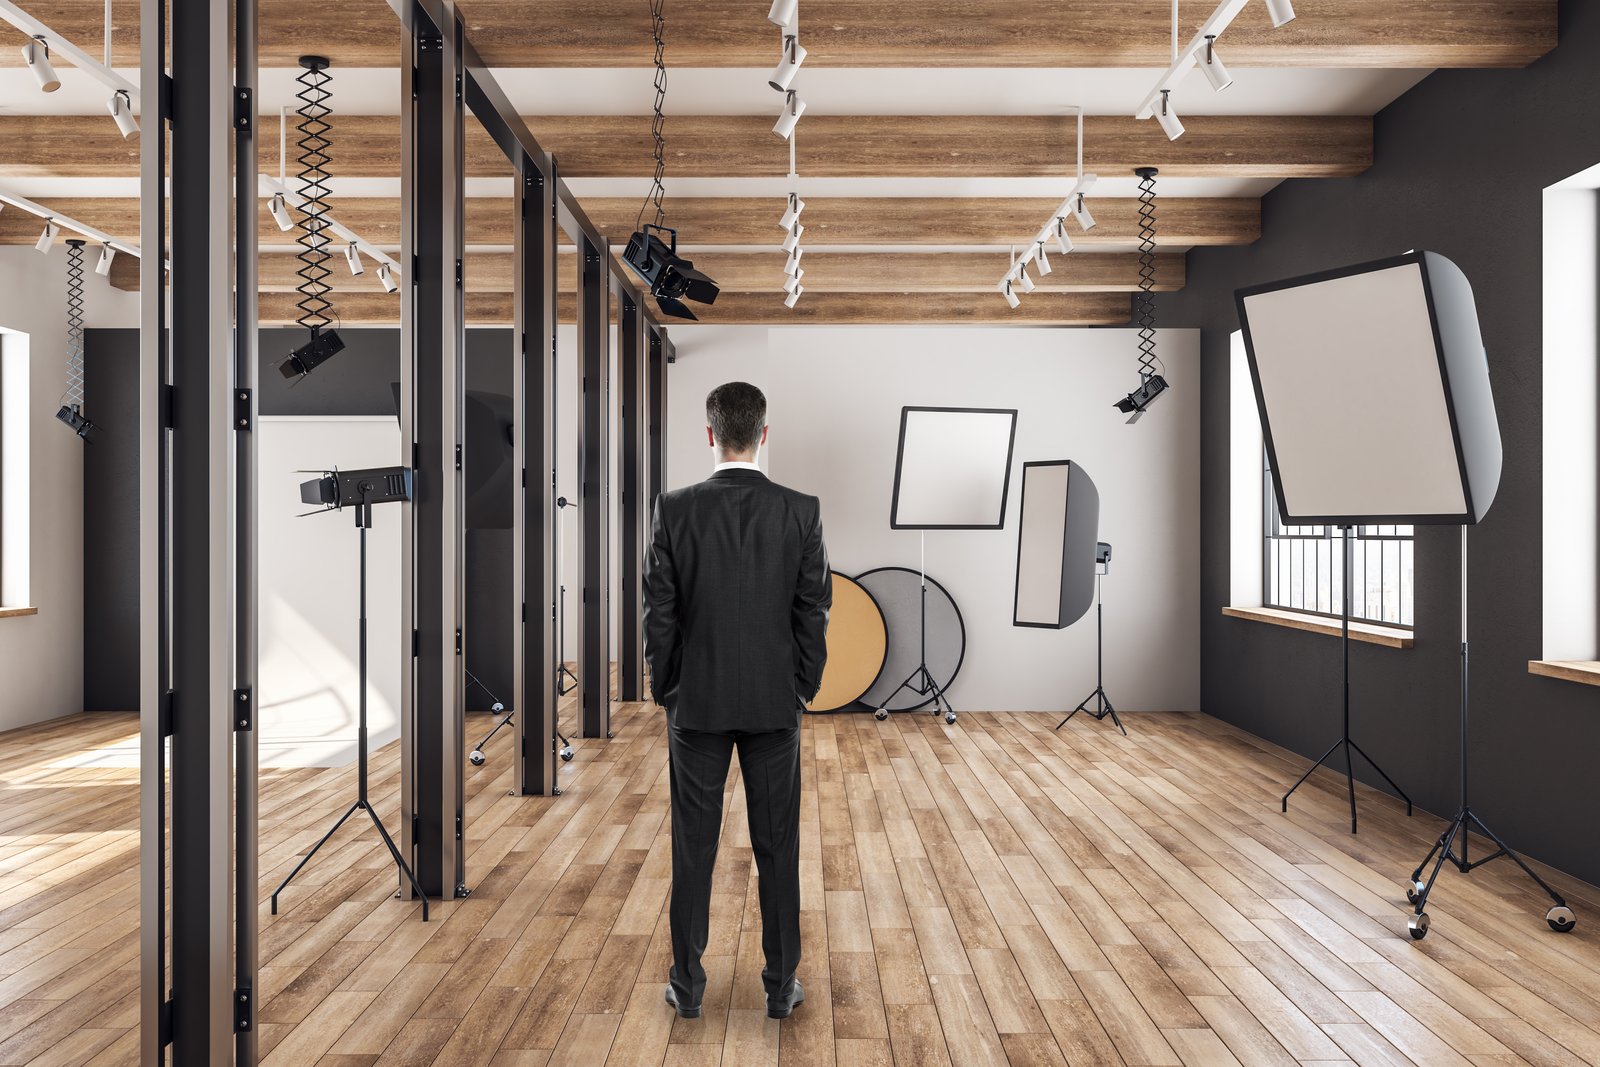
The Ratio System I Use on Every Single Job
I run a key-to-fill ratio on everything, even quick corporate headshots. I don’t eyeball it. I meter it.
For beauty and fashion, I almost always start at 3:1 key to fill. The key at f/8, the fill at f/5.6. That’s enough contrast to show facial structure without going dramatic. For editorial work where I want more shadow, I’ll push to 4:1 or 5:1, dropping the fill to f/4 while keeping the key at f/8.
Here’s what the equipment looks like in practice. Key light: Profoto D2 1000Ws with a 3x4 foot Westcott Scrim Jim diffusion panel, positioned 45 degrees camera left and about 18 inches above eye level, angled down. Fill: Profoto D2 500Ws bounced into a 4x4 V-flat, camera right. I have both of these labeled in my studio with strips of masking tape. “D2-KEY” and “D2-FILL.” That sounds obsessive. It has saved me from mismatched setups more times than I can count.
Metering: Sekonic L-858D. I walk it to the subject’s nose and face it toward each source independently. I don’t guess. The meter tells me exactly what f-stop each light is producing. I adjust power on the pack until the numbers match what I want.
Why the Modifier Choice Is Actually a Creative Decision
A lot of photographers pick modifiers based on what looks impressive hanging from a boom arm. That’s backwards. The modifier shape and size determines the quality of light, and quality of light determines how forgiving your setup is to small subject movements.
A 7-inch reflector dish with a grid gives you hard, directional light with almost no spill. Beautiful for dramatic male portraiture, almost unforgiving for beauty work where the subject turns even slightly. A 5-foot Octobox from Westcott or Elinchrom gives you massive, wrapping light that stays consistent across a wide shooting angle. The trade-off is that it eats studio space and costs you contrast.
I test every new modifier the day it arrives. I don’t assume the marketing sheet tells me the truth about falloff. I set it up, put my hand in the beam at 3 feet, 5 feet, and 8 feet, and watch how the light wraps. Then I sketch it in my lighting journal. I have notebooks going back fifteen years with hand-drawn diagrams of every setup I’ve used on every shoot. The setup I used for a beauty campaign in 2018 is sitting next to the setup I used for a corporate CEO portrait in 2023. When a client wants to replicate a look, I’m not guessing.
The Color Temperature Trap Nobody Talks About Enough
Strobes are not all the same color temperature, and neither are the modifiers you put in front of them. A bare strobe head on a Profoto D2 runs around 5500K. Run that same head through a white diffusion fabric and you can drift toward 5800K or higher, depending on the material. Put a silver interior softbox in front of it and you might push toward 6200K. These are not negligible differences, especially in beauty work where skin tone accuracy is a contractual issue.
I set my white balance manually in camera, always. On a Canon R5 or a Sony A7R V, I’ll dial in 5500K as a working starting point, then fine-tune after the first test shot with a grey card in frame. The goal is a raw file that doesn’t require color correction before I can evaluate the actual lighting. If I’m chasing a cast in post, I can’t see the light clearly.
The single most important discipline in flash photography isn’t buying better gear. It’s building a workflow precise enough that you always know what changed, so when something goes wrong, you know exactly which variable to fix.
Comments
Leave a Comment