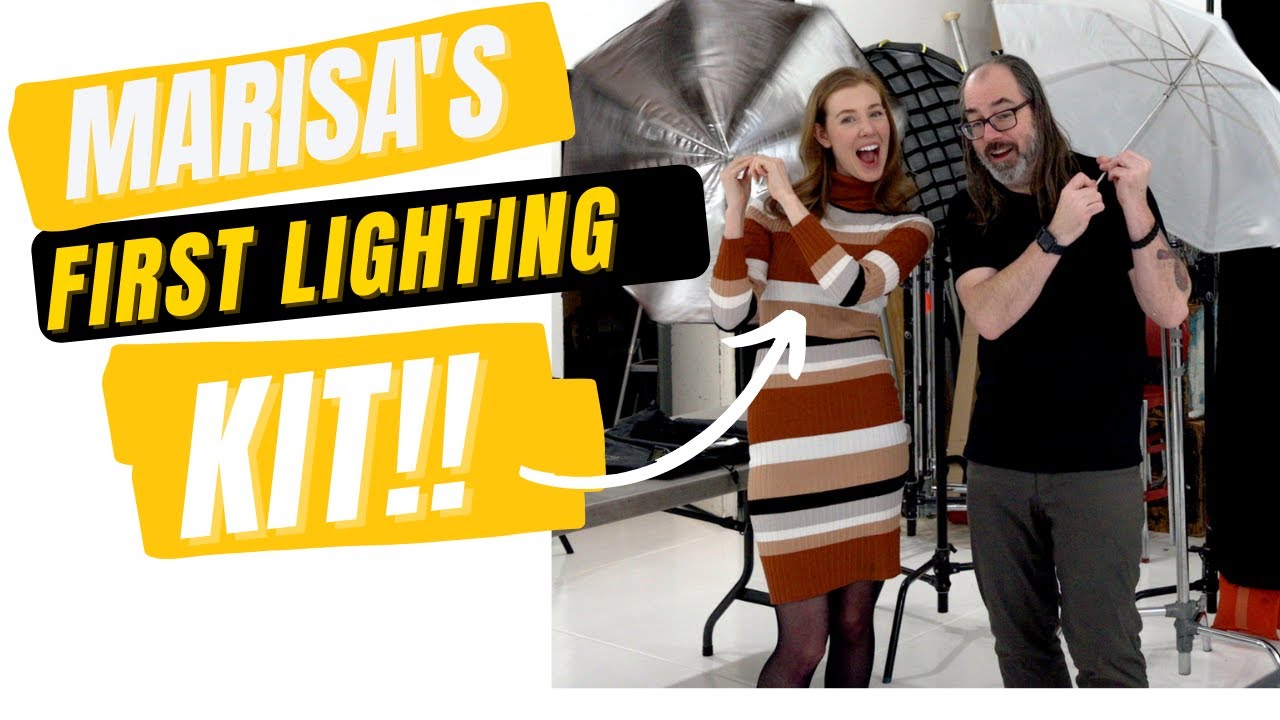
Every photographer I mentor hits the same wall. They’ve saved up, bought a lighting kit, unboxed everything onto their kitchen table, and then just stared at it. Not because they’re lazy. Because nobody told them what any of the buttons actually mean in practical terms. I still remember taping a note to my first monolight that said “the dial goes LEFT for less power” because I kept second-guessing myself mid-shoot. The fundamentals matter, and getting them wrong on set is expensive.
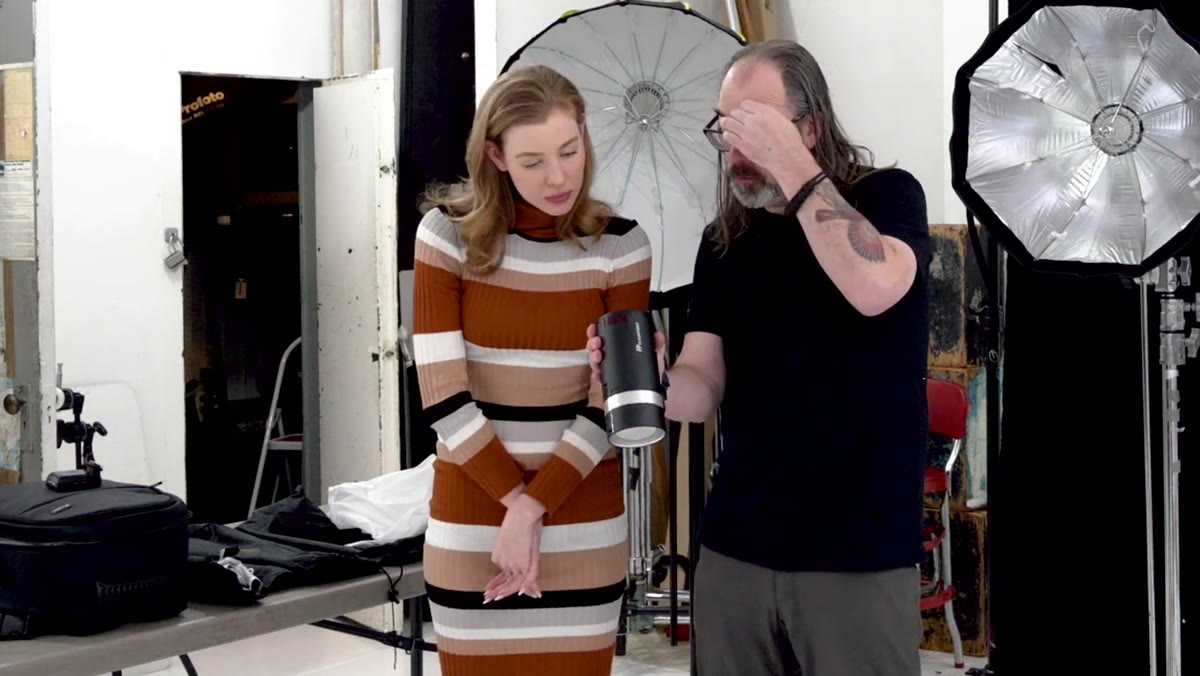
That’s why I kept coming back to this particular tutorial from Daniel Norton. Watch the full tutorial on YouTube. He’s mentoring a photographer named Marisa through her first real lighting kit, the Flashpoint XPLOR300 from Adorama, and the conversation he has with her covers the three things most beginners completely overlook: what channels do, what groups do, and how flash duration actually controls your ability to freeze motion. It’s practical, unscripted, and grounded in the kind of setup decisions you’ll face on a real shoot.
What I appreciate about Daniel’s approach is that he doesn’t oversell the gear or bury you in specs. He treats the kit the way I treat any new modifier I get: figure out what it does, leave the rest alone until you need it. That philosophy is underrated. Here’s how I’d walk through the core lessons from his tutorial.
Step 1: Understand What Channels Are Actually For
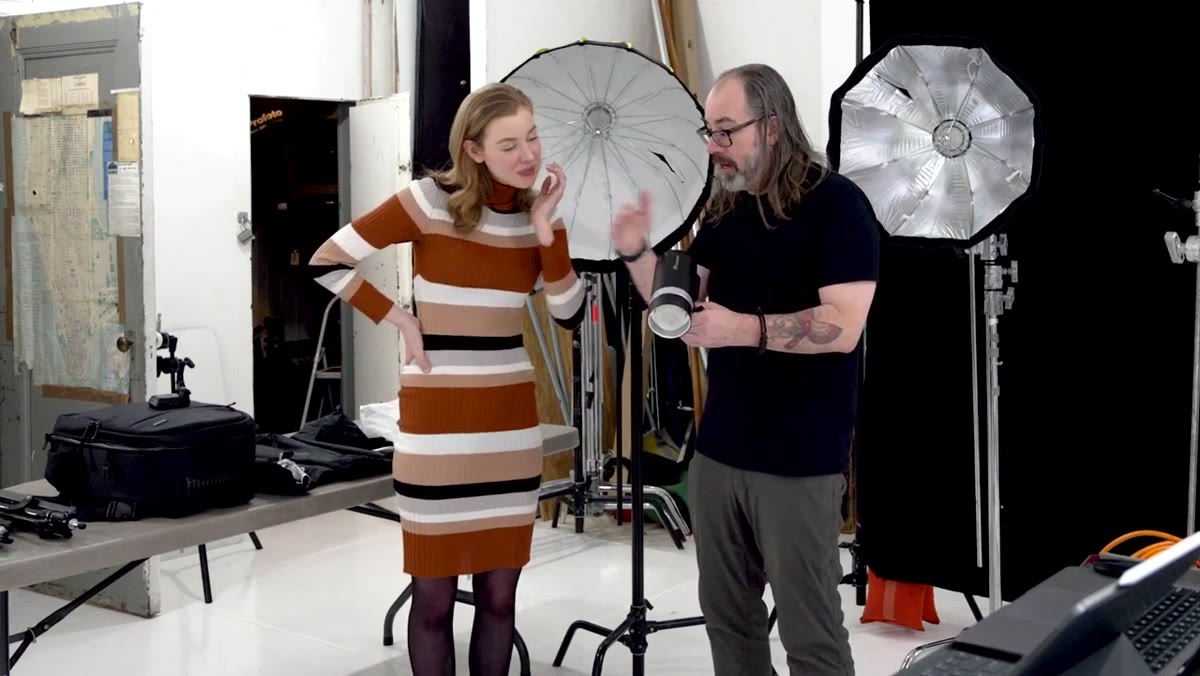
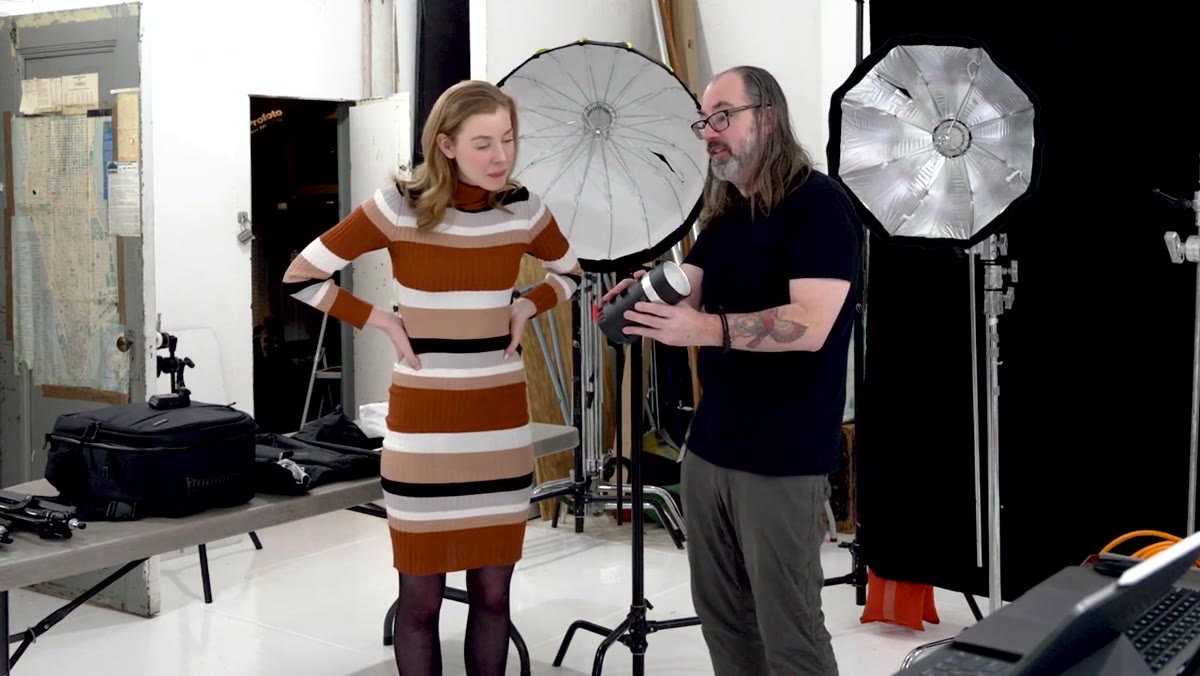 Daniel explaining channels vs groups on the Flashpoint unit
Channels exist for one reason: to keep your lights from talking to someone else’s lights. If you’re shooting at a multi-photographer event, a workshop, or even just working near another photographer who uses a compatible radio system like Godox or Flashpoint, you could accidentally trigger each other’s strobes. Setting everyone on a different channel prevents that crosstalk entirely.
Daniel explaining channels vs groups on the Flashpoint unit
Channels exist for one reason: to keep your lights from talking to someone else’s lights. If you’re shooting at a multi-photographer event, a workshop, or even just working near another photographer who uses a compatible radio system like Godox or Flashpoint, you could accidentally trigger each other’s strobes. Setting everyone on a different channel prevents that crosstalk entirely.
The practical takeaway is simple. If you’re shooting alone in your studio, your channel setting doesn’t matter much. Pick one and leave it. If you’re in a shared space, pick a channel and tell the other photographers what it is, so they can pick something different.
Step 2: Learn Why Groups Give You Creative Control
 Flashpoint unit display showing group assignment labels A, B, C
Groups are different from channels, and the difference is worth getting clear on immediately. A group is how you independently control multiple lights from a single trigger. In the tutorial, Daniel explains that during the shoot Marisa’s key light was assigned to group A, a second light to group B, and a third was standing by in group C. Each group can be powered up or down independently from your transmitter on top of the camera.
Flashpoint unit display showing group assignment labels A, B, C
Groups are different from channels, and the difference is worth getting clear on immediately. A group is how you independently control multiple lights from a single trigger. In the tutorial, Daniel explains that during the shoot Marisa’s key light was assigned to group A, a second light to group B, and a third was standing by in group C. Each group can be powered up or down independently from your transmitter on top of the camera.
This is where lighting ratios come from. Without groups, you’d have to walk over to each light physically to adjust power. With groups, you can shift the balance between your key and fill in seconds without leaving the camera. I label every light in my studio with masking tape before a shoot, just to keep A, B, and C straight when I’m moving fast. It sounds obsessive but it costs thirty seconds and saves real time on set.
Step 3: Start in TTL, Then Decide If You Want Manual
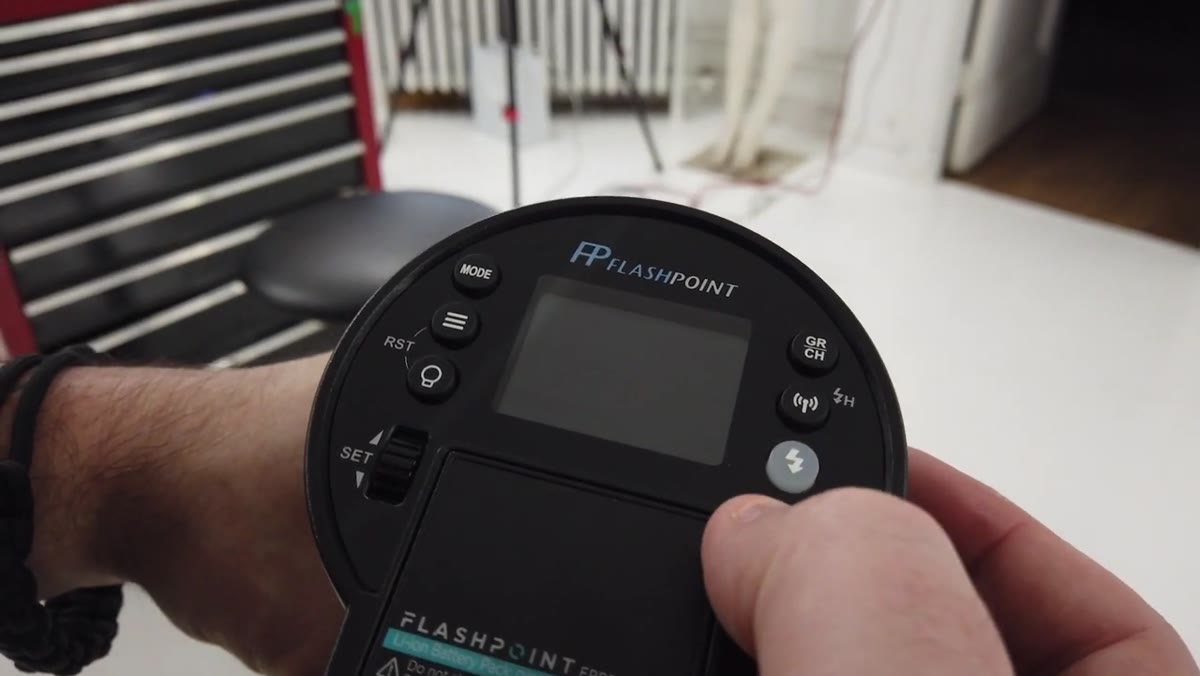 Camera display showing TTL mode selected on the Flashpoint unit
The Flashpoint XPLOR300 runs in TTL, which means the camera and flash communicate to figure out exposure automatically. For a first kit, starting in TTL is completely reasonable. It removes one variable while you’re still learning how modifiers and light placement affect your image.
Camera display showing TTL mode selected on the Flashpoint unit
The Flashpoint XPLOR300 runs in TTL, which means the camera and flash communicate to figure out exposure automatically. For a first kit, starting in TTL is completely reasonable. It removes one variable while you’re still learning how modifiers and light placement affect your image.
When you’re ready to take control, you hit the mode button and switch to manual. Daniel walks through this moment clearly in the tutorial. In manual, you can see your actual power output displayed on the unit, and more importantly, you can see your flash duration number change as you adjust power. That number is the next thing you need to understand.
Step 4: Read Flash Duration as a Creative Setting, Not Just a Spec
 Flash unit display showing flash duration fraction changing with power adjustment
Flash duration is expressed as a fraction of a second, and the bigger the denominator, the shorter the flash. A duration of 1/10,000th of a second is extremely fast. That speed is what freezes motion, not your shutter speed. This surprises a lot of beginners who assume their camera’s shutter is doing the work.
Flash unit display showing flash duration fraction changing with power adjustment
Flash duration is expressed as a fraction of a second, and the bigger the denominator, the shorter the flash. A duration of 1/10,000th of a second is extremely fast. That speed is what freezes motion, not your shutter speed. This surprises a lot of beginners who assume their camera’s shutter is doing the work.
Here’s the catch: flash duration gets slower as you push your power up. At full power, the light output is high but the duration is comparatively long, which means fast motion can blur even if everything else looks right. Daniel’s practical rule is to stay at quarter power or below if you’re shooting action, jumping, or anything where subject movement matters. I’d push it further and say know your kit’s duration at every stop. I’ve written mine in my lighting journal next to a sketch of the modifier setup so I don’t have to guess on shoot day.
Step 5: Use the Built-In Reflector First Before Reaching for Modifiers
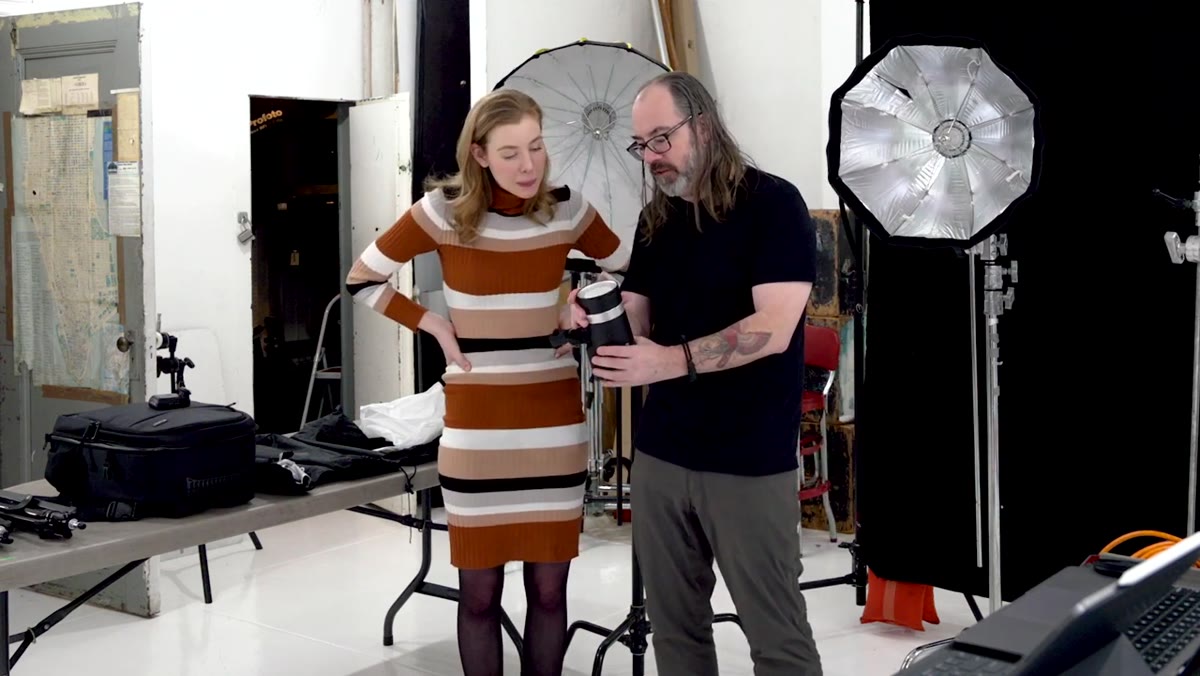 Daniel removing built-in reflector from the Flashpoint strobe head
The XPLOR300 ships with a built-in reflector attached to the head. It pops off cleanly and the head underneath has its own small mount, similar to a Bowens-style fitting but proprietary to this system. Daniel’s advice is to get comfortable with the hard light straight from the head before you start stacking modifiers on top of it.
Daniel removing built-in reflector from the Flashpoint strobe head
The XPLOR300 ships with a built-in reflector attached to the head. It pops off cleanly and the head underneath has its own small mount, similar to a Bowens-style fitting but proprietary to this system. Daniel’s advice is to get comfortable with the hard light straight from the head before you start stacking modifiers on top of it.
This is genuinely good discipline. Hard light is unforgiving, which means it teaches you faster. When you understand how shadows fall from a bare strobe at different distances and angles, adding a softbox becomes an informed decision rather than a guess. The kit also comes with umbrellas and a beauty dish style softbox, but those should come second. Learn the raw behavior of the light first.
What I’d Add: Bowens Adapters Are Worth the Investment Early
Daniel mentions that a Bowens mount adapter exists for this system but wasn’t included in Marisa’s kit. I’d push back gently on waiting. The Bowens mount is the closest thing photography has to a universal standard, and if you plan to grow your modifier collection at all, getting that adapter early opens up a huge range of third-party options at lower price points. I bought mine the week I got my first kit, and I’ve used it on almost every modifier I own. The native modifiers that ship with entry-level kits are fine to learn on, but the Bowens ecosystem gives you options that a proprietary mount simply can’t match.
The single most important thing I took from this tutorial is Daniel’s framing of the kit as a learning tool, not a destination. The point of Marisa’s lights isn’t to match what a working professional uses. It’s to give her enough control to practice on her own, make mistakes without an audience, and build the kind of muscle memory that makes complex setups feel intuitive. That’s how all of us actually learned, regardless of what was on the label.
Watch the full tutorial on YouTube and follow along with your own kit if you have one. Pay special attention to how Daniel talks through his reasoning out loud. That habit alone is worth studying.
Comments
Leave a Comment