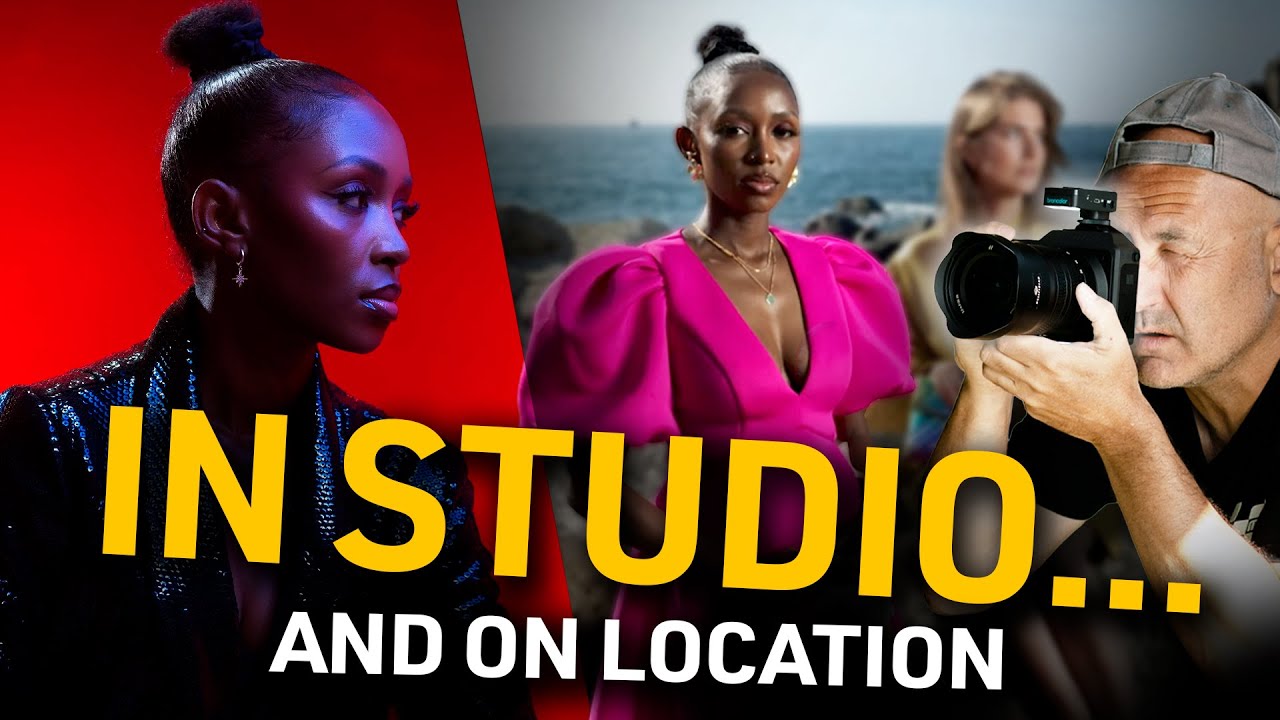
There’s a question I get from clients more than any other: “Can we do it outside?” And my honest answer used to be “it depends on what we’re fighting.” Direct sun creates shadows I can’t fill without a generator and a grip truck. Flat overcast light kills the drama I need for editorial work. For years, location portraiture felt like a compromise between what the light was doing and what I needed it to do. That tension is exactly why I keep returning to tutorials that show working solutions rather than studio-only theory.
Watch the full tutorial on YouTube
In this Visual Education tutorial, Karl Taylor runs the new Broncolor Stellos through three distinct shooting environments in a single day, logging four different lighting configurations along the way. What makes this worth your time isn’t the gear review underneath it. It’s the way Taylor treats each setup as a problem with a specific solution. He’s not chasing beauty for its own sake. He’s testing whether a tool holds up when the conditions turn difficult, and that rigor is something I recognize from my own pre-shoot process. I sketch every setup in a lighting journal before I shoot it. Taylor’s approach here reads like a living version of that journal.
Step 1: Establish Your Exposure Priority Before the Flash Even Fires
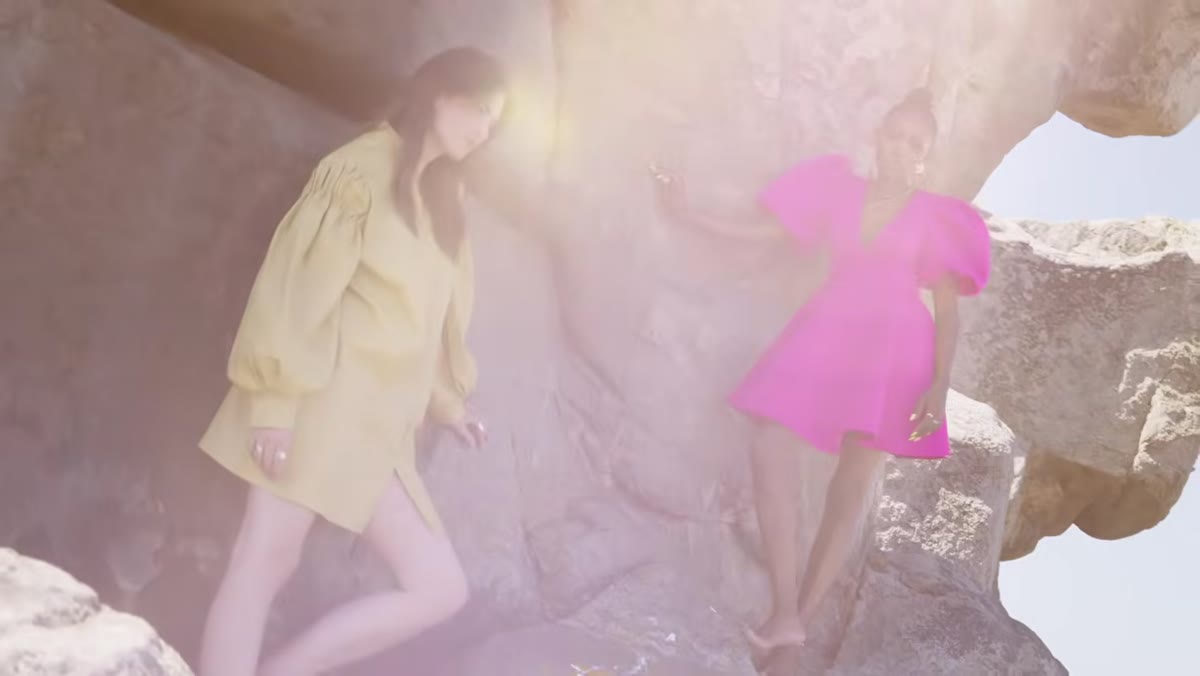 Taylor reviewing first harbor shot on camera screen
At a harbor location under direct sun, Taylor’s first move is not to fire the flash and see what happens. He reads the natural light first, locks an ambient exposure that holds the background darker than midday bright, and then determines how much power the flash needs to bring the subject to the correct level. This is the sequence that matters. If you set your flash first, you’re forever chasing a moving target as the sun shifts. Set your ambient exposure, then bring the subject up with strobe.
Taylor reviewing first harbor shot on camera screen
At a harbor location under direct sun, Taylor’s first move is not to fire the flash and see what happens. He reads the natural light first, locks an ambient exposure that holds the background darker than midday bright, and then determines how much power the flash needs to bring the subject to the correct level. This is the sequence that matters. If you set your flash first, you’re forever chasing a moving target as the sun shifts. Set your ambient exposure, then bring the subject up with strobe.
In practical terms for a sunny exterior: start at ISO 100, 1/250s, and stop down until the background sits roughly one stop below what you’d call “correct.” At that point, your subject is probably two stops underexposed. Your flash fills that gap. You’re not balancing flash to sunlight. You’re using flash to lift a shadow into the frame you’ve already decided on.
Step 2: Use a Battery Strobe as a Supplementary Fill, Not a Second Sun
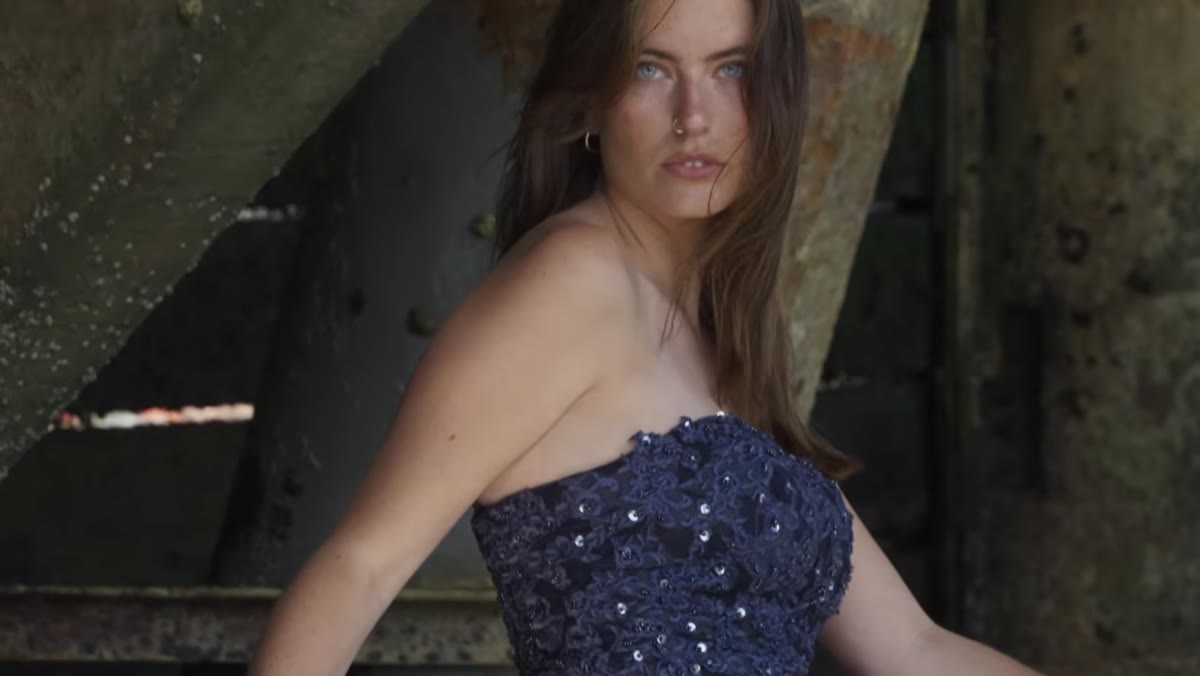 Stellos on location aimed directly at model in harbor shadows
Taylor positions the Stellos to hit the model directly in a shadowed area created by strong overhead sun. He’s not trying to match the sunlight’s direction. He’s targeting the shadow zones specifically, the places where the subject would otherwise go dark and lose detail. This is supplementary lighting, not competitive lighting. The strobe’s job is to open up shadow, not to create a different quality of light than the sun is already providing.
Stellos on location aimed directly at model in harbor shadows
Taylor positions the Stellos to hit the model directly in a shadowed area created by strong overhead sun. He’s not trying to match the sunlight’s direction. He’s targeting the shadow zones specifically, the places where the subject would otherwise go dark and lose detail. This is supplementary lighting, not competitive lighting. The strobe’s job is to open up shadow, not to create a different quality of light than the sun is already providing.
The practical cue here is modifier choice. Taylor shoots this setup with a Par 88 reflector, which gives a directional, relatively hard output. In strong sun, a soft box would fight the ambient and look artificial. A bare or lightly modified strobe output closer in character to sunlight reads as natural. If you’re doing this with your own battery unit, skip the diffusion and aim directly. Let the sun do the heavy shaping.
Step 3: Dial Exposure Range to Preserve Background Mood
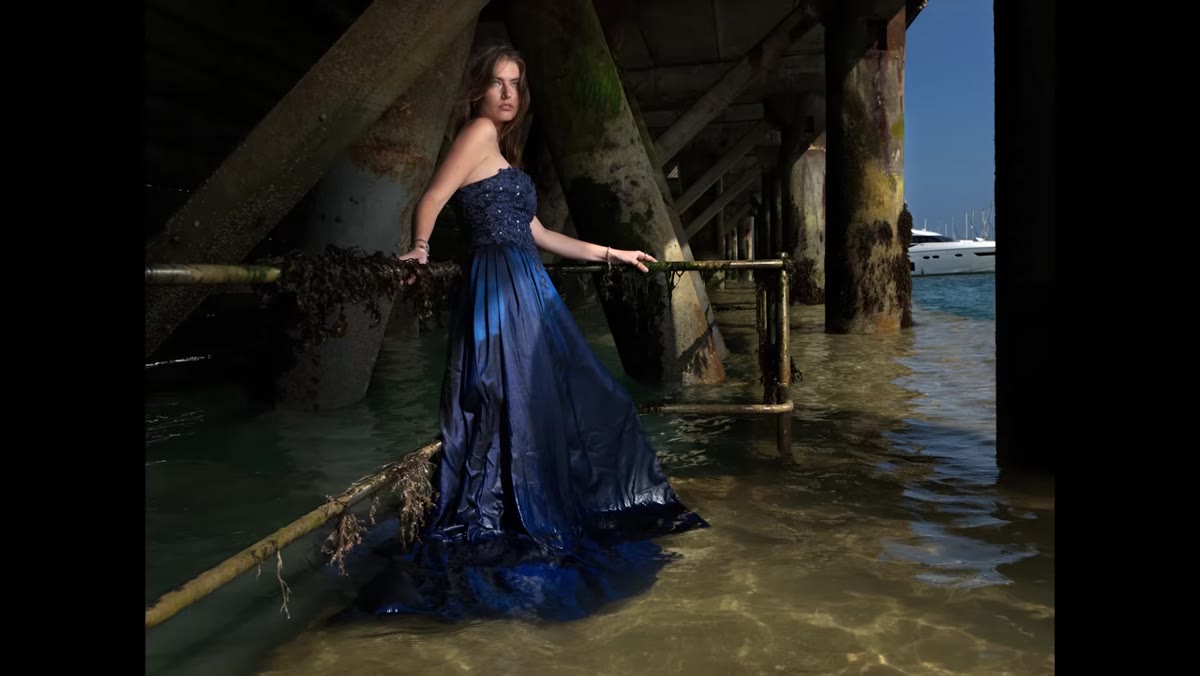 Dark background with model lit cleanly by single strobe
One detail Taylor mentions that photographers often skip over: he deliberately holds the background darker than the subject. This isn’t accidental. It’s a decision. By underexposing the ambient relative to the strobe output on the subject, he gets a subject that reads as lit even in an outdoor scene with no studio walls to control. The background becomes a frame, not a competing element.
Dark background with model lit cleanly by single strobe
One detail Taylor mentions that photographers often skip over: he deliberately holds the background darker than the subject. This isn’t accidental. It’s a decision. By underexposing the ambient relative to the strobe output on the subject, he gets a subject that reads as lit even in an outdoor scene with no studio walls to control. The background becomes a frame, not a competing element.
This works especially well in high-contrast environments like a harbor where you have bright sky, dark water, and architectural shadows all in the same frame. Stop down until the brightest parts of the background sit at or just below middle gray on your histogram, then power up the strobe until your subject’s face hits proper exposure. The separation you get from that gap does more compositional work than almost any posing adjustment.
Step 4: Build a Gelled Studio Setup Around a Single Color Logic
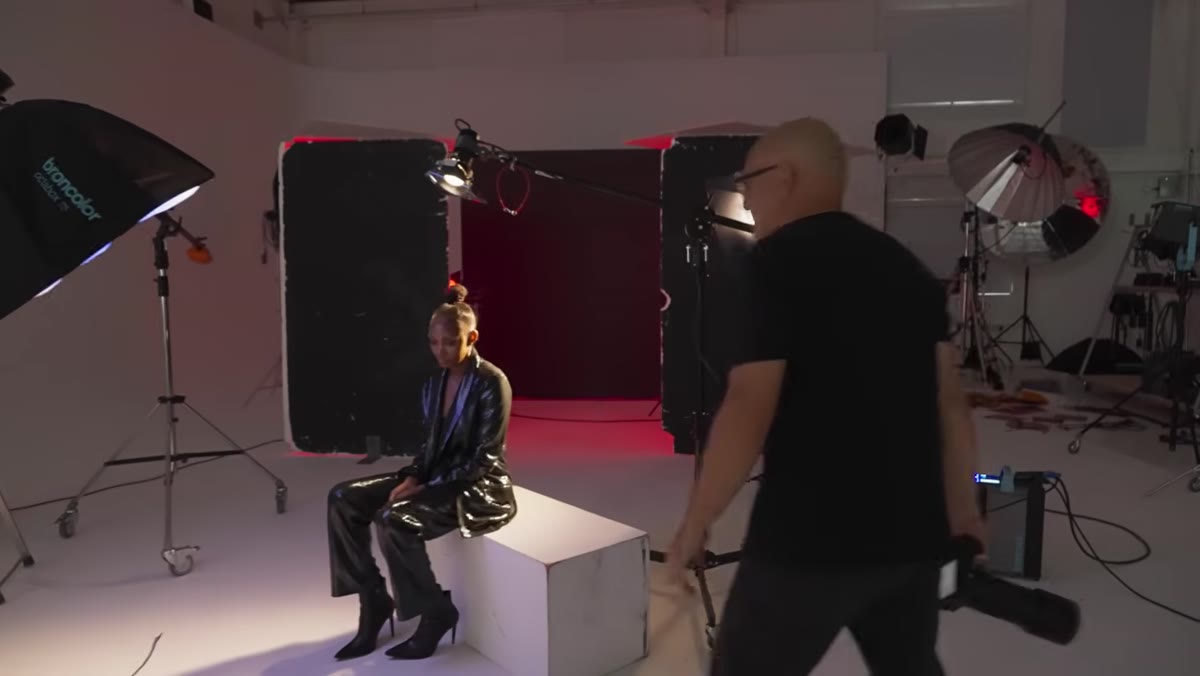 Taylor explaining gelled studio setup with red background and blue key light
Moving into the studio, Taylor constructs a setup built on complementary color opposition: red bounce light on the background, blue gel on the key light. Two gelled heads fire into poly boards to saturate the gray background with red. A P70 with honeycomb grid and a light blue gel handles edge lighting. A Pico with a Fresnel adds a matching blue hair light. The Stellos, inside a 75cm octabox with a blue gel, serves as the main key.
Taylor explaining gelled studio setup with red background and blue key light
Moving into the studio, Taylor constructs a setup built on complementary color opposition: red bounce light on the background, blue gel on the key light. Two gelled heads fire into poly boards to saturate the gray background with red. A P70 with honeycomb grid and a light blue gel handles edge lighting. A Pico with a Fresnel adds a matching blue hair light. The Stellos, inside a 75cm octabox with a blue gel, serves as the main key.
The lesson is not about copying this exact palette. It’s about committing to a color logic before you shoot, then building every light around that logic. I learned this the hard way on an editorial shoot early in my career when I mixed daylight and tungsten sources without accounting for temperature and ended up with images I couldn’t correct in post. Pick your temperature and your palette, gel everything to match, and then adjust power. The math is simpler and the results are consistent.
Step 5: Test Flash Duration Under Load Before the Model Is in Position
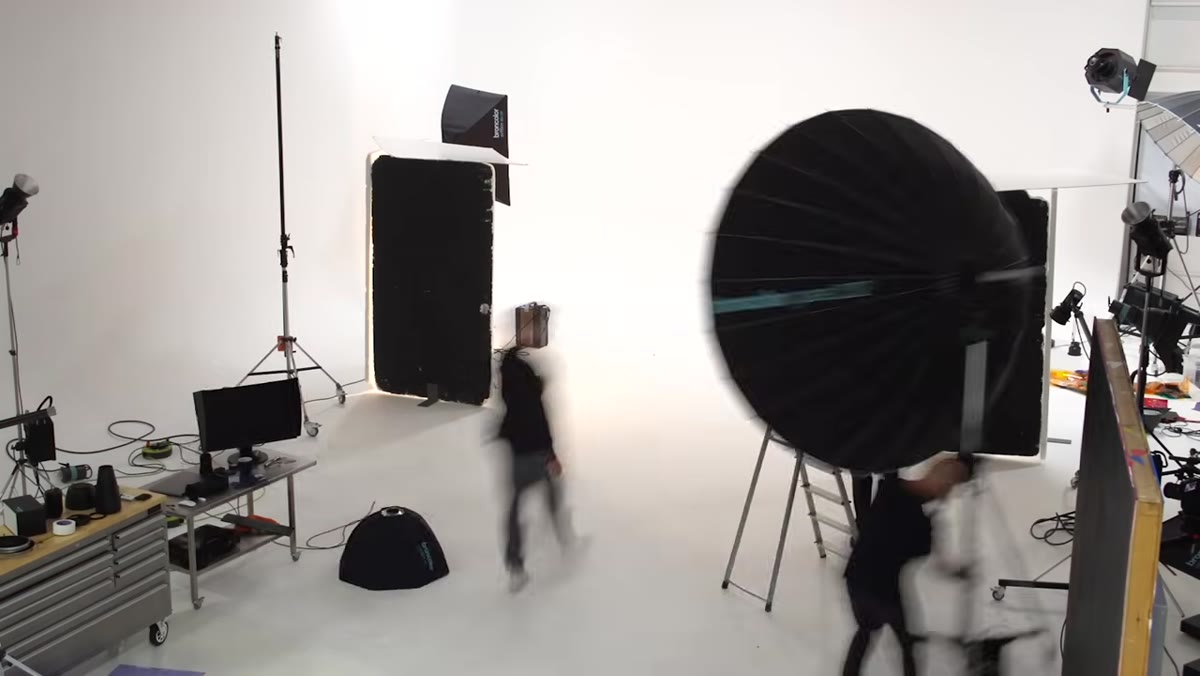 Stellos mounted inside Power 222 parabolic reflector
For the fourth and most demanding setup, Taylor drops the Stellos inside a Power 222 parabolic reflector running at high power. His specific concern is whether the unit can maintain a fast enough flash duration when pushed hard inside a large modifier. Flash duration is what freezes motion. If you’re letting models move, skip, or generate any dynamic pose, a slow flash duration at high power will give you blur regardless of your shutter speed.
Stellos mounted inside Power 222 parabolic reflector
For the fourth and most demanding setup, Taylor drops the Stellos inside a Power 222 parabolic reflector running at high power. His specific concern is whether the unit can maintain a fast enough flash duration when pushed hard inside a large modifier. Flash duration is what freezes motion. If you’re letting models move, skip, or generate any dynamic pose, a slow flash duration at high power will give you blur regardless of your shutter speed.
Taylor’s testing protocol is worth adopting directly. Before the model steps in, fire the strobe at the power level you intend to shoot, check for consistent output across several pops, and if your system shows flash duration specs, verify you’re still in the range that stops motion at your expected pose speed. He notes the Stellos can charge while shooting, which matters for a high-output setup like this where recycle time would otherwise kill your shooting rhythm.
What I’d Add From My Own Studio Work
The one thing the video doesn’t cover in depth is modifier position inside a parabolic, specifically how the distance between the flash head and the parabolic’s focal point changes the quality of light dramatically. When I run any head inside a 150cm or larger parabolic, I mark the focal point with a piece of masking tape on the shaft and then deliberately pull the head back two to three centimeters from that point for slightly more spread and less of the hot center that can over-illuminate a face. It takes five minutes of testing to find your preferred position, and it changes the character of the light considerably. Taylor’s setup images show this is likely something he’s already calibrated to, but it’s worth making explicit if you’re new to working with large parabolics.
The core argument in Taylor’s tutorial is one I’ve believed since I started shooting commercially: the quality of light matters far more than the brand of light. A battery strobe at a harbor, a gelled head inside a 75cm octabox, a high-powered parabolic in a studio. The Stellos performs in all three contexts because it was tested in all three contexts before anyone declared it useful. That’s the standard you should hold every piece of equipment to before it earns a permanent spot in your kit.
Watch the full tutorial on YouTube
Comments (1)
Love how you break down complex stuff into manageable steps.
Leave a Comment