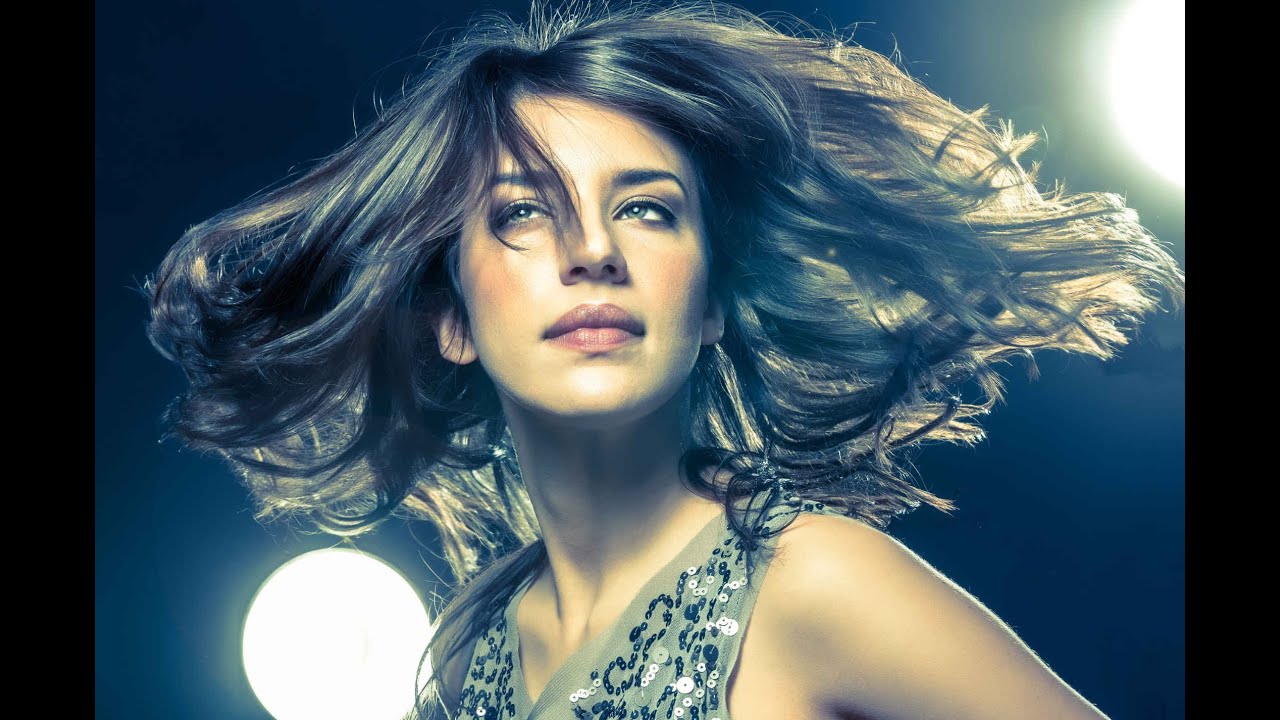
Every few years I find a tutorial that cuts through the noise and shows someone actually working, not just explaining theory in front of a whiteboard. In this Tony & Chelsea Northrup tutorial on fashion and glamour photography, Chelsea walks through the full process behind a low-key beauty shoot: lighting placement, lens choice, camera settings, posing, and post-processing. Watch the full tutorial on YouTube before or after reading this breakdown. Either way, you’ll get more out of it.
What caught my attention immediately was how closely the setup matches what I default to for beauty and editorial work. A single key light on axis, background strobes for rim separation, dark backdrop kept deliberately unlit. These are not exotic choices. They are reliable, repeatable, and they work on a wide range of skin tones when you execute the details correctly. What Chelsea demonstrates is that the execution is where most people stumble, not the concept. That’s exactly where this walkthrough focuses.
I’ve kept a lighting journal since my second year shooting commercially, sketching every setup after each session so I can rebuild what worked and avoid what didn’t. What follows is my expanded version of Chelsea’s tutorial, written so you can follow it without watching the video first, though you should watch it anyway.
Step 1: Choose Your Main Light Modifier
 Beauty dish with grid mounted on strobe
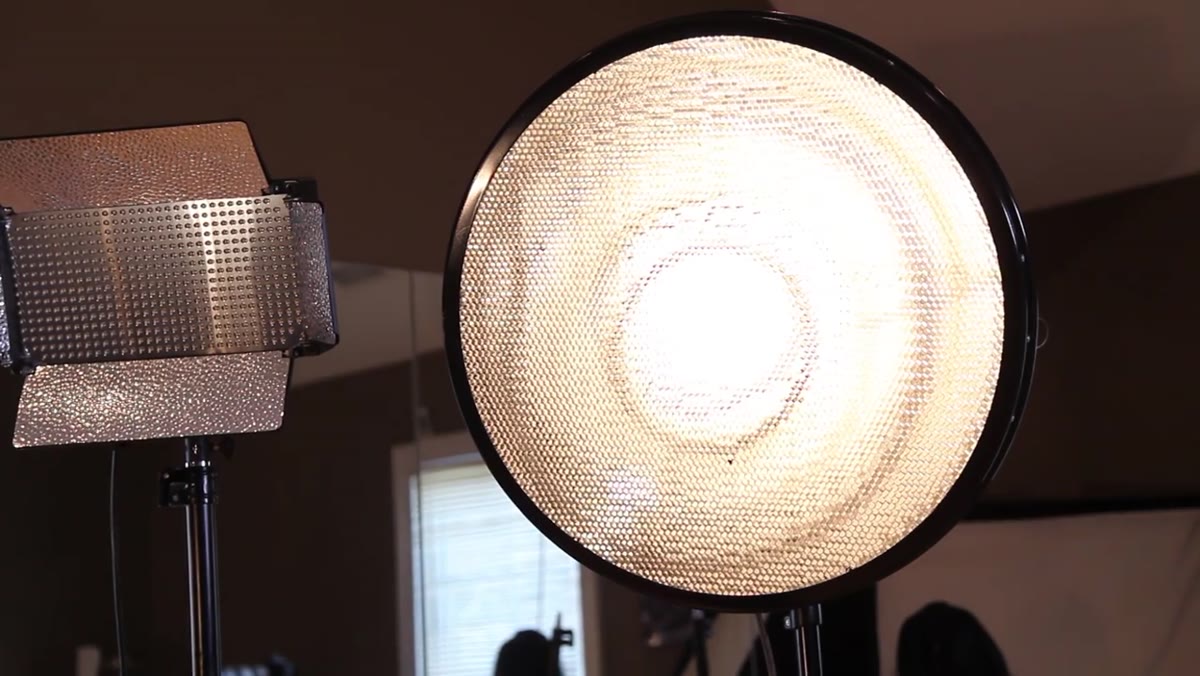
The main light here is a beauty dish fitted with a grid, connected to a studio strobe. The beauty dish produces a quality of light that sits between a bare bulb and a softbox: it’s directional and slightly harder-edged than a softbox, but still wraps around the face with a flattering evenness that a bare reflector won’t give you. The grid narrows the spread so the light stays where you aim it and doesn’t bleed onto the backdrop or the background strobes. If you’re shopping for a beauty dish, the price range runs from around $30 for a basic reflector-style dish up to $200 for a name-brand option. I’ve tested both ends of that range. The cheap ones work. The difference is build quality and consistency over years of use, not the light output in your first session.
Beauty dish with grid mounted on strobe
The main light here is a beauty dish fitted with a grid, connected to a studio strobe. The beauty dish produces a quality of light that sits between a bare bulb and a softbox: it’s directional and slightly harder-edged than a softbox, but still wraps around the face with a flattering evenness that a bare reflector won’t give you. The grid narrows the spread so the light stays where you aim it and doesn’t bleed onto the backdrop or the background strobes. If you’re shopping for a beauty dish, the price range runs from around $30 for a basic reflector-style dish up to $200 for a name-brand option. I’ve tested both ends of that range. The cheap ones work. The difference is build quality and consistency over years of use, not the light output in your first session.
Step 2: Set Up Background Strobes for Rim Lighting
 Strobes positioned behind model facing camera
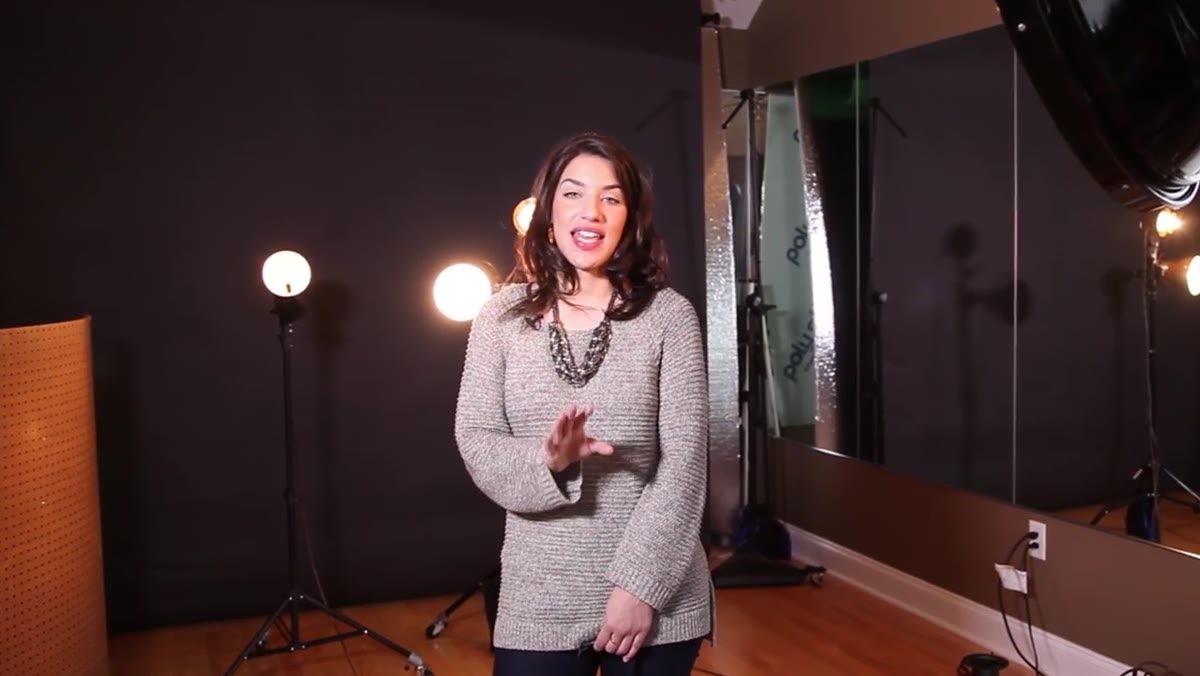
Place one to three strobes behind the model, aimed toward the camera. These serve two functions simultaneously. First, they create rim lighting that separates the model’s silhouette from the backdrop, which matters enormously when you’re working against a dark background. Second, since the lights themselves are visible in the frame, they become a compositional element. Chelsea is direct about this: don’t cluster them all behind the model’s center. Spread them so the arrangement reads as intentional. I usually map this out with a quick sketch before I plug anything in. If the placement looks sloppy on paper, it will look sloppy in the photo.
Strobes positioned behind model facing camera
Place one to three strobes behind the model, aimed toward the camera. These serve two functions simultaneously. First, they create rim lighting that separates the model’s silhouette from the backdrop, which matters enormously when you’re working against a dark background. Second, since the lights themselves are visible in the frame, they become a compositional element. Chelsea is direct about this: don’t cluster them all behind the model’s center. Spread them so the arrangement reads as intentional. I usually map this out with a quick sketch before I plug anything in. If the placement looks sloppy on paper, it will look sloppy in the photo.
Budget note here: the background lights do not need to be matched to your key light. Their job is rim separation and ambient mood. You can substitute practical lights, LED panels, or even colored gels over inexpensive speedlights. The Speedotron units Chelsea references are solid professional gear, but this part of the setup rewards experimentation.
Step 3: Keep Your Backdrop Dark by Controlling Light Spill
 Black backdrop positioned well behind lighting setup
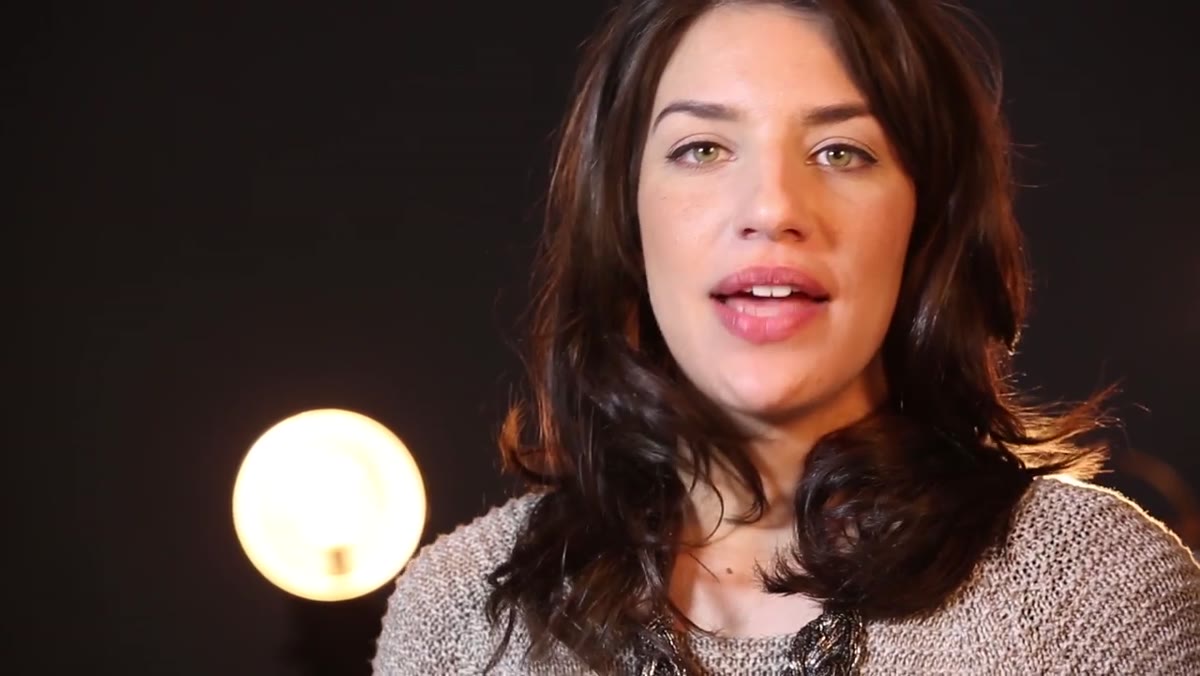
A low-key look depends entirely on keeping the backdrop unlit. The method Chelsea uses is straightforward: move the lighting rig at least 15 feet from the backdrop, and use the grid on the beauty dish to control spill. The grid is doing real work here. Without it, a beauty dish throws light in a wide cone that will kiss the backdrop and lift it from pure black to muddy gray. With the grid, the light concentrates on the subject and falls off before it reaches anything behind them. This is the kind of detail that separates a photograph that looks dark from one that looks intentionally dark.
Black backdrop positioned well behind lighting setup
A low-key look depends entirely on keeping the backdrop unlit. The method Chelsea uses is straightforward: move the lighting rig at least 15 feet from the backdrop, and use the grid on the beauty dish to control spill. The grid is doing real work here. Without it, a beauty dish throws light in a wide cone that will kiss the backdrop and lift it from pure black to muddy gray. With the grid, the light concentrates on the subject and falls off before it reaches anything behind them. This is the kind of detail that separates a photograph that looks dark from one that looks intentionally dark.
Chelsea also mentions experimenting with pegboard as an alternative backdrop surface. If you want texture without buying a dedicated backdrop, hardware store pegboard painted flat black, metallic, or any color you like gives you an inexpensive and interesting option.
Step 4: Position the Main Light on Axis with the Camera
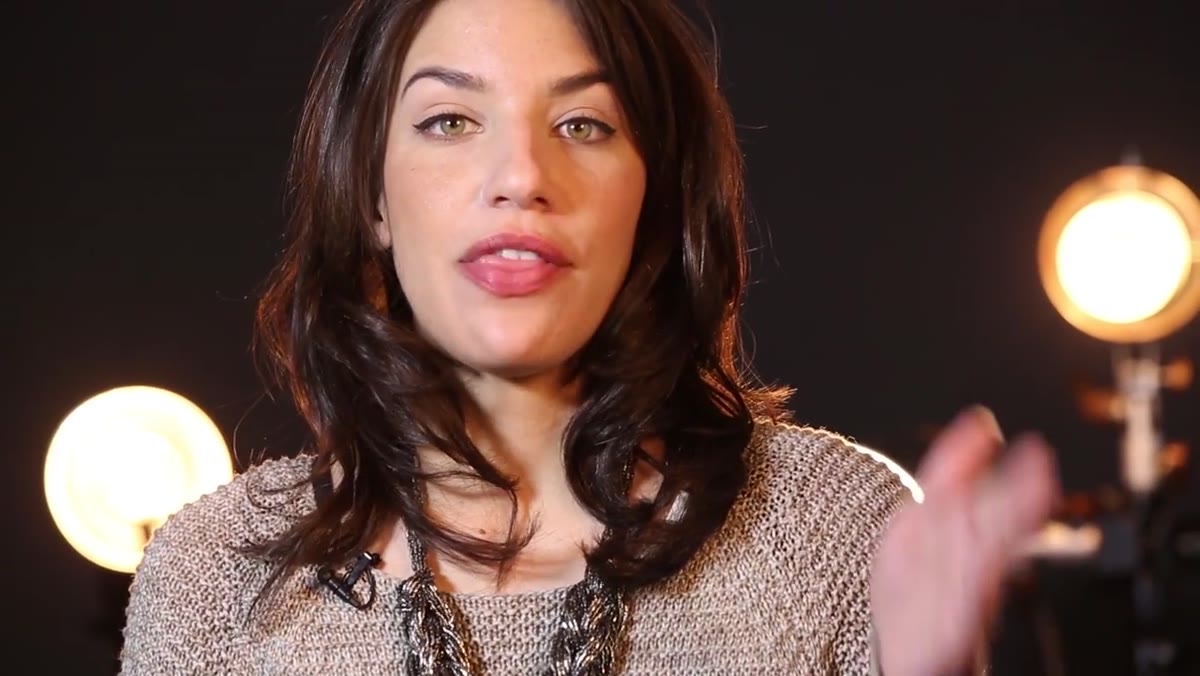 Beauty dish aligned with camera facing model
The beauty dish should sit on the same axis as the camera, directly facing the model. When the model looks toward the lens, the light is hitting their face from straight ahead, which produces even, flattering coverage across the features. If you move the light off-axis to create a more dramatic look, you introduce shadows that can read as harsh depending on the subject’s facial structure. For beauty and fashion work where the goal is a clean, polished result, on-axis is your baseline. You can always move off it once you have your reference shots.
Beauty dish aligned with camera facing model
The beauty dish should sit on the same axis as the camera, directly facing the model. When the model looks toward the lens, the light is hitting their face from straight ahead, which produces even, flattering coverage across the features. If you move the light off-axis to create a more dramatic look, you introduce shadows that can read as harsh depending on the subject’s facial structure. For beauty and fashion work where the goal is a clean, polished result, on-axis is your baseline. You can always move off it once you have your reference shots.
Step 5: Select a Telephoto Lens to Flatter Your Subject
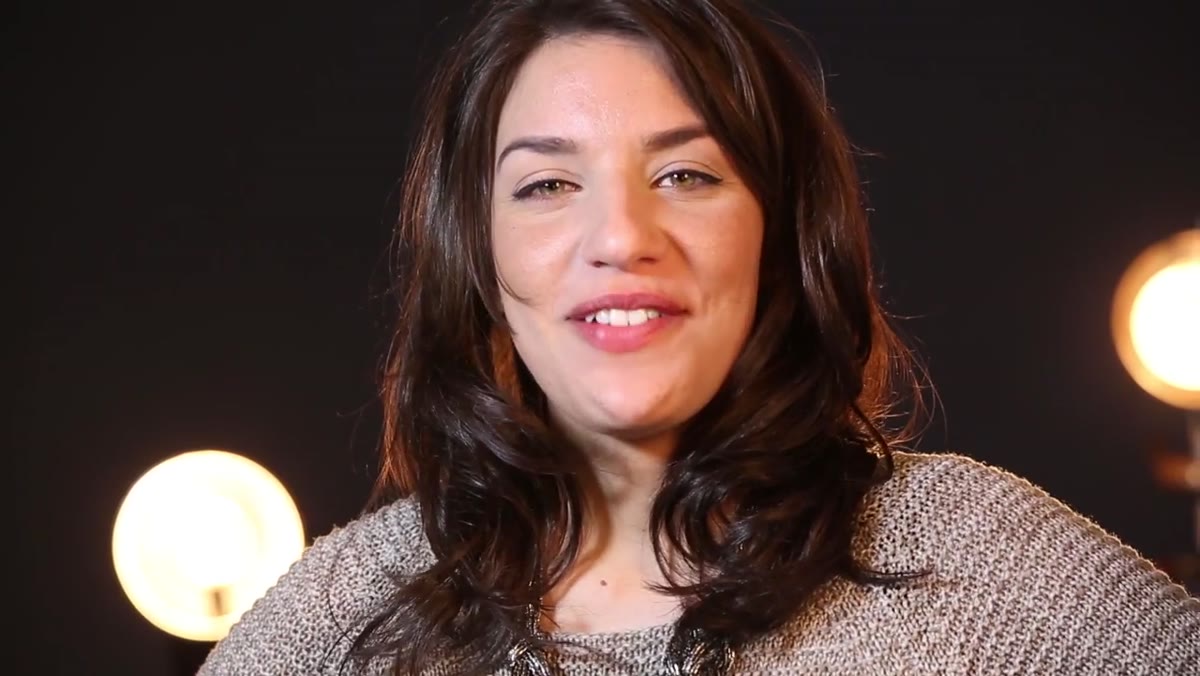 Canon 70-200mm f/2.8 lens shown on camera
The lens Chelsea recommends, and the one they used for this shoot, is a 70-200mm f/2.8. The telephoto focal length compresses perspective, which softens the appearance of any features that project forward: a prominent nose, a strong forehead, a defined chin. This is not a subtle effect. I’ve shot the same subject at 35mm and 135mm in the same session, and the person in the two frames looks noticeably different. The telephoto version is nearly always more flattering for close portraits. The wide aperture, f/2.8 in this case, also keeps background elements soft, which lets the rim lighting register as glowing bokeh rather than identifiable objects.
Canon 70-200mm f/2.8 lens shown on camera
The lens Chelsea recommends, and the one they used for this shoot, is a 70-200mm f/2.8. The telephoto focal length compresses perspective, which softens the appearance of any features that project forward: a prominent nose, a strong forehead, a defined chin. This is not a subtle effect. I’ve shot the same subject at 35mm and 135mm in the same session, and the person in the two frames looks noticeably different. The telephoto version is nearly always more flattering for close portraits. The wide aperture, f/2.8 in this case, also keeps background elements soft, which lets the rim lighting register as glowing bokeh rather than identifiable objects.
If a 70-200 f/2.8 is outside your budget, any longer focal length in the 85-135mm range on a full-frame body, or equivalent on a crop sensor, will give you the compression benefit. Chelsea also tested an $80 Lensbaby Spark to make the point that unusual, affordable lenses can produce compelling results. The technique matters more than the price tag on the glass.
Step 6: Dial In Camera Settings for Strobe Work
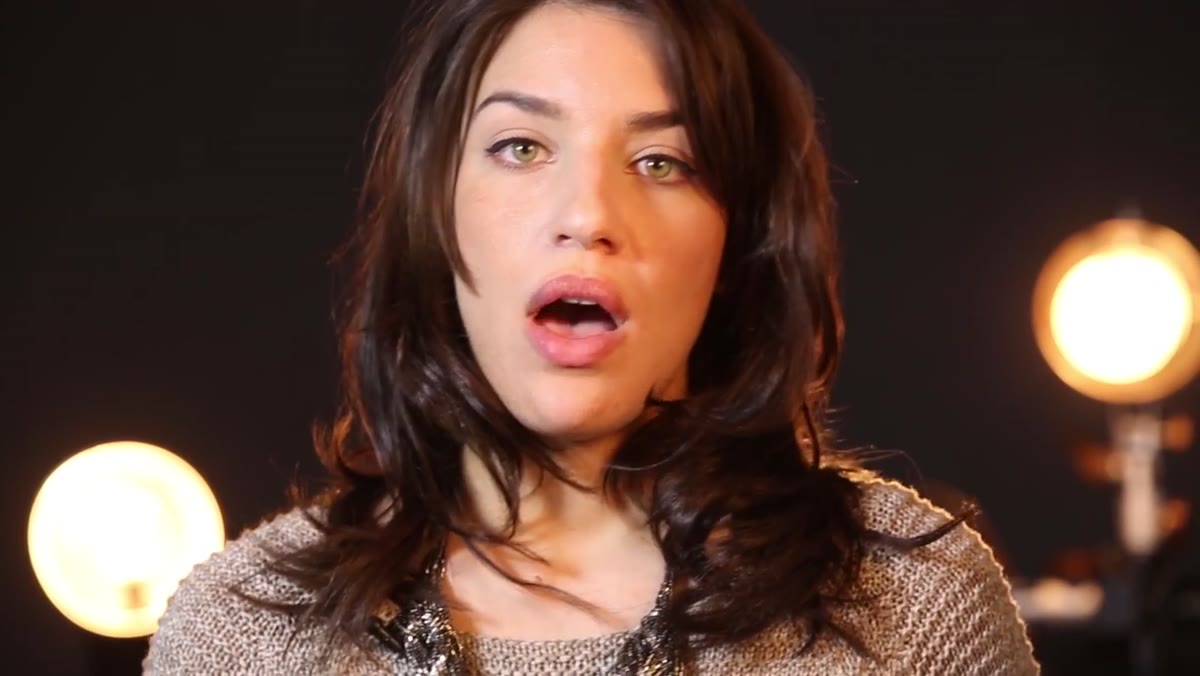 Camera settings panel, low ISO selection
When shooting with studio strobes, start with your ISO as low as it will go, typically ISO 100 or 200. Strobes already deliver a clean, well-exposed light source, and raising the ISO only introduces noise without adding anything. Set your shutter speed at or below your camera’s sync speed, usually 1/200s or 1/250s depending on the body. The aperture is where you control exposure in a strobe environment, because the strobe’s power output is what determines how much light hits the subject, not your shutter speed. Chelsea covers specific settings in the tutorial, so use the video to confirm values for your particular camera.
Camera settings panel, low ISO selection
When shooting with studio strobes, start with your ISO as low as it will go, typically ISO 100 or 200. Strobes already deliver a clean, well-exposed light source, and raising the ISO only introduces noise without adding anything. Set your shutter speed at or below your camera’s sync speed, usually 1/200s or 1/250s depending on the body. The aperture is where you control exposure in a strobe environment, because the strobe’s power output is what determines how much light hits the subject, not your shutter speed. Chelsea covers specific settings in the tutorial, so use the video to confirm values for your particular camera.
What I Do Differently: Always Test the Grid Before the Model Arrives
The grid on the beauty dish is the detail most photographers skip when they’re setting up quickly. I test it the day before every beauty shoot by firing a test frame at the backdrop alone, no model in place, and checking whether the backdrop stays fully unlit. If I see any gradient toward the center, I adjust the light position or swap to a tighter grid. I keep a small collection of grids in different degrees, 10, 20, and 40 degrees, and I choose based on ceiling height, room size, and how close I can physically move the backdrop away from the lights. This takes five minutes. It has saved me from a muddy background in more shoots than I want to count.
The single most important idea in Chelsea’s tutorial is that a compelling fashion setup does not require expensive gear. It requires understanding what each piece of gear is actually doing: the beauty dish shapes the key light, the grid controls spill, the background strobes create separation and mood, and the telephoto lens flatters the subject’s features. Once you understand the function, you can substitute, improvise, and adapt. The equipment is a means to that end, not the end itself.
Watch the full tutorial on YouTube to see the outtakes starting at 15:00 and Chelsea’s Lightroom and Photoshop finishing work, which rounds out everything covered here.
Comments
Leave a Comment